|
|
|
|
|
|
|||||||
 |
|
|
LinkBack | Thread Tools | Rate Thread |
| Author |
|
|
3 restos WIP = psycho
Join Date: Feb 2005
Location: North of Exit 17
Posts: 7,665
|
Early headlights - Replace those cracked rubber grommets w/ Home Depot hardware!
Regarding what are invariably badly cracked rubber grommets on your early headlights, your options are pretty limited when restoring the headlights. You can:
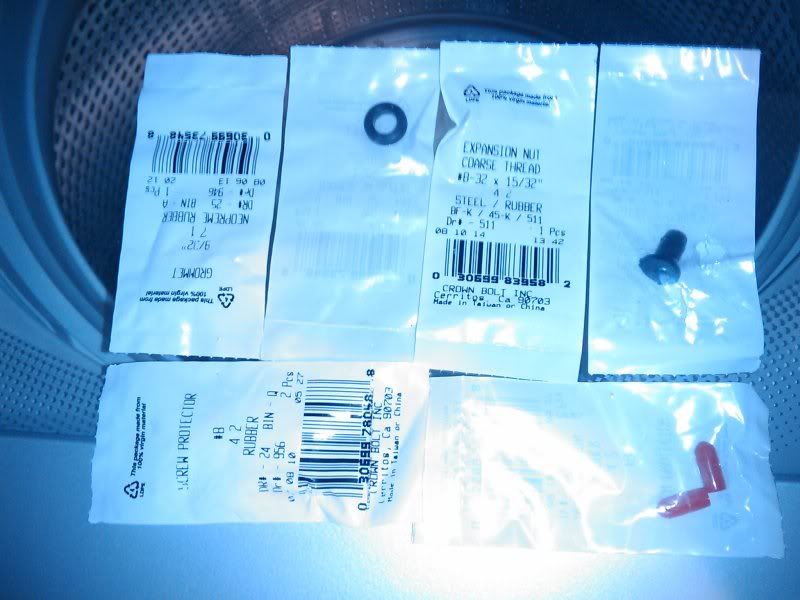
So what about buying or making your own grommet - something has to work, right? Well, finding rubber tube stock with as thick a wall as the grommet is pretty much a futile effort. I tried. You can also go buy rubber pipe or stopper and shape/drill them to fit, but that is a PIA that is not worth the effort. So what's an enterprising SWB owner to do? I'll tell you: 1. You need to go to Home Depot and buy these parts per hole that needs a grommet:
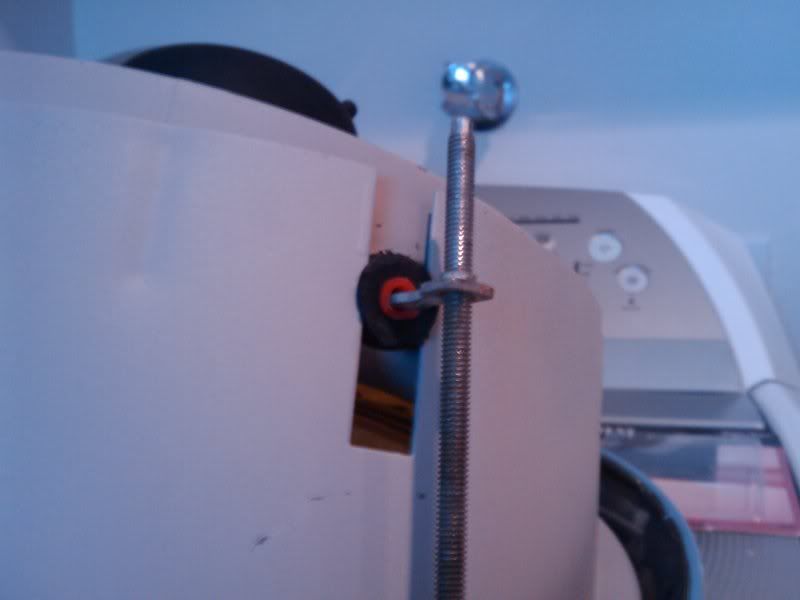
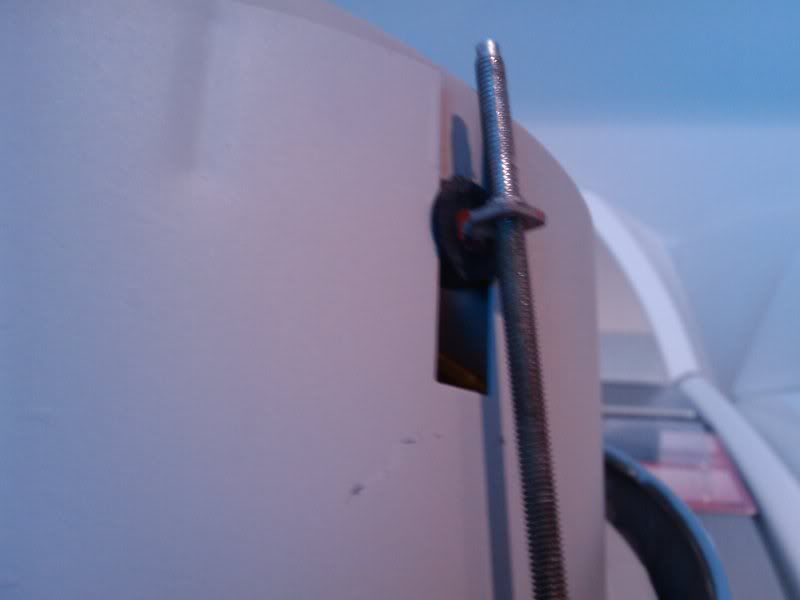
 2. Place the rubber grommet in the hole on the light ring. There appear to be two types of these grommets at HD: A thicke one and a thinner one. Both work, but the thick one is easier to install. 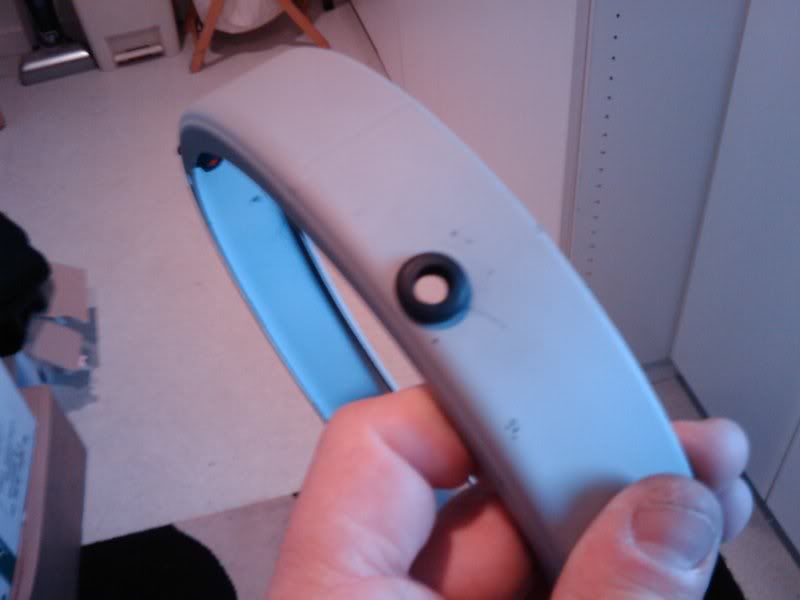 3. Take the expansion nut and tear the brass nut inside cleanly off of the piece. 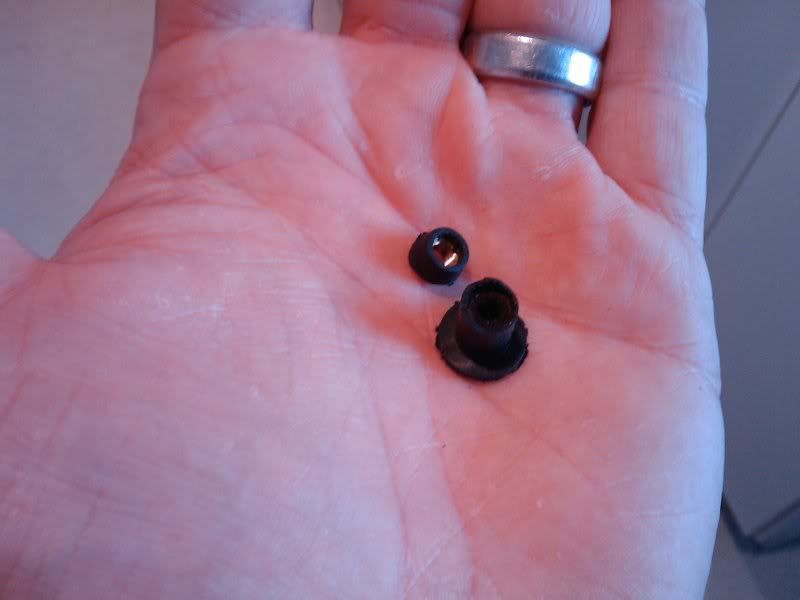 4. Get the remaining piece of the Expansion Nut wet and work it into the grommet that is installed on the light ring, from the outside. 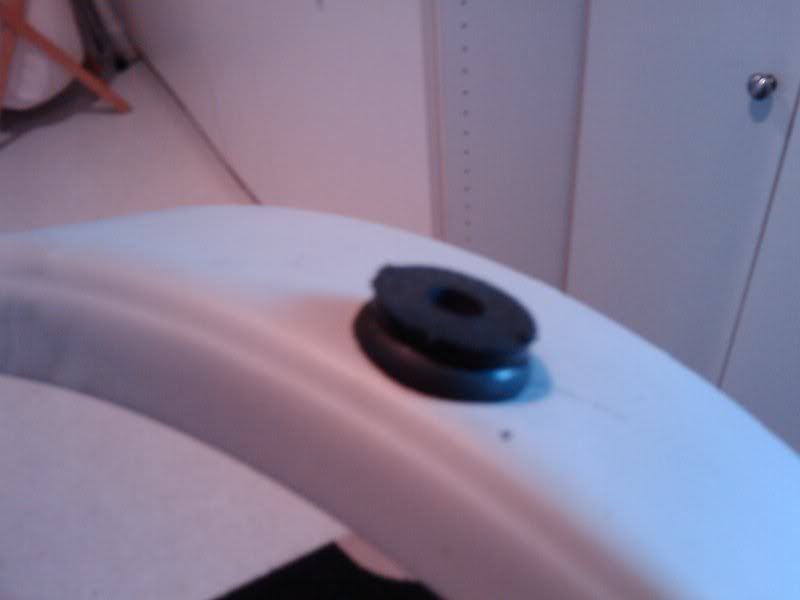 5. Take the rubber screw protector, wet it and place it closed end down, into the hole in the expansion nut and use a blunt rod to press it into place. 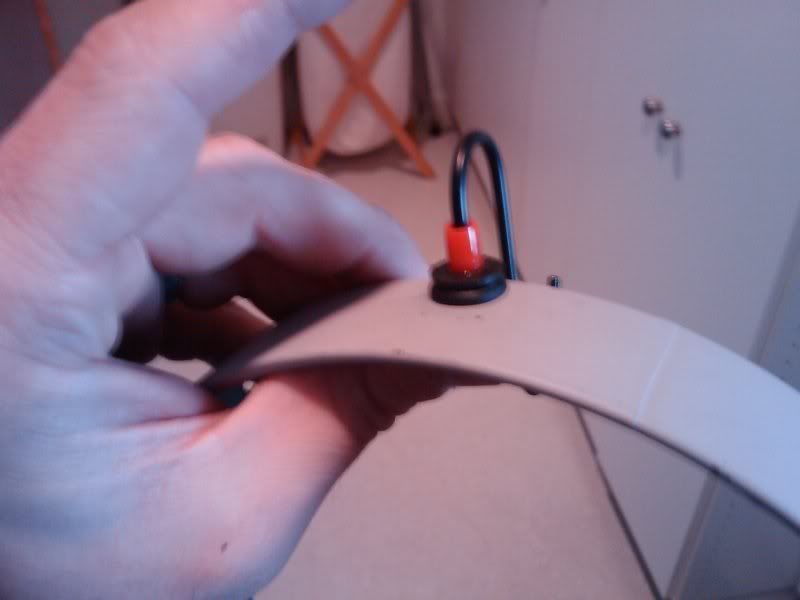 6. Press it in until the closed end of the screw protector is flush with the rubber on the inside of the ring. 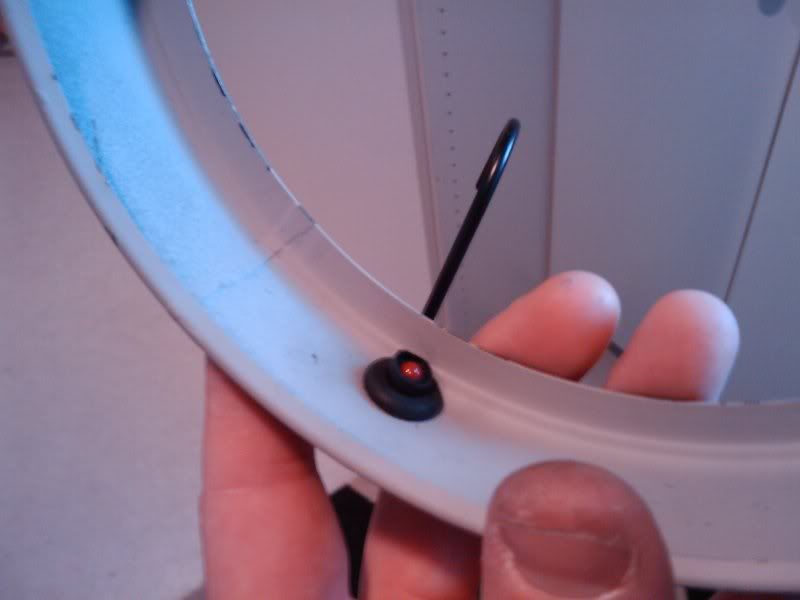 7. Cut the screw protector off flush with the rubber surface on the outside surface of the ring. 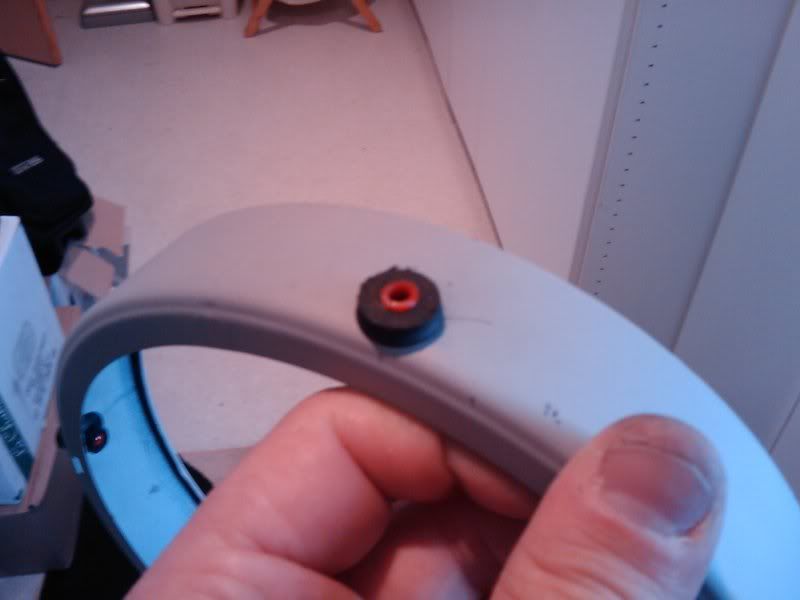 8. Now comes the time to mount the ring into the light housing. Align the grommet you made with the respective area it mates to. For this example, I am showing the section on the housing where the gormmet actually is pinched into the housing. Make sure to slide the metal into the opening between the two rubber pieces, so it works like a track. 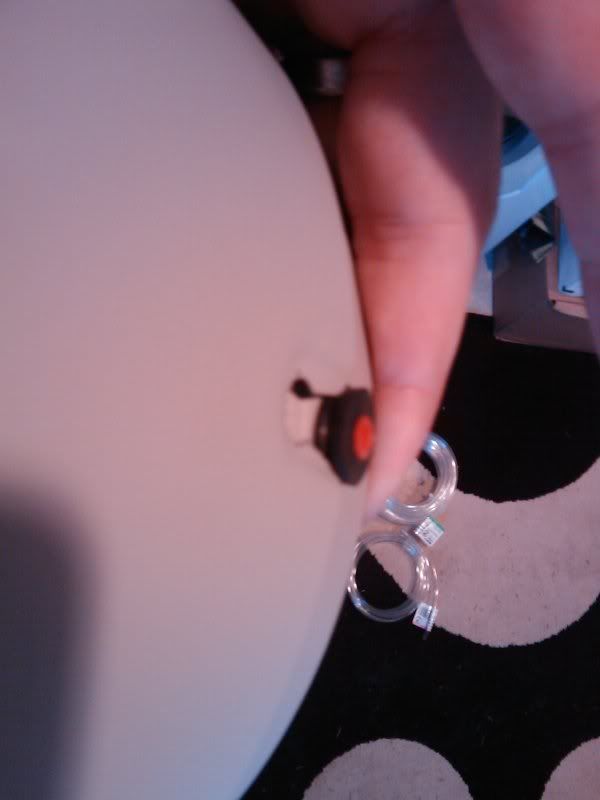 9. Locked in place: 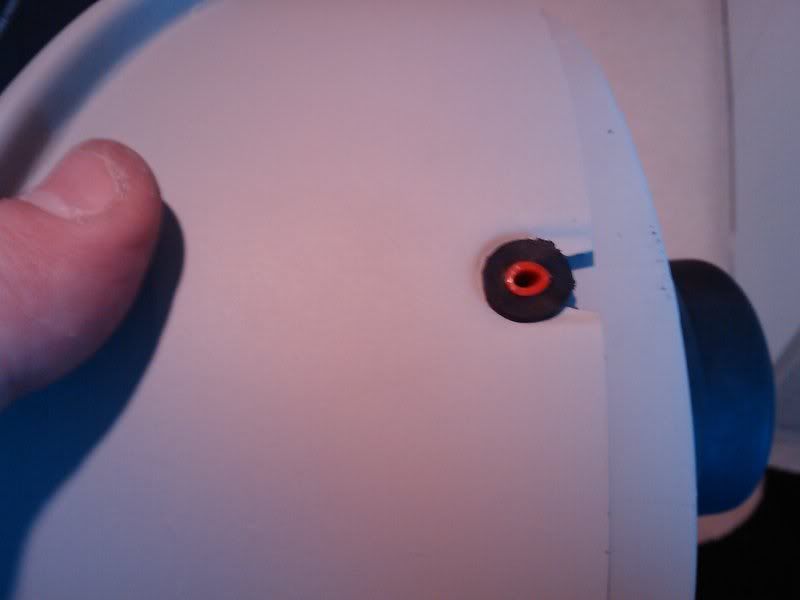 10. An example of the grommet in one of the non-locking guide tracks: 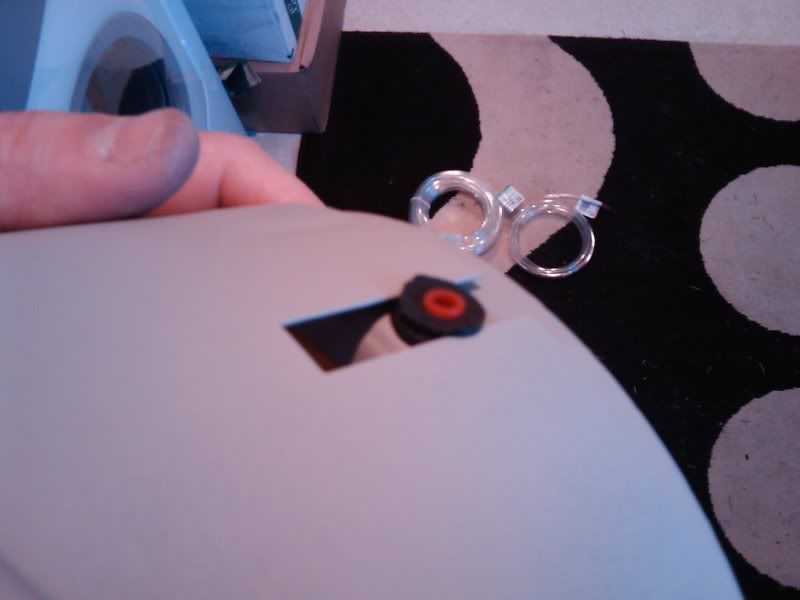
__________________
- 1965 911 - 1969 911S - 1980 911SC Targa - 1979 930 |
||
 04-16-2009, 12:08 PM
|
|
|
3 restos WIP = psycho
Join Date: Feb 2005
Location: North of Exit 17
Posts: 7,665
|
11. To assemble the lights, you have to align the housing with the rings, so the spade connectors can go into their respective grommet.
  12. Voila! 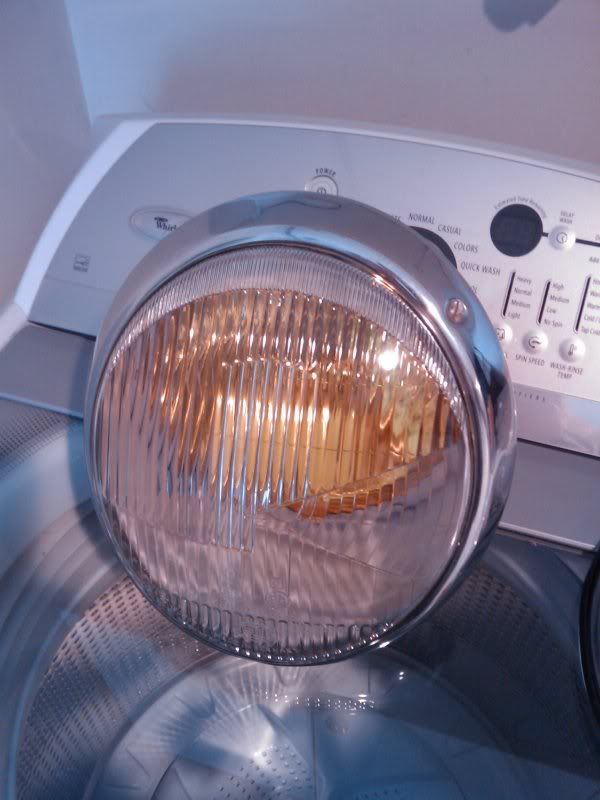 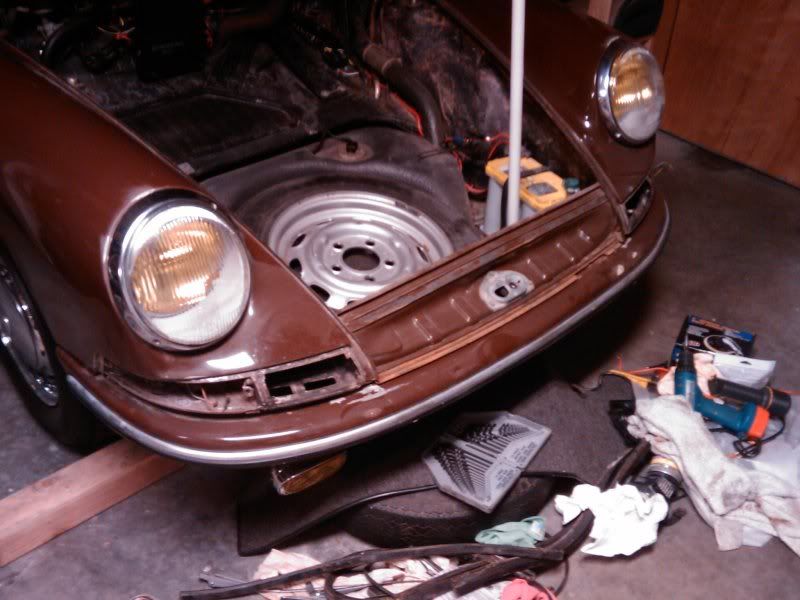 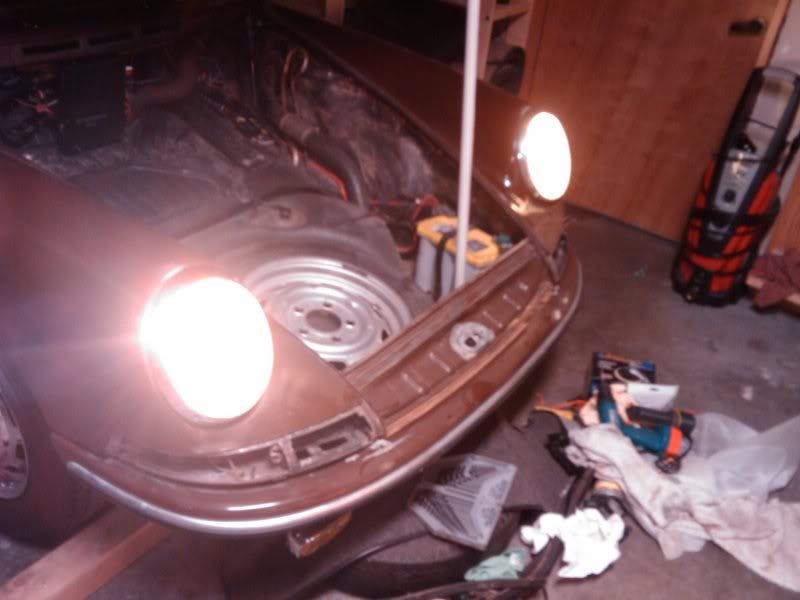
__________________
- 1965 911 - 1969 911S - 1980 911SC Targa - 1979 930 |
||
|
04-16-2009, 12:08 PM
|
|


