|
|
|
|
|
| Author |
|
|
Registered

Join Date: Nov 2003
Location: United Kingdom
Posts: 524
|
73T - Inner Wheel Arch Refurb - Updated 02/22/09
Spent today cleaning and making ready the front left inner wheel arch for refurbishment, prior to fitting all the new and refurbished brakes, suspension and steering. No point in bolting all that in to a grubby wheel arch.
I used the pressure washer with flexible lance, parafin gun with hot jizer, wire and nylon brushes to get in to all the nooks and crannies and make the whole area as clean as possible. It may not look much, but went from this :- 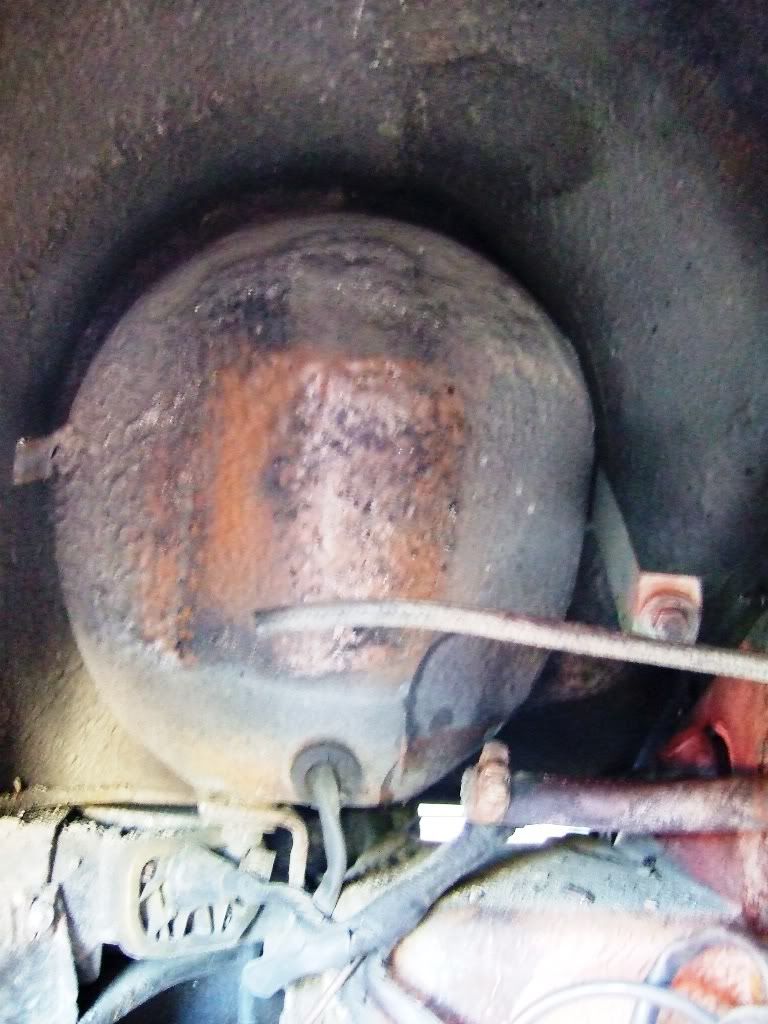 to this :- 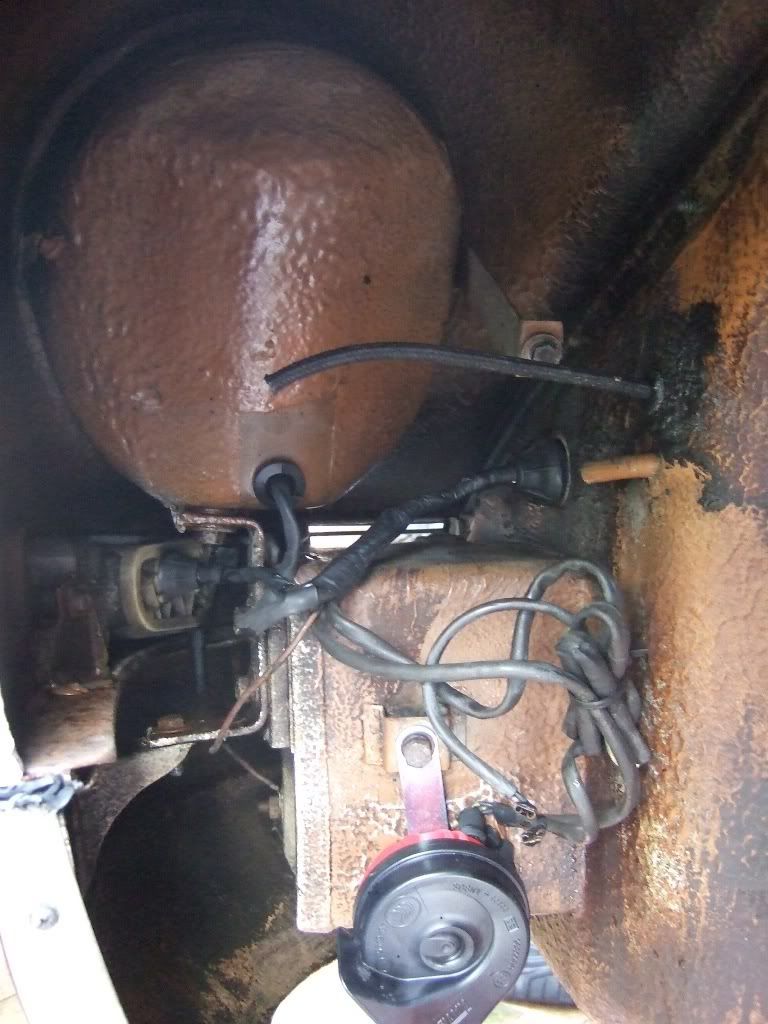 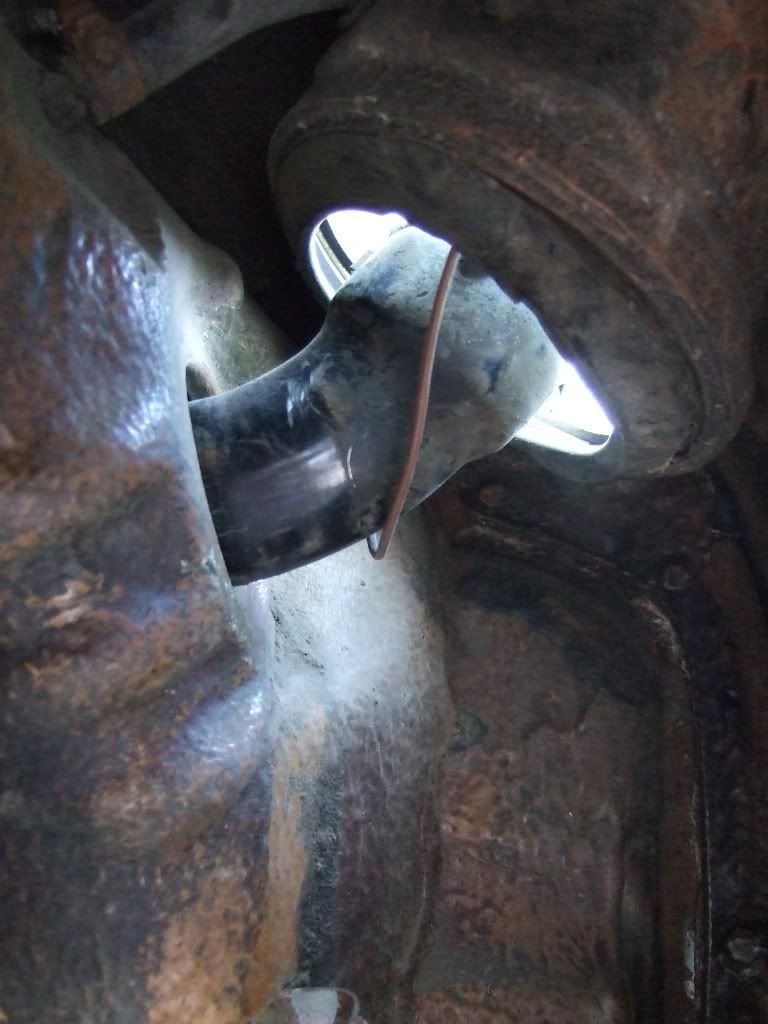 via this pile of road dirt and original factory underseal that had become brittle and easily chipped off.  What is left is ready to be sprayed with Black Stone Chip and Tetrosyl for what I hope to be is a single flat black finish. But that is for another day. Right now I have some questions on the fuel system and a charcoal filter.
__________________
Ian Highfield 1992 964 C2 Manual with RS Suspension etc. 1973 911T Narrow body Hot Rod with 2.7 Carrera engine and loads of period modsl - SOLD 1986 Carrera Coupe Sport with Stainless Silencer and SW Chip (256 fwbhp) - SOLD Last edited by Highfield; 02-22-2009 at 10:26 AM.. |
||
 01-18-2009, 10:53 AM
|
|
|
Registered
Join Date: Nov 2003
Location: United Kingdom
Posts: 524
|
Fuel Vapour & Charcoal Tank Removal - How ?
I removed the plastic tank that has a pipe going in to it from the fuel system (a return from a small tank under the bulkhead by the dashboard) and from the charcoal filter.
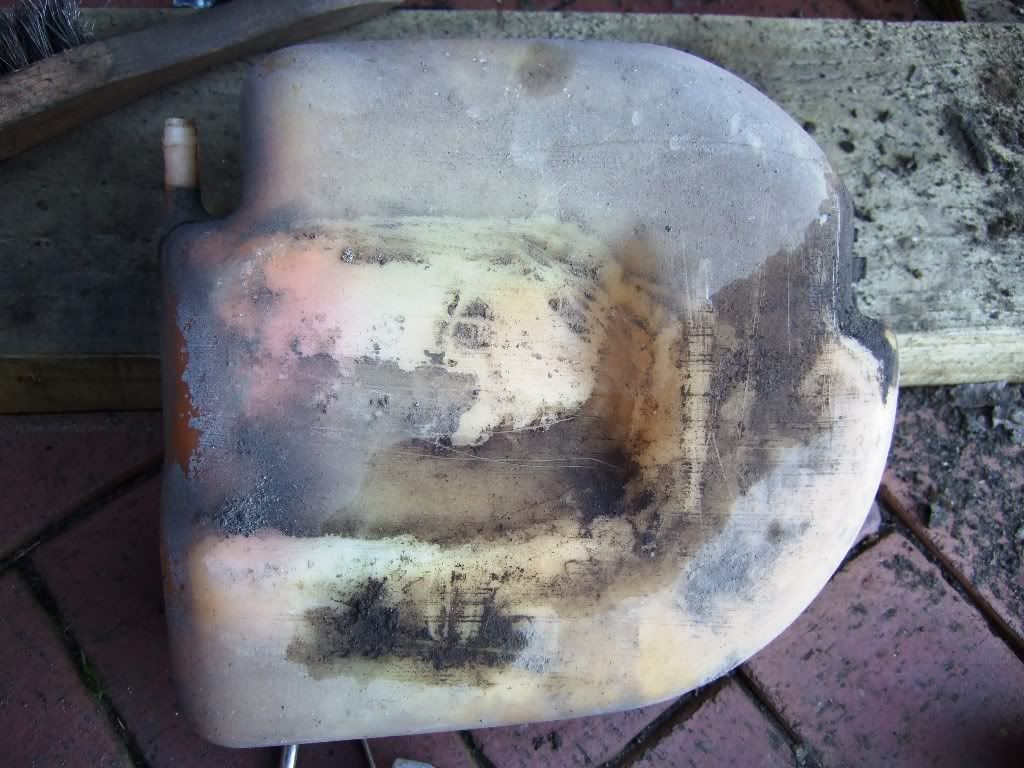 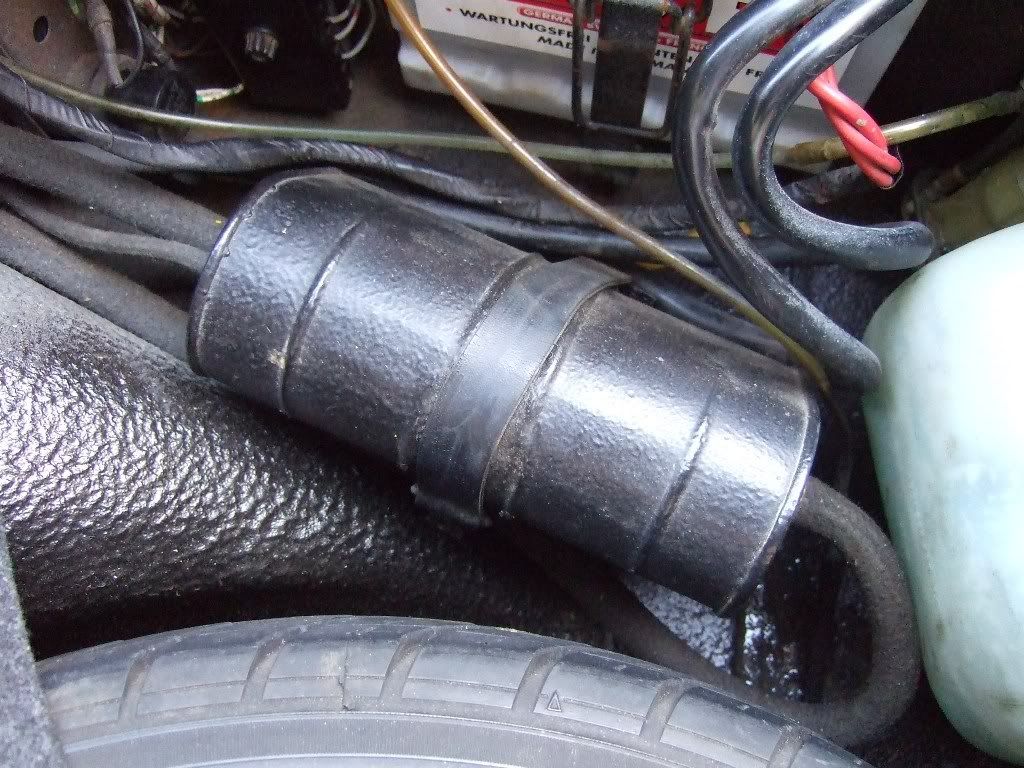 The pipe from the charcoal filter was frayed and broke, leaving a rubber seal piece in the plastic tank, and the metal end sticking out (this had pushed in to the flexible pipe from the charcoal filter). I want to remove the charcoal filter and associated piping, as it is unsightly, and I understand was not on European cars. Can I remove the charcoal filter, and if so, does anyone have good pictures of what is removed and blocked up etc. ? Where do those lines run to the rear of the car, as I cannot see them anywhere ? I also found a picture on Pelican that showed the different fuel vapour systems between US and European. Cannot find it so does anyone have a link ? Can I leave the plastic tank out, and what about the little tank under the bulkhead ? Again, any pictures and information on how I can simplify what is under the wing and inside the trunk will really help. Ian
__________________
Ian Highfield 1992 964 C2 Manual with RS Suspension etc. 1973 911T Narrow body Hot Rod with 2.7 Carrera engine and loads of period modsl - SOLD 1986 Carrera Coupe Sport with Stainless Silencer and SW Chip (256 fwbhp) - SOLD |
||
|
01-18-2009, 11:02 AM
|
|
|
Registered
Join Date: Nov 2003
Location: United Kingdom
Posts: 524
|
I found this post from Andy on DDK :-
http://www.ddk-online.com/phpBB2/viewtopic.php?t=11031&highlight=charcoal but I would really like some pictutes of what I am aiming to end up with. Andy - how do I remove the expansion tank ? I also have to fit a new fuel filler neck rubber, and that looks a nightmare as mine was all split and I cut it out - best place to get one and tips on how to fit ? 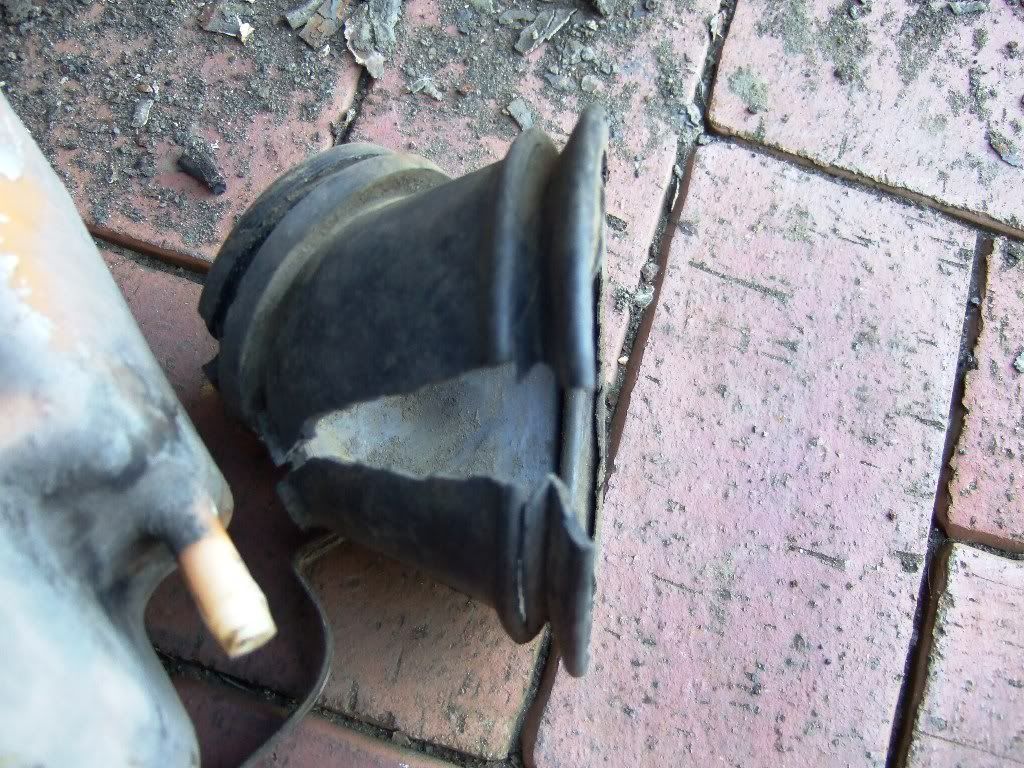 Ian
__________________
Ian Highfield 1992 964 C2 Manual with RS Suspension etc. 1973 911T Narrow body Hot Rod with 2.7 Carrera engine and loads of period modsl - SOLD 1986 Carrera Coupe Sport with Stainless Silencer and SW Chip (256 fwbhp) - SOLD |
||
|
01-18-2009, 11:20 AM
|
|
|
Registered

Join Date: May 2002
Location: Portland, Oregon
Posts: 12,699
|
Quote:
Ian, You will need to have something to deal with Gasoline vapors during fill, use and fuel tank breathing. Grady Clay and others posted a series of schematics in this thread which may help you: tank ventilation-MFI diagrams
__________________
Harry 1970 VW Sunroof Bus - "The Magic Bus" 1971 Jaguar XKE 2+2 V12 Coupe - {insert name here} 1973.5 911T Targa - "Smokey" 2020 MB E350 4Matic |
||
|
01-18-2009, 11:42 AM
|
|
|
Registered
Join Date: Nov 2003
Location: United Kingdom
Posts: 524
|
Many thanks - I will look to implement the Euro setup that vents from the bullhead tank to the front fender / bumper area
Ian |
||
|
01-18-2009, 12:57 PM
|
|
|
Registered
|
The fuel filler neck rubber will go in with some elbow grease and some water or something that won't stay on the boot after it is installed. The water will act as a lubricant. If it is possible, you may need another set of hands. And once you get that on, have fun with the ring that tightens it in, that is a POS to get situated correctly.
Also, when we did ours, we let the boot sit in the sun to get warm, easier to bend and whatnot. Now, as I look out my window, it is approaching 80 degrees, so that may or may not be an option for you, depending on where you live... Goodluck.
__________________
1983 911SC Euro Cab 1969 911T |
||
|
01-18-2009, 02:08 PM
|
|
|
Registered
Join Date: Nov 2003
Location: United Kingdom
Posts: 524
|
What ring are you referring to, as I only pulled out the rubber section ?
I still have a rubber ring attached to the metal filler neck on the wing. Ian |
||
|
01-18-2009, 03:01 PM
|
|
|
Registered
|
The ring is metal, and is slightly larger then the "home" where it will be sitting. If your car does not have it, perhaps another time in the cars life it was taken out and not put back in (which I could see happening because its very difficult).
 I circled the only part of the ring you can see with the filler flap installed.
__________________
1983 911SC Euro Cab 1969 911T |
||
|
01-18-2009, 03:21 PM
|
|
|
Registered
Join Date: Nov 2003
Location: United Kingdom
Posts: 524
|
Well I made good progress today, and as always ended up removing more than I had intended as the overlal refurb continues.
First to go was the petrol tank filler neck - I taped off the petrol tank filler - is this OK and safe ? 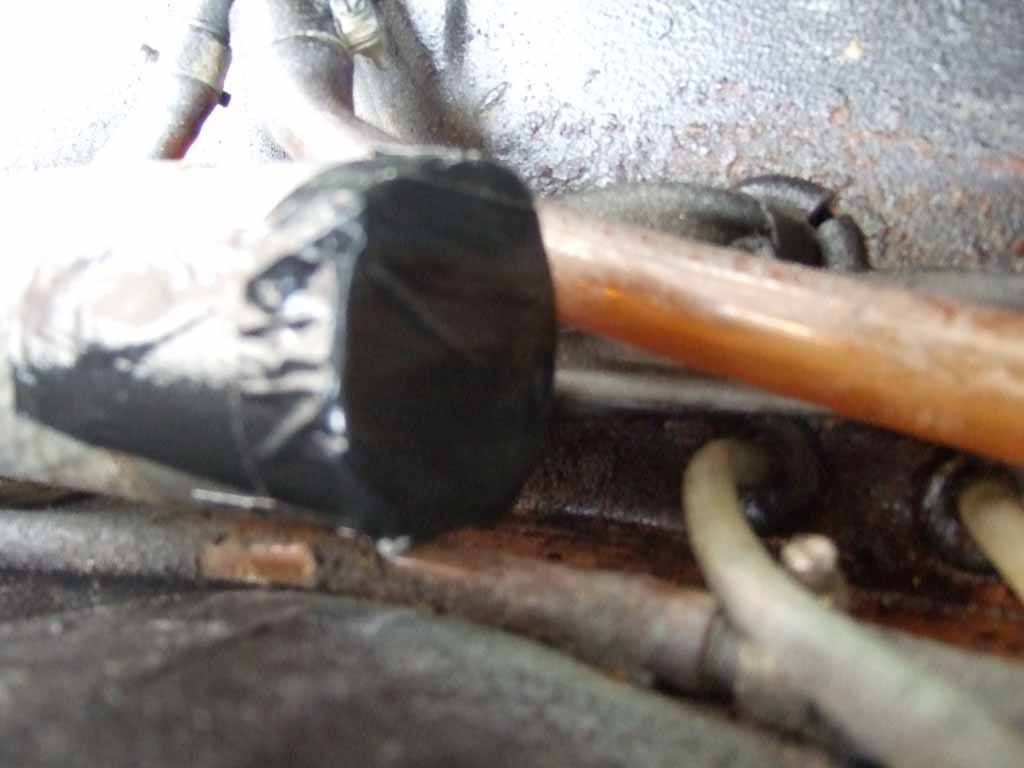  The inner wing area is super clean and still has the factory sepia colour. 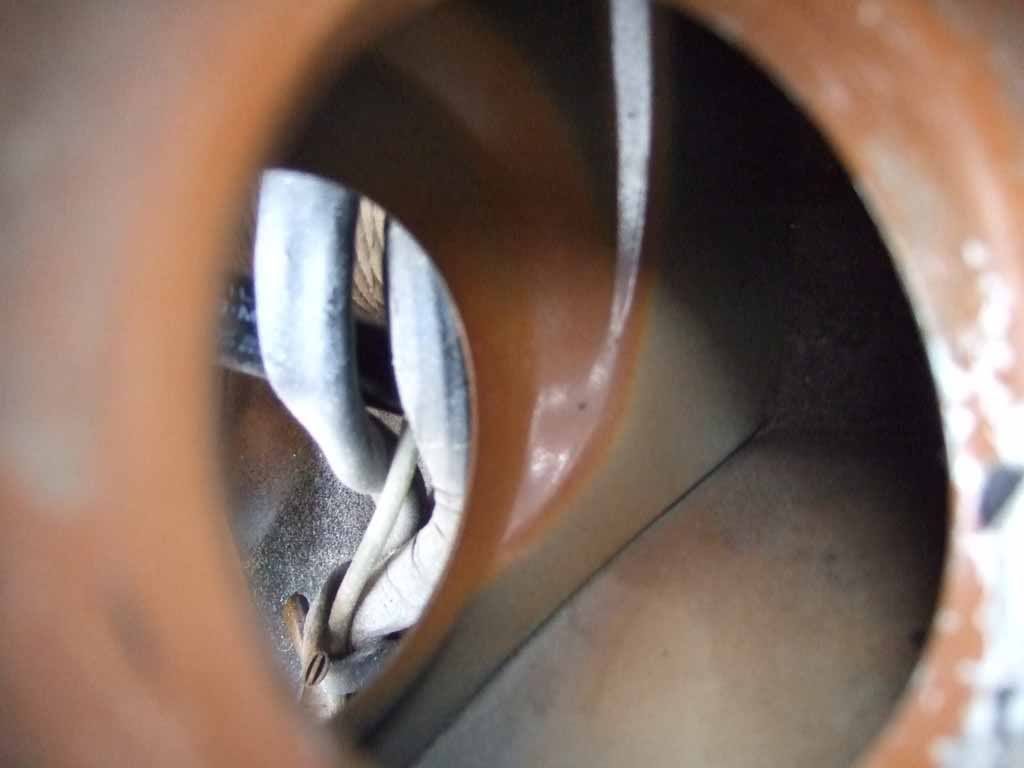 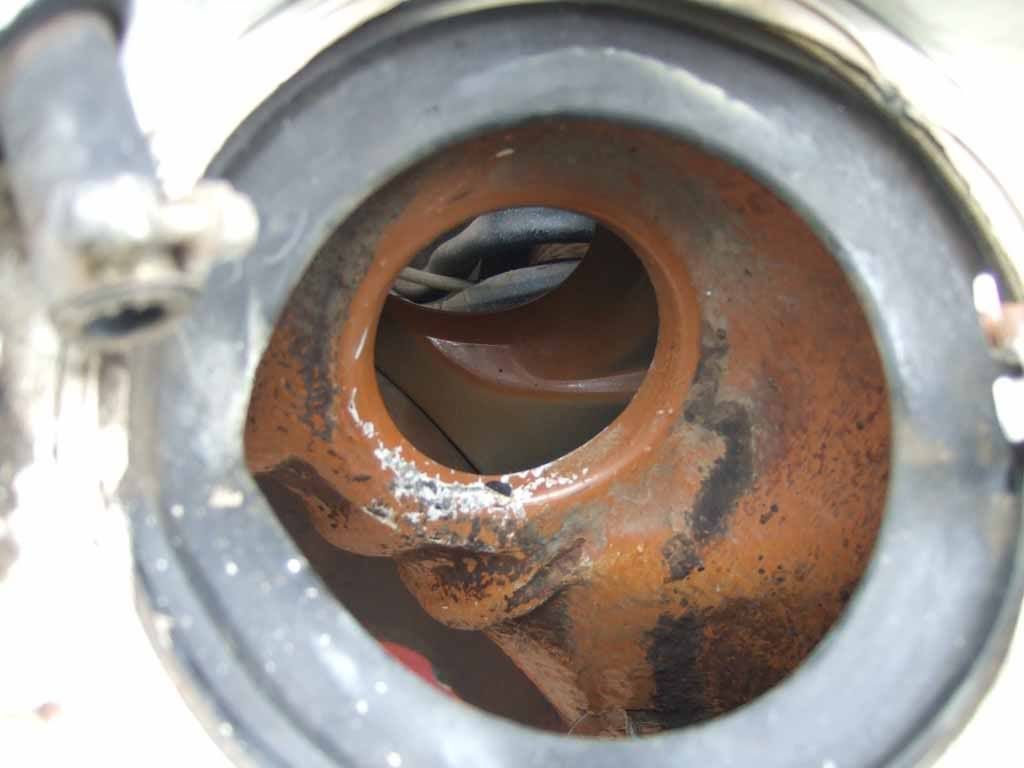 The exit points for the brake fluid pipes to the master cylinder had a little surface marking so I cleaned up and applied a rust inhibitor.  I then painted any bare surfaces from my previous cleaning exercise with the rust inbibitor.  Ian
__________________
Ian Highfield 1992 964 C2 Manual with RS Suspension etc. 1973 911T Narrow body Hot Rod with 2.7 Carrera engine and loads of period modsl - SOLD 1986 Carrera Coupe Sport with Stainless Silencer and SW Chip (256 fwbhp) - SOLD |
||
|
02-15-2009, 09:27 AM
|
|
|
Registered
Join Date: Nov 2003
Location: United Kingdom
Posts: 524
|
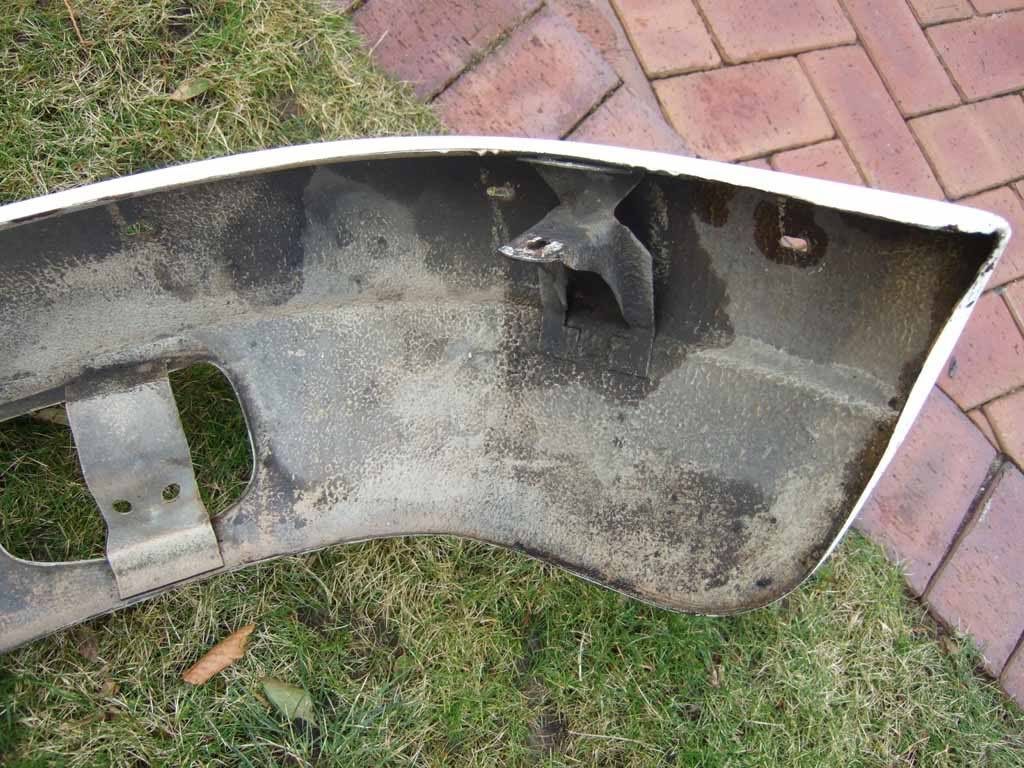
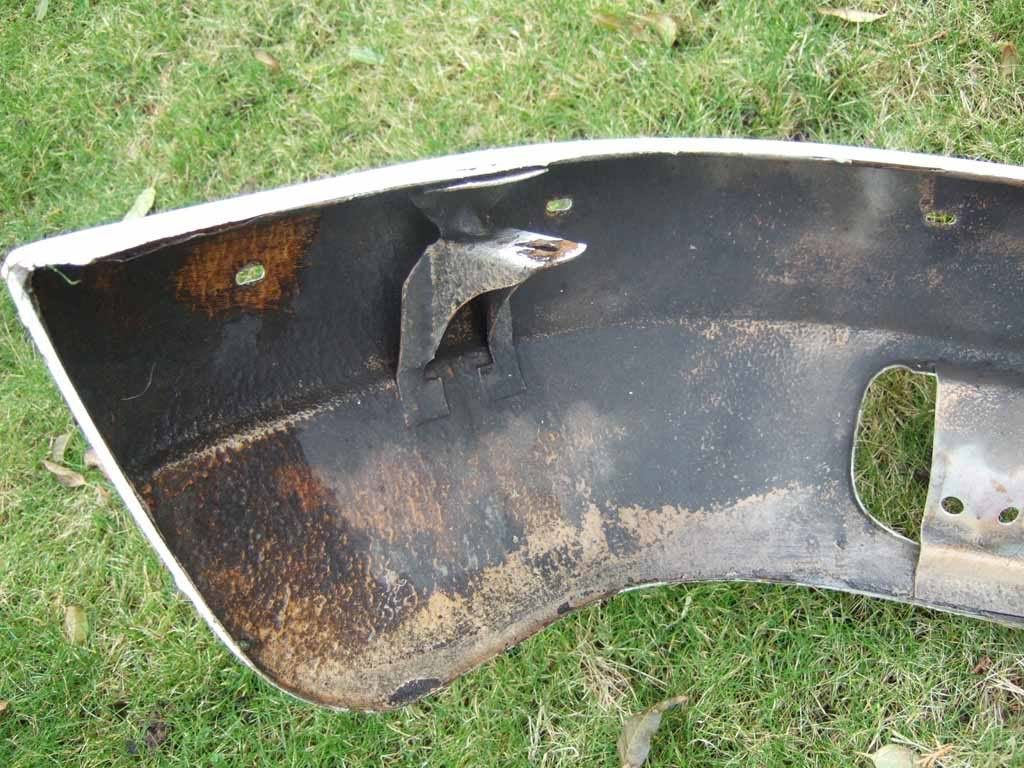
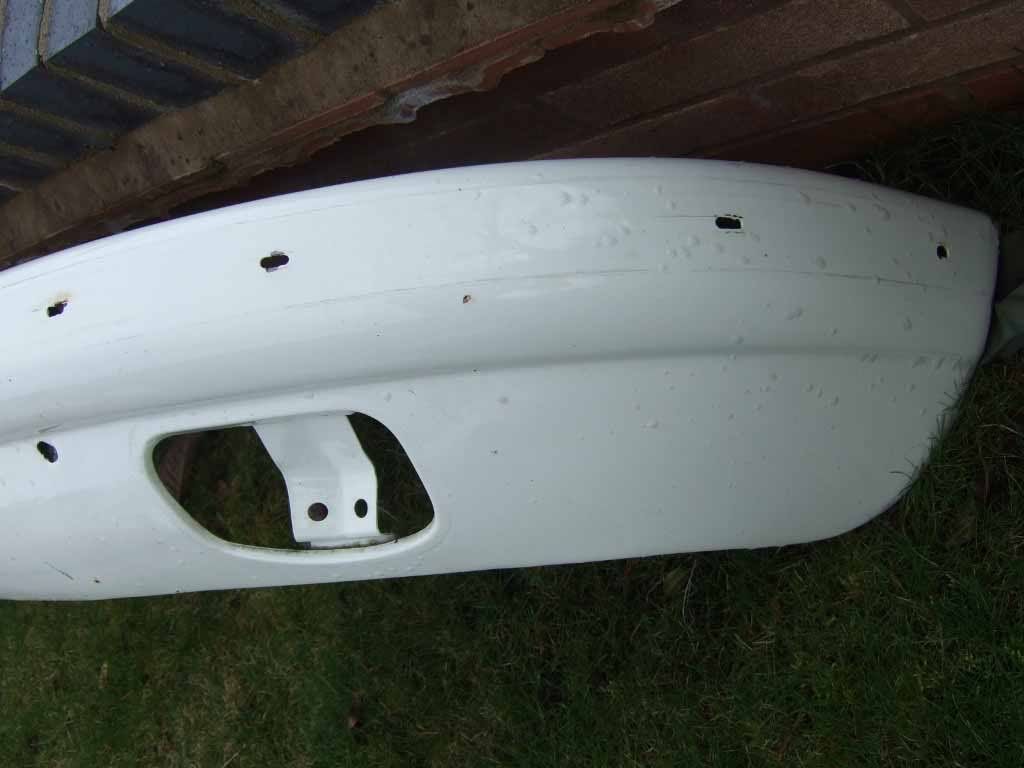
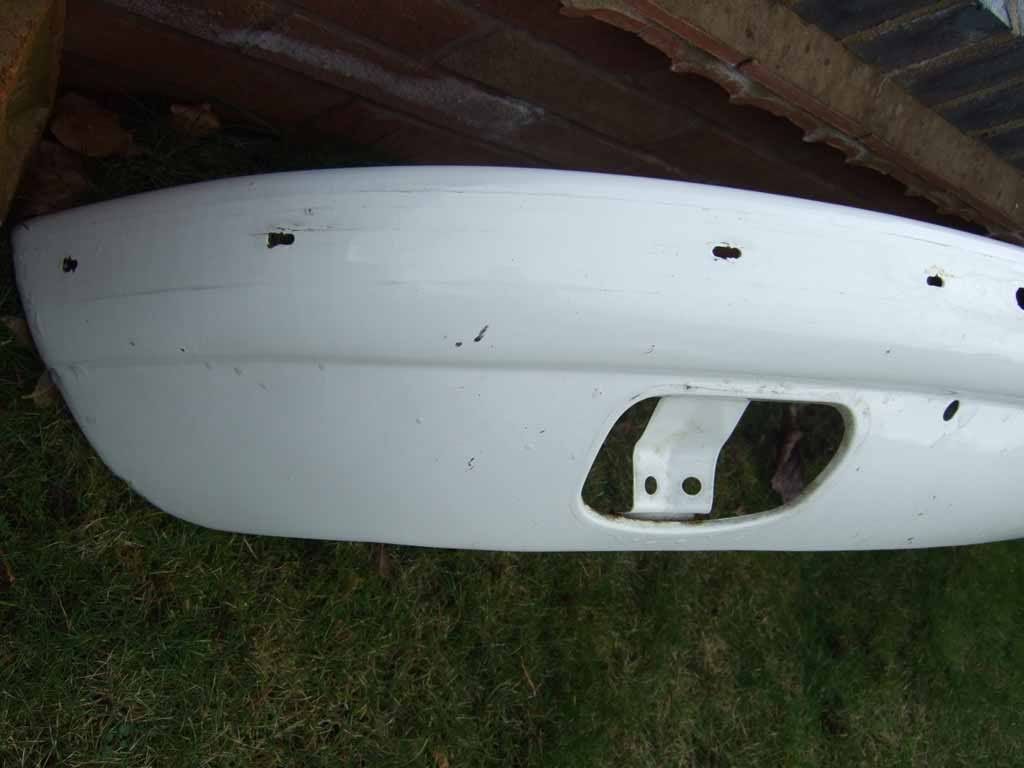
Next step was to remove the front bumber, to give access to the front of the battery boxes and headlamp bowl.
    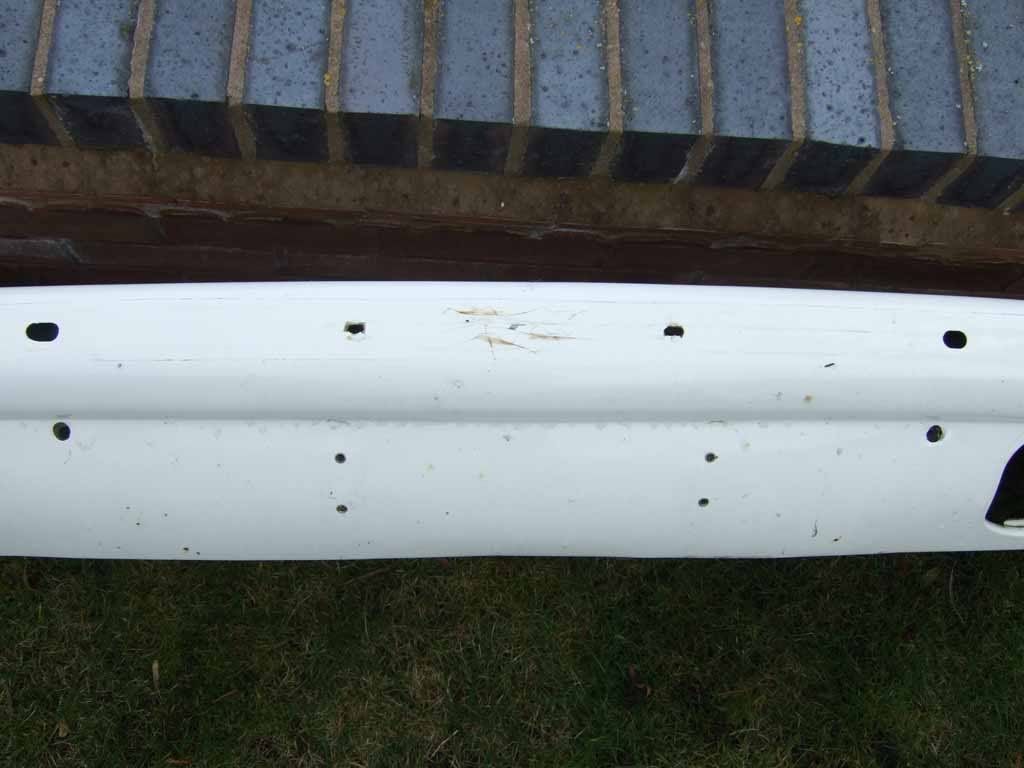   Ian
__________________
Ian Highfield 1992 964 C2 Manual with RS Suspension etc. 1973 911T Narrow body Hot Rod with 2.7 Carrera engine and loads of period modsl - SOLD 1986 Carrera Coupe Sport with Stainless Silencer and SW Chip (256 fwbhp) - SOLD |
||
|
02-15-2009, 09:34 AM
|
|
|
Registered
|
Looking good! I know thats not an easy project, but it sure looks great after everything is said and done.
__________________
1983 911SC Euro Cab 1969 911T |
||
|
02-15-2009, 09:46 AM
|
|
|
Registered
Join Date: Nov 2003
Location: United Kingdom
Posts: 524
|
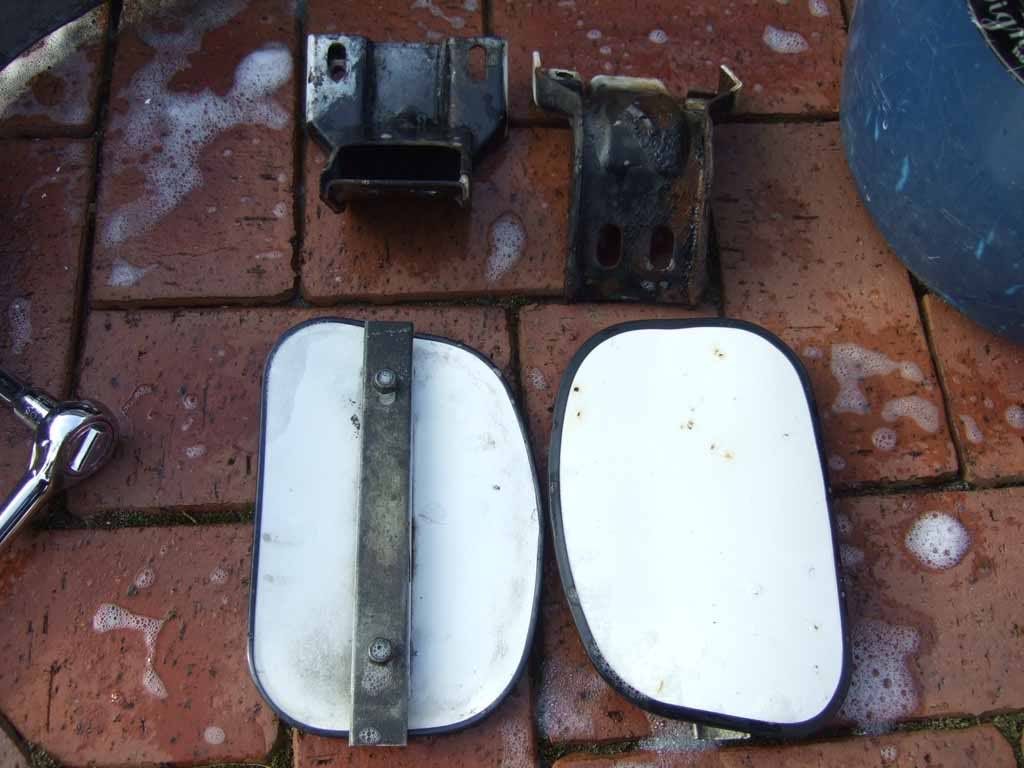
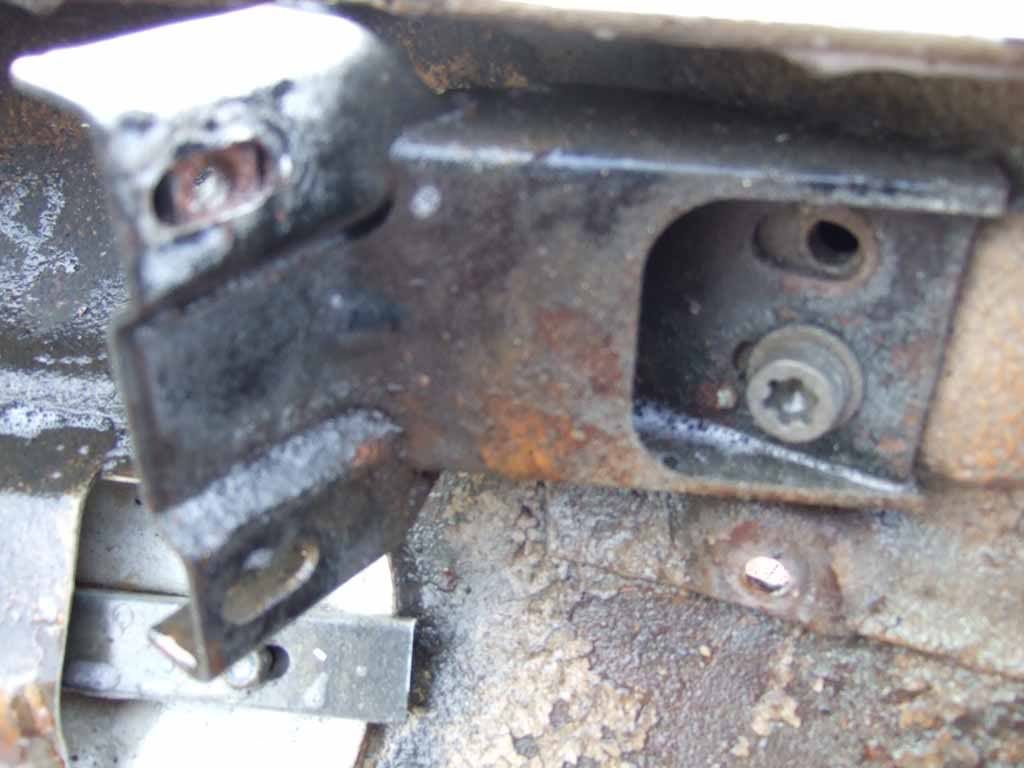
I then removed the indicator / light units to reveal a very strong and rust free front section, ready to be cleaned and painted.
The wiring loom to the headlamps and indicators has also been removed. 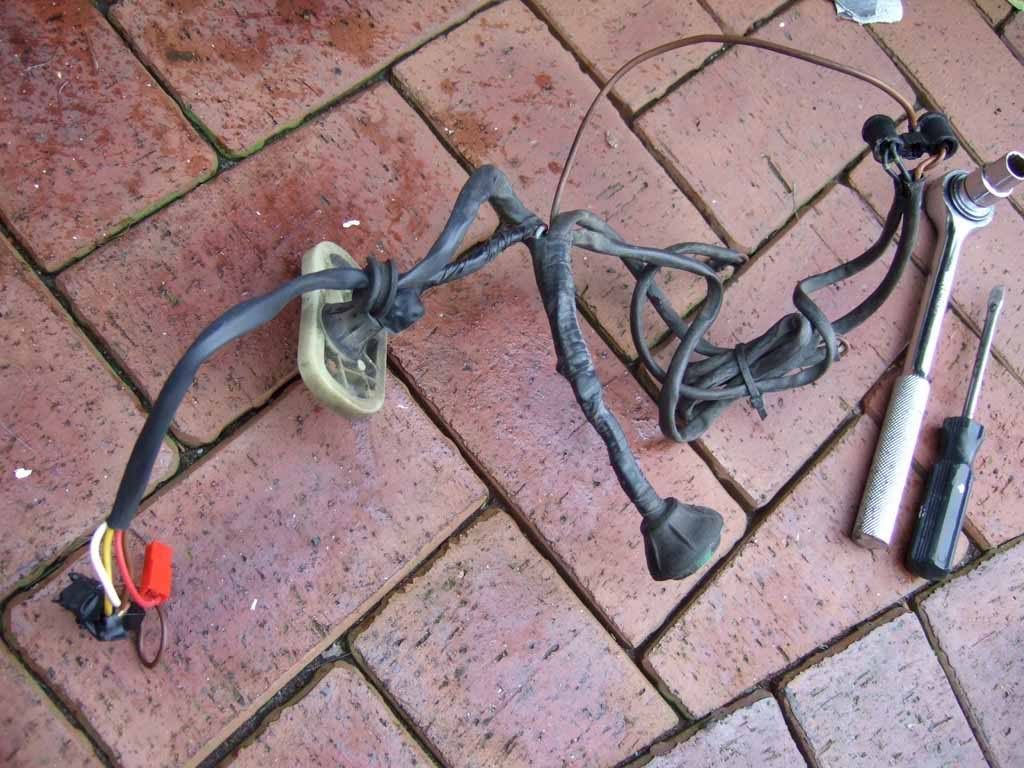 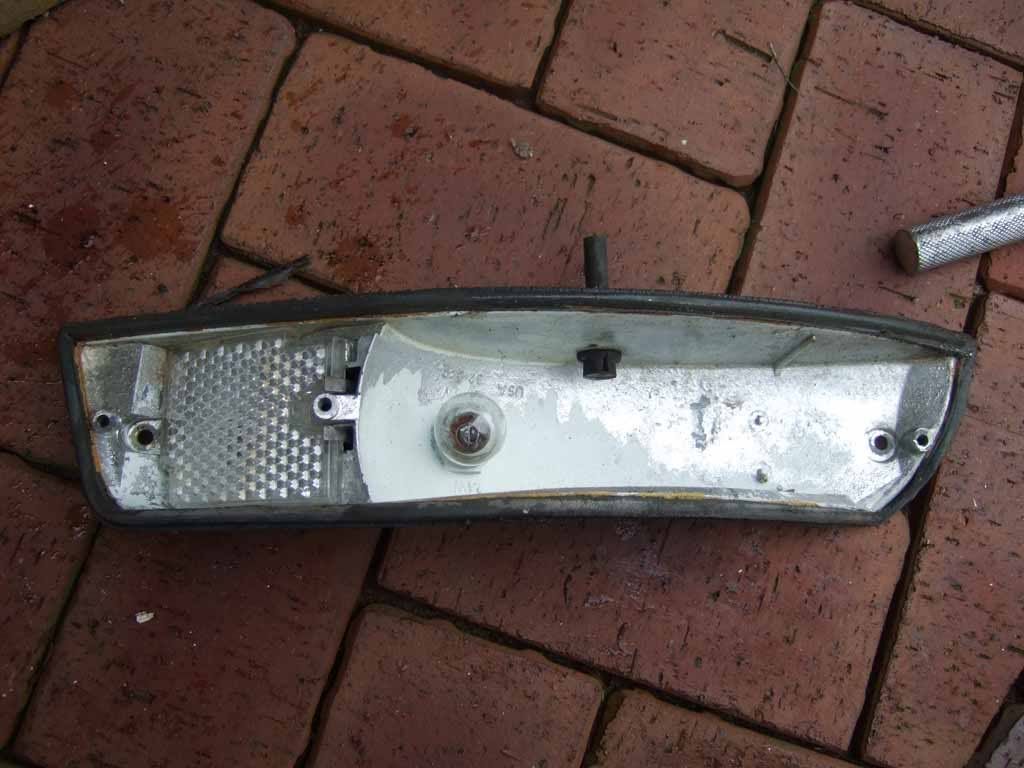 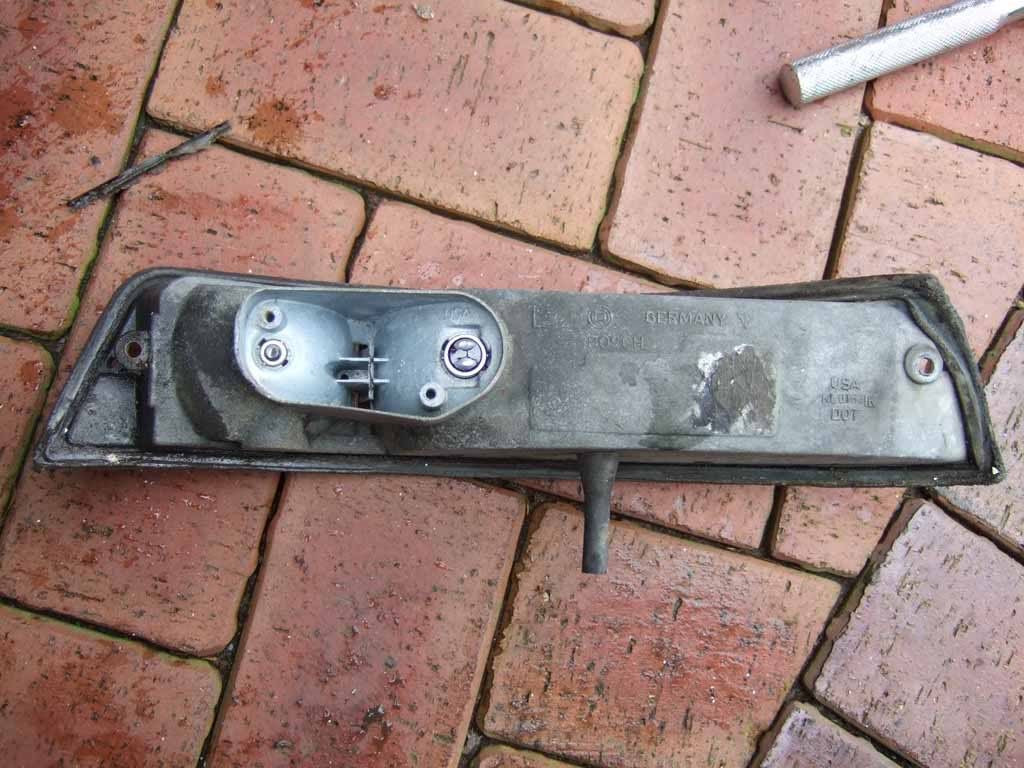 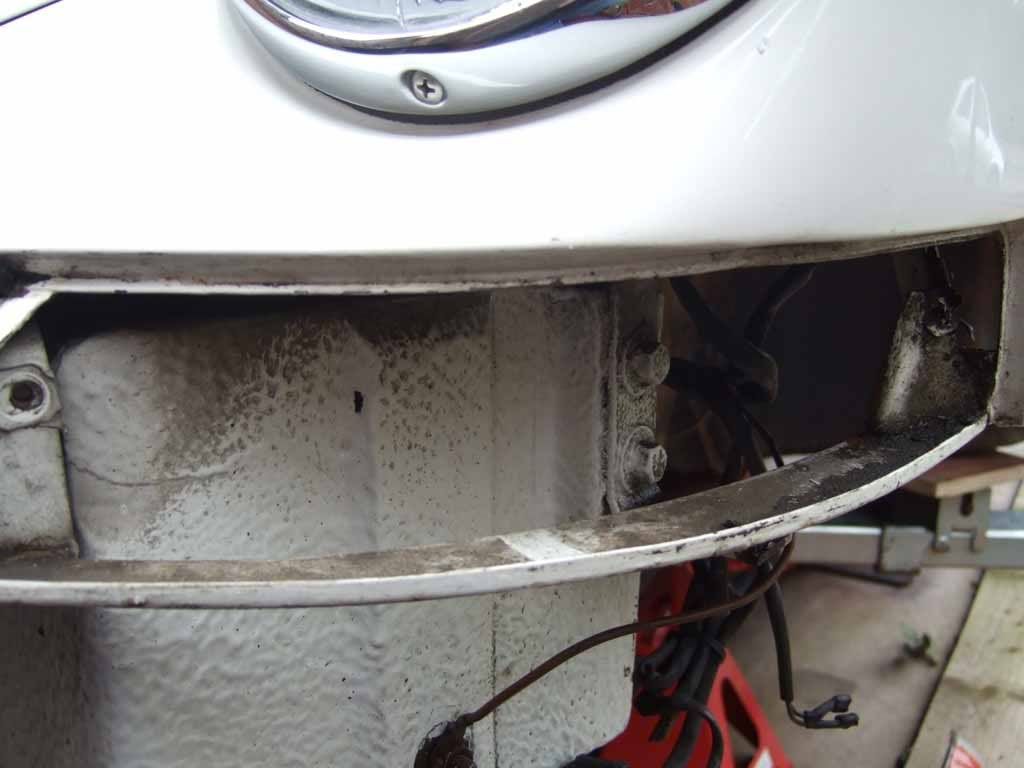 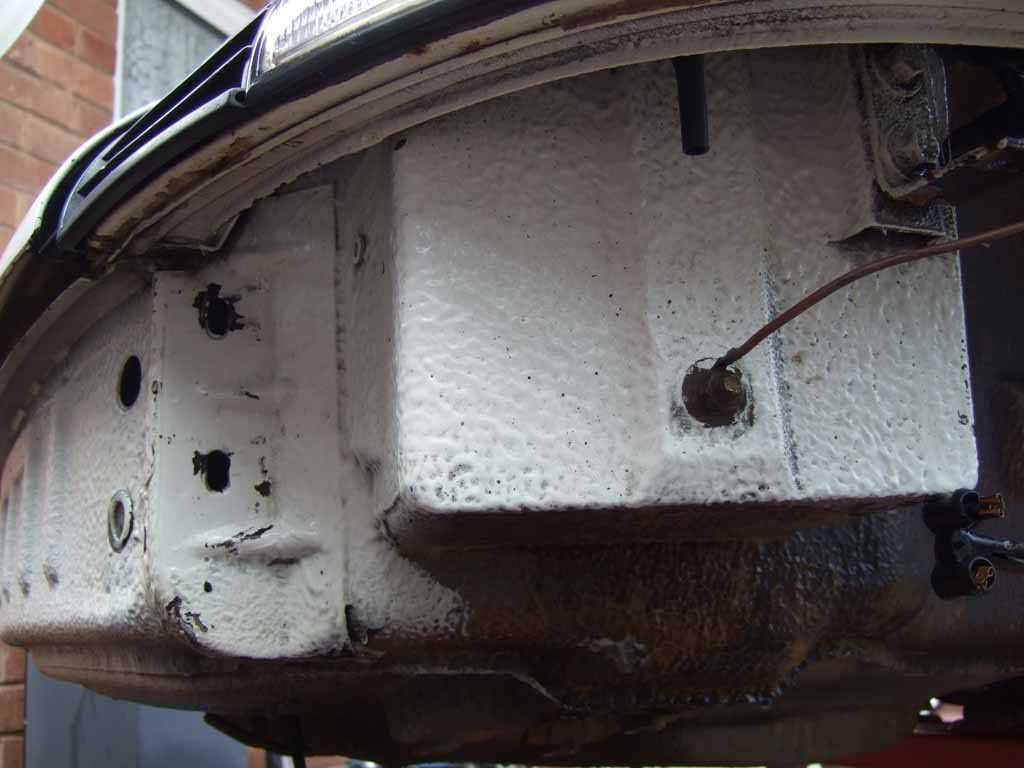 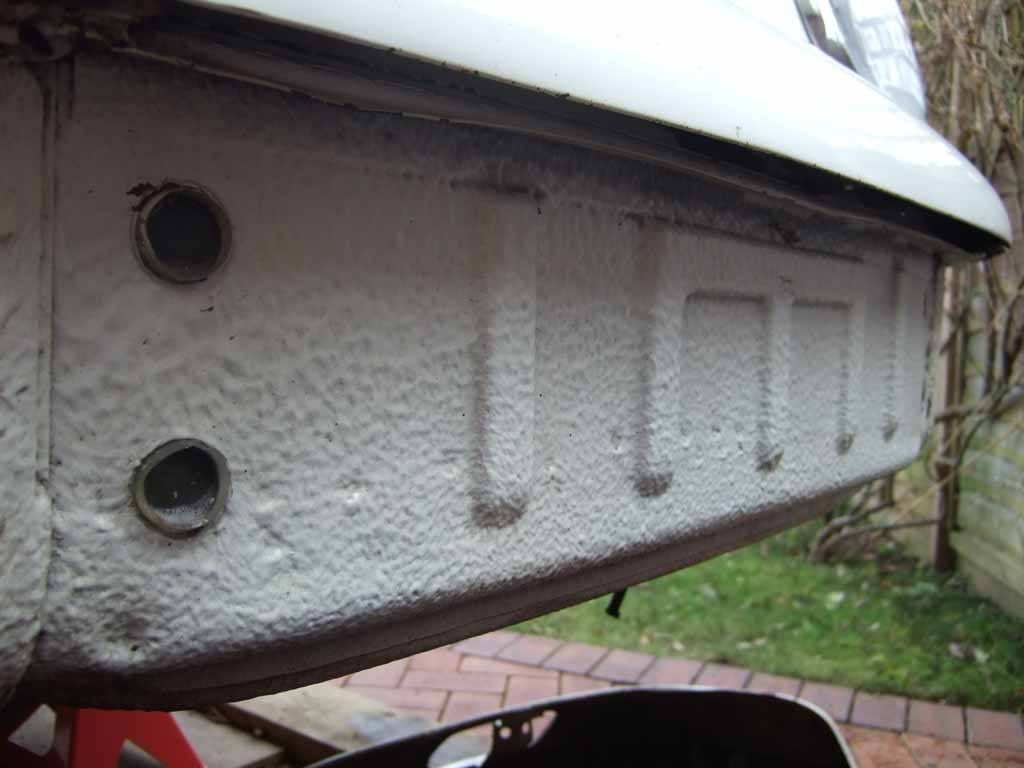  Ian
__________________
Ian Highfield 1992 964 C2 Manual with RS Suspension etc. 1973 911T Narrow body Hot Rod with 2.7 Carrera engine and loads of period modsl - SOLD 1986 Carrera Coupe Sport with Stainless Silencer and SW Chip (256 fwbhp) - SOLD |
||
|
02-15-2009, 09:51 AM
|
|

|
|
Registered
Join Date: Nov 2003
Location: United Kingdom
Posts: 524
|
I was going to finish the underwing and front slam panel in black underseal / tectyl / stone chip but having seen the white paint on the slam panel. I think it would look good if I could get that finish over the whole area.
I could use white stone chip spray or a standard aerosol, but not sure how that would stand up to the rigours of the UK weather :-) Ian
__________________
Ian Highfield 1992 964 C2 Manual with RS Suspension etc. 1973 911T Narrow body Hot Rod with 2.7 Carrera engine and loads of period modsl - SOLD 1986 Carrera Coupe Sport with Stainless Silencer and SW Chip (256 fwbhp) - SOLD |
||
|
02-15-2009, 09:56 AM
|
|
|
Registered
Join Date: Nov 2003
Location: United Kingdom
Posts: 524
|
Front Indicator Housing
Today it was a short spell of work to thoroughly clean and repaint the front indicator housings. These have been removed from the front wings to give better access to the headlamp bowls and battery boxes when painting on the underbody seal and paint.
They go from this :- to this :- 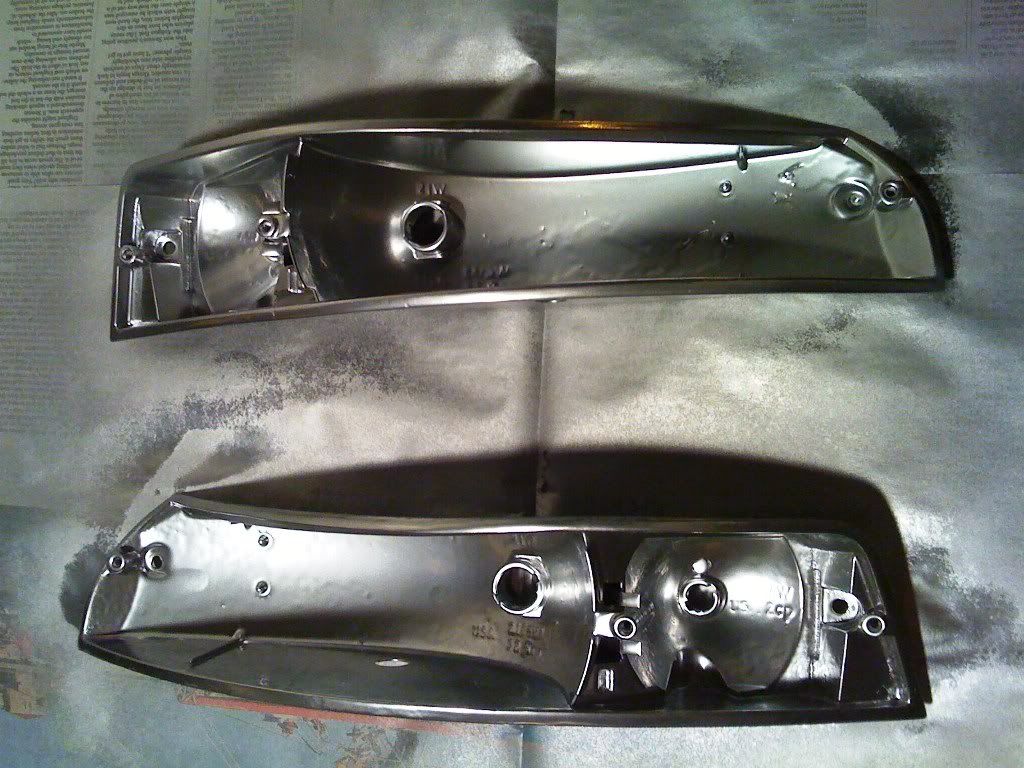 I simply washed and then rubbed clean with some wet 'n' dry to get rid of dirt and glue residue, helped along by the fine wire brush on the electric drill.  I primed the insides, and then used Plasti-Kote paint with a chrome finish to it - either way, they will put on a brighter light than before. 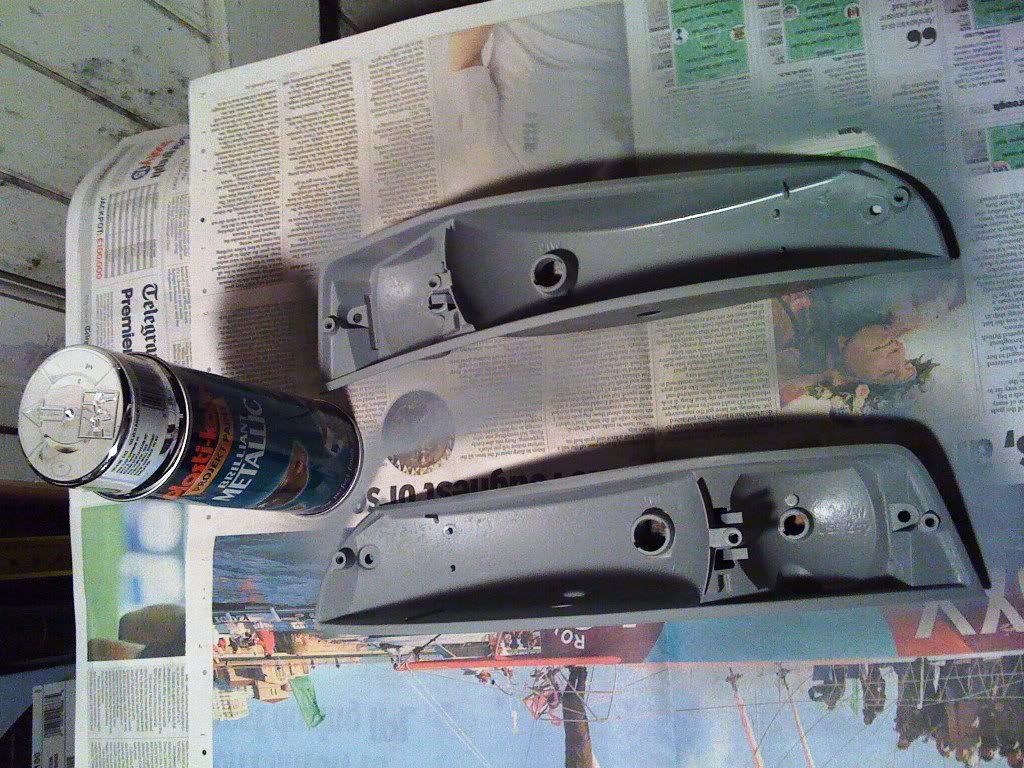 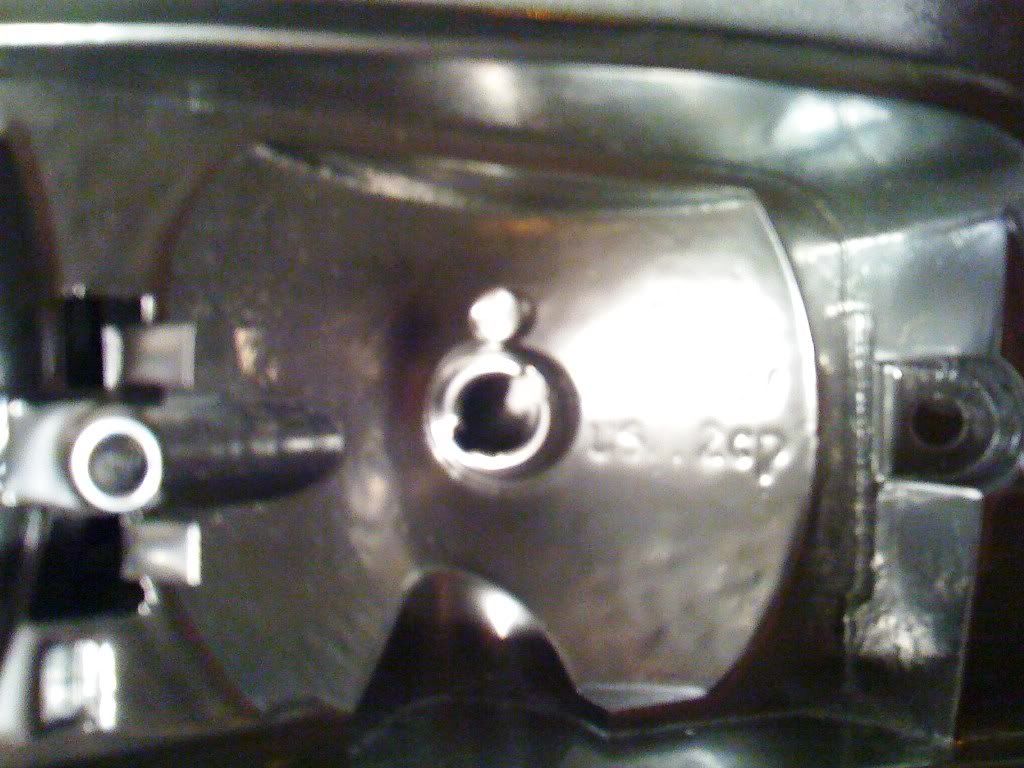 All I now need are new rubber gaskets and some LED bulbs (Orange). Ian
__________________
Ian Highfield 1992 964 C2 Manual with RS Suspension etc. 1973 911T Narrow body Hot Rod with 2.7 Carrera engine and loads of period modsl - SOLD 1986 Carrera Coupe Sport with Stainless Silencer and SW Chip (256 fwbhp) - SOLD |
||
|
02-21-2009, 11:26 AM
|
|
|
Registered

Join Date: Jul 2005
Location: Oakland, CA
Posts: 264
|
Looks like your 73911T was the twin of mine....sepia brown. But yours got painted over....like all the other sepia brown cars ;-)
__________________
SBWDP-FTP Gruppe P 1973 911 Sepia Brown! 1997 993 C4S (wife's car) |
||
|
02-21-2009, 11:54 AM
|
|
|
Registered
Join Date: Dec 2005
Posts: 3,384
|
Don't forget that Windex makes rubber slippery to fit it properly and then evaporates. I always Windex rubber parts that require finesse to fit.
|
||
|
02-21-2009, 01:26 PM
|
|
|
AutoBahned
|
Did you have any problems with replacing that foam ring on the inside of the trunk sheet metal?
I bought a new one for my '73 but it doesn't fit back where the old one is. I'm thinking the body shop may not have put the filler neck in at the same position. 
|
||
|
02-21-2009, 02:02 PM
|
|
|
Registered
Join Date: Nov 2003
Location: United Kingdom
Posts: 524
|
where do I get Windex?
I haven't refitted the foam yet but doesn't sound fun, nor the rubber pipe section Ian |
||
|
02-21-2009, 02:43 PM
|
|
|
AutoBahned
|
Windex is a brand name window cleaner in the US
it has vinegar, a detergent, maybe some ammonia you can just use a soap or detergent solution |
||
|
02-21-2009, 03:04 PM
|
|
|
Registered
Join Date: Nov 2003
Location: United Kingdom
Posts: 524
|
Painting and Rust Care
Having removed the bumper and indicator (turn) units, I set about removing a little flaky surface rust and paint.
 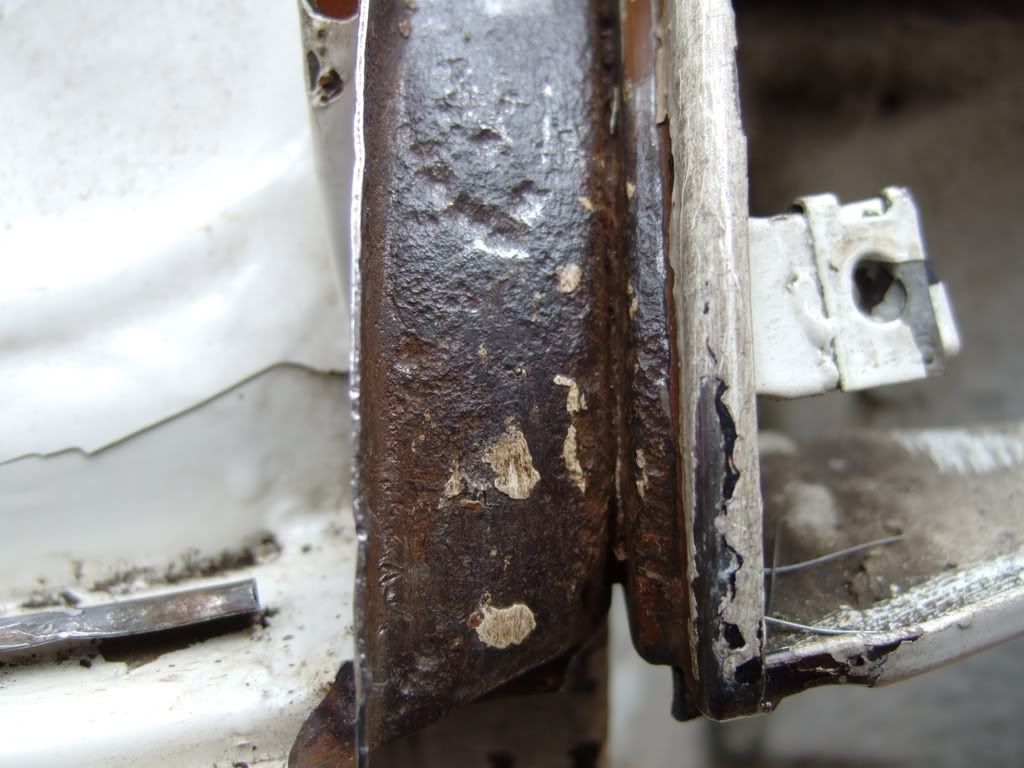 The wire brush was pressed in to action, and varous other scrapers to give me a surface to work with. I hadn't got any white POR15 so bought some Hammerite Smooth from Halfords - just as good in these none exposed areas. 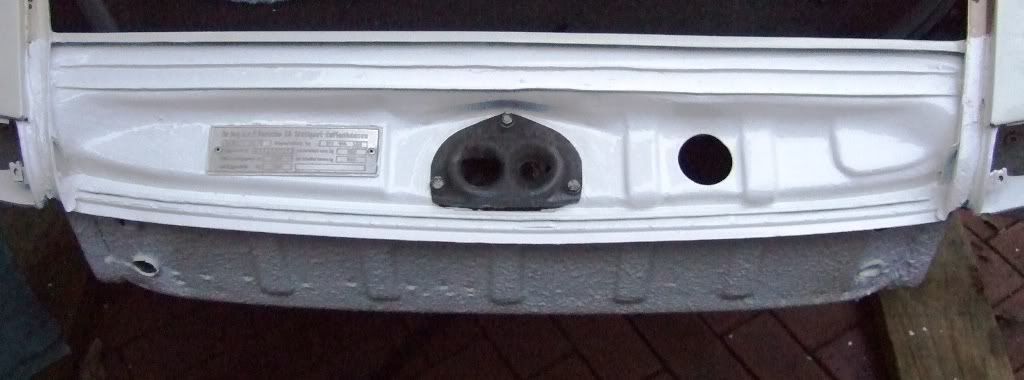 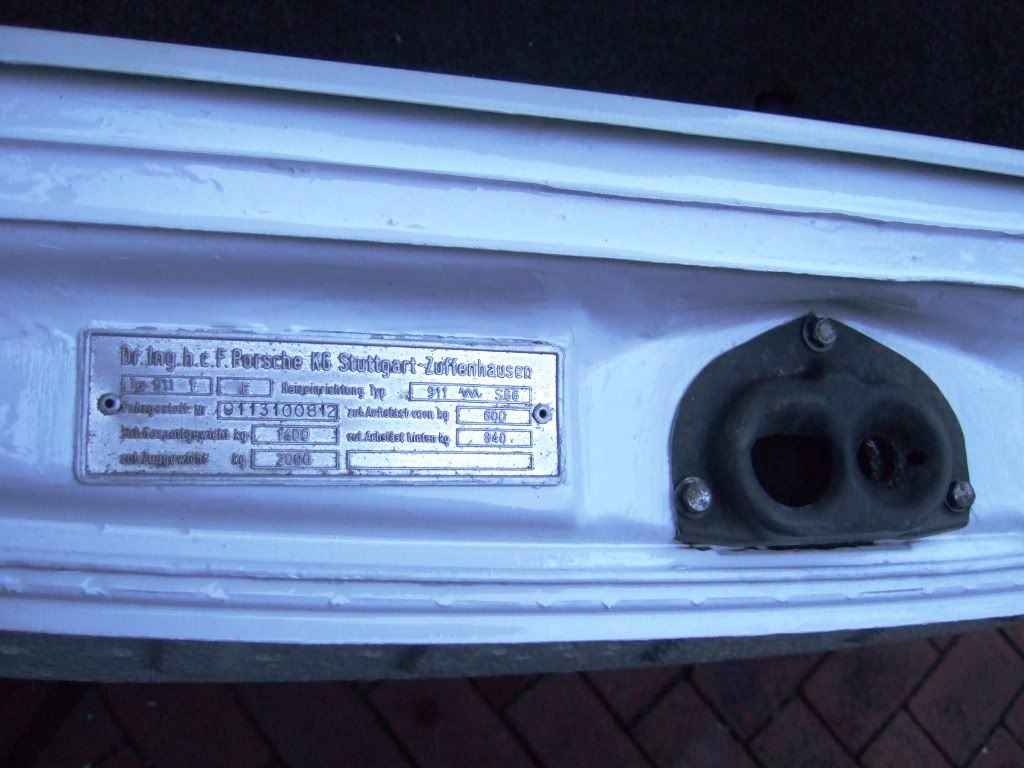 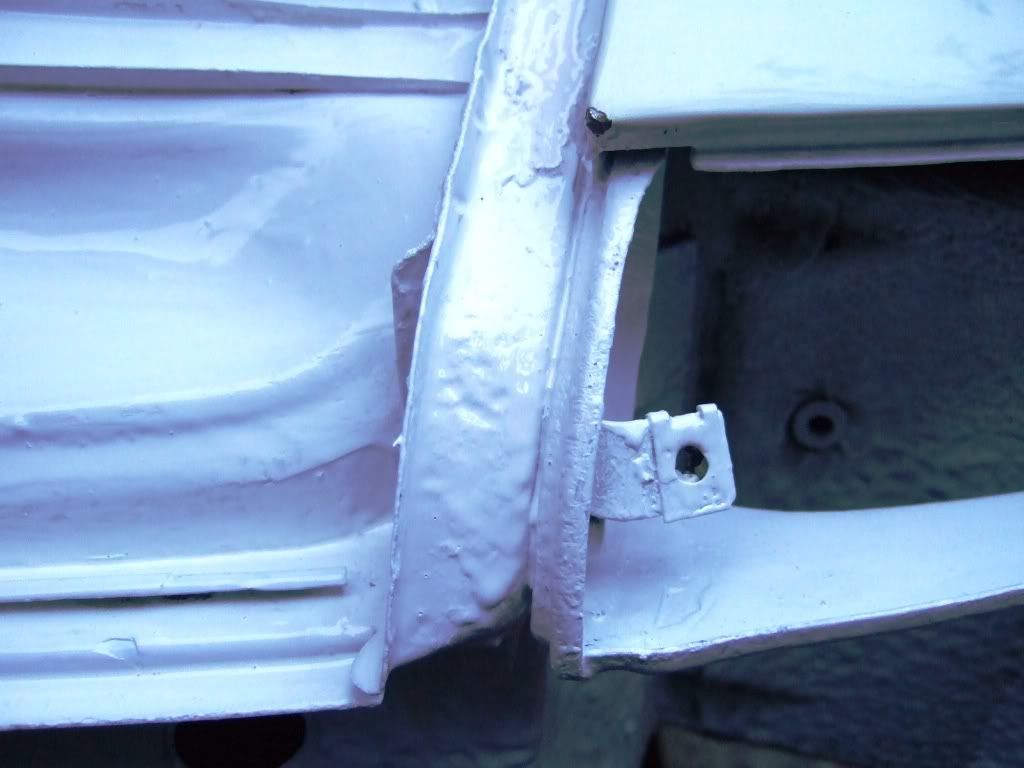 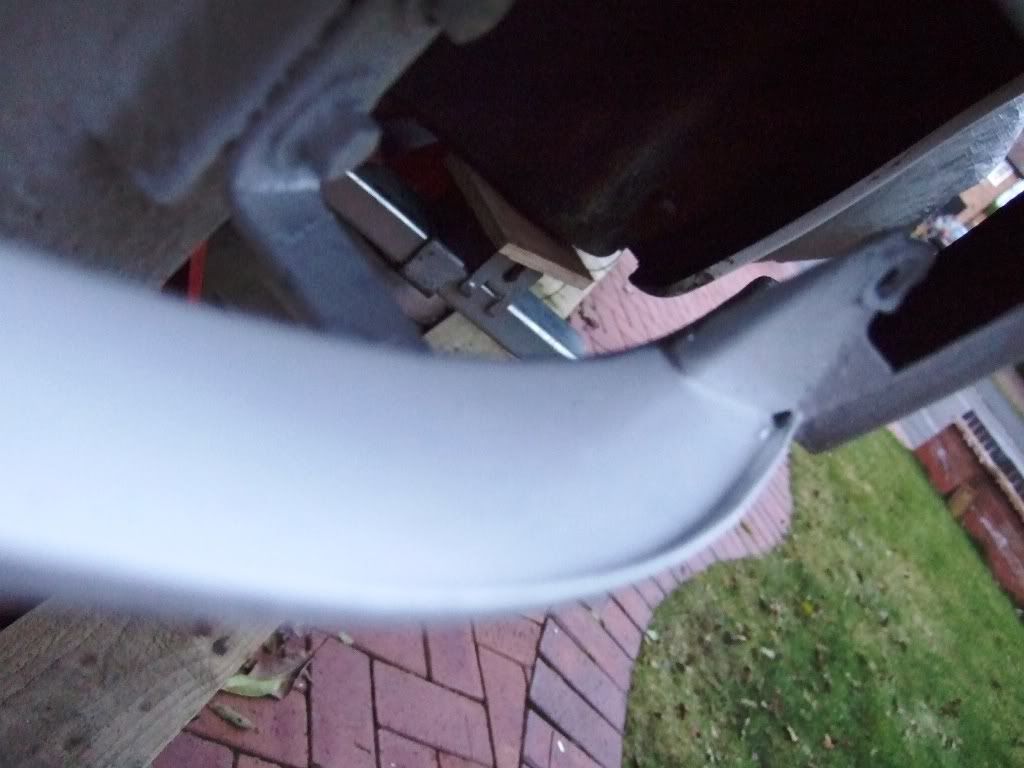 I used up a little on the battery box to see what a white under wing would look like - I like it, so now undecided if to go for black Tectyl or White Stone Chip or Paint. 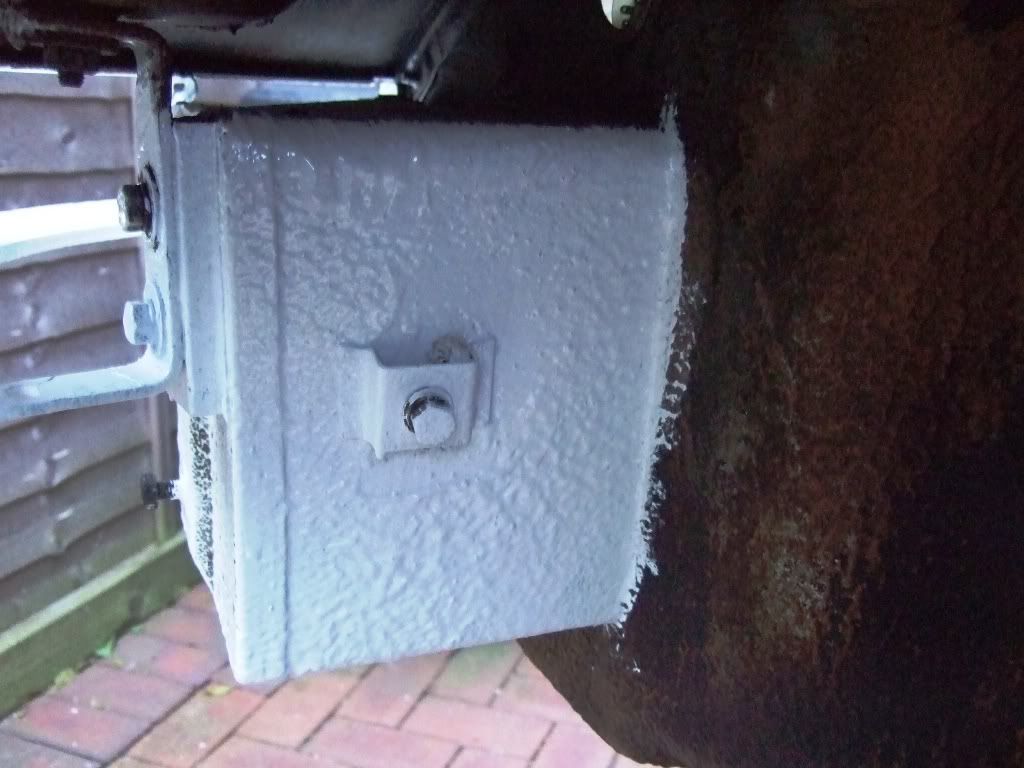 More to come..... Ian
__________________
Ian Highfield 1992 964 C2 Manual with RS Suspension etc. 1973 911T Narrow body Hot Rod with 2.7 Carrera engine and loads of period modsl - SOLD 1986 Carrera Coupe Sport with Stainless Silencer and SW Chip (256 fwbhp) - SOLD |
||
|
02-22-2009, 10:23 AM
|
|


