|
|
|
|
|
| Author |
|
|
Registered

Join Date: Feb 2006
Location: Ontario Canada
Posts: 2,947
|
Quote:
 im coming over with my camera for sure ... i say just dump the clutch and go for it.
__________________
1976 Yamaha XS360 ( Beats Walkin') 1978 911 SC Targa ( Yamaha Support Vehicle ) 2006 Audi A4 2.0T (Porsche Support Vehicle ) 2014 Audi A4 2.0T Technik (Audi Support Vehicle) |
||
 02-25-2015, 09:51 AM
|
|
|
Counterclockwise?
|
^^^^ i was thinking the same thing.
Please don't use your car! A few of us can come over and help.
__________________
Rod 1986 Carrera 2001 996TT A bunch of stuff with spark plugs |
||
|
02-25-2015, 09:59 AM
|
|
|
83 911 Production Cab #10
|
Quote:

__________________
Who Will Live... Will See  83 911 Production Cab #10, Slightly Modified: Unslanted, 3.2, PMO EFI, TECgt, CE 911 CAM Sync / Pulley / Wires, SSI, Dansk Sport 2/2, 17" Euromeister, CKO GT3 Seats, Going SOK Super Charger |
||
|
02-25-2015, 04:47 PM
|
|
|
Retired Member

Join Date: Sep 2005
Location: Guelph Ontario
Posts: 2,522
|
Quote:
__________________
80 911 SC sold 17 Tahoe 07 Z06 Corvette 
|
||
|
02-25-2015, 05:17 PM
|
|
|
Registered
Join Date: Nov 2009
Location: London, Ontario
Posts: 278
|
Get a good 4wd pickup with a logging chain. Hook the chain to the engine, leave LOTS of slack and hit the gas. One man job.
(I've never actually tried this, but in theory it should work. This IS the internet, right?) Last edited by Quinlan; 02-26-2015 at 07:38 AM.. |
||
|
02-26-2015, 07:36 AM
|
|
|
Registered
|
After a week out of town for work, finally made some progress! Last night the goal was to remove the fan/shroud, clutch assembly, and get it ready for the engine stand where I will work on removing the heat exchangers and cleaning it up.
Easy stuff first, got the shroud and fan removed. As you can see, it's becoming apparent I have a lot of leaky seals! Triangle of death, left chain cover, hydraulic tensioner lines, front main seal, breather cover.... these will all get replaced. 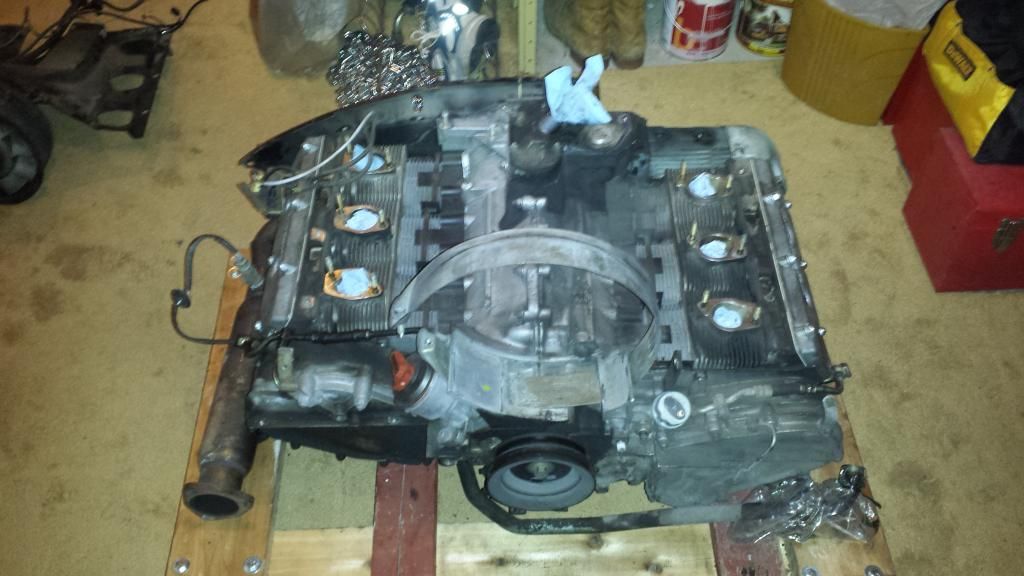 Should I be worried about these (what look like) hairline fractures in the case? Is this normal? Why does it look like this? 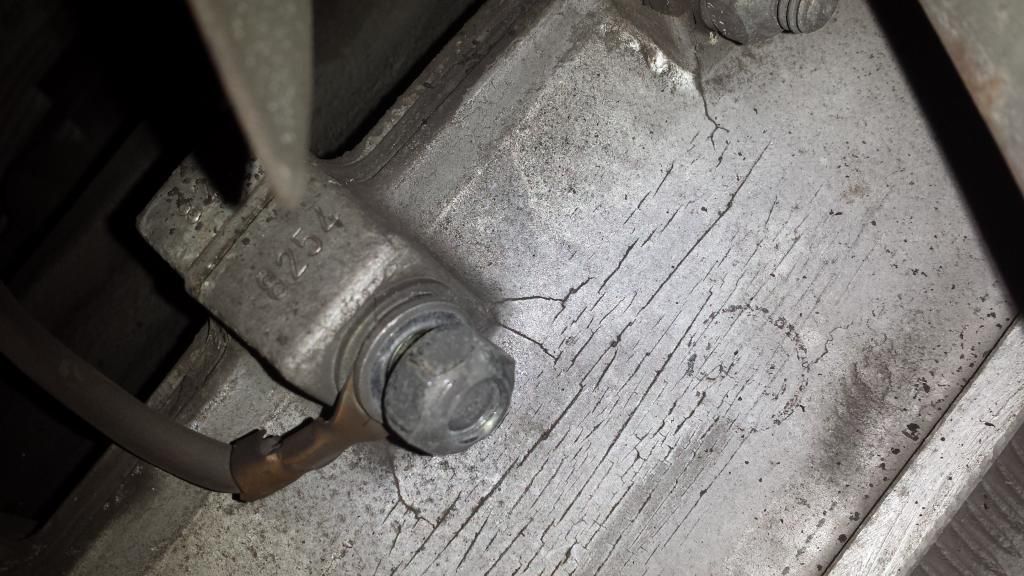 Brew choice for the evening (very important): 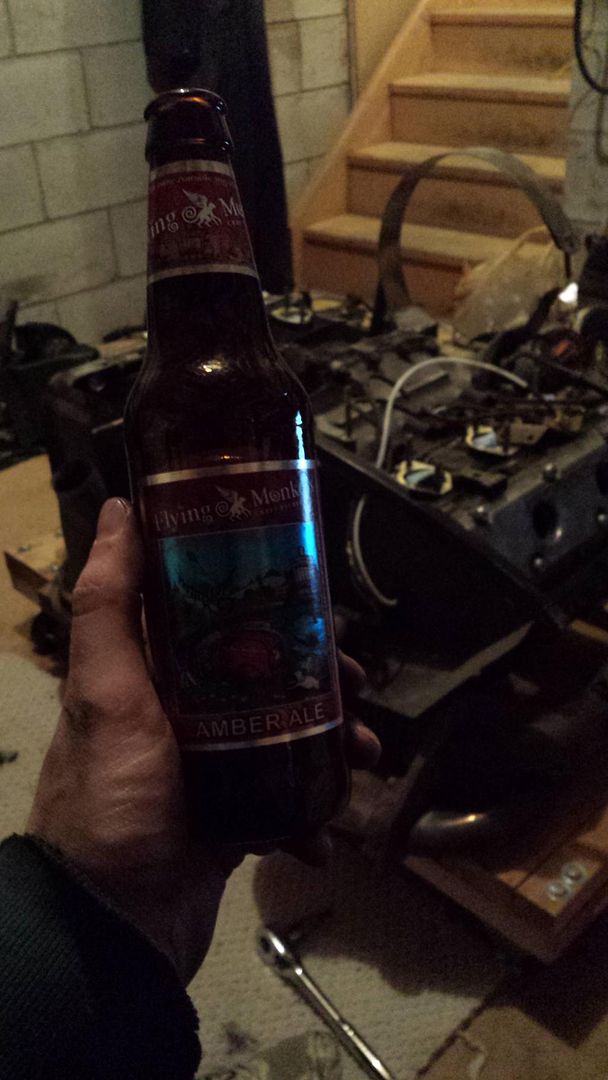 Clutch removed, here's the flywheel surface: 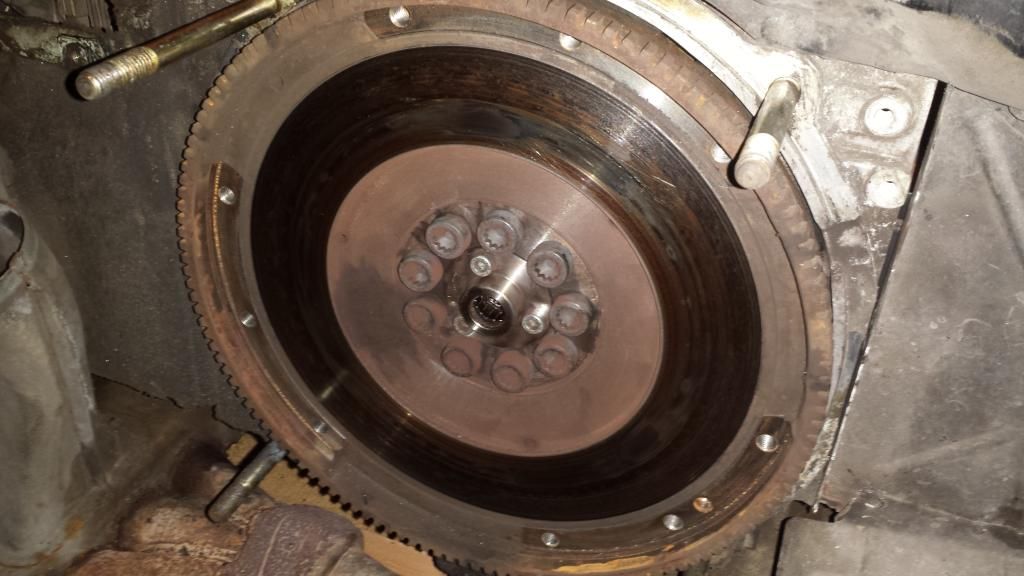 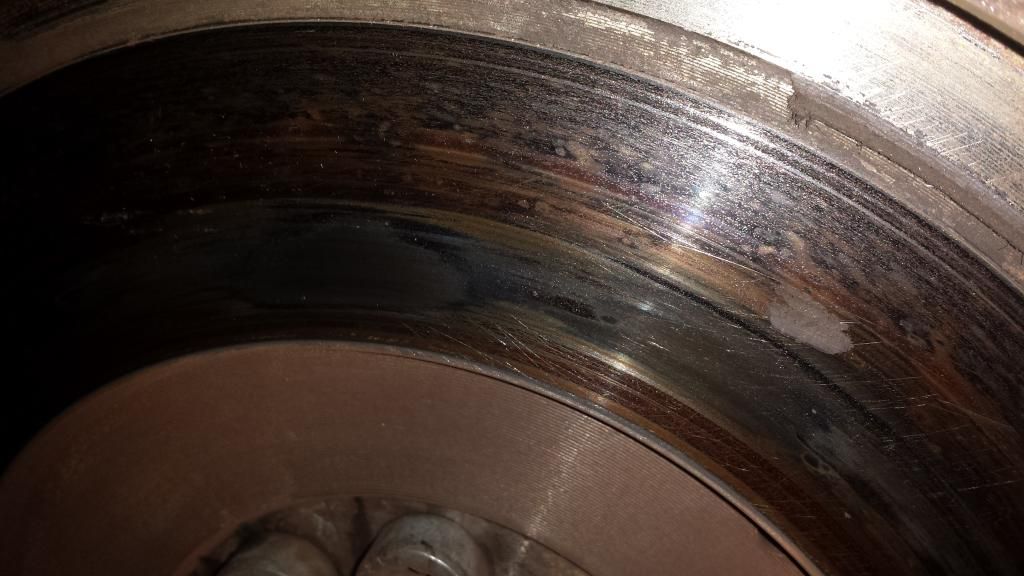 Pressure plate looks pretty burnt: 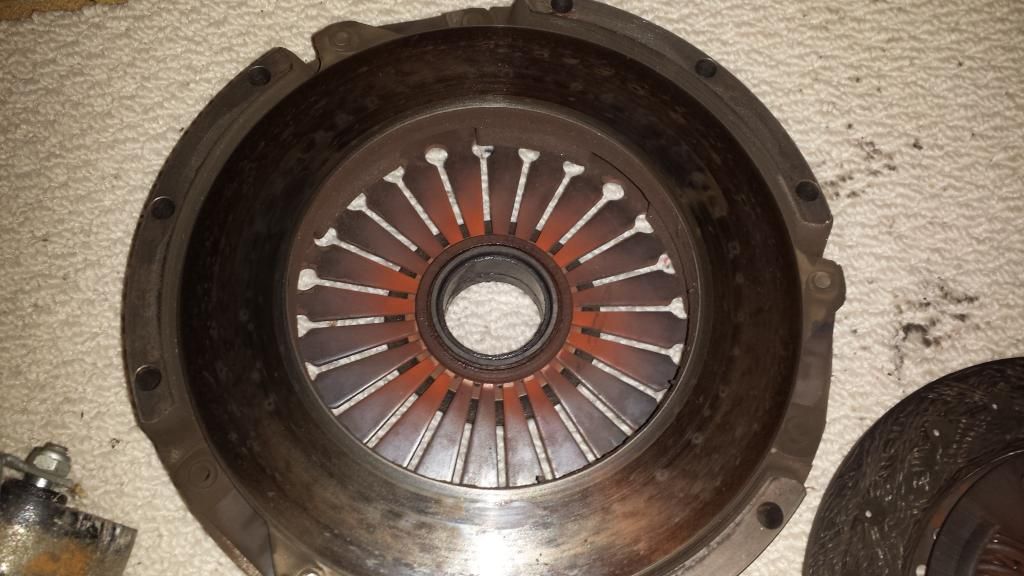 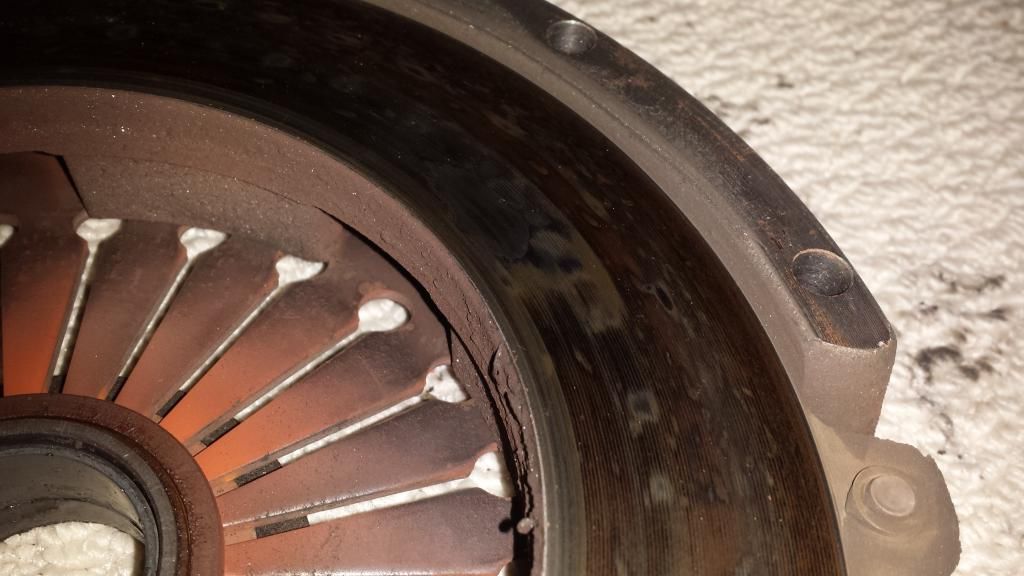 Clutch disc still has life left... it will get replaced anyway along with the new Patrick Motorsports/KEP stage 1 clutch kit and lightweight flywheel! 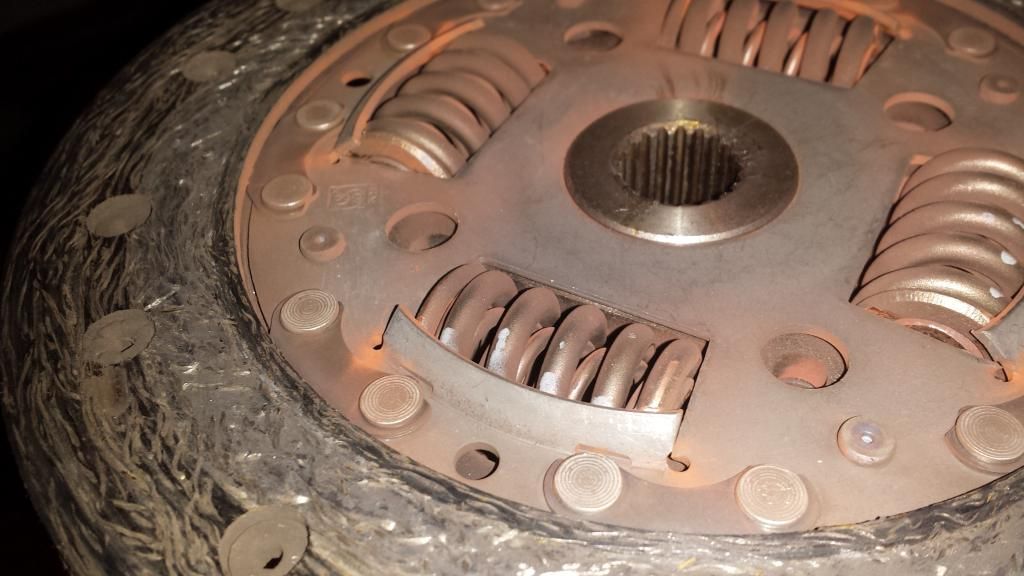 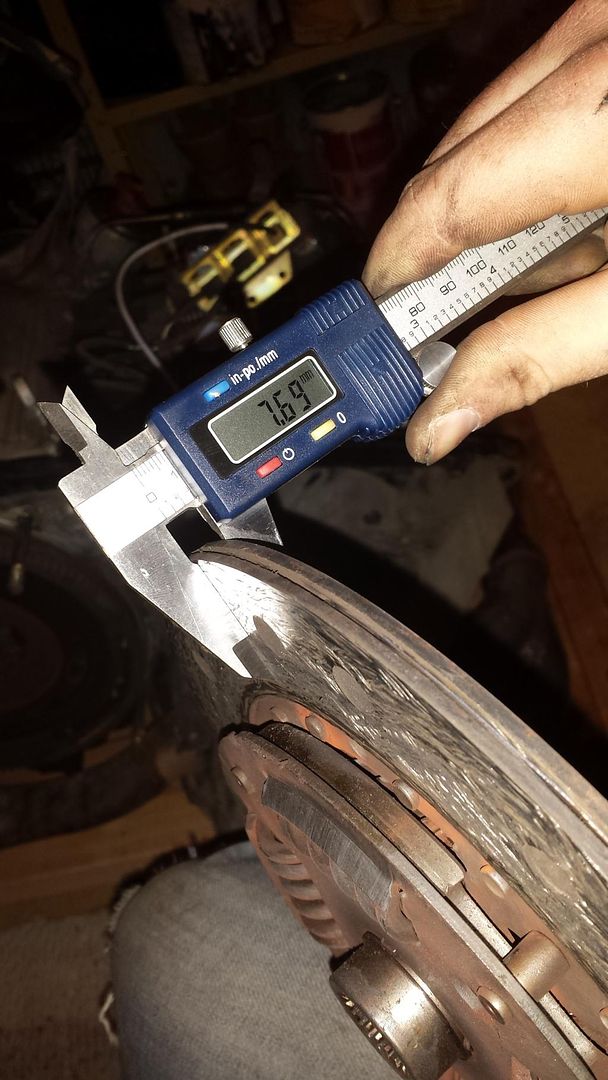
__________________
Jonathan '86 911 Coupe |
||
|
03-07-2015, 05:53 AM
|
|

|
|
Registered
|
At this point, I figure I'll attach the stand yoke and call it a night... but it turns out the yoke doesn't like to go on while the heat exchanger crossover pipe is still in place! Better grab another beer...
Pre-muffler came off easily, it was only installed 2 summers ago: 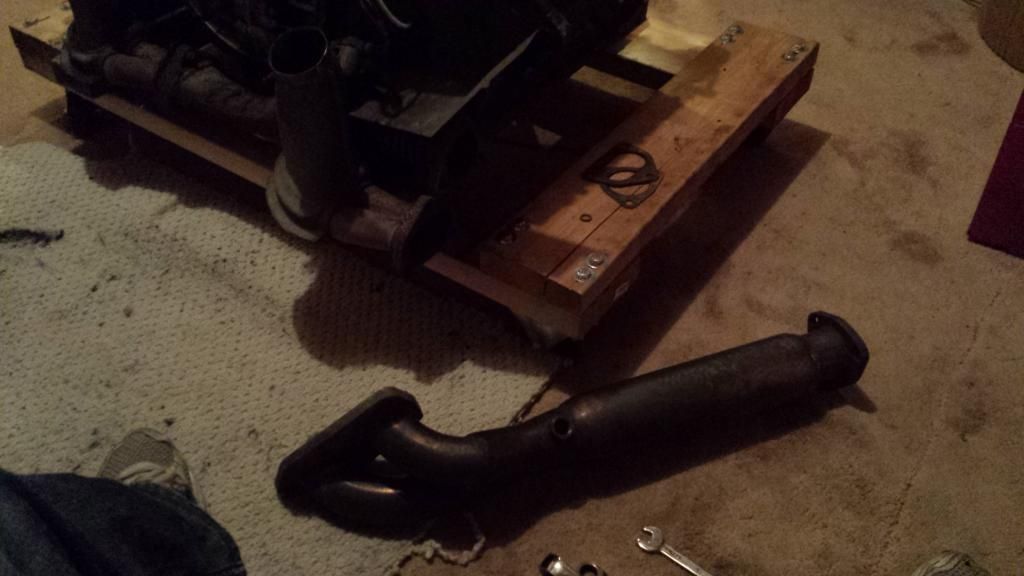 The crossover pipe wasn't so happy. Ended up breaking 2 of the 3 bolts (not that it matters, except that it gives me a bit of a prequel as to what the heat exchangers will be like, where I really don't want anything breaking!). Given that I didn't use any heat or any penetrating oil, I'm not really surprised. In the end, got the crossover pipe removed (it's still in great shape) and the yoke installed! 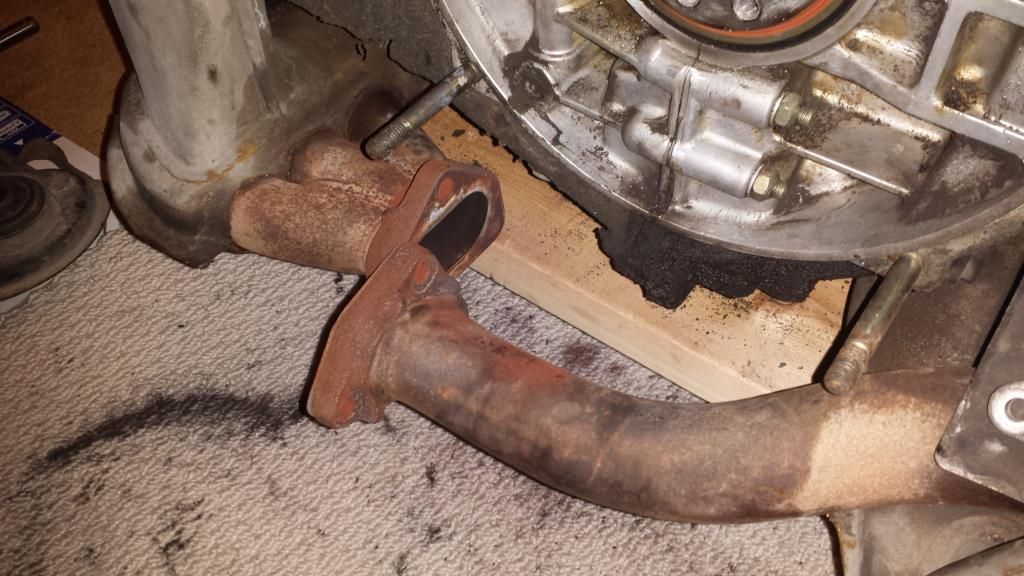 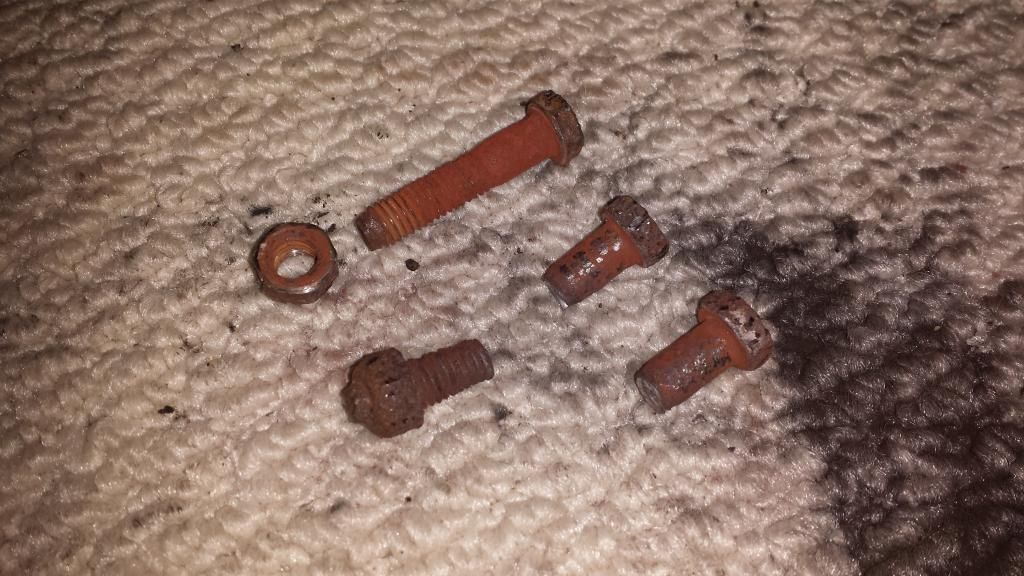  Today will be cleaning while I wait for a friend to come help put the engine on the stand. Rolstin, I'll be coming by sometime in the next week or so to use your parts washer!
__________________
Jonathan '86 911 Coupe |
||
|
03-07-2015, 05:55 AM
|
|
|
Registered
|
Quote:
Quote:
Quote:
Quote:
Quote:

__________________
Jonathan '86 911 Coupe |
|||||
|
03-07-2015, 06:00 AM
|
|
|
Registered
|
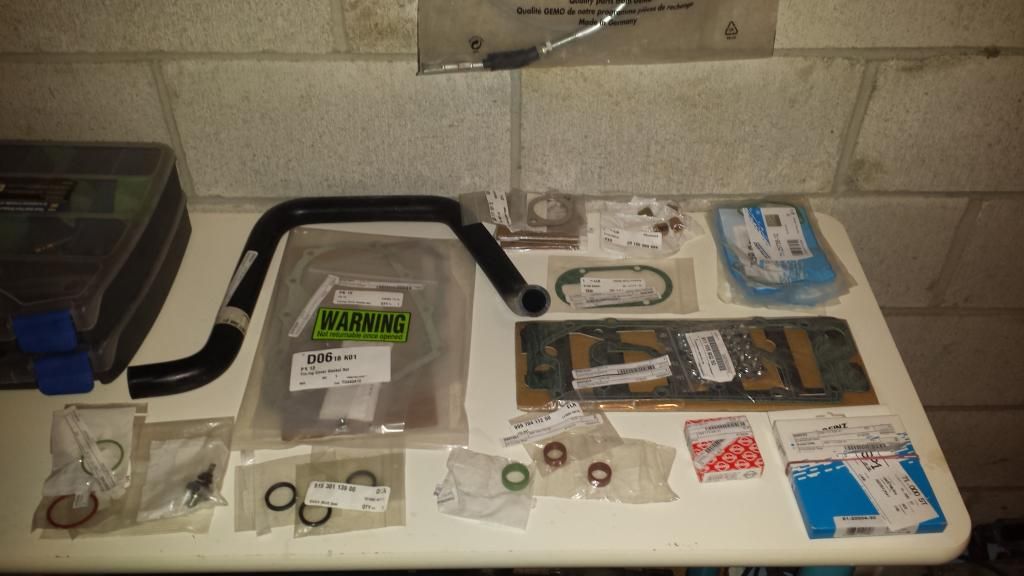
Got some parts in, thanks Jonathon Rolstin & Response Engineering!
 What's the consensus on this crack in the alternator housing? It's only the one blade, at the top. Doesn't flex or budge... can I just JB Weld this up? 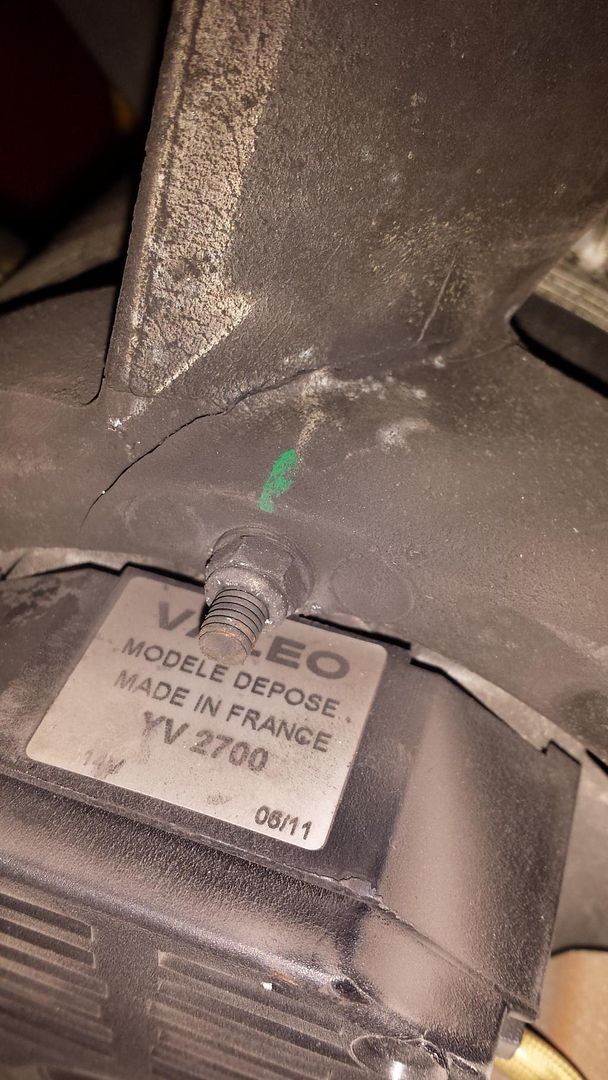  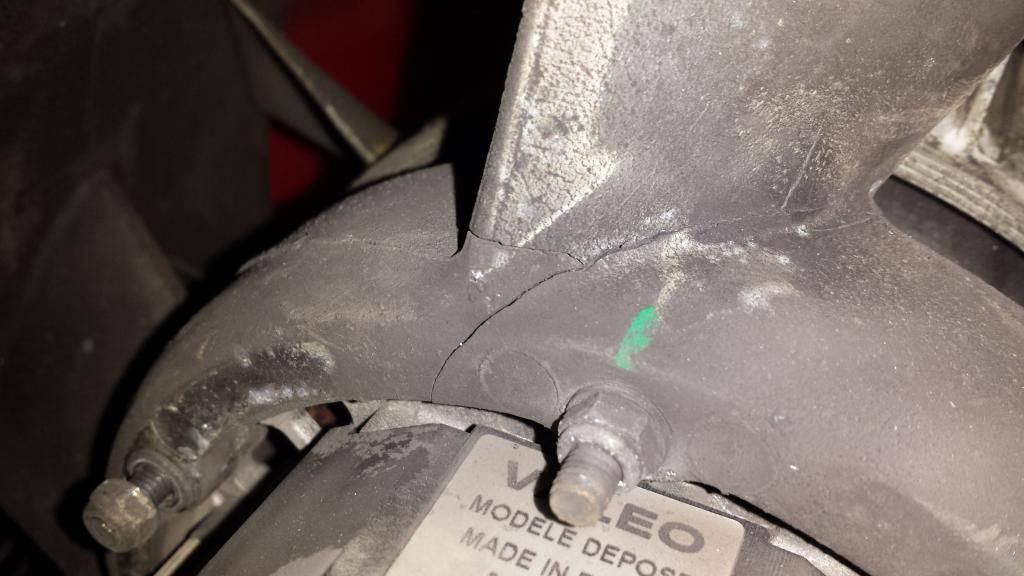
__________________
Jonathan '86 911 Coupe |
||
|
03-07-2015, 09:41 AM
|
|
|
Registered
Join Date: Mar 2013
Posts: 62
|
My fan housing had some cracks very similar to yours. I replaced it with an aftermarket aluminum one sold by our host (EPS). The install went very smoothly. I only had to use a slightly longer bolt to secure the housing strap.
|
||
|
03-07-2015, 04:01 PM
|
|
|
Registered
|
Thanks Mark! I looked at the aluminum version from our host - will likely go with that route!
__________________
Jonathan '86 911 Coupe |
||
|
03-07-2015, 04:58 PM
|
|
|
Registered
|
I agree, just get a new one. I can tell like many of us on this board, this is just one of those things that will come up along the way that you just give in and add it to your project list of stuff you never in your wildest guess would have thought you would ever need, but now you do.
Best of luck in your project.
__________________
Mike '89 CARRERA #402 |
||
|
03-08-2015, 12:41 AM
|
|

|
|
Retired Member
Join Date: Sep 2005
Location: Guelph Ontario
Posts: 2,522
|
I have a spare one from my SC ( not sur if it's the same). I forget what shape it's in. I'm in Mimico, or Yarko probably has one.
__________________
80 911 SC sold 17 Tahoe 07 Z06 Corvette
|
||
|
03-08-2015, 12:58 PM
|
|
|
Registered
|
Brian - much appreciated! I ended up ordering one... got excited about shiny new parts and didn't even think to look around locally! Yarko has been a huge help already on this project.
__________________
Jonathan '86 911 Coupe |
||
|
03-08-2015, 04:44 PM
|
|
|
Registered
Join Date: Feb 2006
Location: Ontario Canada
Posts: 2,947
|
at least now you can have an awesome clock to hang on the wall
__________________
1976 Yamaha XS360 ( Beats Walkin') 1978 911 SC Targa ( Yamaha Support Vehicle ) 2006 Audi A4 2.0T (Porsche Support Vehicle ) 2014 Audi A4 2.0T Technik (Audi Support Vehicle) |
||
|
03-09-2015, 11:07 AM
|
|
|
Brap
|
Sub'd
__________________
1980 911SC Coupe 3.4 1995 Miata 2005 Tacoma 2009 Street Triple |
||
|
03-13-2015, 05:16 PM
|
|
|
Registered
|
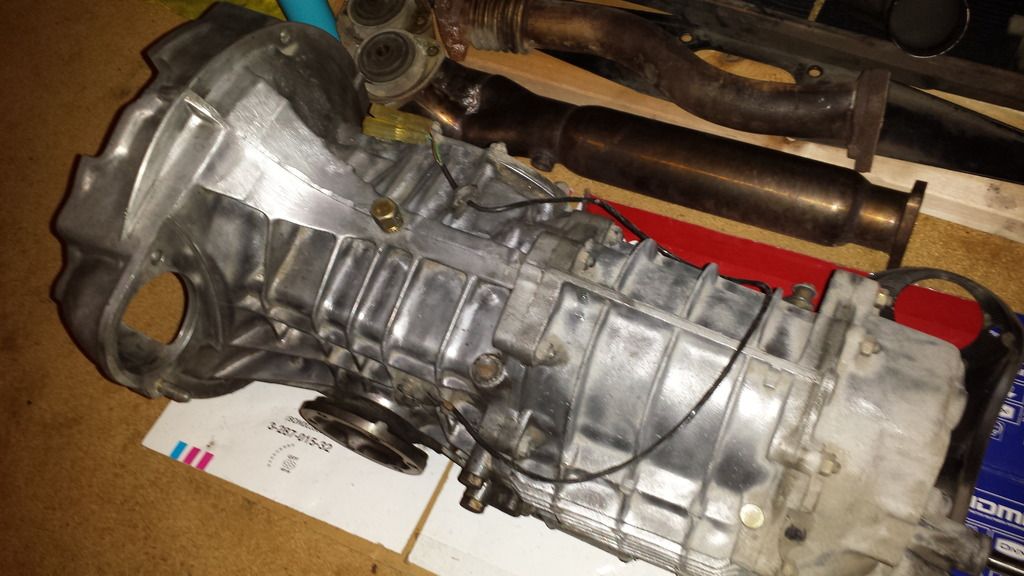
Finally found some time to get some more work done! Started off with some heavy cleaning of the transmission. The problem with me and cleaning is that I don't know when to stop! I get one section all nice and shiny, and then I decide the previous section could get better, and around I go in circles until I finally decide I've spent too much time on it and need to "draw the line" (theme of the project?!). Anyway, I'm happy with how it looks considering it will be hidden, just need to clean up a couple of the corners and crevices, will have to take it out of the basement and give it the brake cleaner treatment for those hard to get spaces, which I didn't want to do inside the house.
 My friend Chris came over Friday night and helped me lift the engine onto the stand. Finally in the air! We tackled the exhaust right away, and the first barrel nut we tackled spun off fairly easily and clean! Of course, that meant we got cocky and subsequently spun the 2nd stud out with the nut, and broke stud number 3. So we got out the MAP gas and applied heat. All in all, we could have been more patient, ended up with 2 broken studs overall. Not too bad, they broke with lots of stud protruding so it shouldn't be a nightmare removing them with the proper tools. Interestingly, both broken studs were on the outside studs of the rearmost cylinders (1 and 4). Furthermore, 2 studs pulled out with the nuts and both of these were on the middle cylinders, inner studs! Coincidence? I think not, must be something with the way these cylinders see heat compared to cylinders 3 and 6? 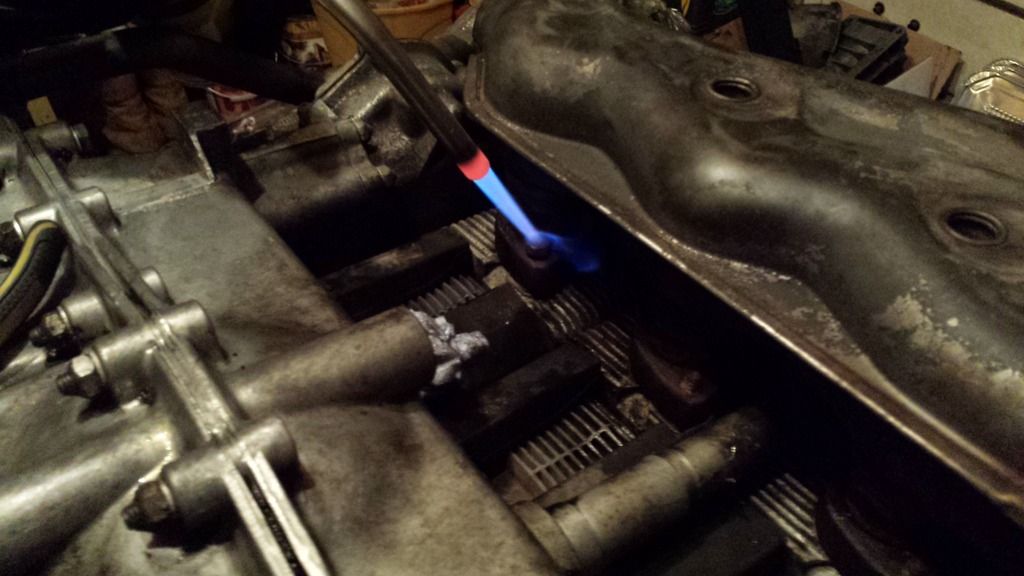 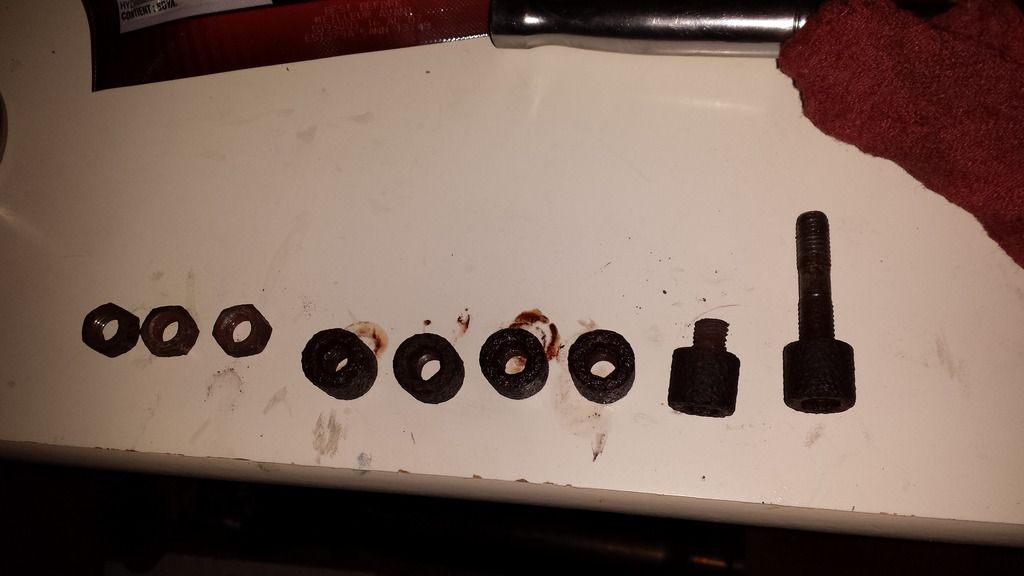 Other than a bit of grime which I'll clean off easily, the heat exchangers are in excellent shape. They will be available for sale along with the rest of the exhaust system, PM me if interested! 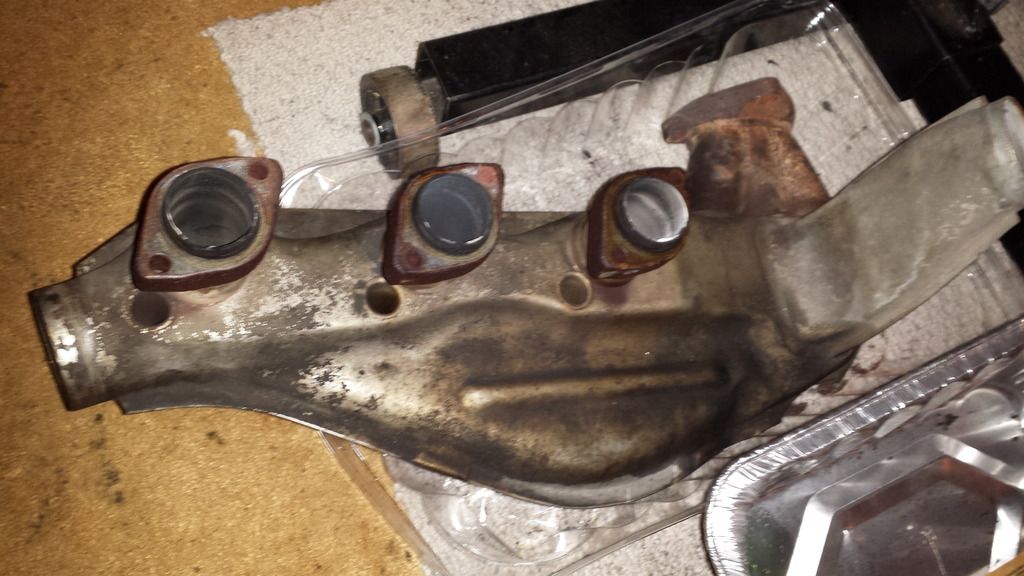 Tools used were the Porsche tool for barrel nut removal (thank-you Jonathon Rolstin) and a box-end wrench I found at the local parts store, which worked perfectly for this! 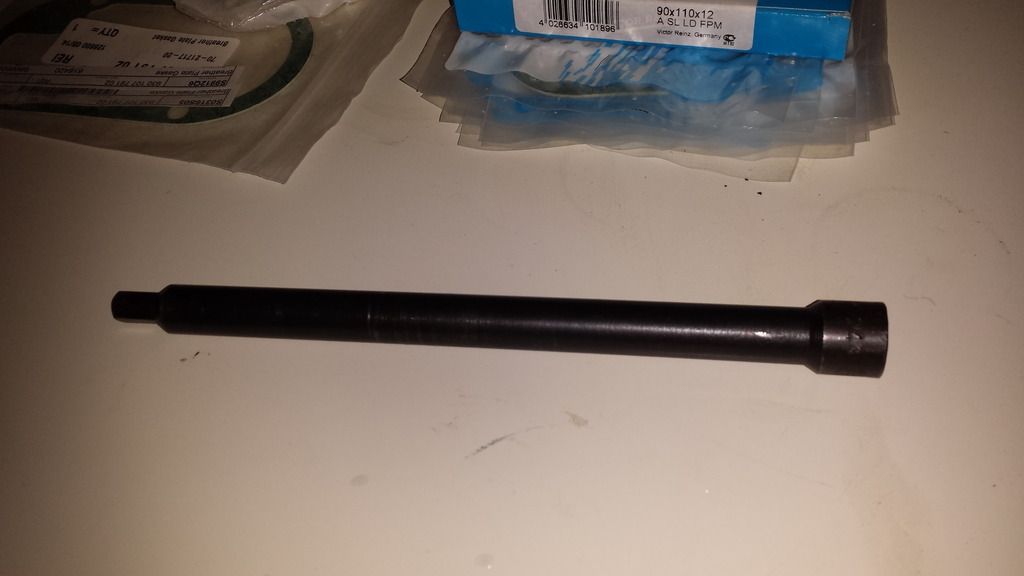 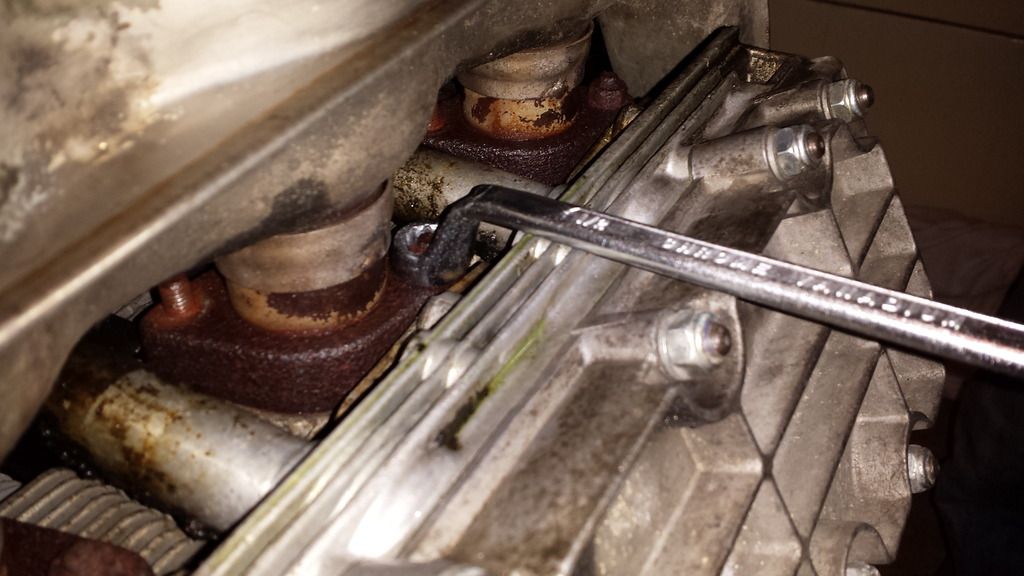 Ok, so exhausts removed means we deserve a beer, German beer seemed appropriate. 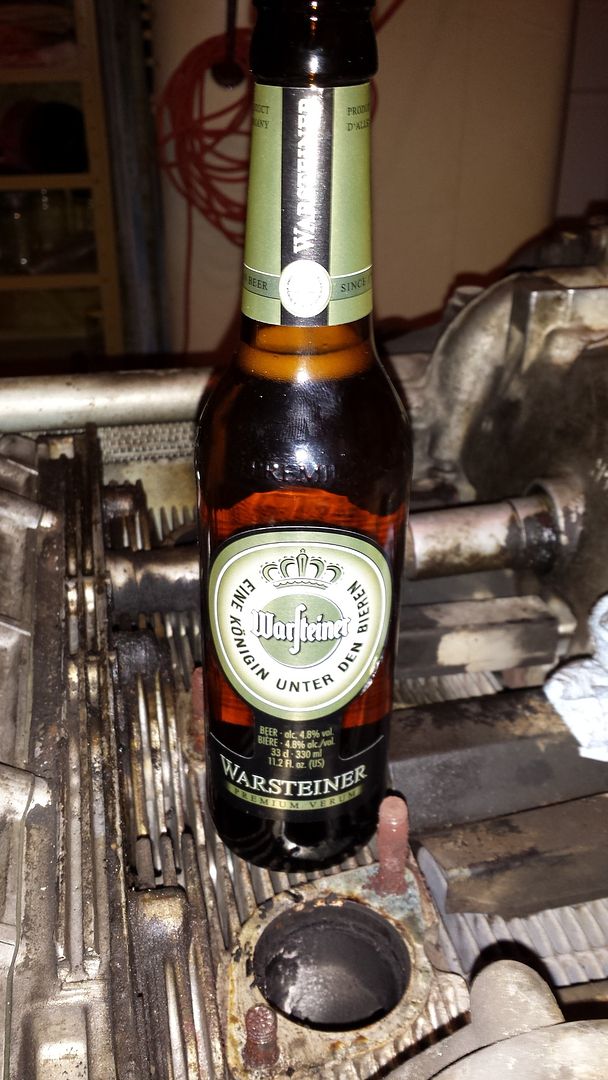 The oil return tubes came out easily, as they were the collapsible type. Pretty grimy! 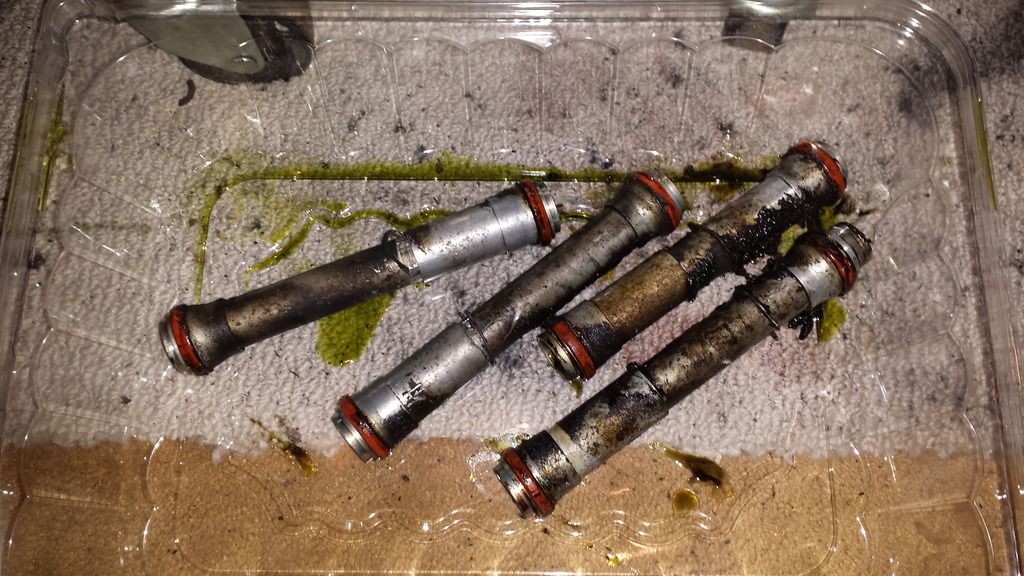 Next we taclked the oil cooler. Was fairly grimy. One thing I'm enjoying about this entire process is taking it piece by piece and learning about each component individually, gaining an appreciation for how all the various parts of the engine interact and contribute to making this incredible machine perform the way it does! 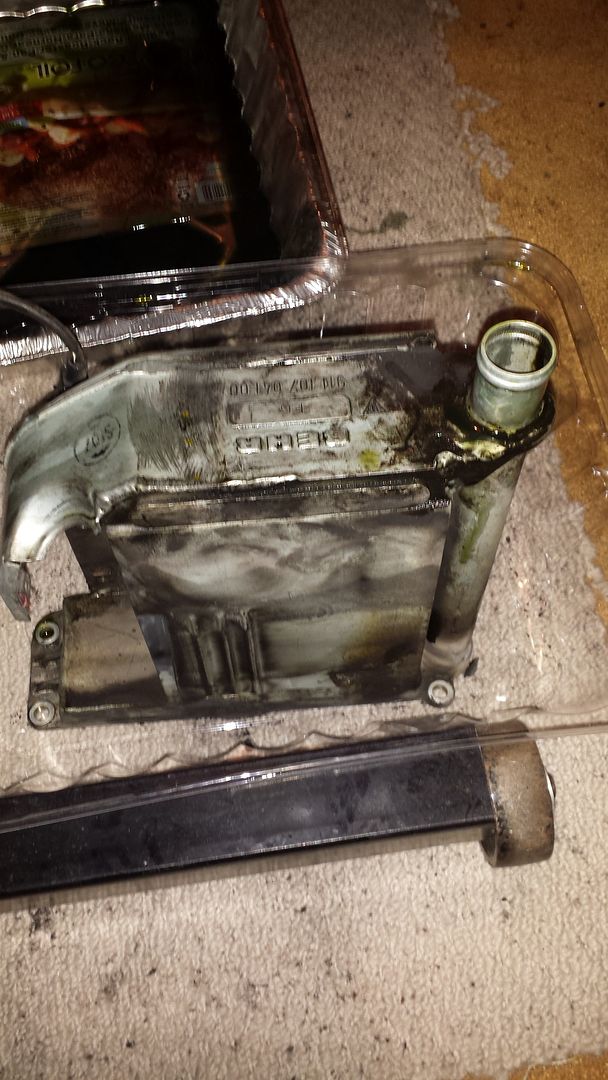 Cleaned up, took a razor blade to the mating surfaces to get rid of burnt oil and gunk that had attached itself to the metal, careful not to mar the surface or edges. Lubed up the new seals with oil and installed the cleaned out oil cooler. Finally, decided to do a valve adjustment and clean up the valve covers. I've done a few valve adjustments with the engine in the car, and WOW, what a difference when it is on the stand! Took half the time. All buttoned up: 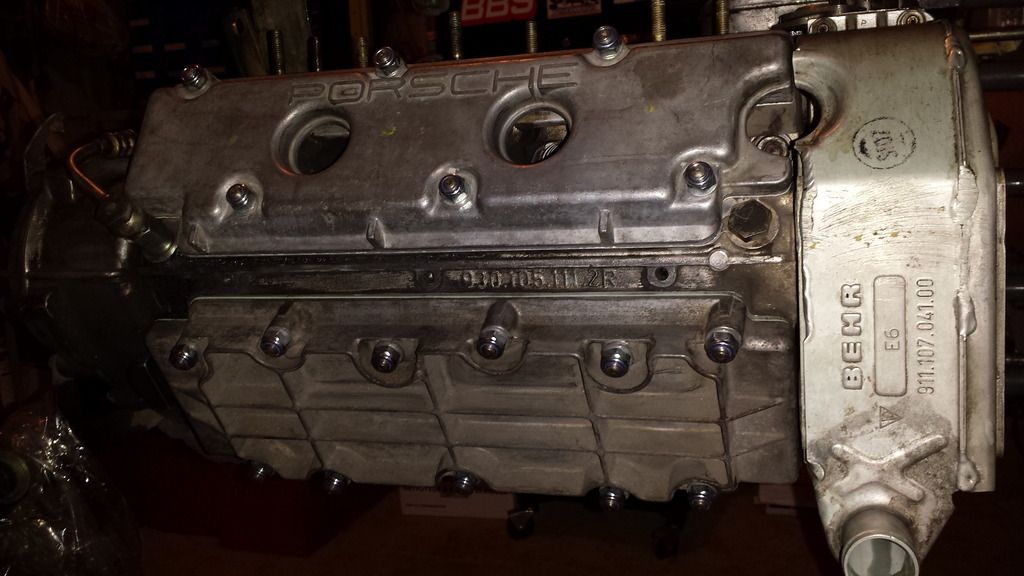
__________________
Jonathan '86 911 Coupe |
||
|
03-16-2015, 05:20 PM
|
|
|
Under the radar
Join Date: May 2007
Location: Fortuna, CA. On the Lost Coast near the Emerald Triangle
Posts: 7,129
|
And no broken head studs? That's like winning the lotto.

__________________
Gordon ___________________________________ '71 911 Coupe 3,0L outlawed #56 PCA Redwood Region, GGR, NASA, Speed SF Trackrash's Garage :: My Garage |
||
|
03-16-2015, 05:52 PM
|
|
|
Registered
Join Date: Feb 2006
Location: Ontario Canada
Posts: 2,947
|
Did you check to see.If you had any leaking rocker shafts while you were in there. ?
This is about one nights work to take the shafts out and install the rsr seals. Big potential for oil leakage. Jr should have some, they are dirt cheap.
__________________
1976 Yamaha XS360 ( Beats Walkin') 1978 911 SC Targa ( Yamaha Support Vehicle ) 2006 Audi A4 2.0T (Porsche Support Vehicle ) 2014 Audi A4 2.0T Technik (Audi Support Vehicle) |
||
|
03-16-2015, 06:17 PM
|
|
|
Registered
|
Well, my apologies for not keeping this up to date, I did so over on Rennlist and found one forum was enough to keep me busy!
Here's the link for anyone interested, including drilling out 8 exhaust studs! Engine should be back in tomorrow just in time to drive to Hershey on Friday with the Canuck crew! porsche0nut's 3.2 Carrera Engine Project - Page 4 - Rennlist Discussion Forums
__________________
Jonathan '86 911 Coupe |
||
|
04-14-2015, 02:23 PM
|
|


 Das Babe
 Das Babe Metalberiech
 1986 Porsche Carrera
 1989 Porsche 911 CARRERA 3.2L
 My Garage
 1971 Porsche 911
 Baja Bug
