 |
 |
 |
 |

|

|
|
|
|
|
|
Registered
|
Oil combo gauge repair
My 71T with 3.0L is on the road and I'm sorting details. One of them is that the Oil Pressure gauge is pinned at the top. The other is that the Oil Temp gauge reads too low. This is a gauge from 9/69 with Celsius 50-150 on the temp side and Druck 0-10 on the pressure side.
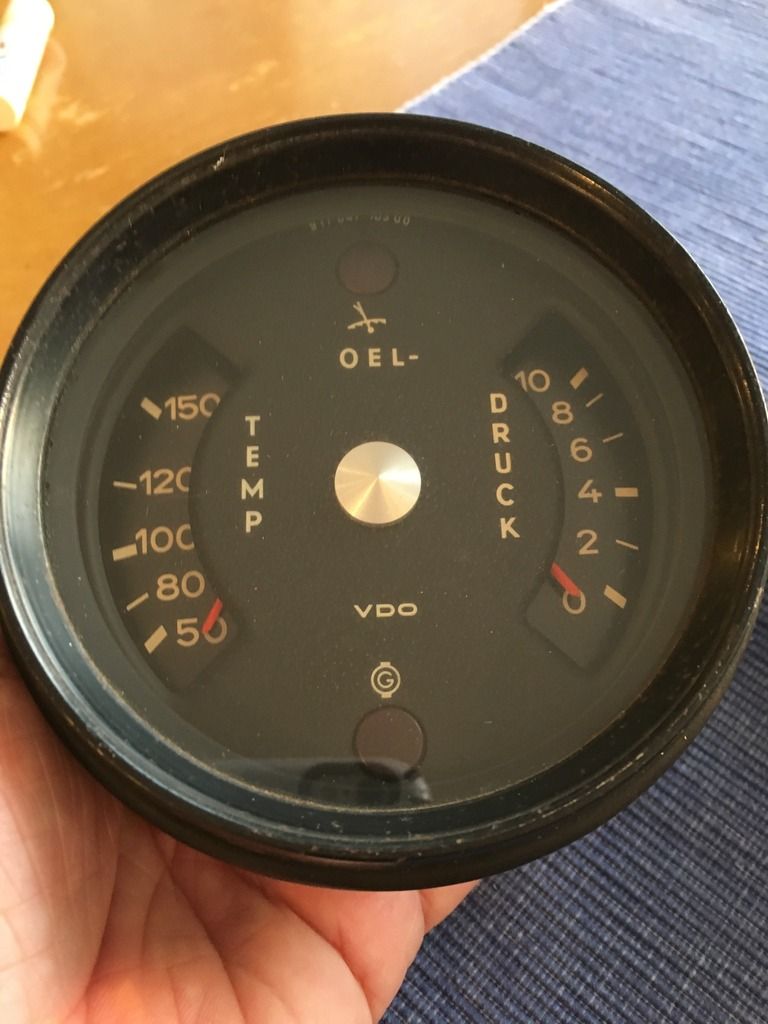 The oil temp fix is a simple one, I need an early oil temp sensor 901-641-632-00-M100. My 3.0L has the later sensor. If anyone has a working used one for sale, PM me. The oil pressure fix is a little more complicated. After a little testing I determined that the male spade marked 'G' that accepts the wire from the sending unit is loose and it's grounding on the case. Here's a pic of the inside of the pressure module after I removed it from the case and un-soldered it. 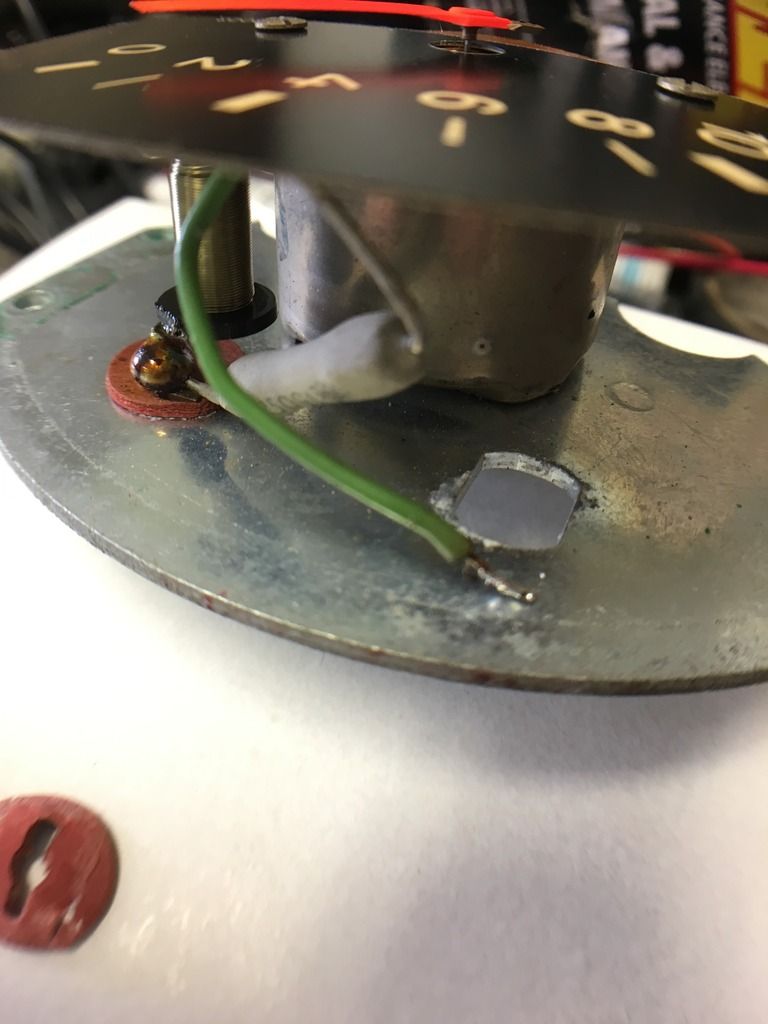 Here is the male spade terminal that was loose. It was inserted though the back of the module and through the red insulator on the inside and then a tab on either side was bent out, each in the opposite direction, to secure it in the module. You can see there is only one tab as the other broke off. 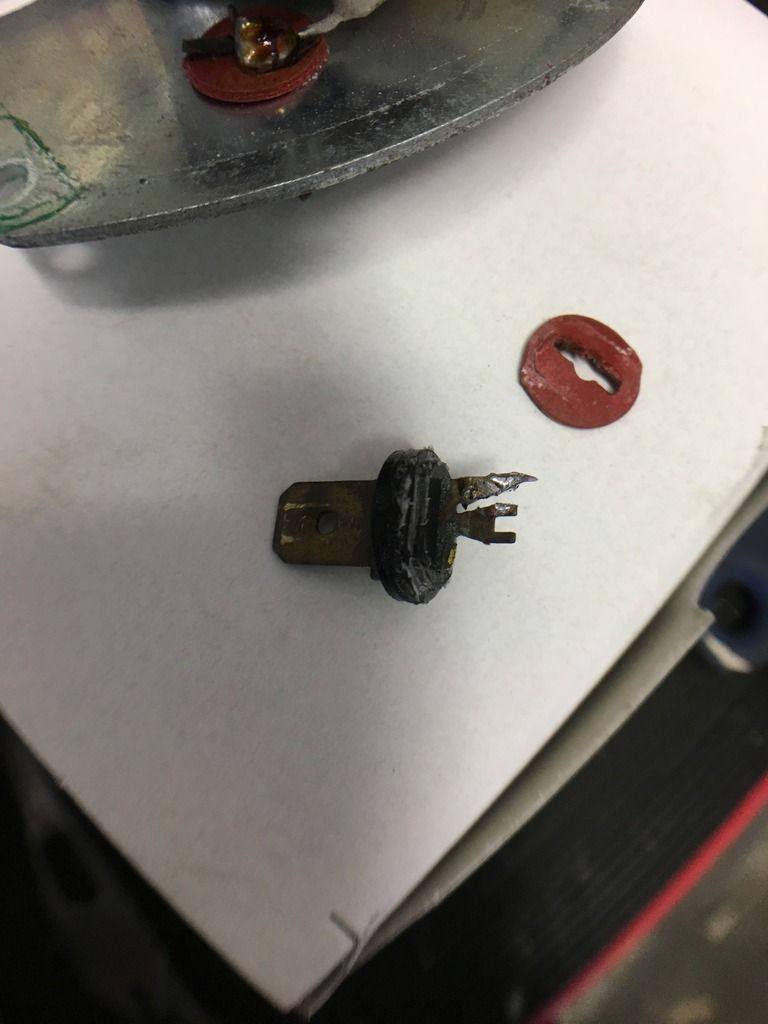 This probably occurred from me man handling the wires on and off the male terminal. I've since learned to insert a screwdriver blade under the female terminal and twisting it to loosen the connection. This avoids stress on the terminal mounted in the gauge. I called Palo Alto Speedometer and they were very helpful. I described the problem and was told it was a simple fix that would cost about $150 plus shipping and some down time. Hmmm. Then he told me the quickest cheapest fix was to un-solder the green wire from the back of the male terminal, connect a wire to it and run it out the back of the module and terminate it in a male spade. He emphasized several times that the downside of this fix is that if I pulled the green wire away from the coil inside the gauge, I would have a much bigger, more expensive problem. OK, so after pondering what to do, I dove in for the quick inexpensive fix. And just in case you're wondering why I don't just buy another gauge, it's because I just spent a lot of hard earned dollars on the proper 0-10 bar sending unit for this gauge, so I'm already started down a slippery slope. As mentioned above, first I removed the solder and freed up the old male connector. Next I had to decide how to connect to the green wire to run it though the back of the module. After a little googling, I found 3M Scotchlok connectors. 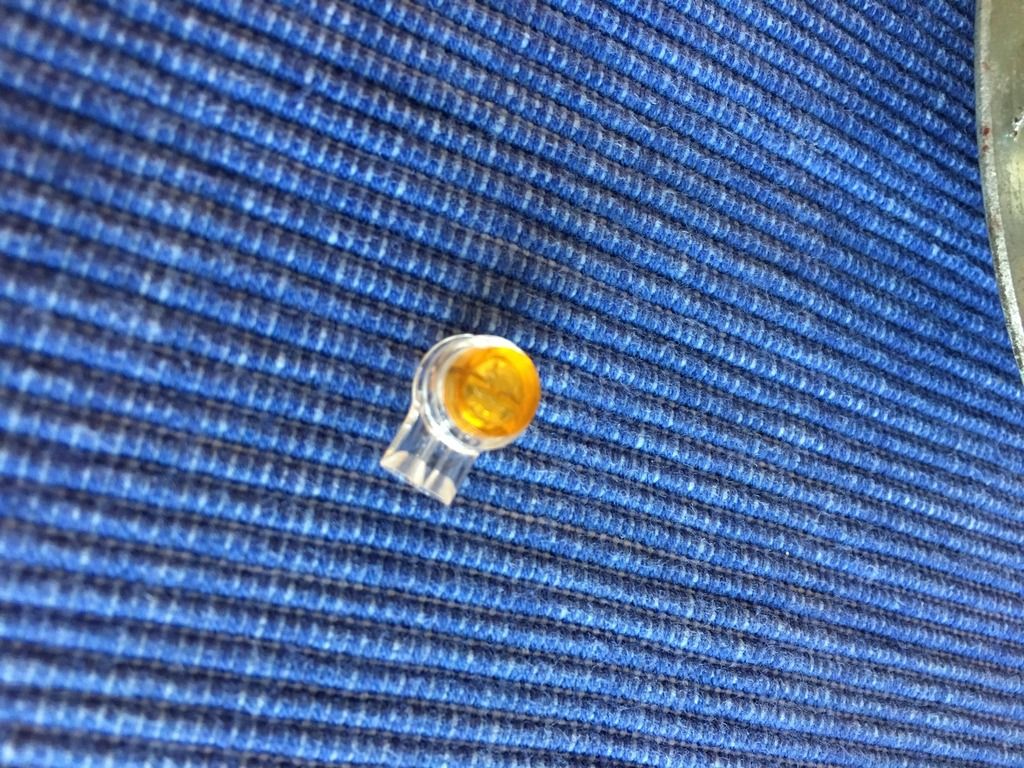 After measuring the green wire I figured it was about 22 AWG size. The yellow UY2 Scotchlok is for 26-19, so it put me right in the middle. For wire, I pulled apart some Cat-6 and took one of the twisted pairs that was a combo of green and extracted the solid green wire. 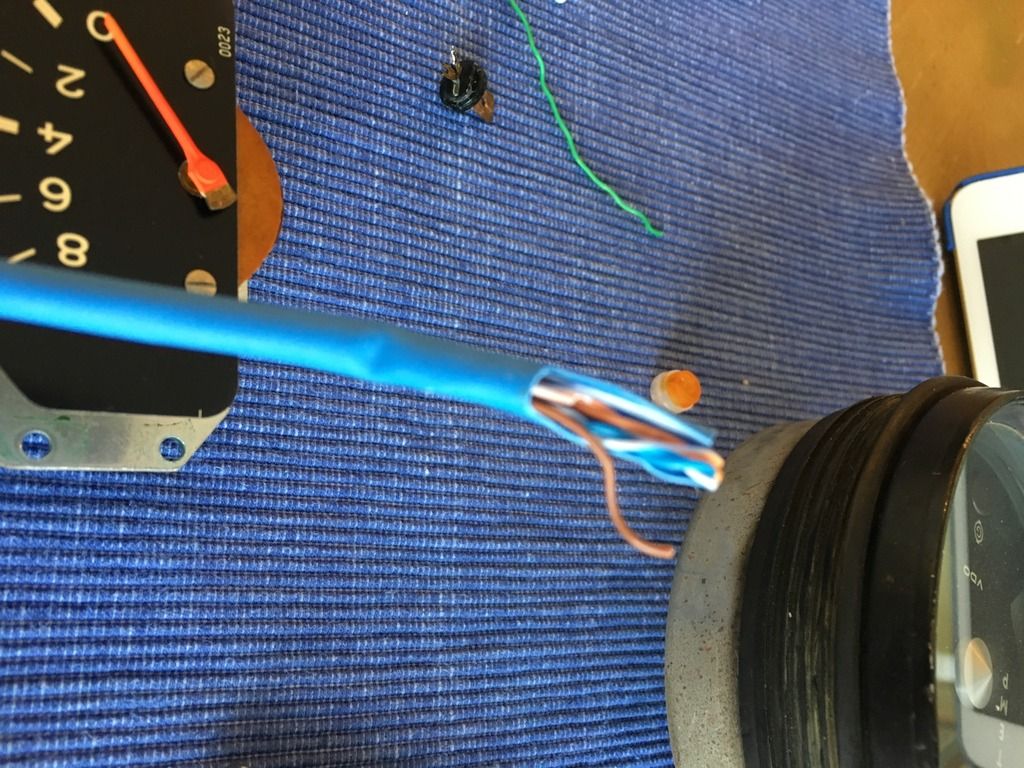 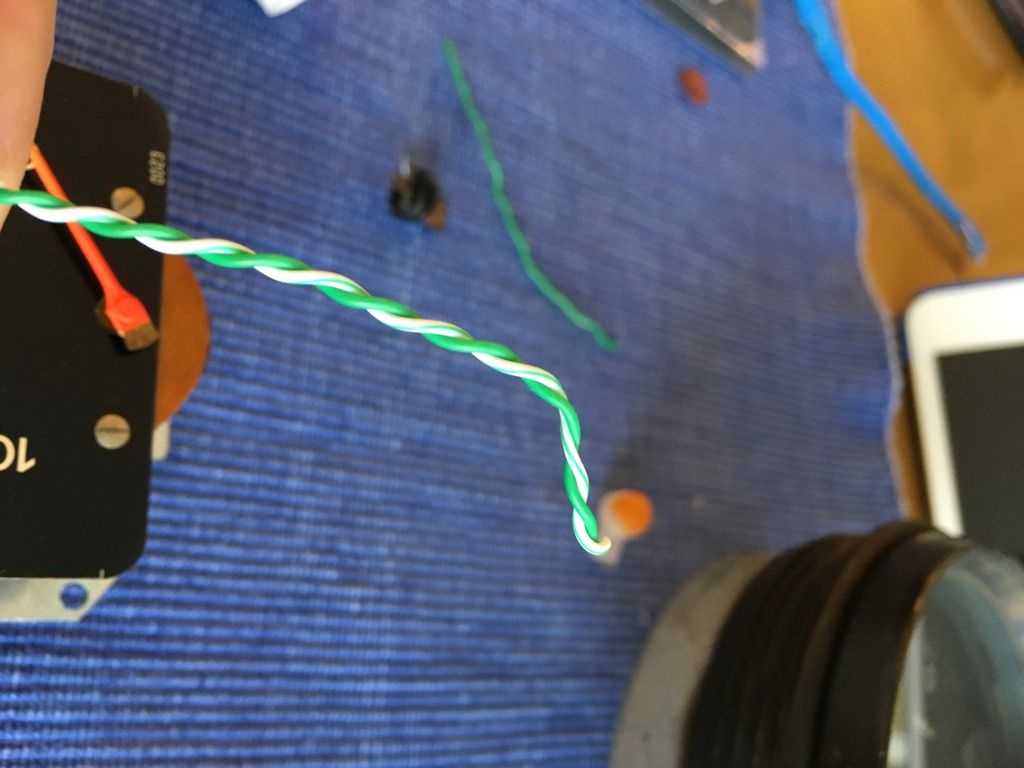 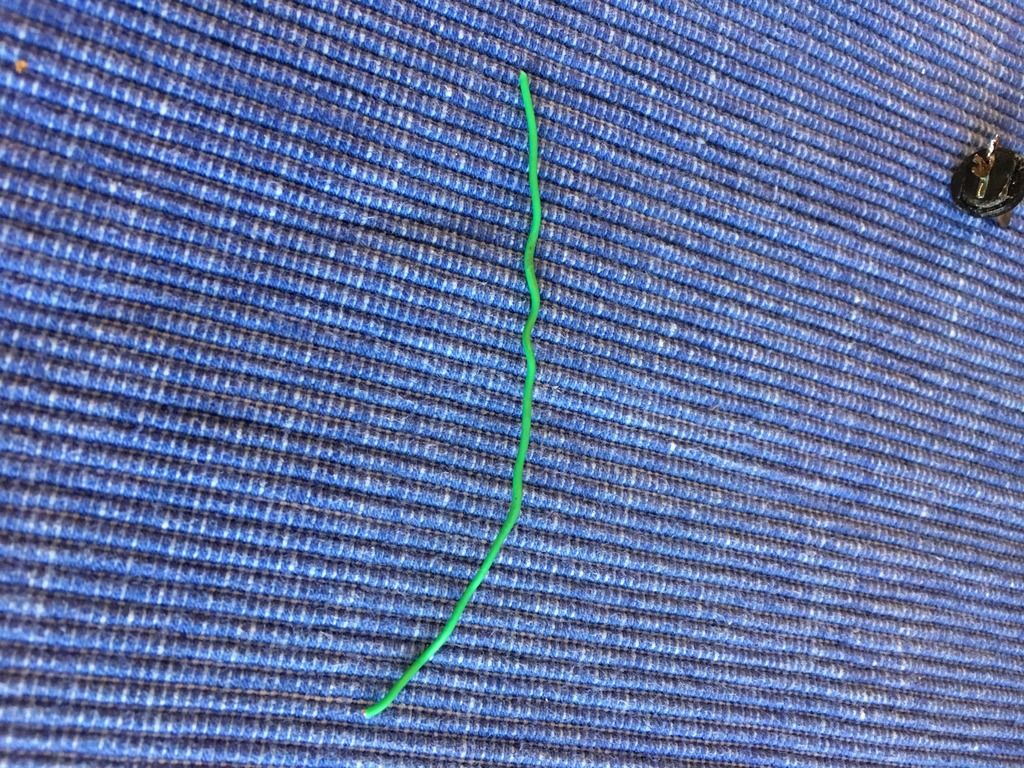 I trimmed the bare part of the green wire inside the gauge off and then inserted both green wires into the Scotchlok connector. Some pressure on the yellow cap forces it down with a snap and bites through the insulation to form a secure connection. Here are before and after pics: 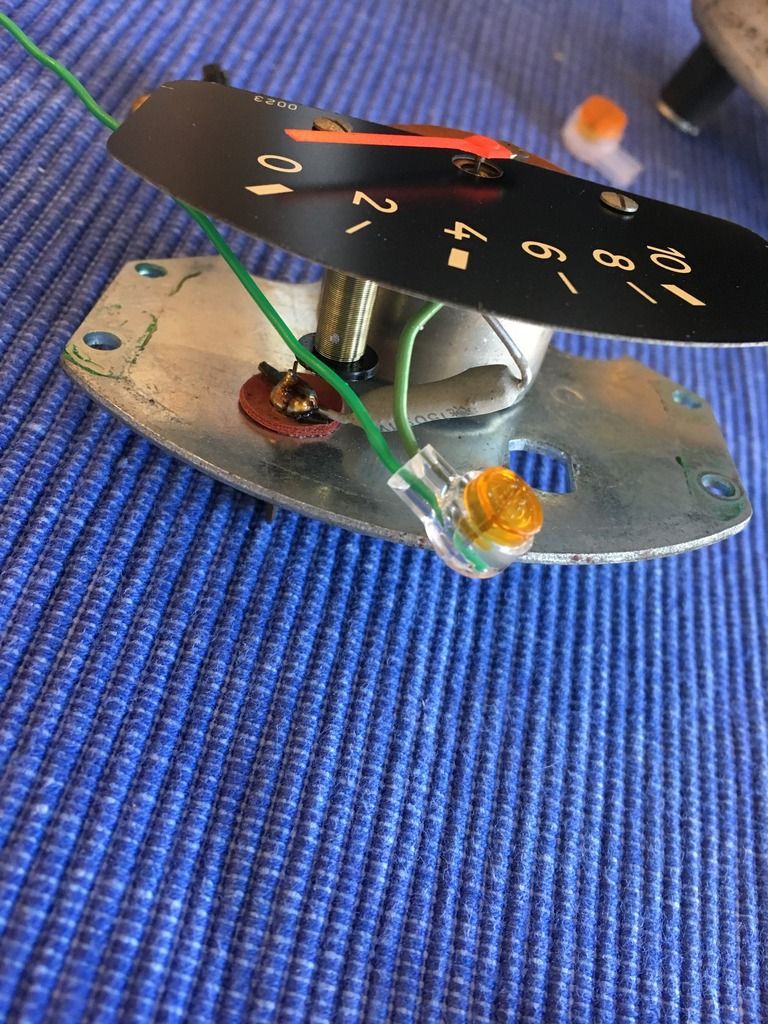 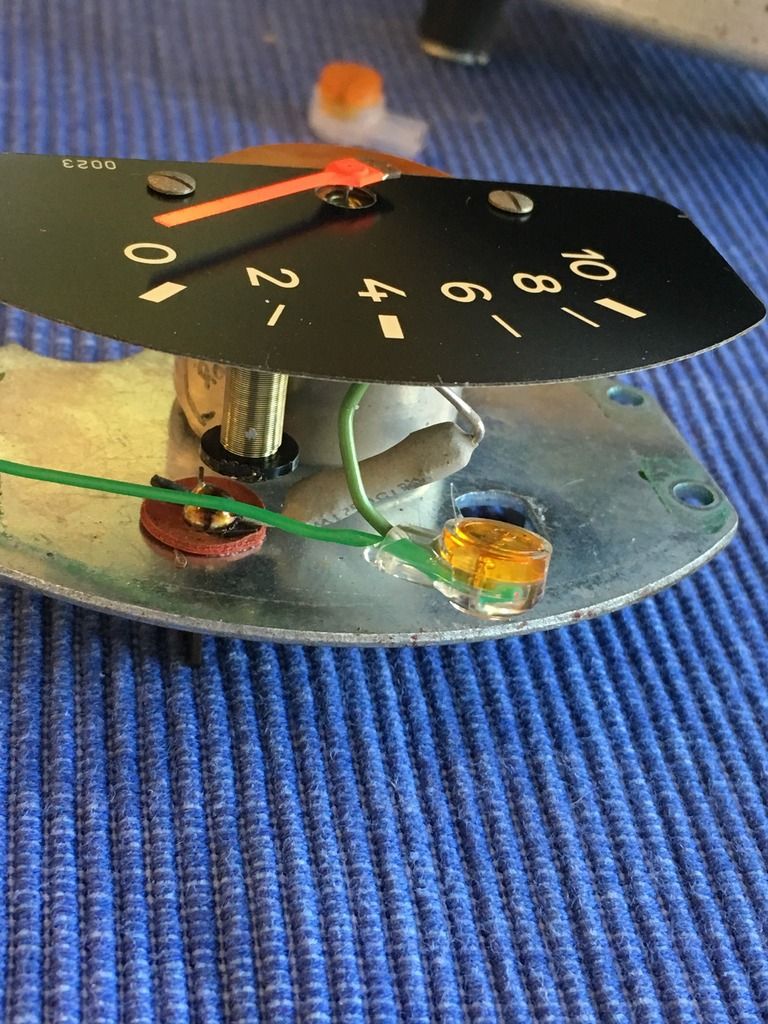 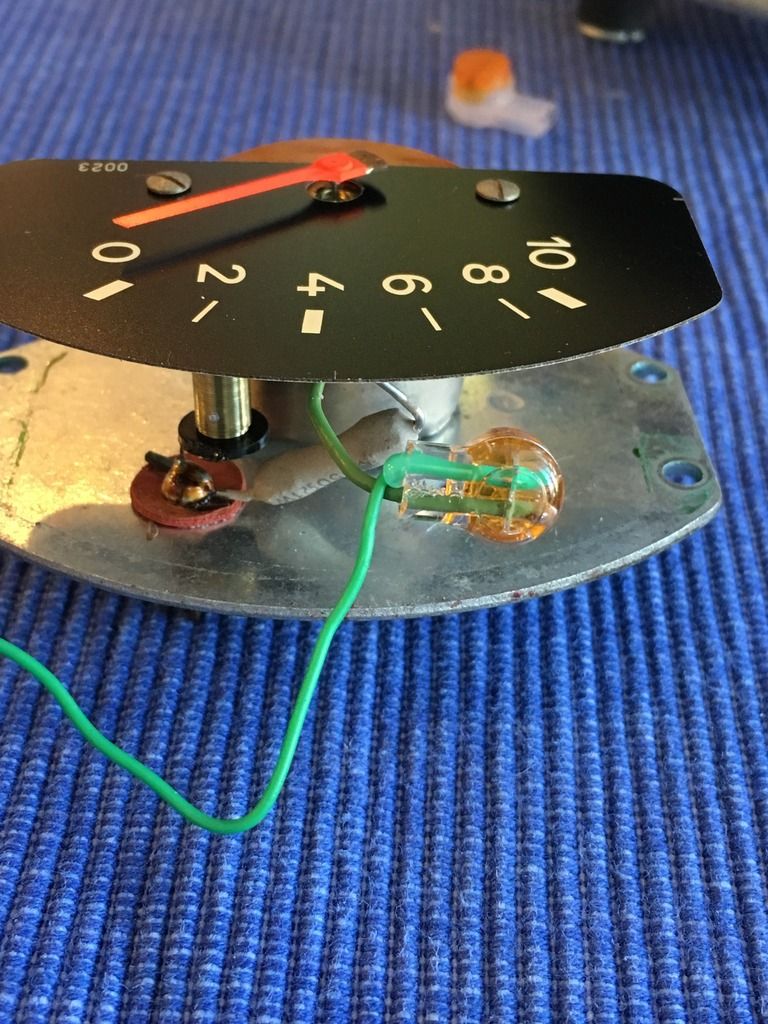 I used the Scotchlok because I'm not great with solder and it also was something I thought I could secure to the inside of the module so that if the wire got pulled, the Scotchlok would take the stress, not the wire to the coil. Out came the hot glue gun.
__________________
1971 Light Ivory 911T - Gretchen - sold Looking for Engine # 6114097 2010 Cayman |
||
|
|
|
|
Registered
|
Using the hot glue gun, I secured the Scotchlok to the inside of the module and ran the new wire through the red insulator that had been there before and out of the back of the module:
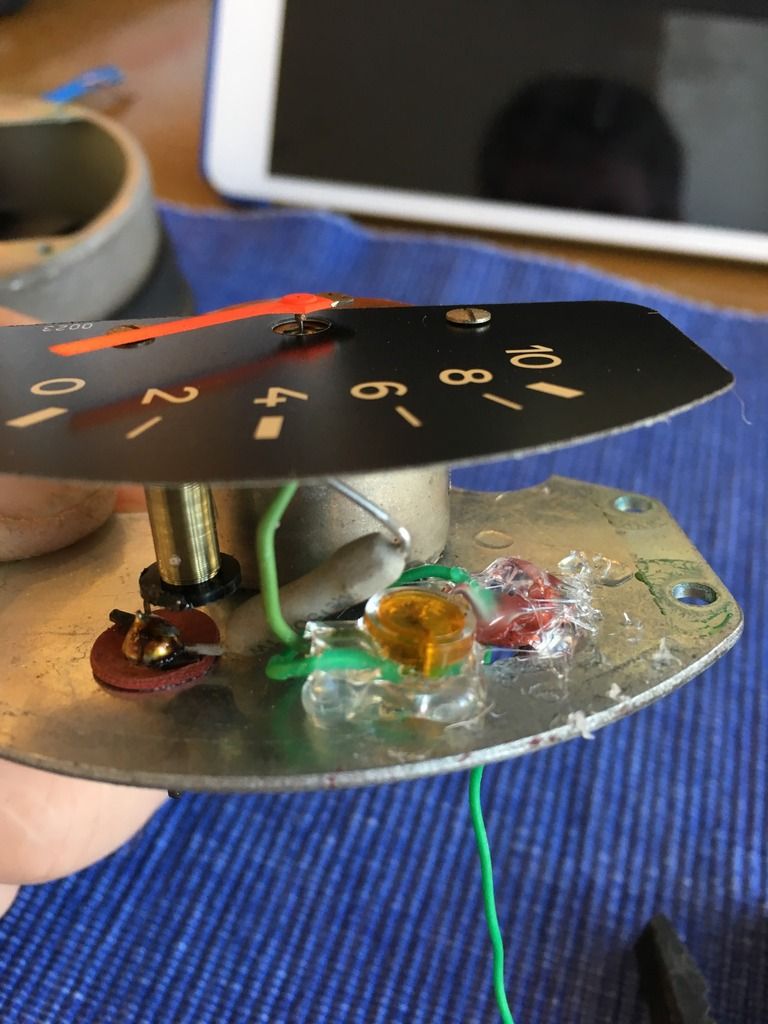 It looks a little messy, but it seems pretty effective. 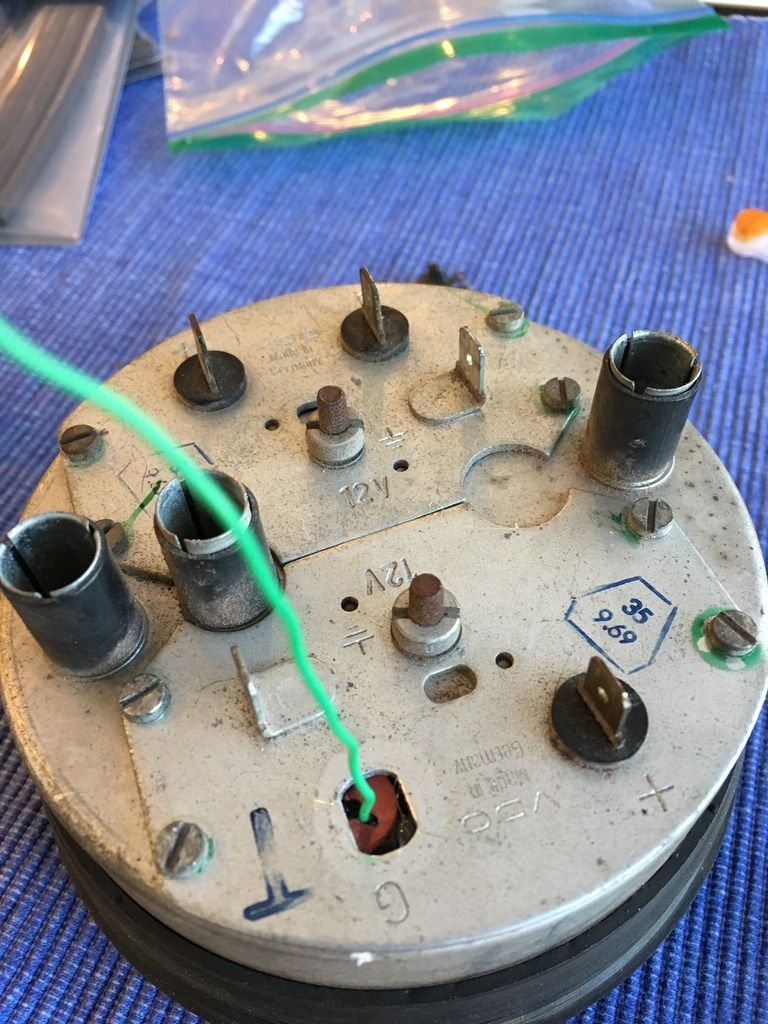 Here's the wire after I put some heat shrink on it and filled the exit at the back of the module with more glue to secure it. 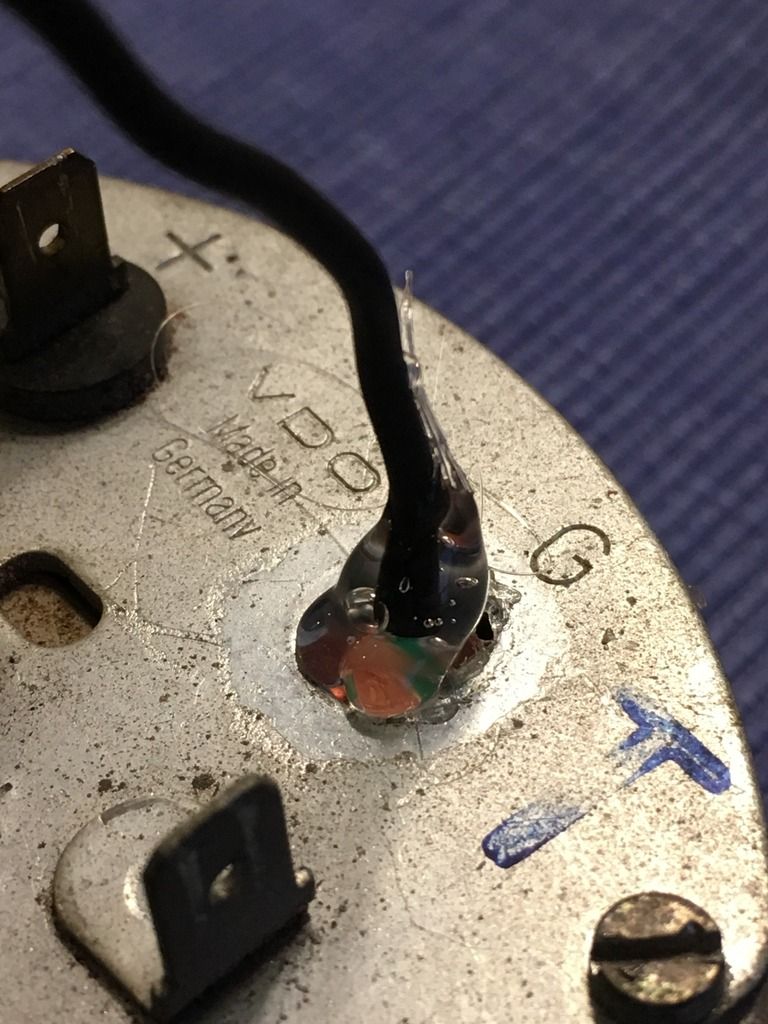 Somehow I forgot to take a pic of the terminal I put on the end of this new wire. I'll post that later. Next step is testing my work. That will be a few days as I've got some other stuff going. I hope this helps someone else with a similar issue.
__________________
1971 Light Ivory 911T - Gretchen - sold Looking for Engine # 6114097 2010 Cayman |
||
|
|
|
|
Registered
|
Why the Scotchlock?? I would just solder the wire and put a piece of heat shrink tubing on it. I would trust soldering a lot more than that crimping with a phone wire connector.
If you don't have the tools maybe this is OK. I just like soldering better than crimping and /or a friction fit of the wires in the Scotchlock.
__________________
RGruppe #79 '73 Carrera RS spec 2.7 MFI 00 Saab 95 Aero wagon stick 01 Saab 95 Aero wagon auto 03 Boxster 90 Chevy PU Prerunner....1990 |
||
|
|
|
|
Registered
|
Gotcha, I just thought the Scotchlok would give me something I could anchor inside the gauge to keep the green wire from being pulled away from the coil. Maybe I overthought the connection part, but as much as anything I thought this was a pretty good suggestion by Palo Alto Speedometer that I wanted to share.
__________________
1971 Light Ivory 911T - Gretchen - sold Looking for Engine # 6114097 2010 Cayman |
||
|
|
|
|
Registered
Join Date: Dec 2002
Location: So Cal and So Oregon
Posts: 2,202
|
Thanks for the post. So please confirm that G is connection from the sender, + is 12 Volt power and the last connection is ground?
|
||
|
|
|
|
Registered
|
That's correct.
__________________
1971 Light Ivory 911T - Gretchen - sold Looking for Engine # 6114097 2010 Cayman |
||
|
|
|

|