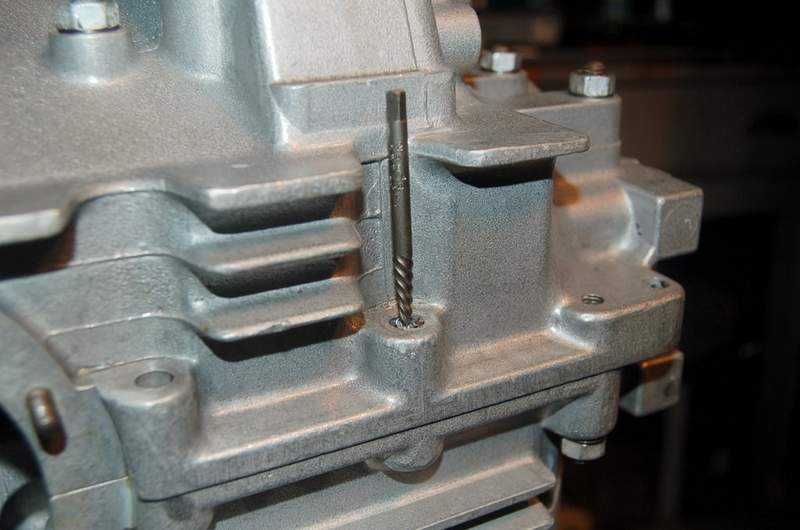
So I took a hefty bag and put it over the engine and put a small hole over the stud so as not go get chips in the engine. I put a punch mark at the approximate center of the jagged stud and used a dremel tool with a 2mm drill bit, first on 8000 rpm to start the hole, then on 2000 rpm to drill it, with plenty of PB blaster for lubricant and to loosen up the stud. I hammered in an EZ-out and turned it with an adjustable wrench (I don't have a tap handle yet). And I'll be a monkey's uncle, the stud came out! Next photo is of the removal of the adjacent stud, hefty bag removed for clarity. A double stroke of luck indeed!
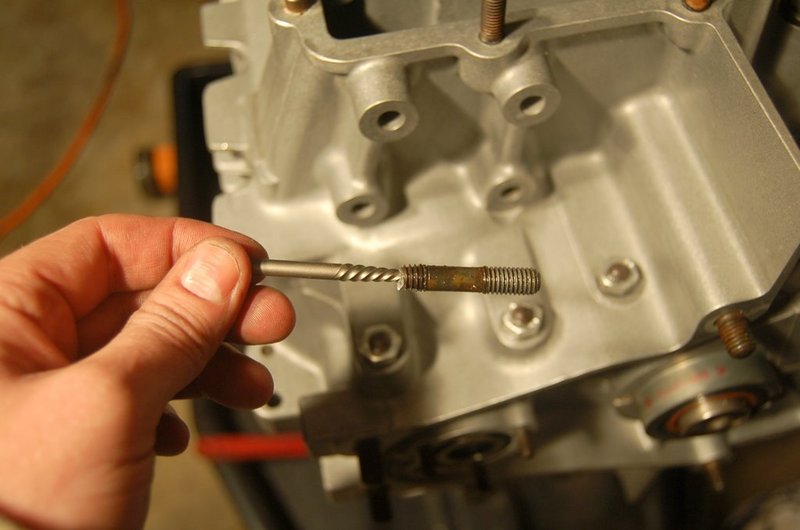
The money shot. I have never turned a wrench so carefully, as so many times when I've tried to do this, the damn EZ-out breaks off, or the stud cracks in half, or Bernanke changes interest rates or some other crap happens.
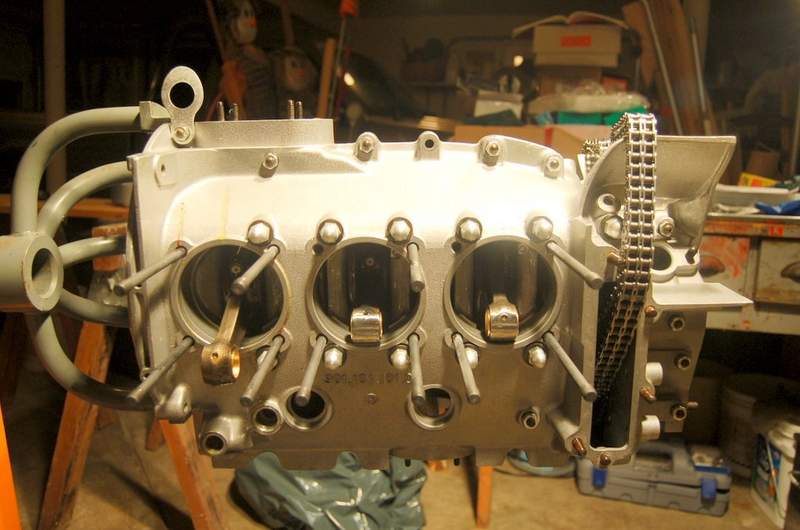
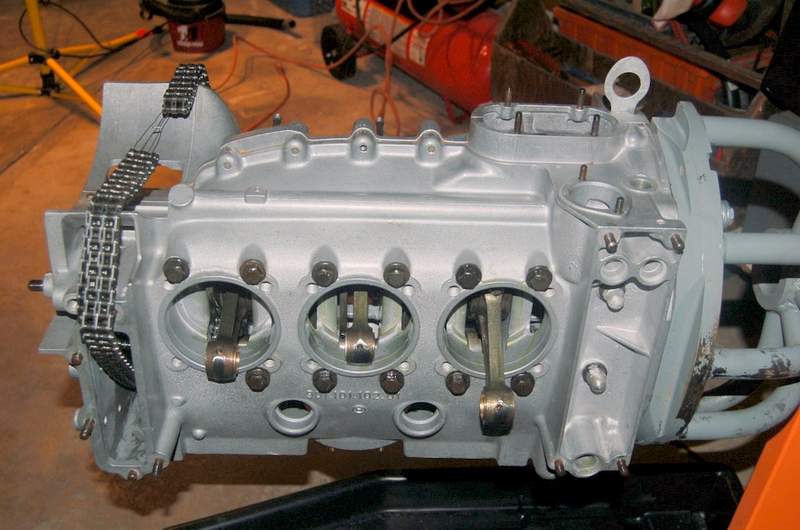
Ok, this next photo is just the engine case assembled. You can see the missing stud at the top. I don't think this is going to cause an oil leak, there was no gap between case halves at the top, I used 574 to seal it and the adjacent studs were torqued to spec. Likewise at the bottom, when I replace the studs I'll torque to the correct setting. Ordinarily this kind of damage would require that I tear the case back down, but I was able to remove the broken studs so I'm going to proceed as normal, worst case is the engine will leak and I'd be in the same position of having to tear it down again. (Of course the top end would have to come off but there's a procedure to do that in chunks.
Next, I started installing head studs. Two of the studs would NOT go in with finger pressure with the long threads lubricated with red loctite, so what does the monkey do? The monkey forces them! So then I broke my Japanese-made stud remover trying to get them back OUT. ON went the hefty bag and OUT came the Vise-Grips, the only tool a monkey needs! That and the Pelican Parts web site to order TWO new replacement factory steel studs. And while I'm at it, a correct Snap-on stud remover/installer, I should never have tried to save money on that item, and a M10 tap to clean out the holes. I think some ZoopSeal got in the holes and hardened, the threads were perfectly clean before I did that step. You can see the two missing studs.
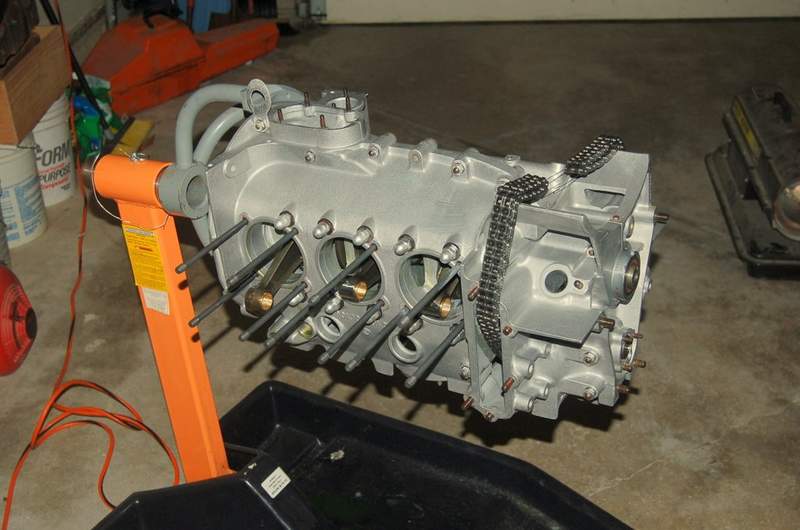
I only had time to do one side, but I'll clean the holes carefully with the tap, no doubt the ZoopSeal blocked some of the upper holes here too.
Ready for the rest of the head studs, three replacement perimeter studs, and then it's on to pistons and cylinders.
What did I learn? A helper is invaluable in the process, it would be VERY difficult to lower the case down accurately without one person to lower it down and one to spot that the studs are aligning correctly. Also, somebody to hold the crank when the rods are torqued is useful unless you are using a factory-style jig to hold the crank between bench centers.
I didn't push the 574 setup time, through-bolt torque was applied inside of 10 minutes. One step that was helpful was preassembling all the through-bolts with washers and o-rings and Dow Corning 111 (no RTV for me) in advance. I used the cap of my Sharpie with the clip filed off to make it smooth, this was placed over the threads to allow the o-rings to slide on over them without getting sliced. Also, you wouldn't think it would work once the through-bolts are poking up through the case and there's only thread sticking out, but it actually worked extremely well. Thanks Jon for the tip!
And at this point let me thank all the experts and contributors here on the forum, you know who you are, for your invaluable contributions at getting to this point. I can't wait to get to the next step.
