|
|
|
|
|
| Author |
|
|
Registered

Join Date: Mar 2008
Location: Portland, OR
Posts: 323
|
R / Outlaw project...
Hi,
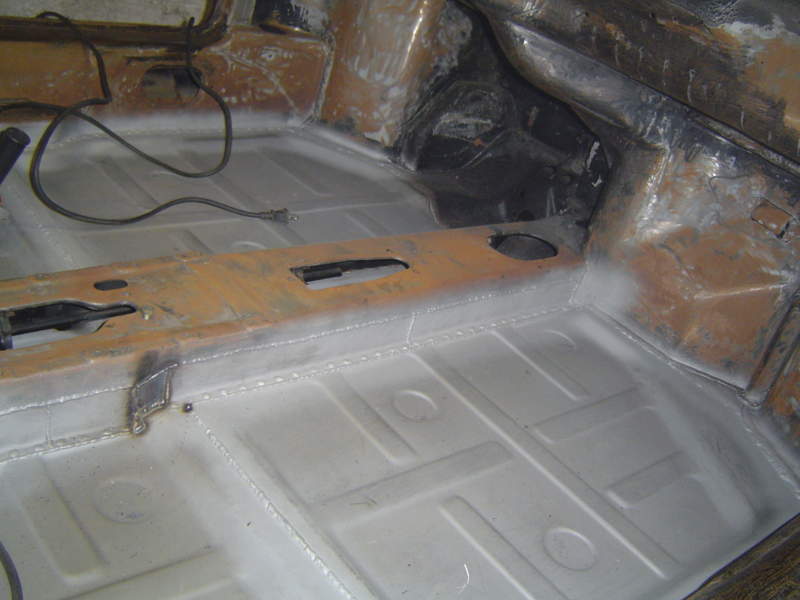
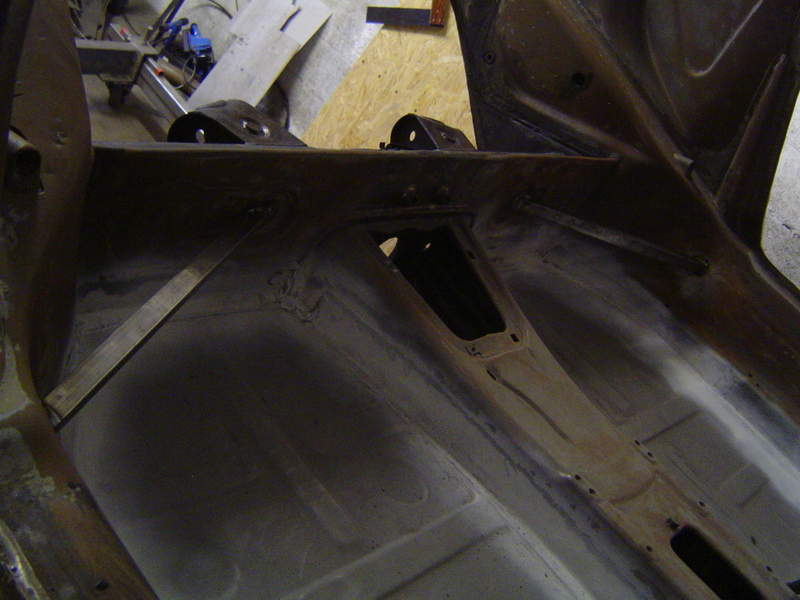
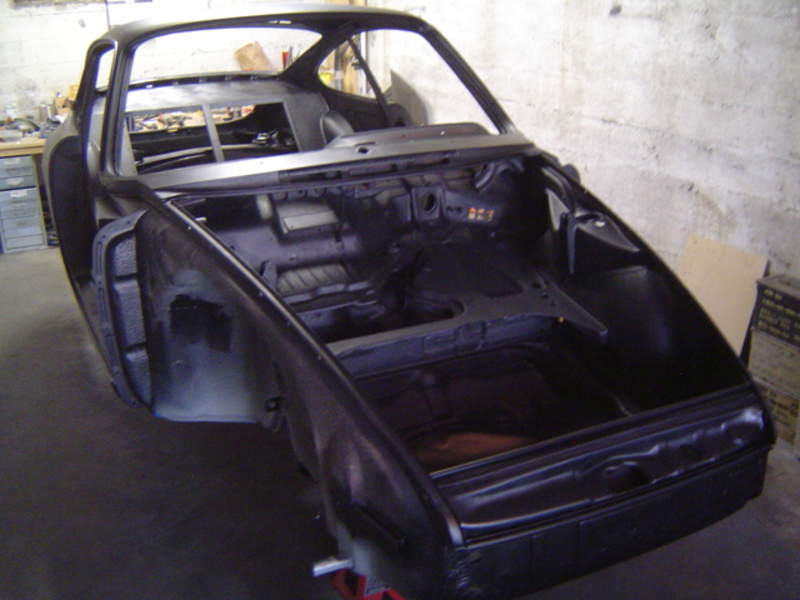
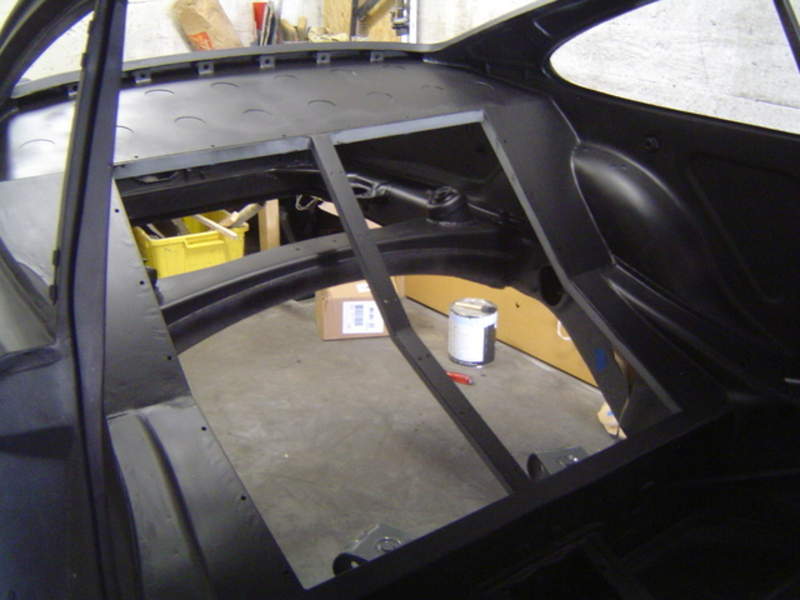
I have been looking around this forum for awhile now and am amazed at the wealth of knowledge and support people give. I thought it was about time I shared my project, it is along way from being finished but this is the story so far... I picked up the rolling shell last year but 2weeks later went under the knife for a second major knee surgery so progress has been slow so far, not fun, on both levels! The shell is a '68 (912)and on the face of it looked like it was in ok condition. However the obvious stuff would need replacing, floors and front pan etc but I wanted to learn to weld and do bodywork etc so it looks like the perfect candidate. The basic idea is to create a road legal lightweight special, similar in vein to the Emory 356's...we'll see Picked it up from a guy who had a trailer and offered to bring it to my house for no extra charge, bonus 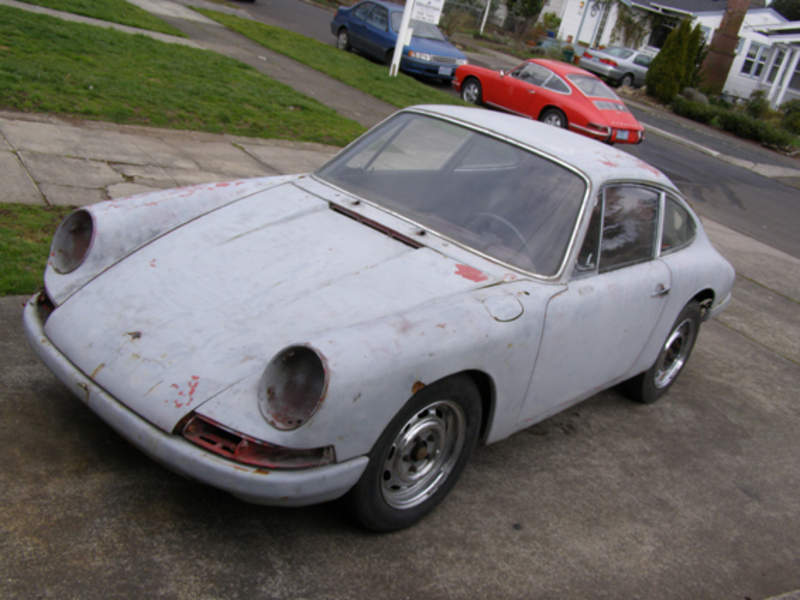 Got it home and started to strip it down, it took longer than I thought as I tried to take a picture at every stage. 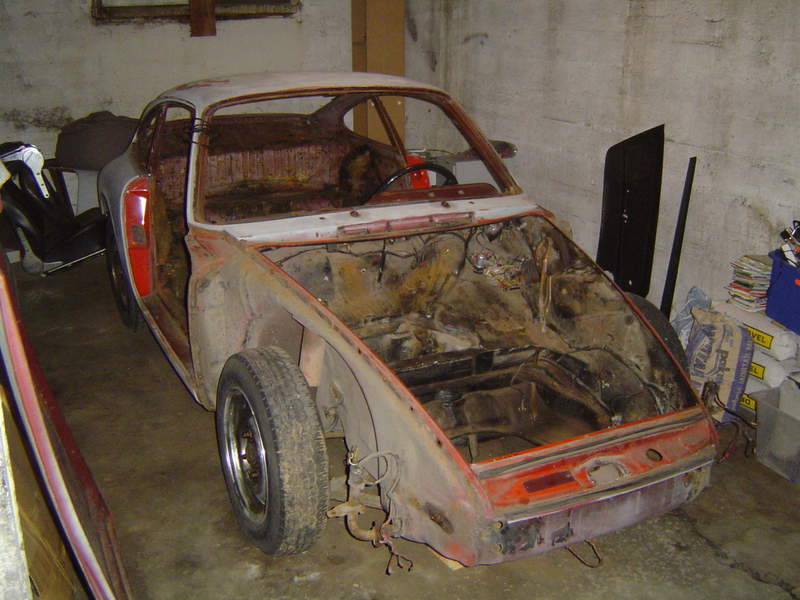 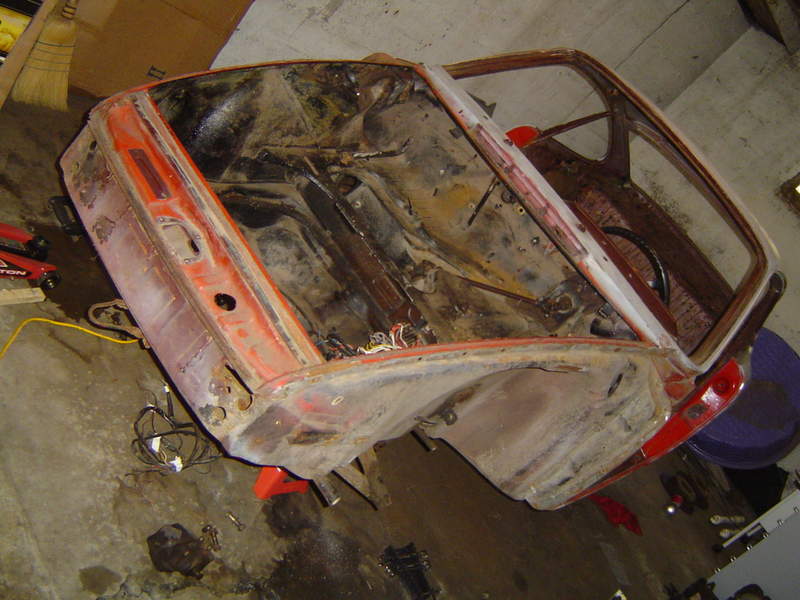 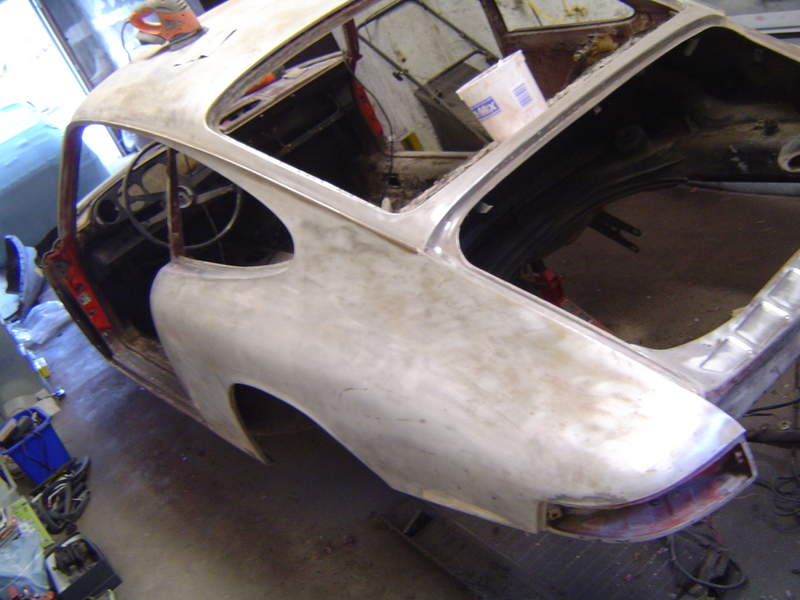 Started to cut out floor and added some budget bracing between a and b pillars  The rear seat section and parcel shelf were pretty gone, so removed it... 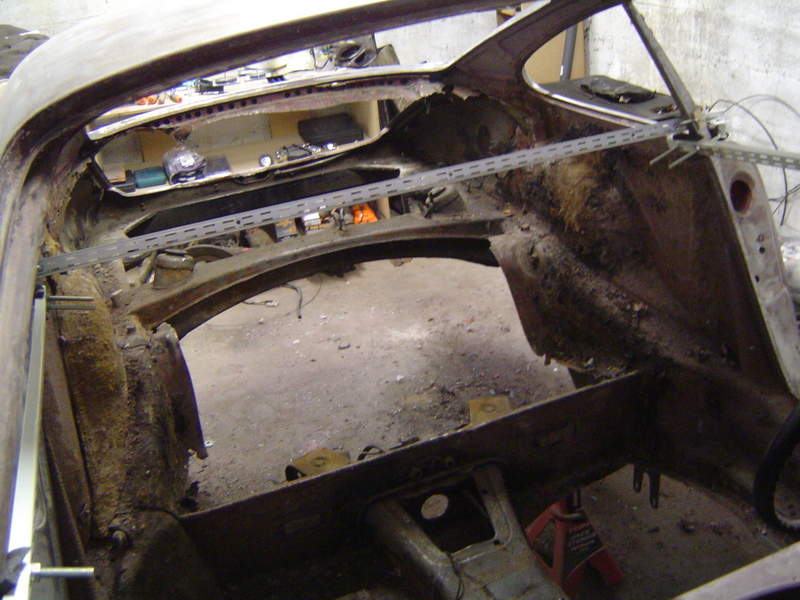 I got hold of an entire rear interior section but I found this solution from Rennline, I think it is from a 935 track car? The plan is to brace across the back section then fabricate the removable panels. I know its not stock and will probably be pretty loud but I think it could look pretty cool and go with the 'lightweight special' idea I have for the car. 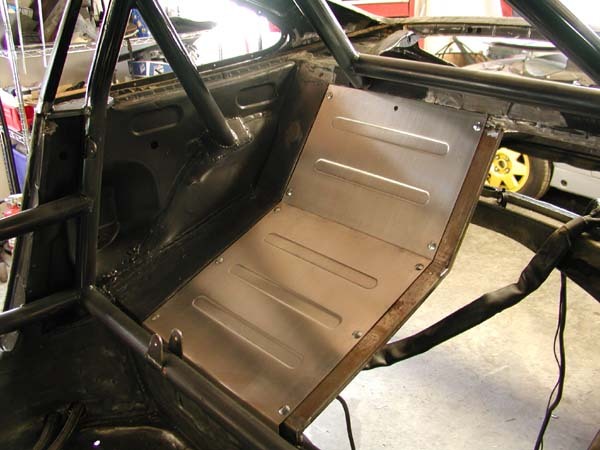 After all the cutting and grinding, the first power wash  I managed to get hold of a rotisserie. After fabricating some brackets and with the help of 3 friends, we managed to lift it on 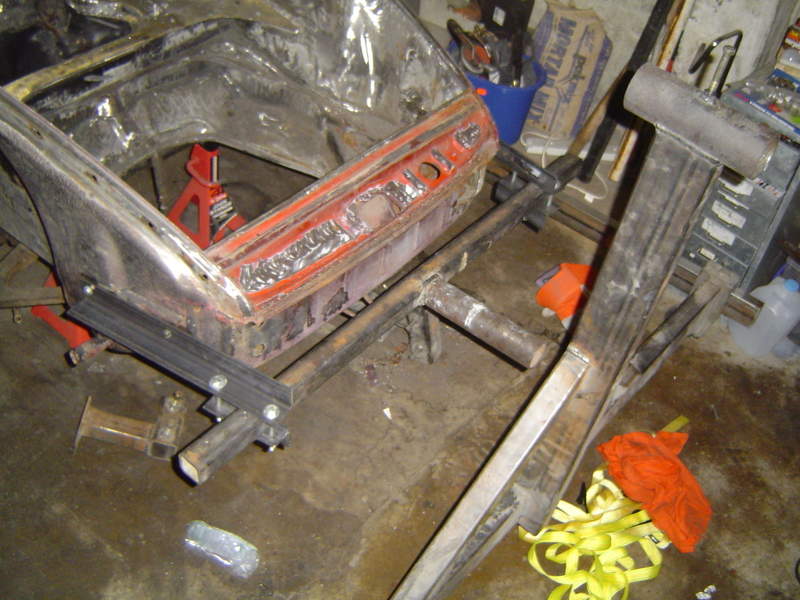 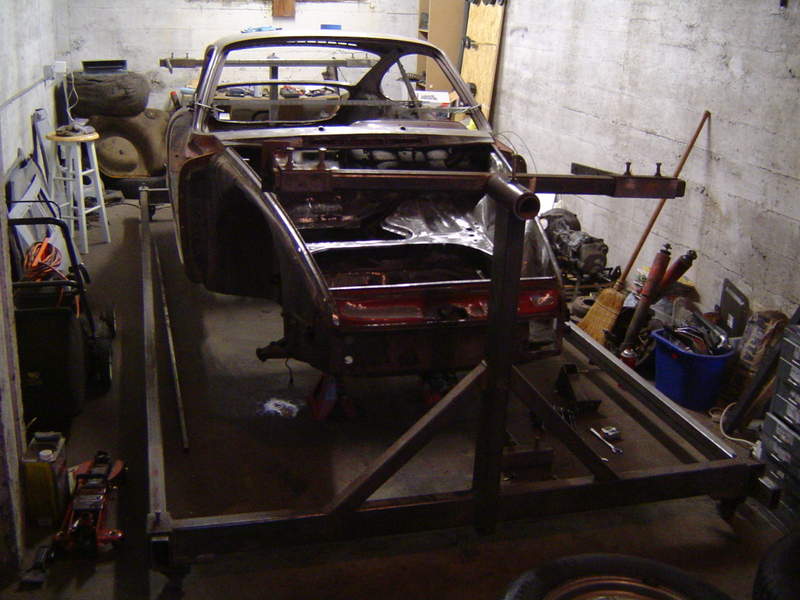
|
||
 12-07-2008, 12:44 PM
|
|
|
Registered
Join Date: Mar 2008
Location: Portland, OR
Posts: 323
|
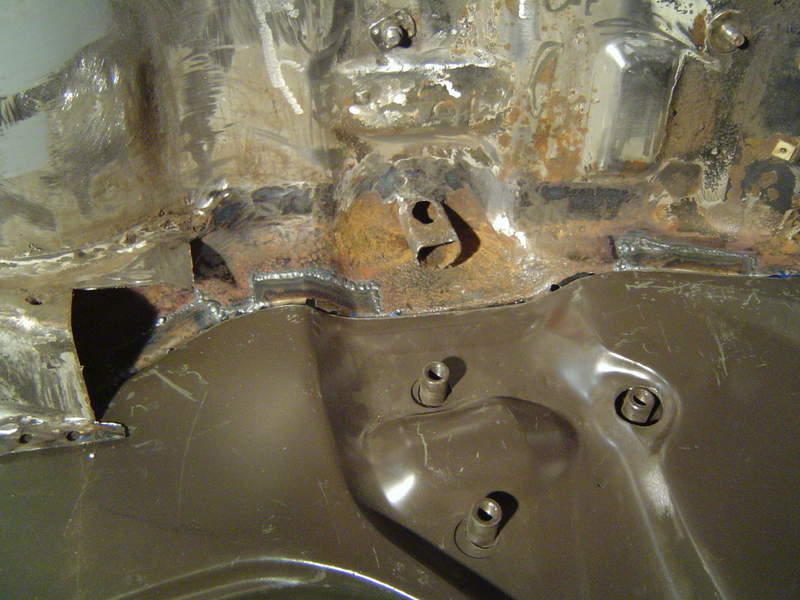
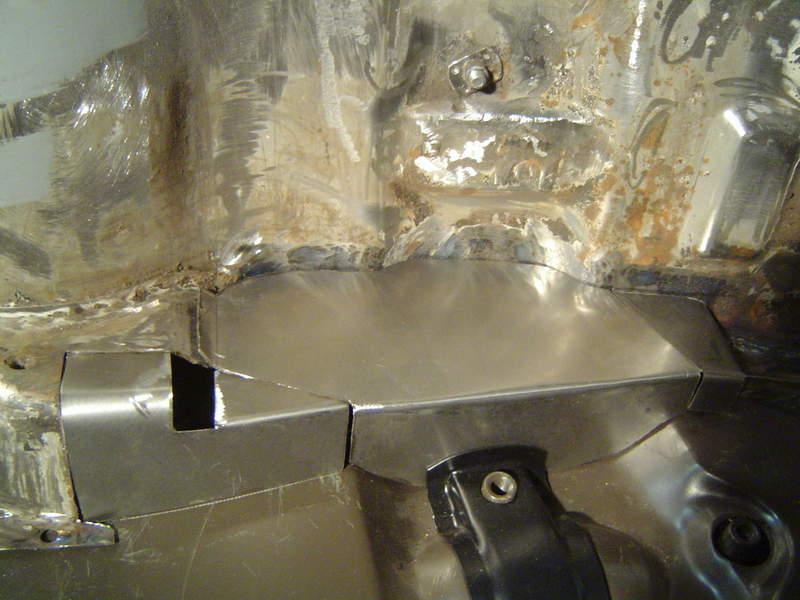
After removing the floors I found that the heater tubes were gone, so decided to remove the whole pipe and do with out, afew extra pounds saved! but, the double 'S' curve of the rear part proved a problem, so after much debate I decided to cut out the inner arch panel and then weld it back in.
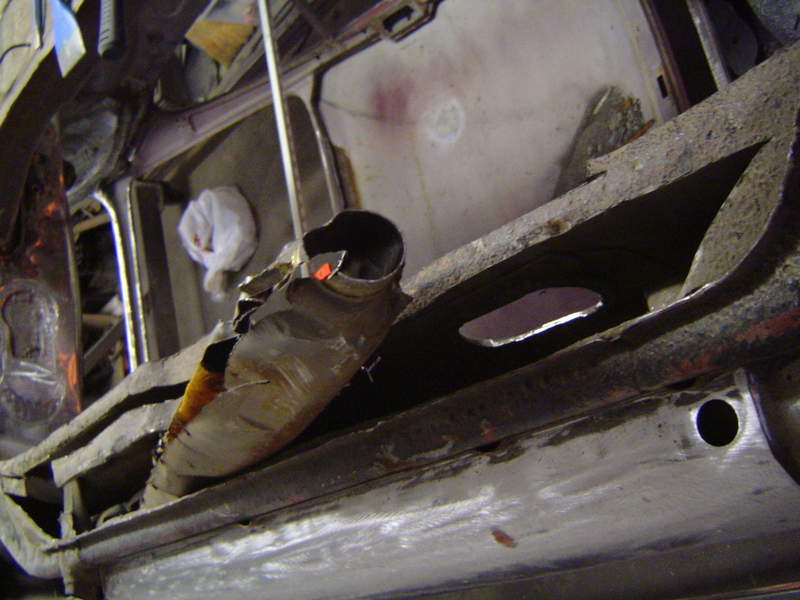  After cleaning up the floor areas there was not much flange left to weld the new floor in, so I decided to make a basic metal break and make some new flanges then tack in place, this should give a better bonding surface. 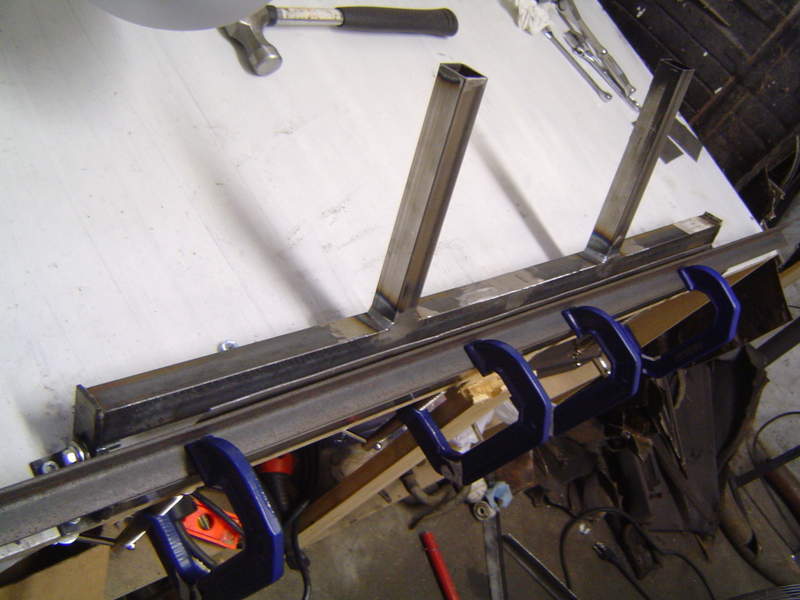 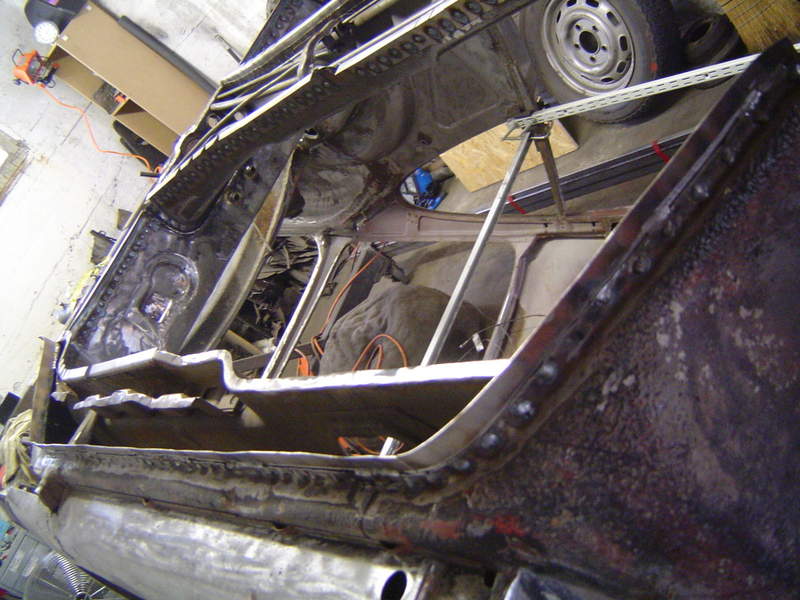 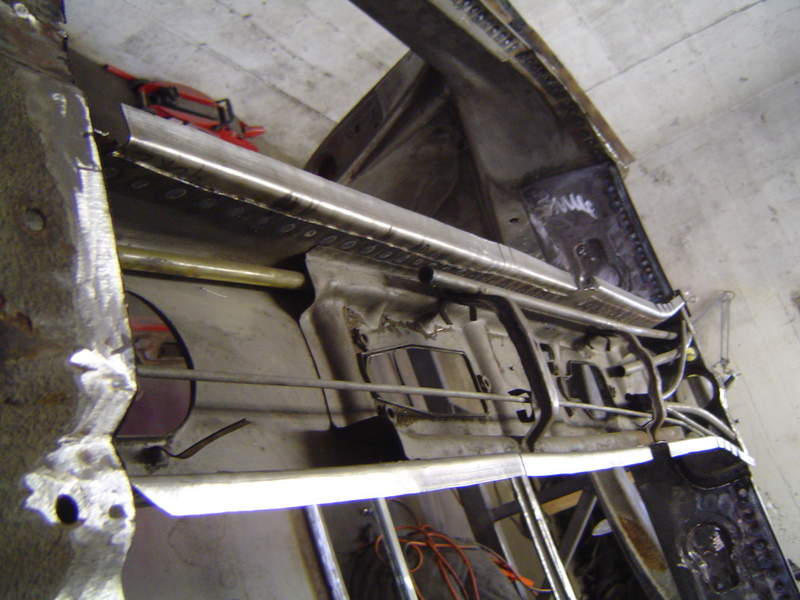 At some point a jack had been placed and crushed the rear sill area, so more fabrication was needed on both sides. 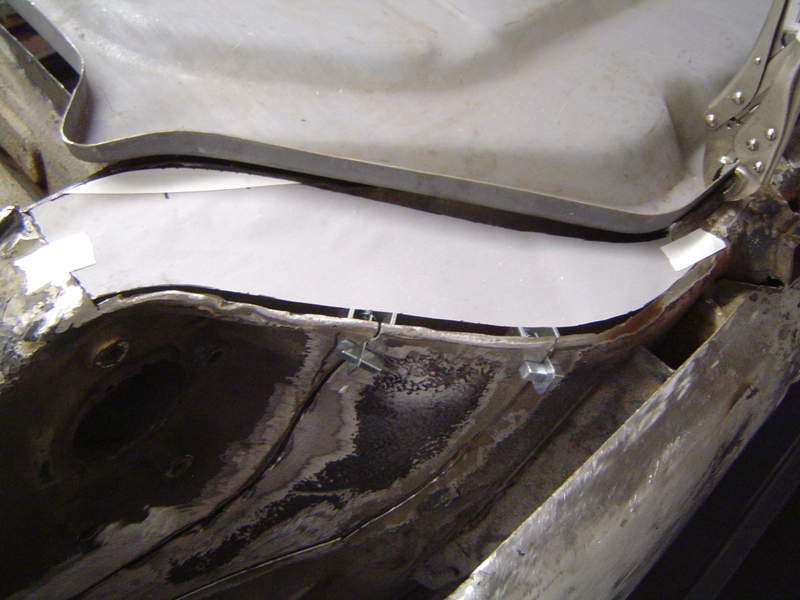  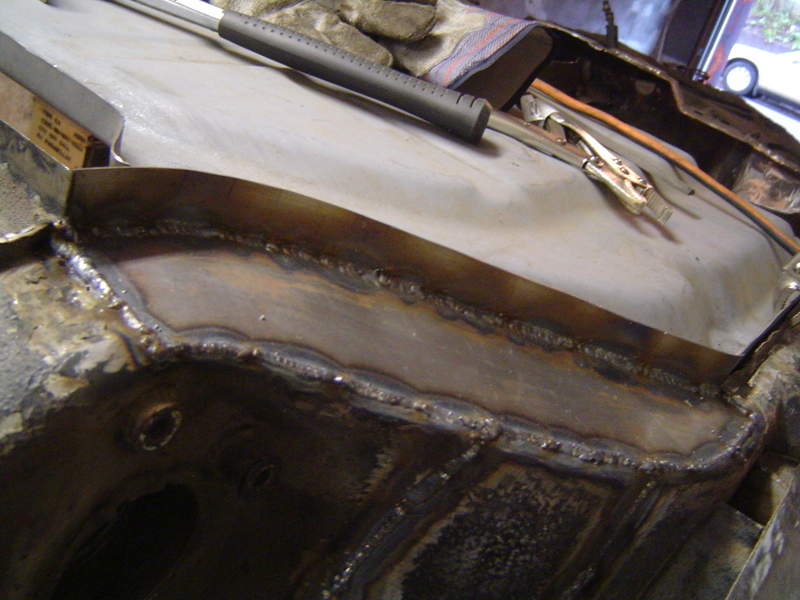
|
||
|
12-07-2008, 12:50 PM
|
|
|
Registered
Join Date: Mar 2008
Location: Portland, OR
Posts: 323
|
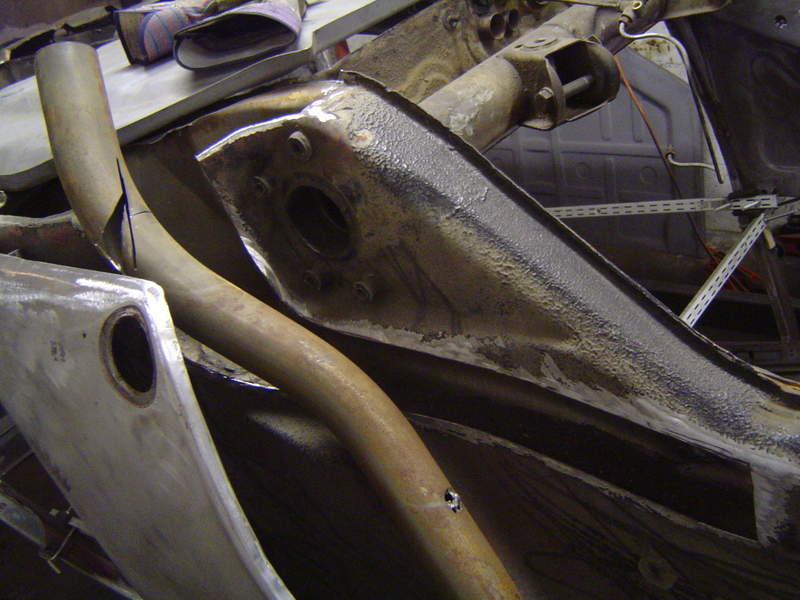
Suspension pan arrived and aligns with everything pretty well but after cutting out the petrol tank supports the battery area was rotten. So more pattern making and sheet metal bending.
   Another powerwash before the welding work, it was a good passer-by talking point on a sunday afternoon. 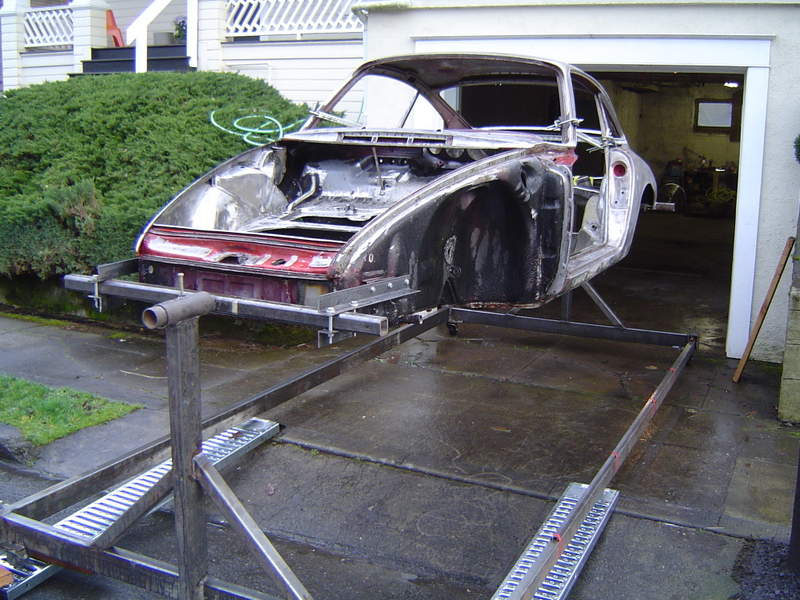 First rust coat this evening, under the centre tunnel and in the sills. 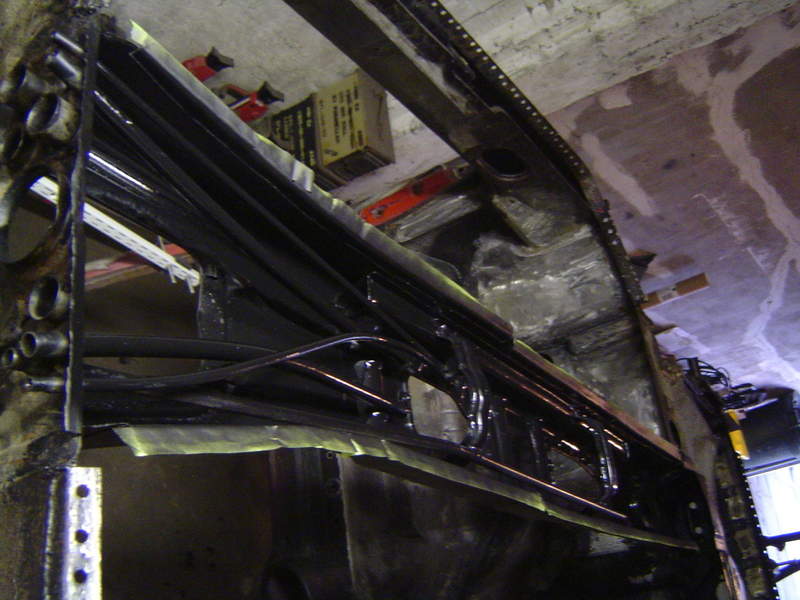 Floors went in, I don't know if there is a supposed to be an order front first/back first or visa verse but there was no way I could get the panels seated right with the back going in first, so long story short the front half went in first... 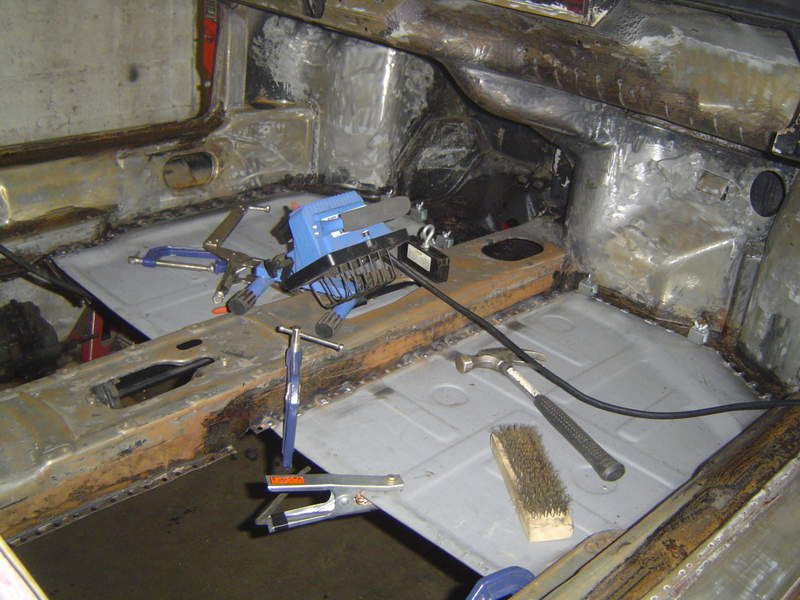 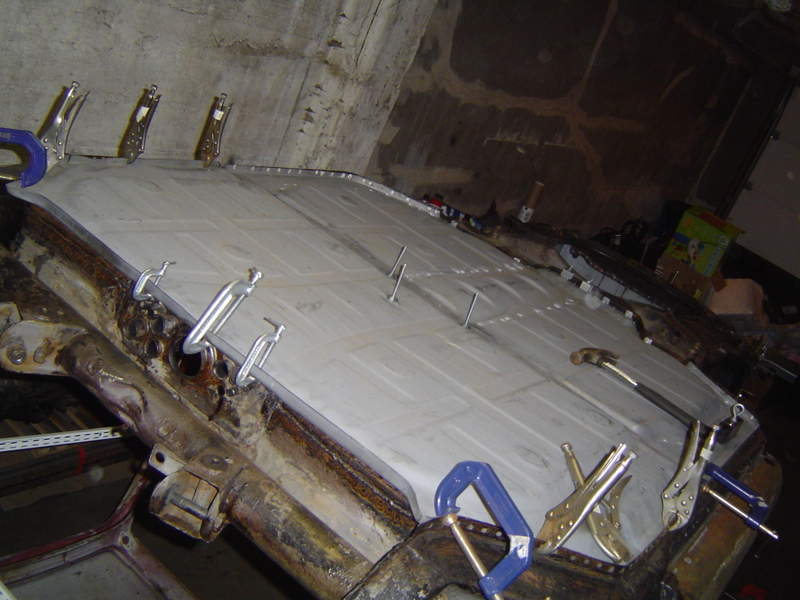
|
||
|
12-07-2008, 12:51 PM
|
|
|
Registered
Join Date: Mar 2008
Location: Portland, OR
Posts: 323
|
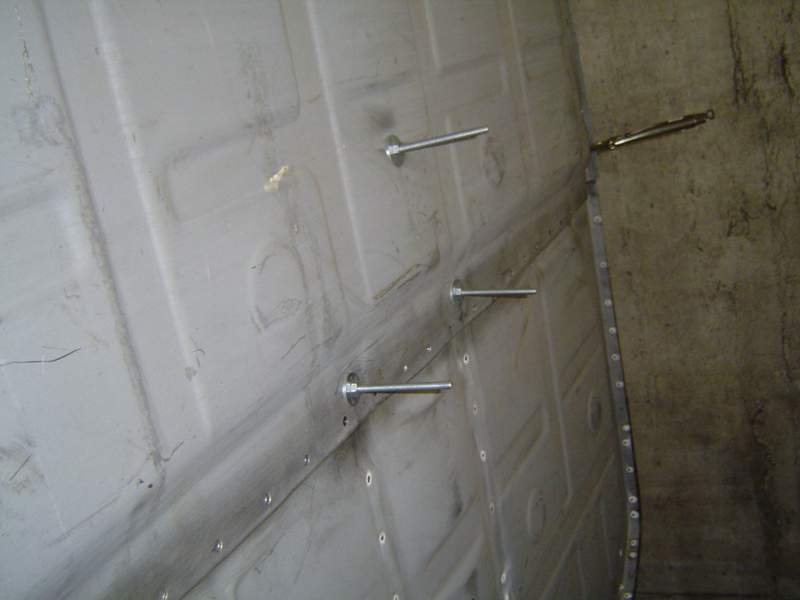
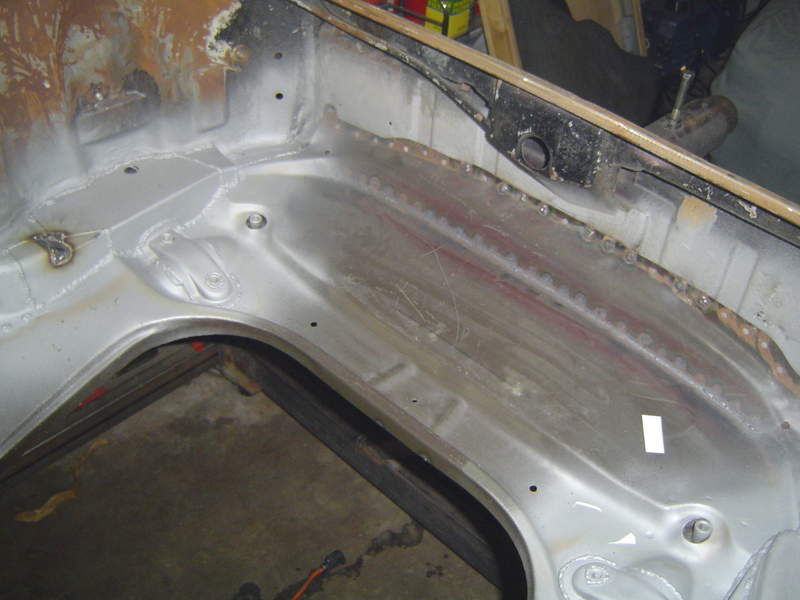
This might be obvious, but I couldn't work out how to clamp down the two panels together and I didn't fancy making the worlds biggest C-clamp. So I drilled through both panels using the last spot weld hole as a guide, and also drilled through the brace in the transmission tunnel (there was actually already a hole in the brace), then bolted the panels together. After some 'gentle' hammering the gap was acceptable to weld, simple but effective.
   However I still hate grinding! the only way to get any purchase on the grinder was to climb inside the shell whilst on the rotisserie. It had abit of a lean on at one point and thought that a carpet set can't weigh that much did cross my mind! (the idea is to have a bare painted interior). 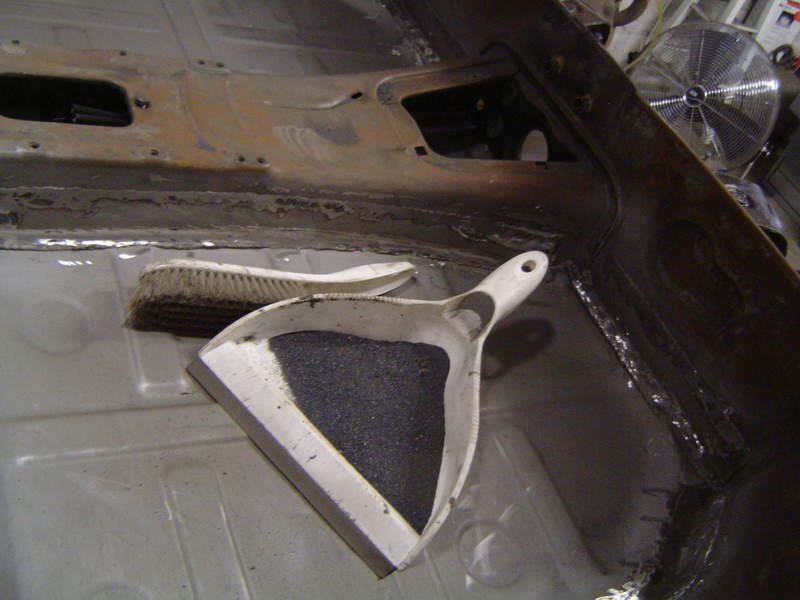
|
||
|
12-07-2008, 12:52 PM
|
|
|
Registered
Join Date: Mar 2008
Location: Portland, OR
Posts: 323
|
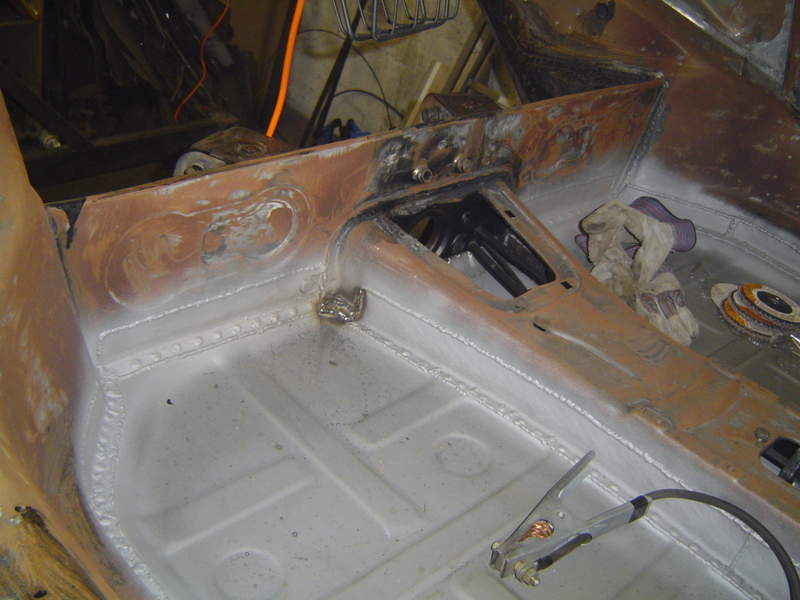
Patch panels for the battery support fitted and welded in well.
 Decided to seam seal all the fresh welds, that stuff has quite a kick but works great 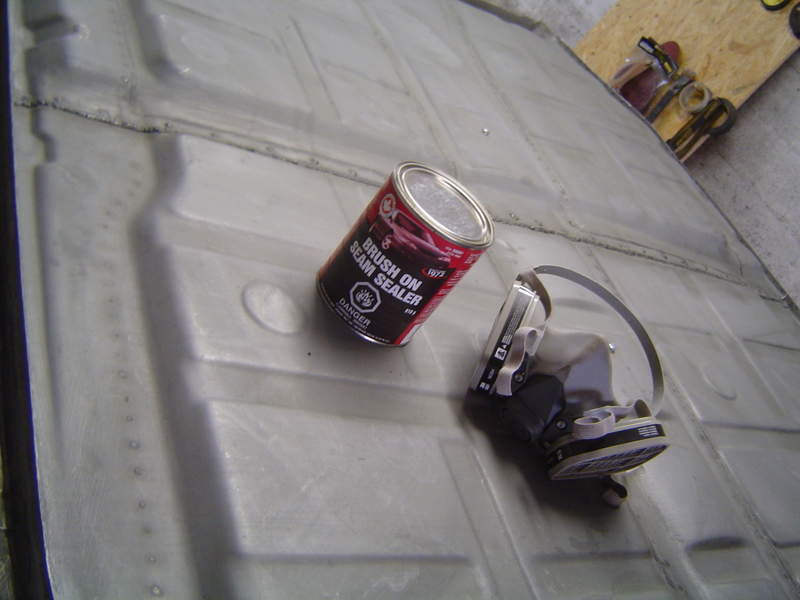 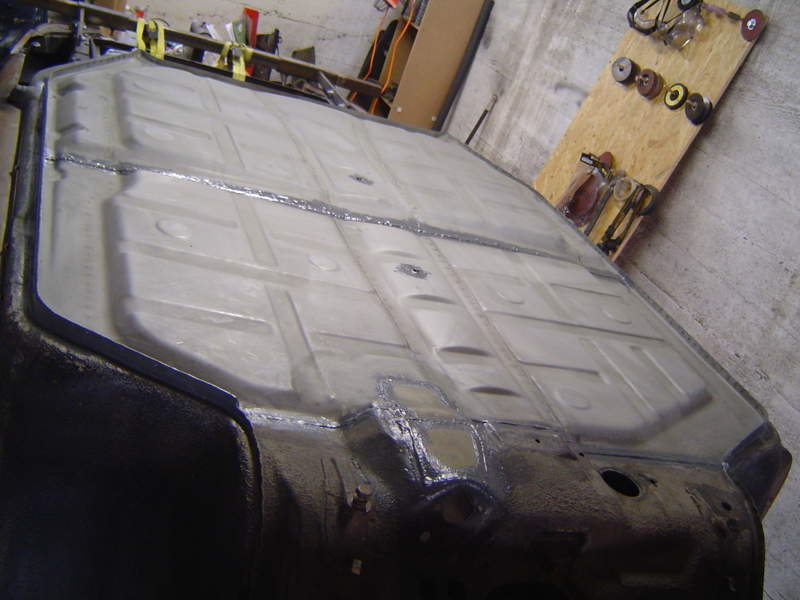 And first rust/sealer coat yesterday, this was a good feeling! 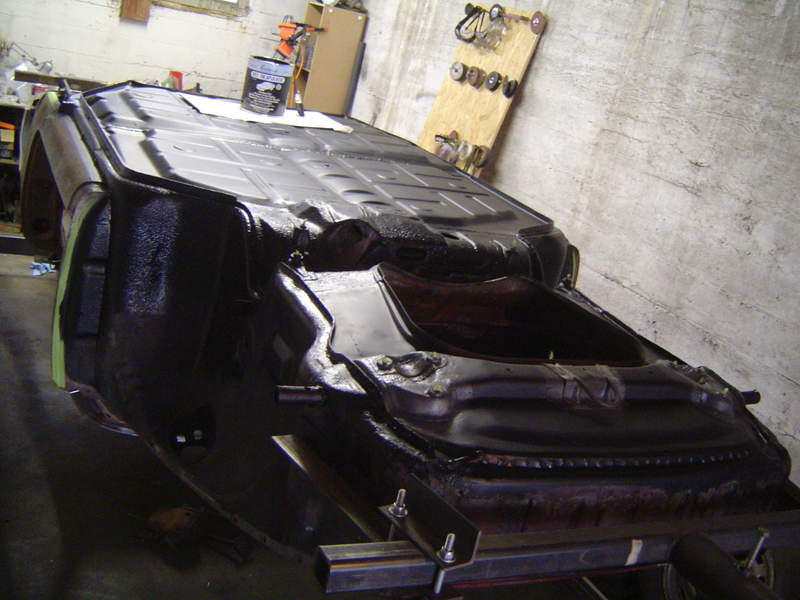 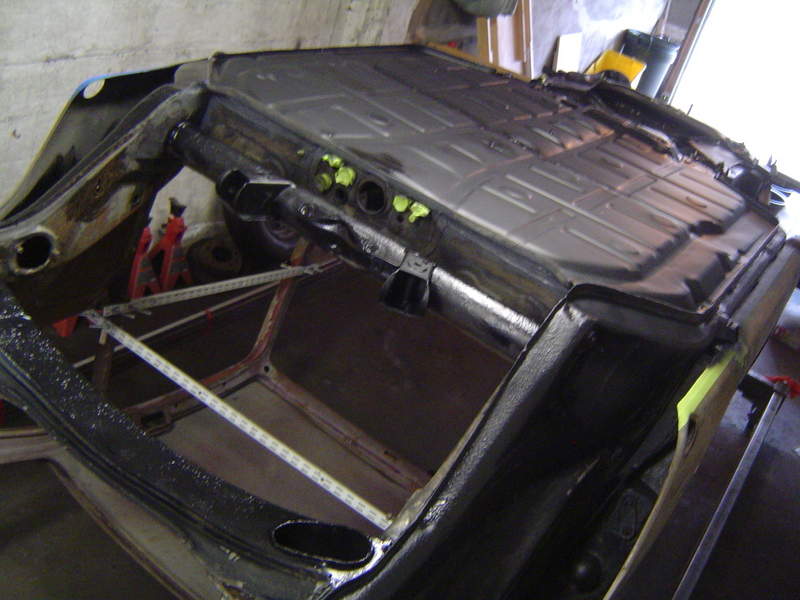 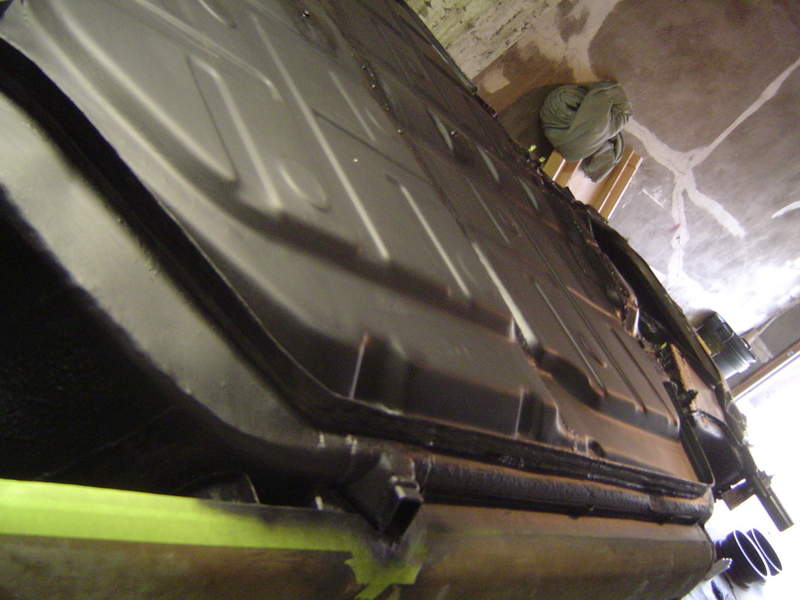 after that the wheels have been relativly straight forward...  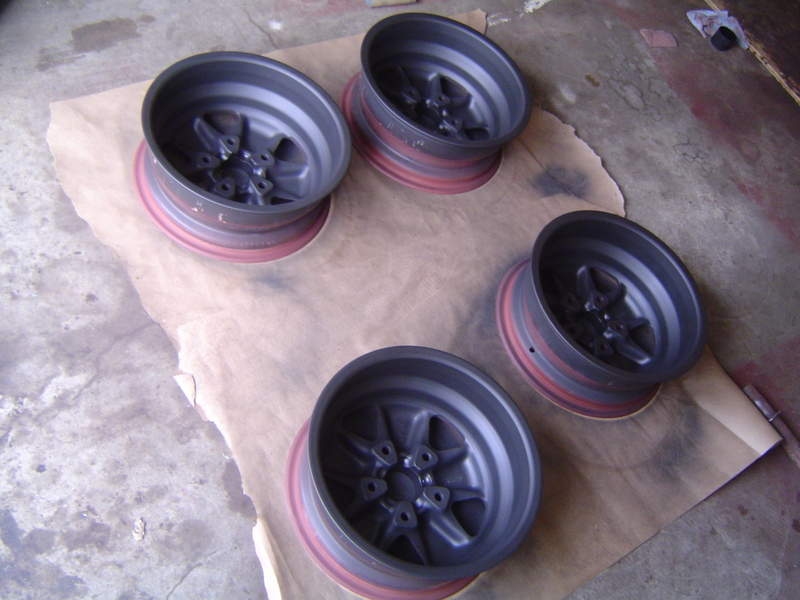 Next steps are to finish the underside paint and wait for the A-arm/swing arms to come back from the powdercoaters, then off the rotisserie and make a start on the rear seat section...BUT THEN... priorities changed abit at this stage of the project. My wife and I had our first children (twins!!)... |
||
|
12-07-2008, 01:00 PM
|
|
|
Registered
Join Date: Sep 2005
Location: Northern Virginia
Posts: 1,792
|
You, sir, are one steely eyed missile man! Nice work! And another one gets saved.
Brian
__________________
'82 SC Targa '83 SC Cabriolet |
||
|
12-07-2008, 01:03 PM
|
|

|
|
Registered
Join Date: Mar 2008
Location: Portland, OR
Posts: 323
|
It was abit busy with nappy changes and late night feeds for the twins, but managed afew hours a week in the garage...
Got the rubberised undercoat on, its messy stuff but covers well and hides the welds 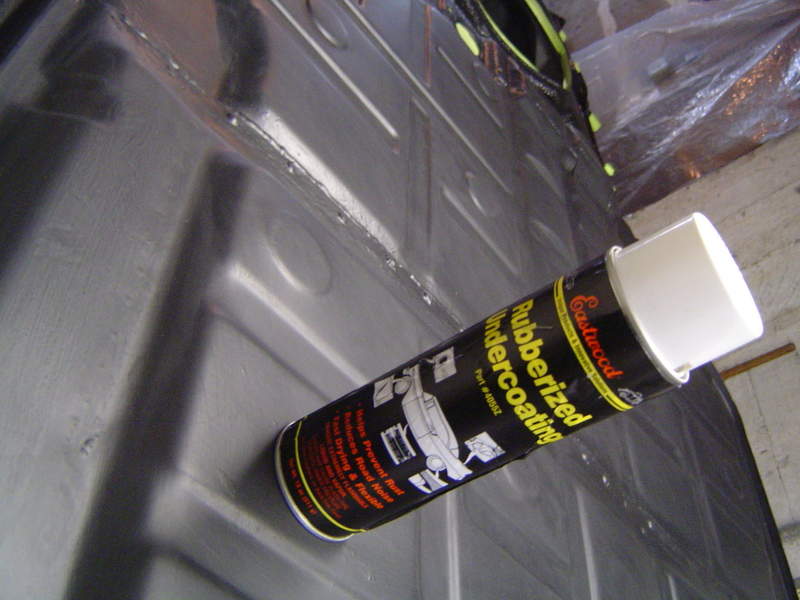 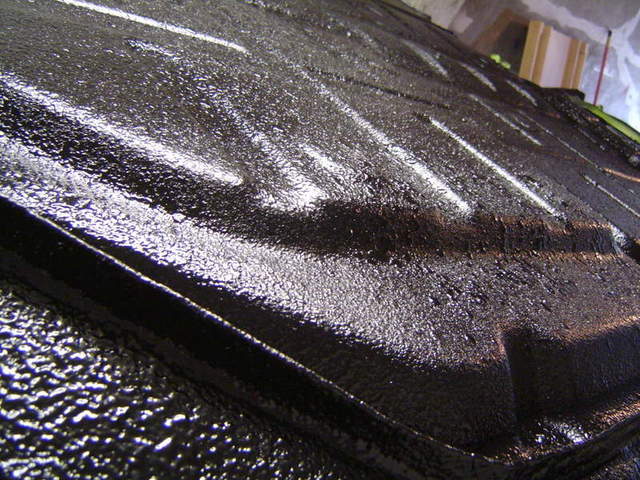 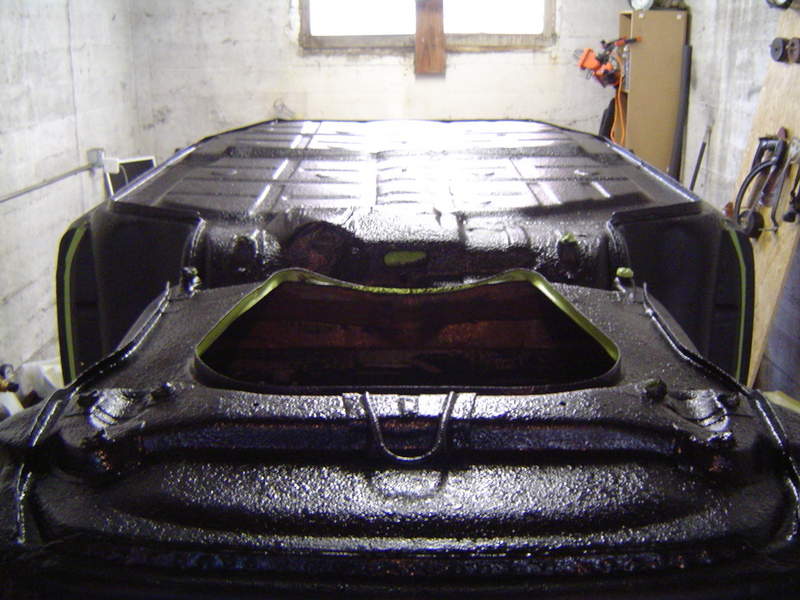 Then topcoat... 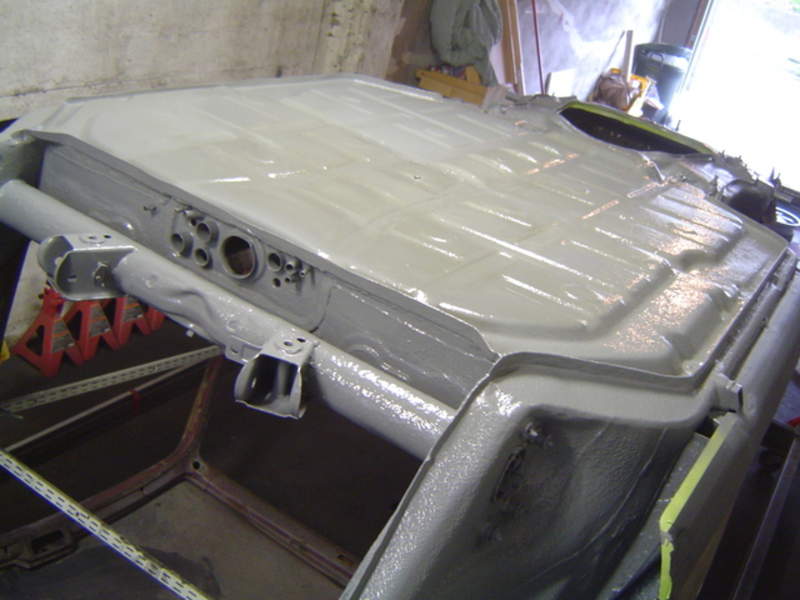  The local tire shop had a sale on so I decided to get the wheels finished in what will be the final body colour and tyres mounted, alittle premptive but a good deal is a good deal... 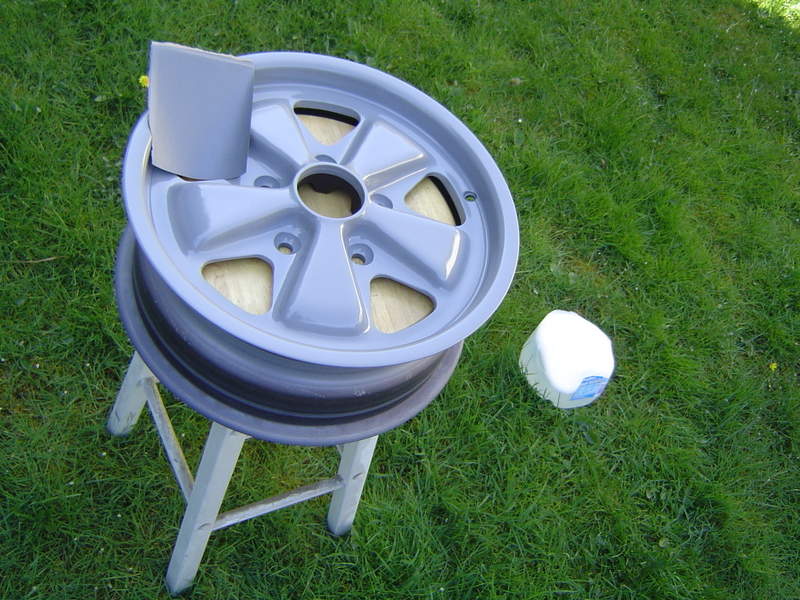 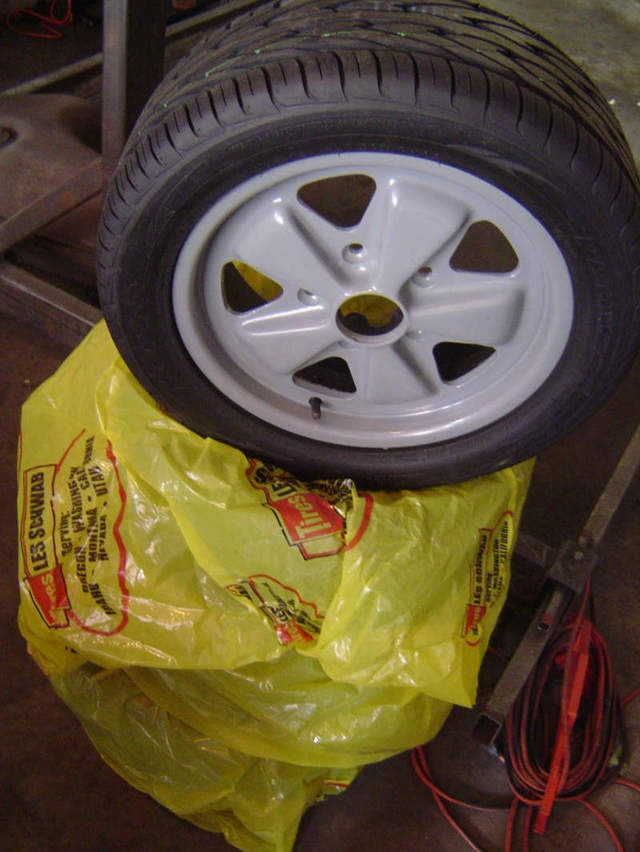 RSR style front strut brackets mocked up... 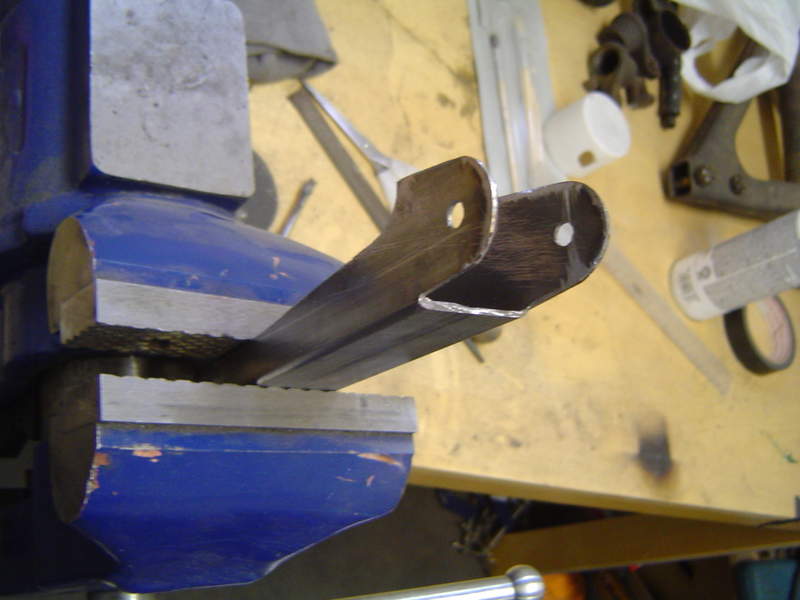 
|
||
|
12-07-2008, 01:08 PM
|
|
|
Registered
Join Date: Mar 2008
Location: Portland, OR
Posts: 323
|
Started on the rear seat area. First brace the lower panel and then build the frame work, alot of measuring and re-measuring but got it down to 2mm +/- each side. Paper patterns and trial fitting then finally weld in of the side panels...
 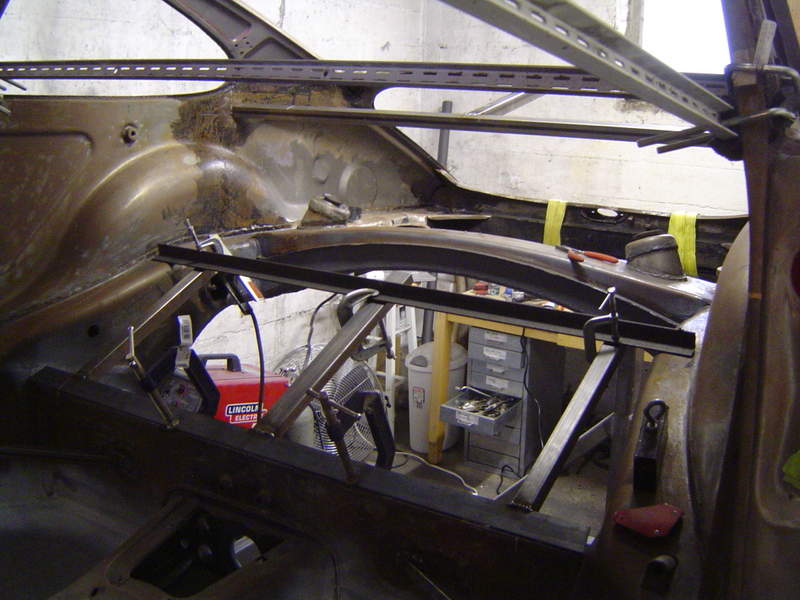  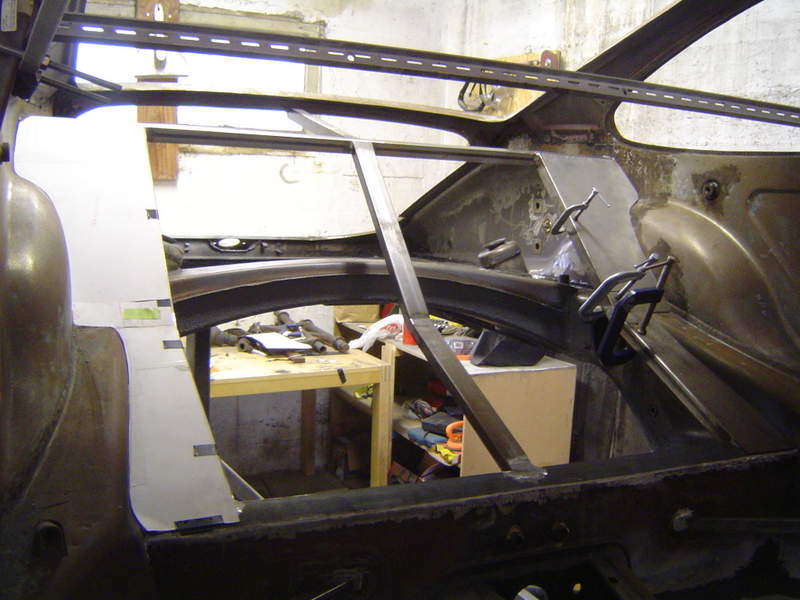  Next step is getting the parcel shelf in and seam sealing it all underneath, sort out the removeable panels and then start thinking about the rollcage... |
||
|
12-07-2008, 01:13 PM
|
|
|
AutoBahned
|
Wow!
two questions: - how many cans of rubberized undercoating did it take? - what is in between those two skin panels on the Rennline piece? is it structural foam? |
||
|
12-07-2008, 01:15 PM
|
|
|
Registered
Join Date: Mar 2008
Location: Portland, OR
Posts: 323
|
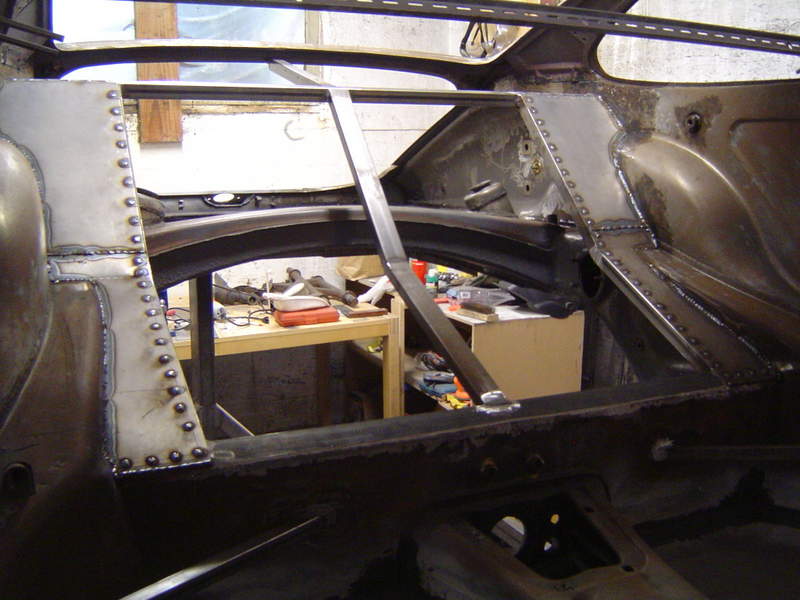
Parcel shelf in...
I was going to buy a bead roller but preferred the look of circles as opposed to lines/ridges. So after trial fitting the two panels and messing around with a home made stamp with little/no success I decided to cut the holes and back them with some thinner 22 gauge sheet metal using some JB weld (metal epoxy) and spot welds. This will give the desired look and also create the necessary rigidity. 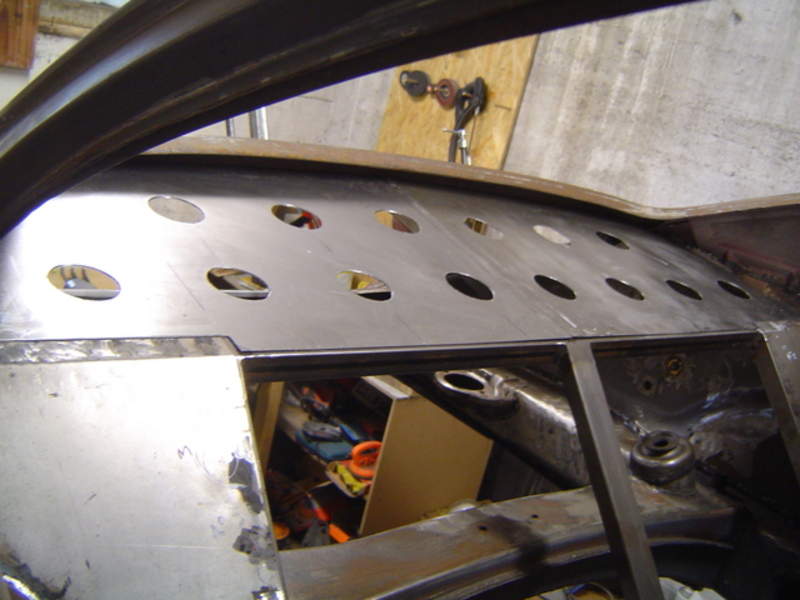 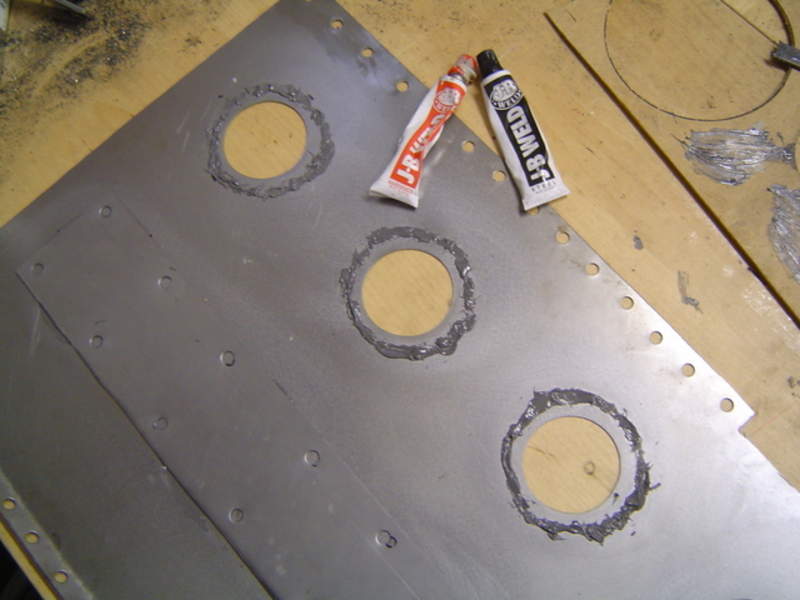 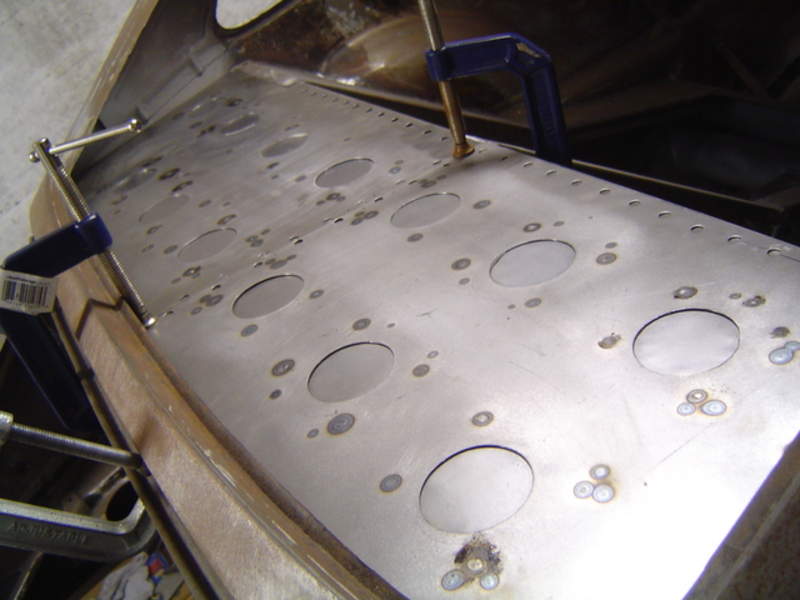 Spot welded in place and then re-made the upright supports between shelf and window. 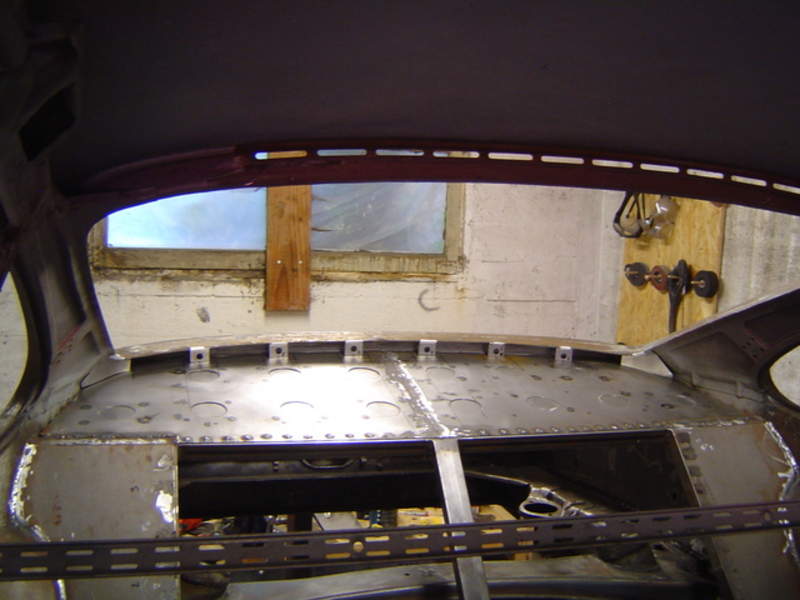
|
||
|
12-07-2008, 01:17 PM
|
|
|
Registered
Join Date: Mar 2008
Location: Portland, OR
Posts: 323
|
Quote:
- I think I used about 7 cans in total, it went on pretty thick. - From what can see the rennline panels are single layer sheet. I haven't got the this stage yet but a structural foam or dynamat may make sense |
||
|
12-07-2008, 01:23 PM
|
|
|
Registered
Join Date: Mar 2008
Location: Portland, OR
Posts: 323
|
At this stage myself and the family were starting to think about relocating back to the UK, I have lived in the US for 3 years but work commitments mean we are heading back home...
Roll bar arrived, great UPS packaging... 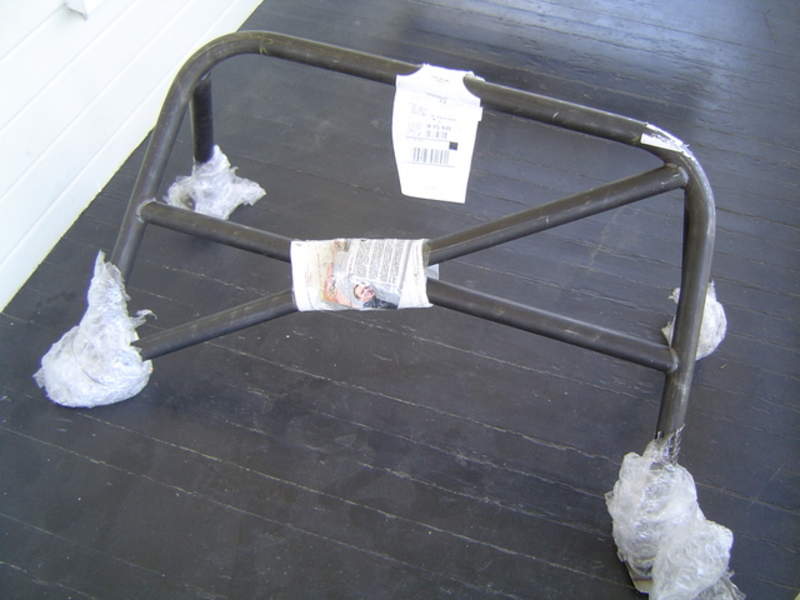 Then tried to get it to fit, firstly I had to cut out the previously welded in 'rear seat' panels, and after much frustration decided to reduce the size of the mounting plate instead, which meant having to re-weld the panel! Very frustrating process but the final solution looks and performs great. 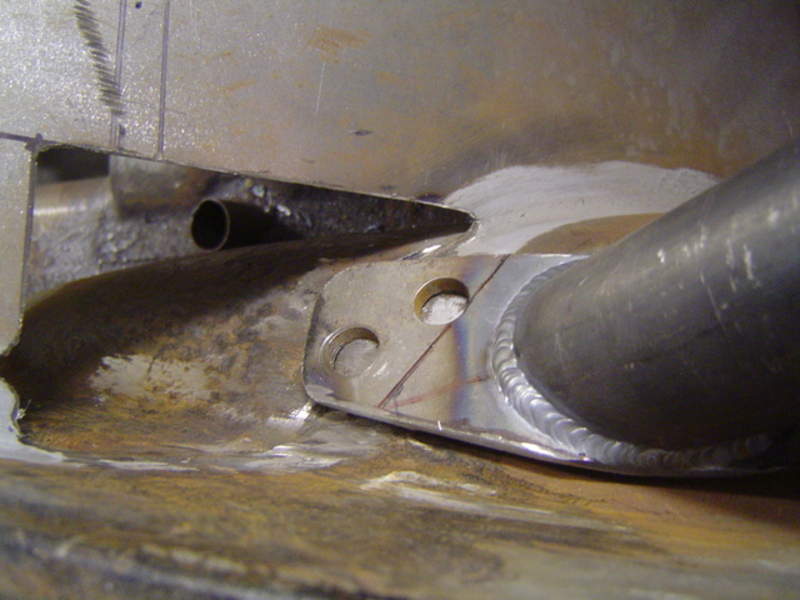 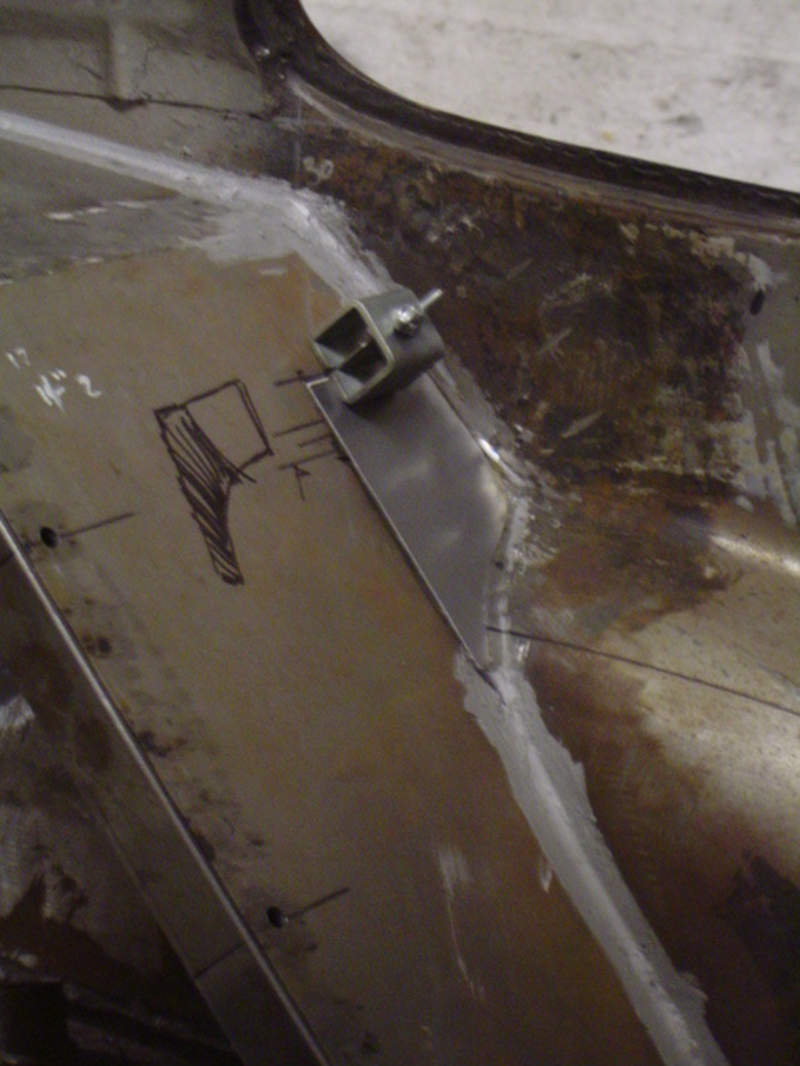 Plenty of other more important things to do but couldn't resist getting the drill out on the bonnet hinges...it took 10 times longer than I thought and all for a grand total of 125g weight savings, but looks kinda cool now thats its powder coated. 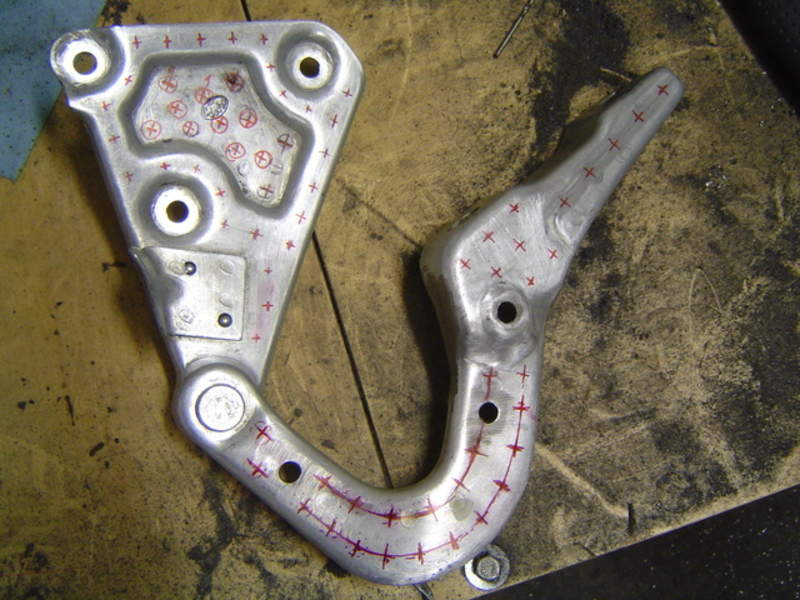 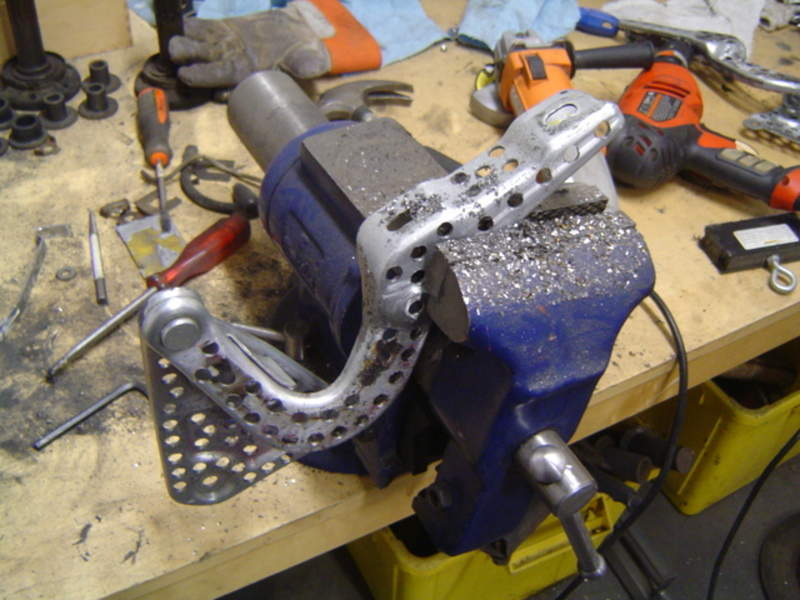 Another case of adding more work. I have seen some examples of RSR's converted to a single wiper so decided to give it a go, cut out old wiper mounts, reposition, and fill in holes. I still need to sort out the wiper motor, choices are 924/944 maybe mk1 golf? but again, I like the look... 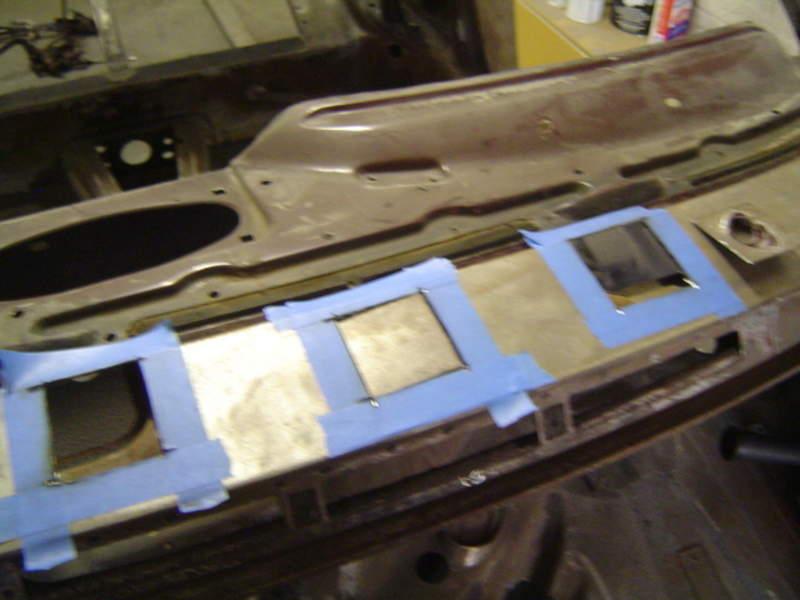 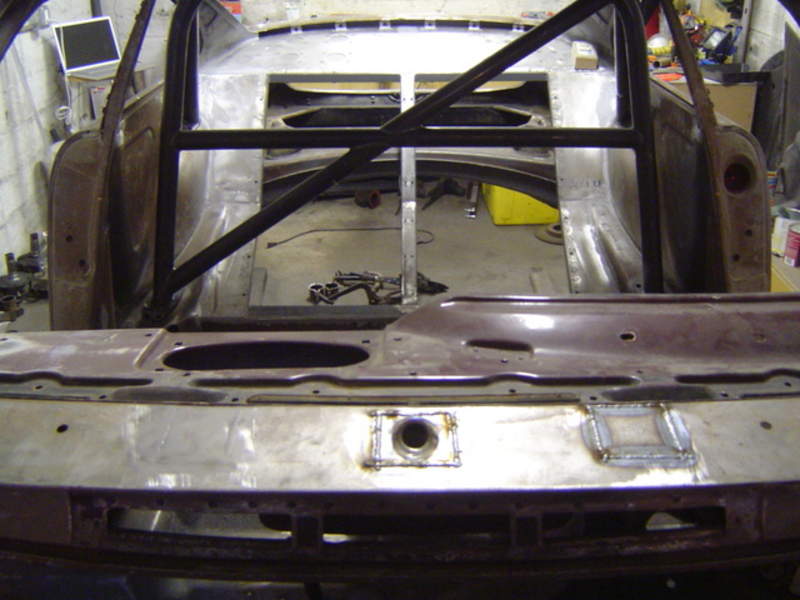 The dash was pretty badly beaten up with various radio modifications so decided to cut out and repanel. The area where the ash tray was will be a double row bank of toggle switches for lights and wiper etc. Still need to mock-up knee pad/panel support bar. 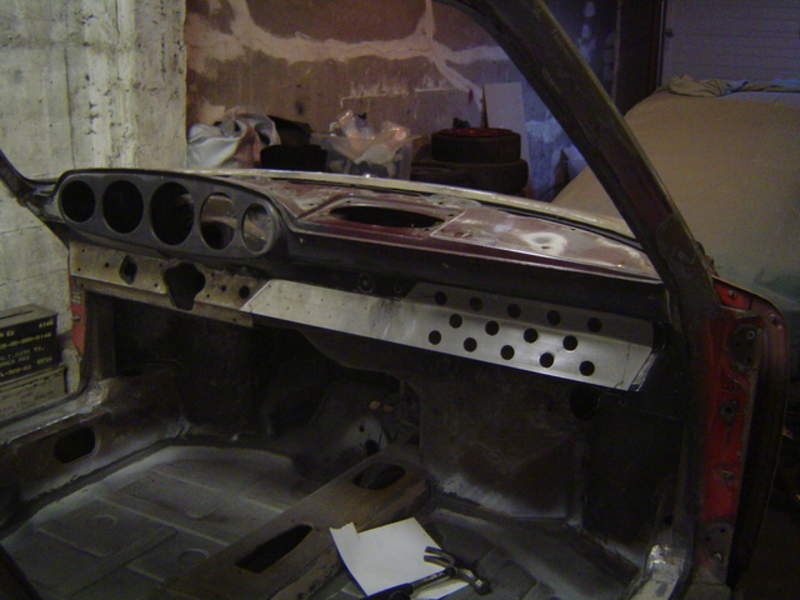
|
||
|
12-07-2008, 01:30 PM
|
|
|
Registered

Join Date: May 2003
Location: The Beave, OR
Posts: 6,288
|
 subscribed subscribed(sorry, I guess Pelican BBS don't have a "guy eating popcorn" smiley?)
__________________
Doug Currently Between Porsches PART OF MY SOUL: '09 Boxster 2.9 PDK, '86 911, '76 912E, '06 Cayman S, '90 911 C4, '74 911, '78 911 Targa, '01 Boxster, '70 911T, '99 Boxster (#2), '72 911T, '88 911, '99 Boxster (#1), '84 911 Turbo Look, '73 911 Targa, '88 944 |
||
|
12-07-2008, 01:36 PM
|
|
|
Registered
Join Date: Mar 2008
Location: Portland, OR
Posts: 323
|
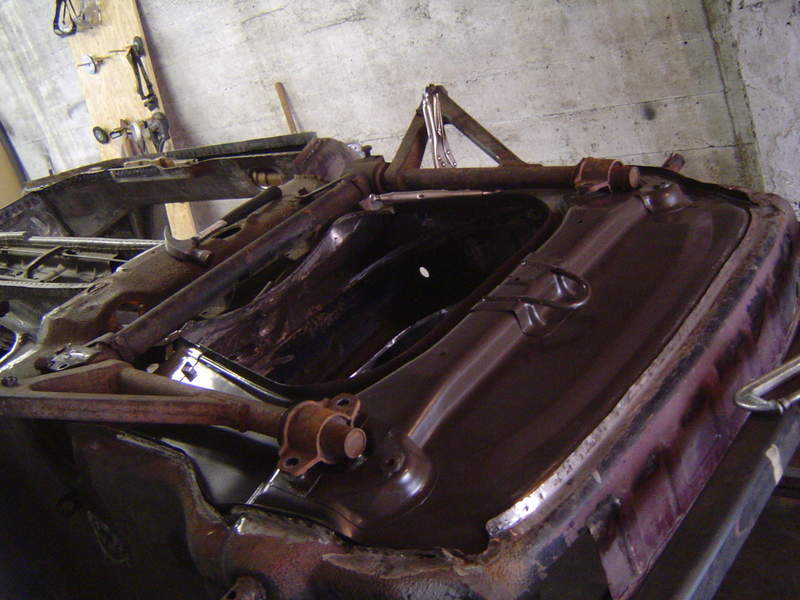
Eventually decided that I needed to draw a line under the welding and body forming work, its as good as I can make it so I put a full body and interior rust coat on. After all this time it is good to see it in all one colour again and I'm actually loving the flat black look!
  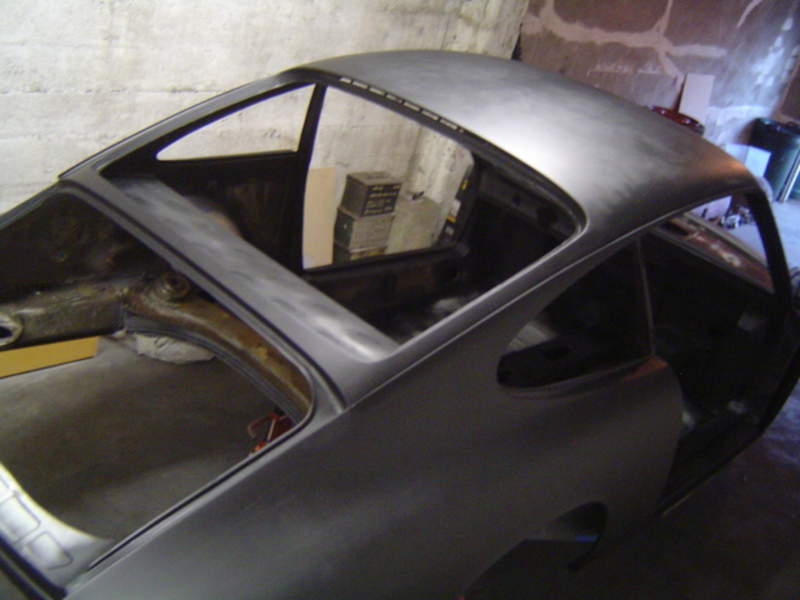 Some parts back from the powder coaters, now need to press in the new wheel bearings. The new polybronze bushings and monoballs arrived from Elephant Racing...very cool and probably the cleanest they will ever be! 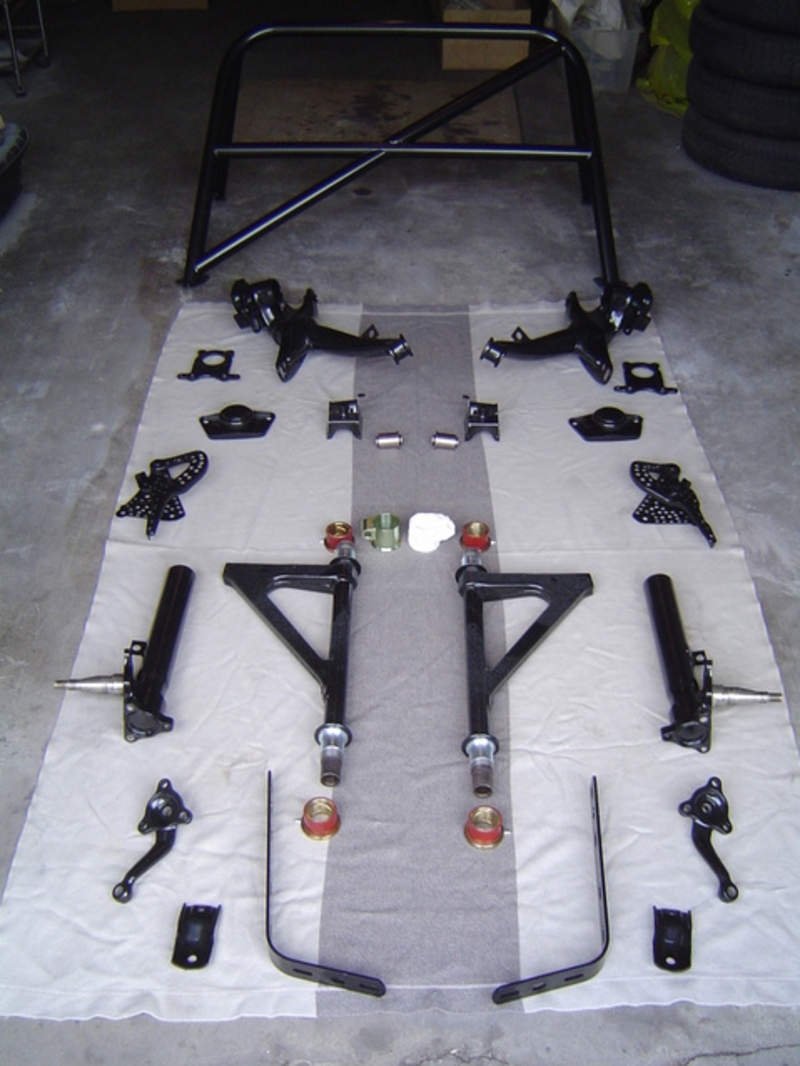 Finally getting somewhere... 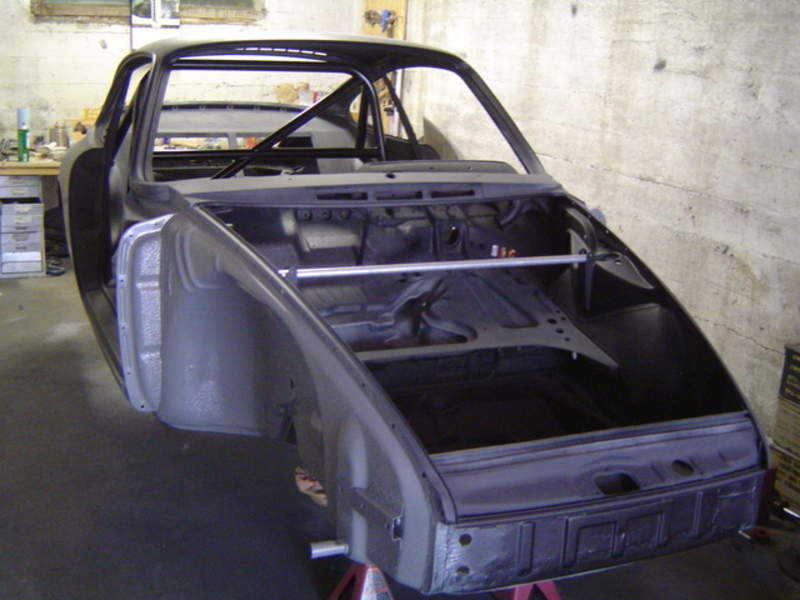 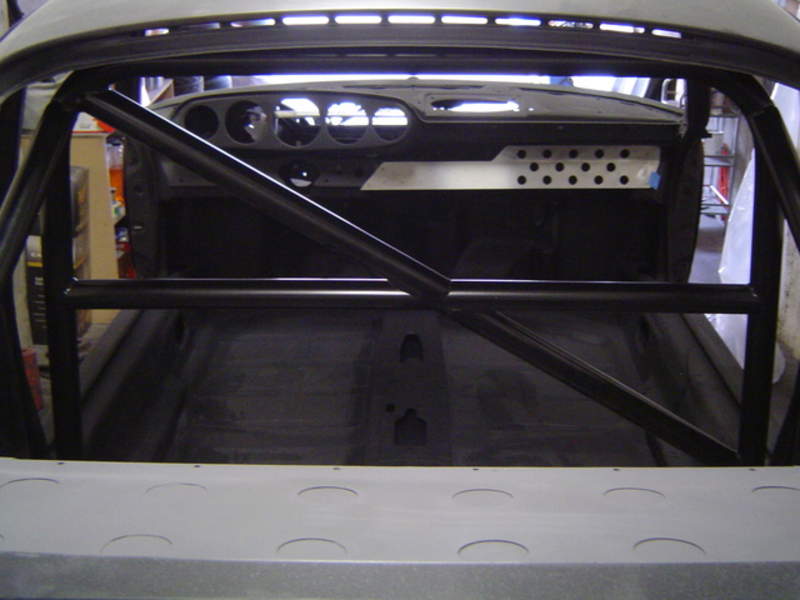 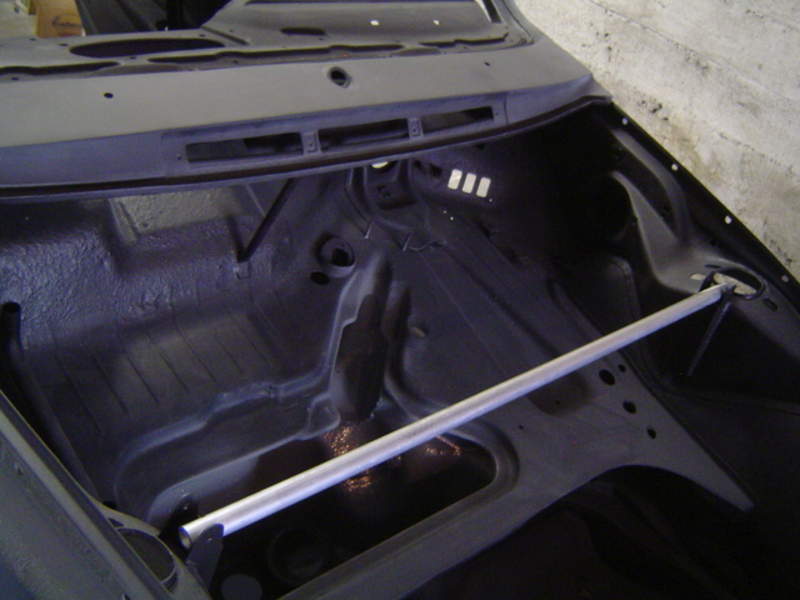 Fibreglass arrived and before I knew I had 10 days to get the wheels on and tired up before in was put in a container and shipped back to the UK (and of course pack up the house and sort out all the paper work etc etc etc!) |
||
|
12-07-2008, 01:37 PM
|
|
|
Registered
Join Date: Mar 2008
Location: Portland, OR
Posts: 323
|
A-Arms and struts attached with Elephant bushings and turbo tie rods, I had a problem with the new shocks i.e missing both locking rings. So I re-inserted the old knackered ones and stopped them bottoming out with some ABS piping.
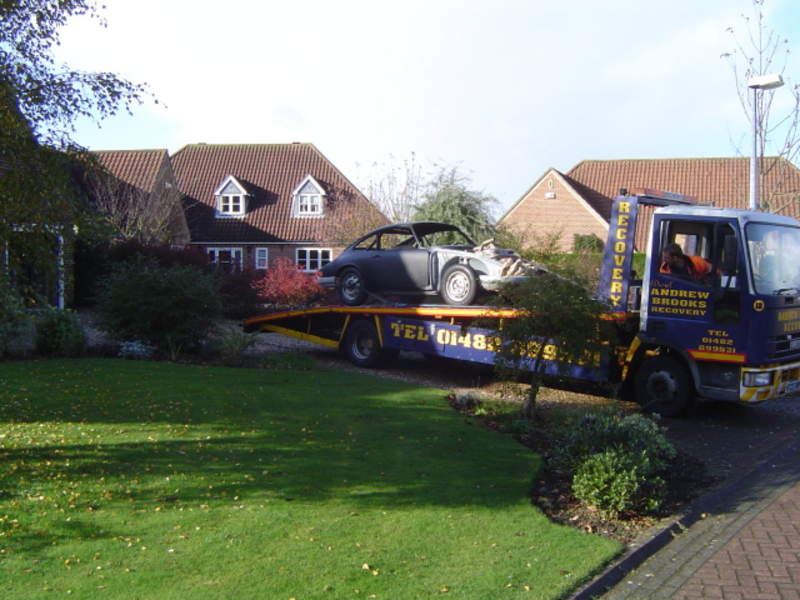
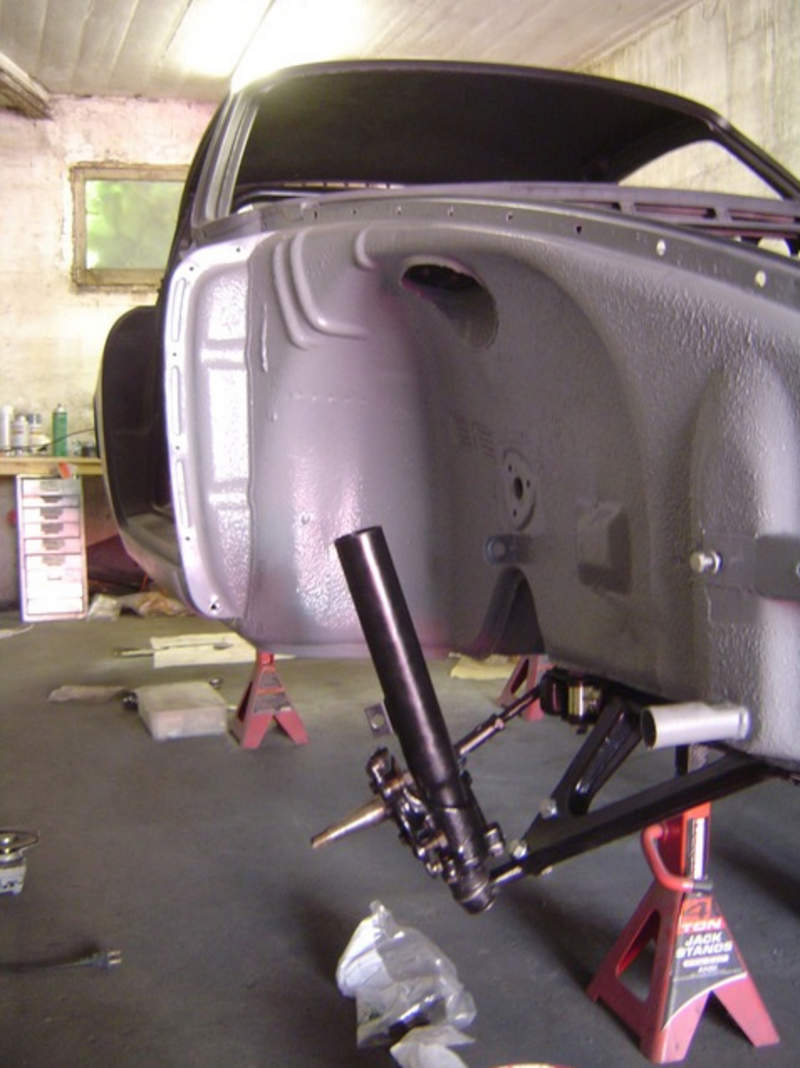 Rear Konis attached and new wheel bearings pressed in. 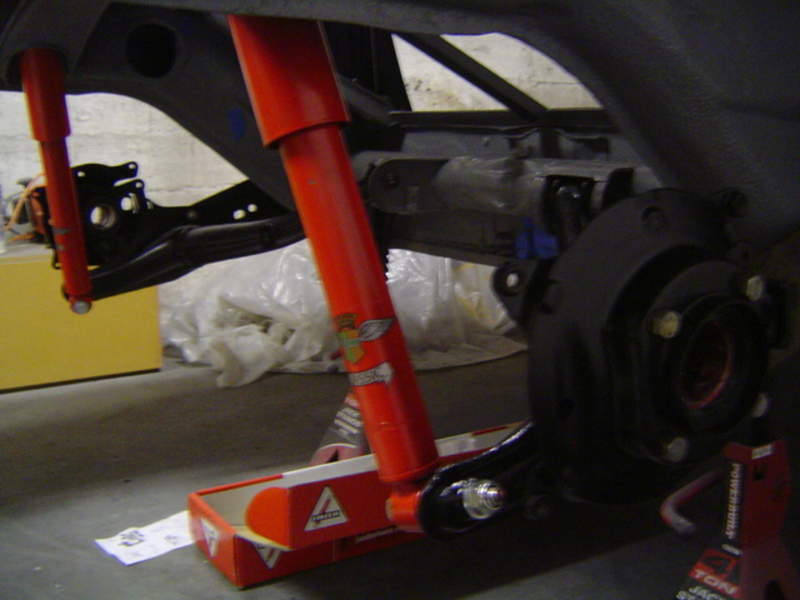 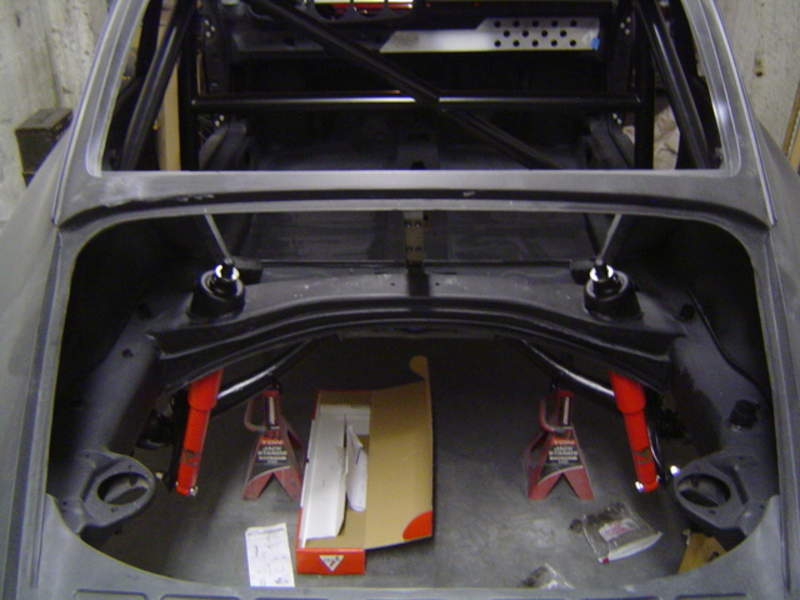 Doors hung and inner panel cutout, the idea is to have the opening and use either perspex sliding windows or try and recreate the 911r leather pullstrap method. 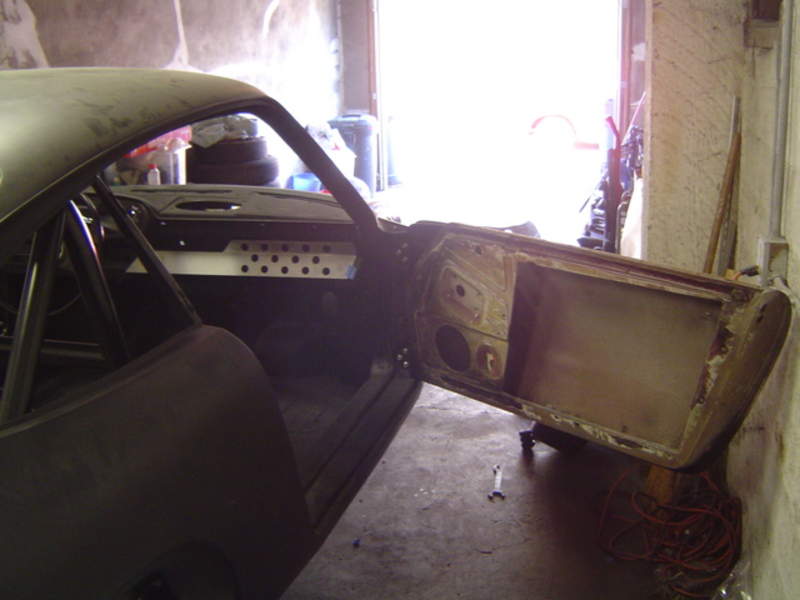 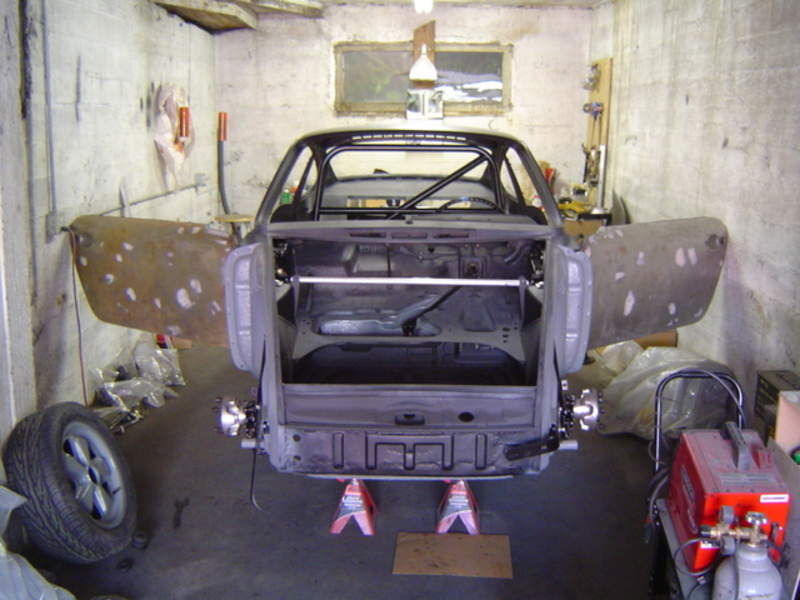 Then all of a sudden the steering column was in and it was on wheels. I wanted to see how it looked on the Fuchs but decided to use the old skinny steels for shipping. I attached the old bumpers to protect the corners but I think I am going to have to sacrifice them and cut out the brackets and use to install the new fibreglass parts. The removal company used the car to pack 2 petrol tanks and some old seats but all in all it looked good in the sunshine for the first time in about 14months. The flat bed truck had abit of a tight squeeze! Should be here in about 6 weeks along with the '67, then time to strip it down again, paint, and then think about the drivetrain/electricals etc. 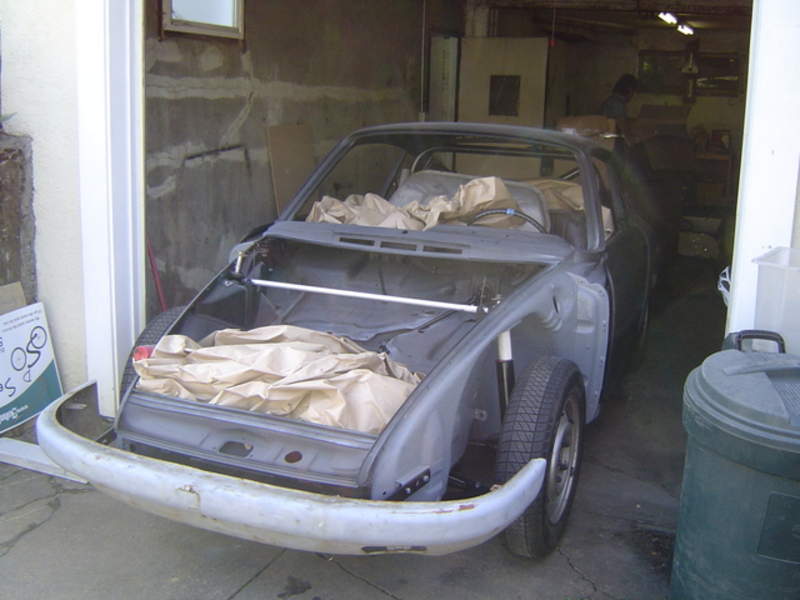 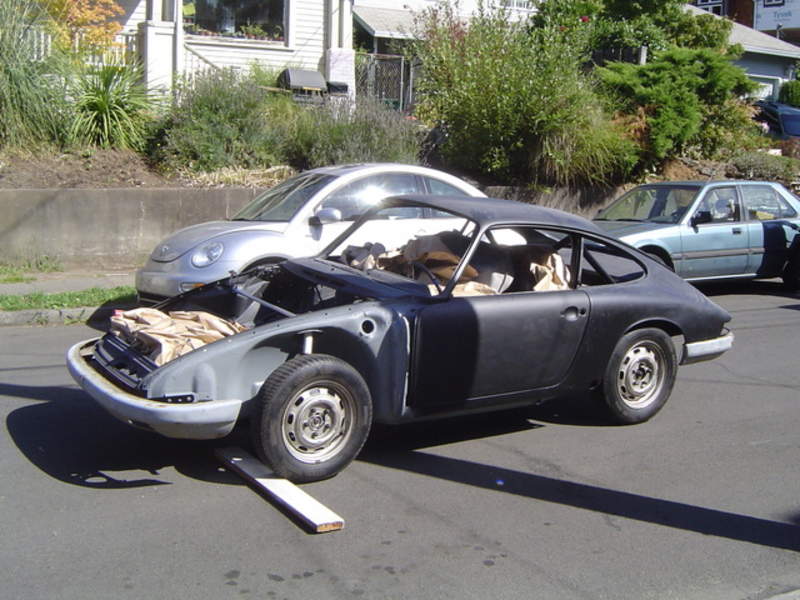 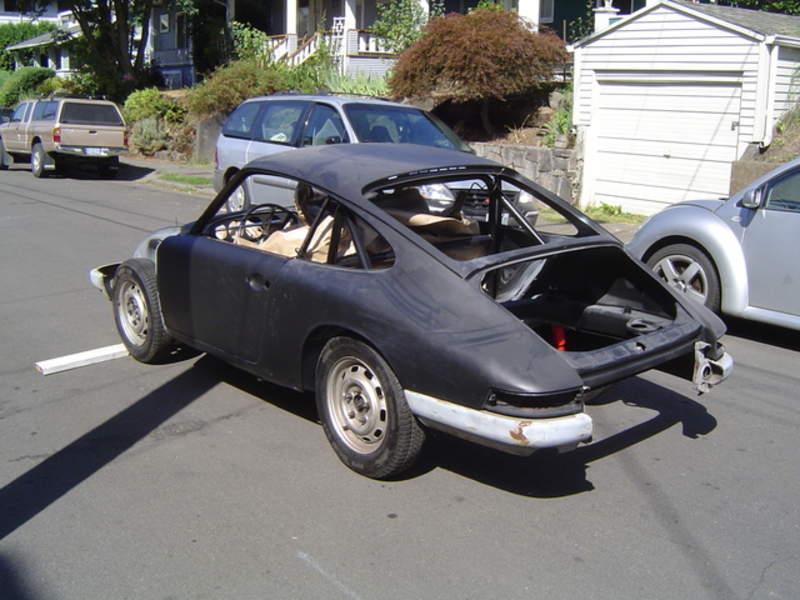 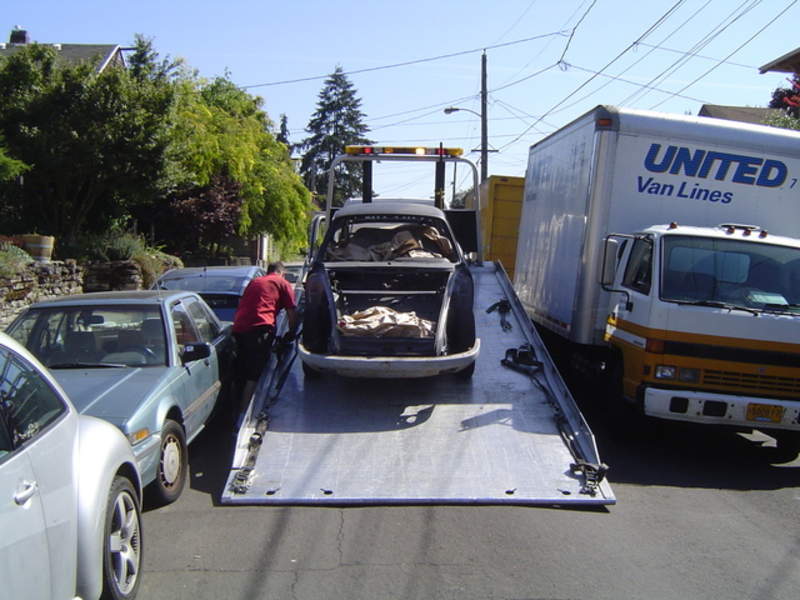
|
||
|
12-07-2008, 01:44 PM
|
|
|
Registered
Join Date: Mar 2008
Location: Portland, OR
Posts: 323
|
Arrived in the UK last month, nice winters day on the back of a flat bed...
 Wasn't until we got it in the garage that it turned out that it had been left outside over night! Water sat in the floors, in the transmission tunnel and worse in the sills!!! 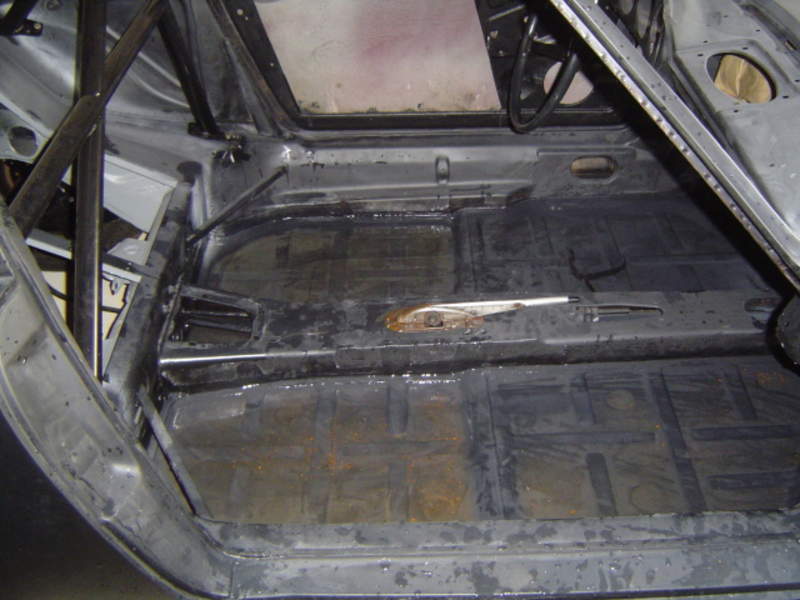 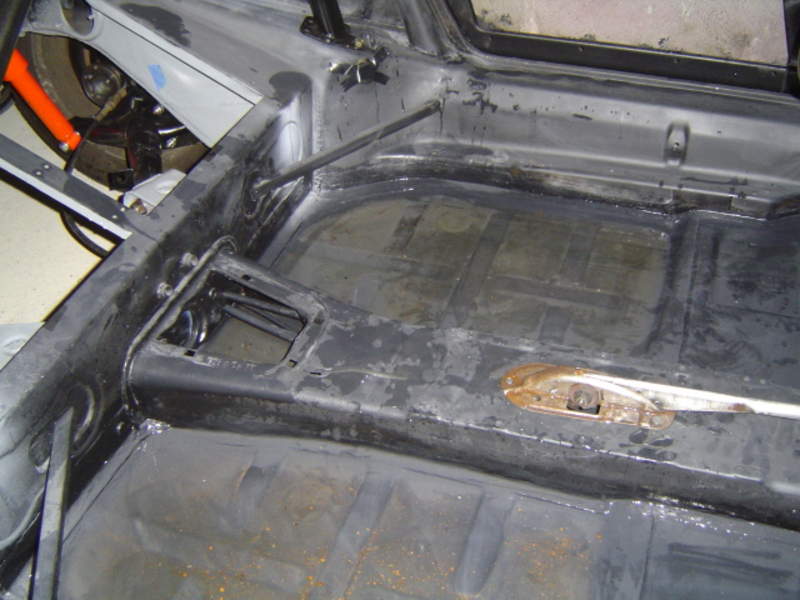 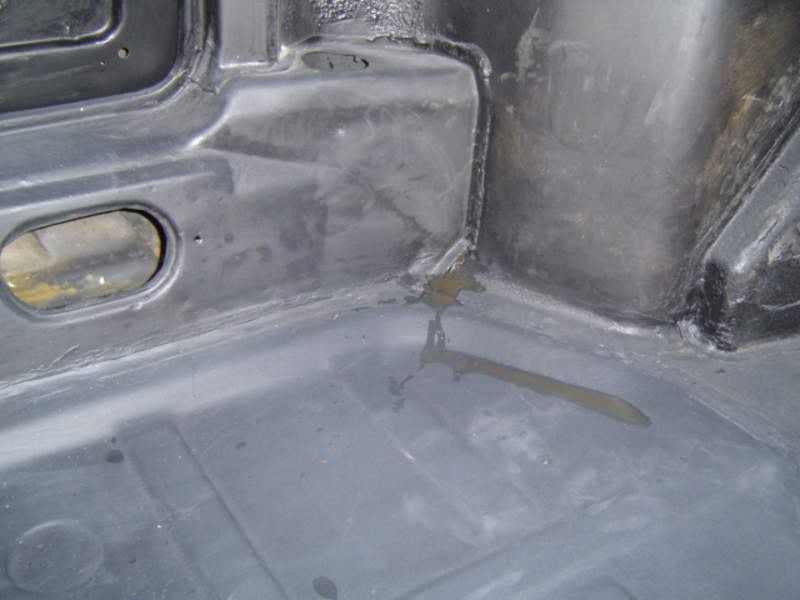 9 months of work and 5000miles bone dry, only for some clueless muppet to not give a damn! Fortunately the earlier removal of the heater tubes and a slight hole in the foot wells helped aid drainage. Basically jacked the back up and the water gushed (not an exageration) foward. Then found that internal step between front and back floors had pooled water. Ended up drilling a 6mm hole in this area to drain, need to patch up later. On top of this the petrol tank mounts were bent and the glass turned up separately smashed!........sounds like a pain at first but at least has made my mind up to go with polycarbonate side and rear screens with the insurance. |
||
|
12-07-2008, 01:49 PM
|
|
|
Registered
Join Date: Mar 2008
Location: Portland, OR
Posts: 323
|
Out in the sunshine today (sunny but freezing cold!) to start and sort out the fibreglass body panels. Initial fit is not bad, the hole locations in the molds seem to line up pretty well with everything but need to sort out the brackets for front and rear bumpers. Liking the colour of the grey (wheels/wheelarch) out in the daylight, looks alot darker than I thought it would, but in a good way...
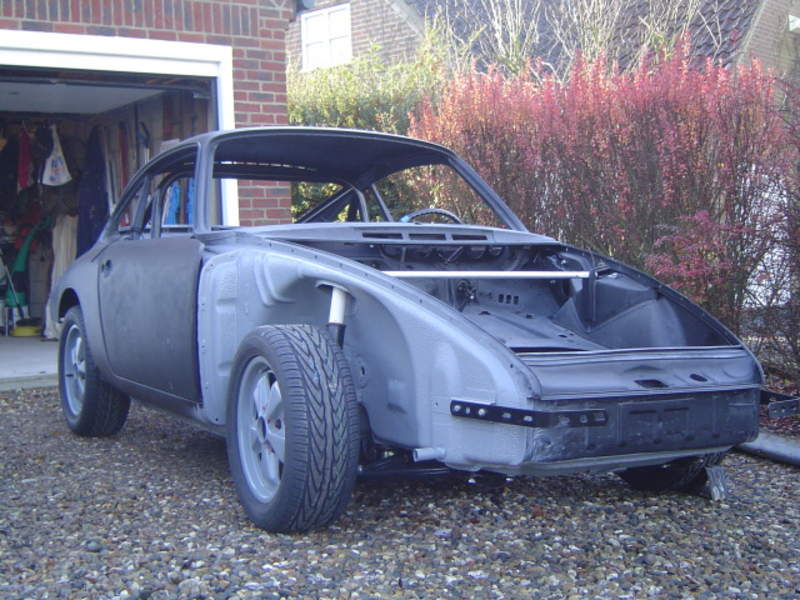 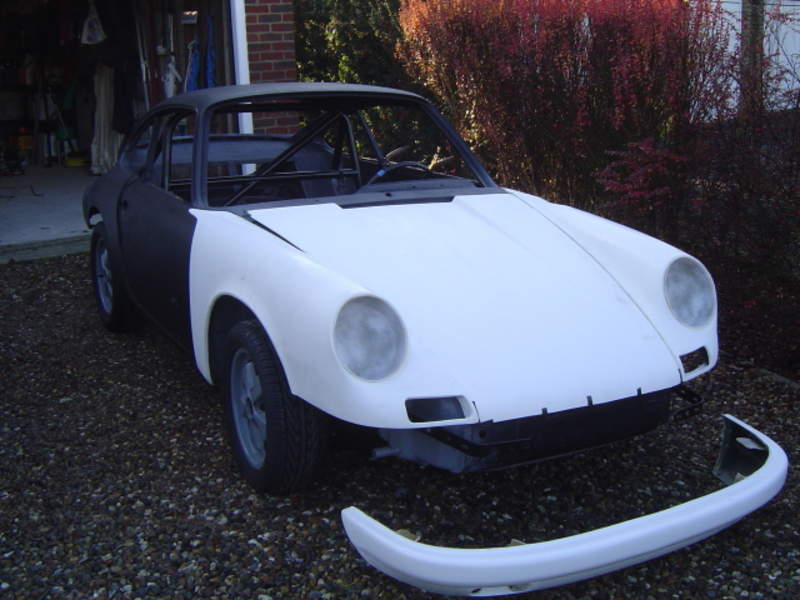 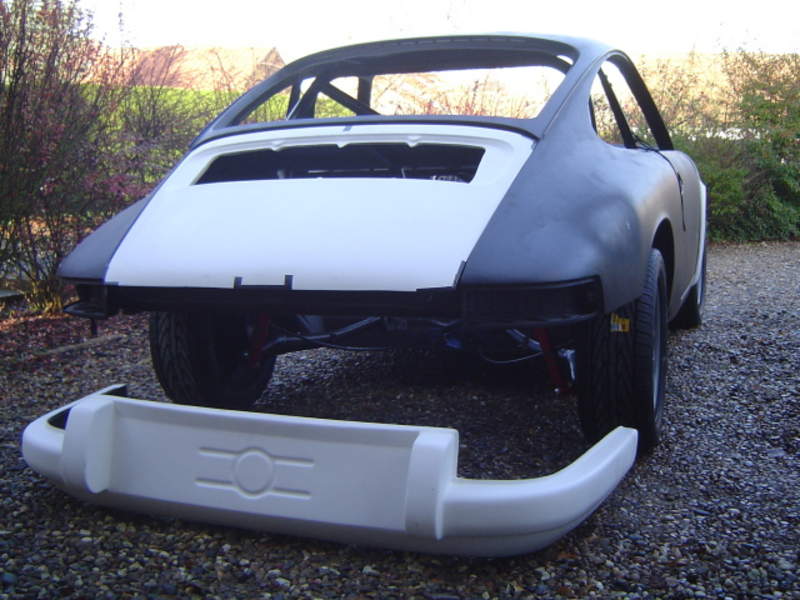 Anyway, so that is where I am with my project...hopefully I can keep the momentum going over the winter and give some updates soon... Thanks Chris |
||
|
12-07-2008, 01:53 PM
|
|
|
Registered
Join Date: Jul 2008
Location: Boston, MA.
Posts: 67
|
awesome..pictorial...ill be watching this get completed!...great work
|
||
|
12-07-2008, 01:54 PM
|
|
|
Registered
Join Date: Sep 2002
Location: Lake Tapps, WA
Posts: 3,070
|
WOW, this is an ambitious project!
At this rate, Chris will be done with it about 6pm pacific time  Keep up the great work, let me know if you need any close up photos of anything when you get ready for reassembly.
__________________
'67 911S '69 911S, '70 911ST '73 911T Targa Signal Yellow '78 911SC backdate |
||
|
12-07-2008, 02:07 PM
|
|
|
1980 911 SC
|
What a journey! Subscribed.
__________________
Life's a Beach |
||
|
12-07-2008, 03:11 PM
|
|


 911SC
911SC
