 |
 |
 |
 |

|

|
|
|
|
|
|
Registered
Join Date: Aug 2008
Posts: 844
|
Targa Top Rebuild... a DIY
The Targa top was is bad shape, the usual ripping at the folds. Decided to take a look... and the insides was rotted. Unfortunately, the webbing was also ripping.
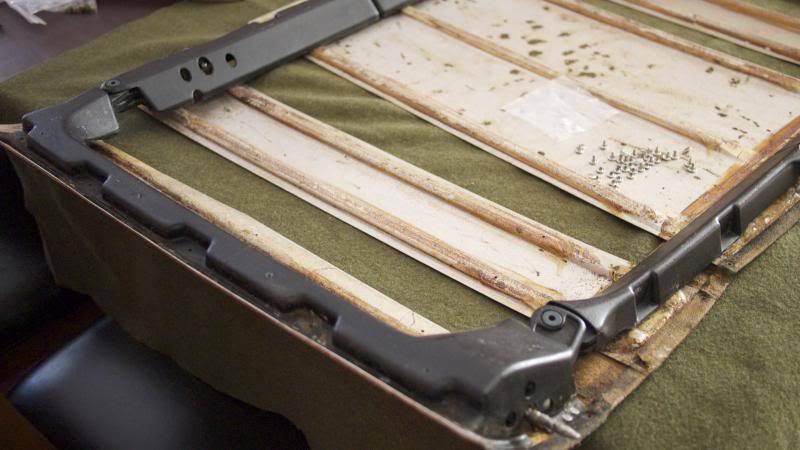 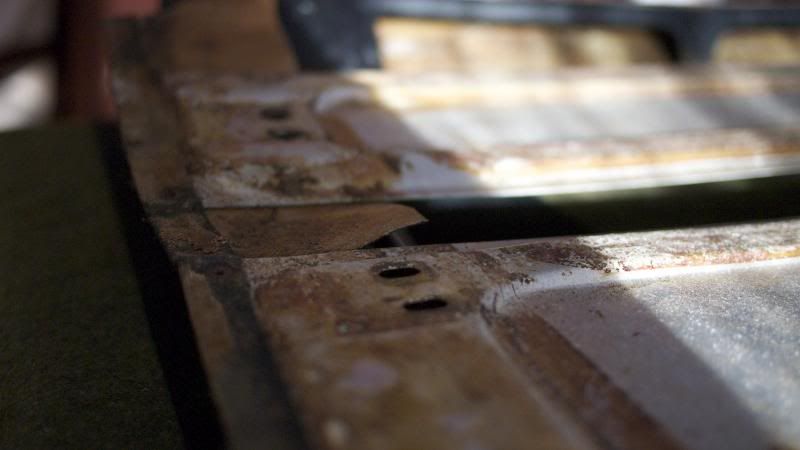 When I tried to unscrew the post, it was seized and wound up stripping the threads, I had to drill out the rivets to get at the siezed nut between the frame and aluminum boards. Installed new posts and and covers to stop the rattling from speeds and bumps. 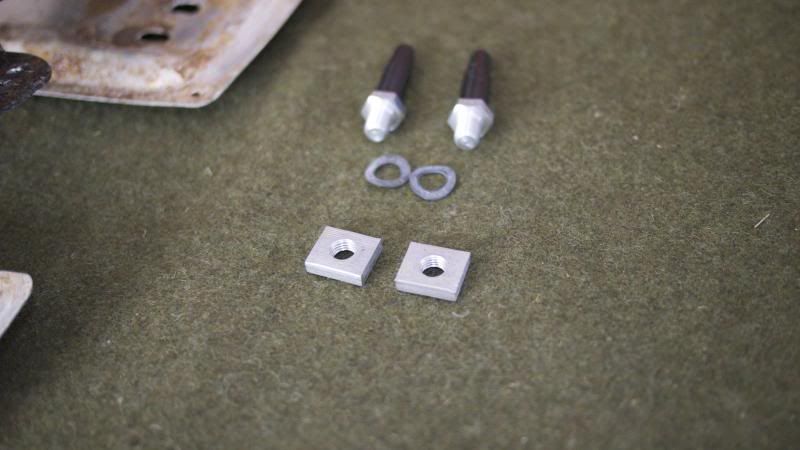 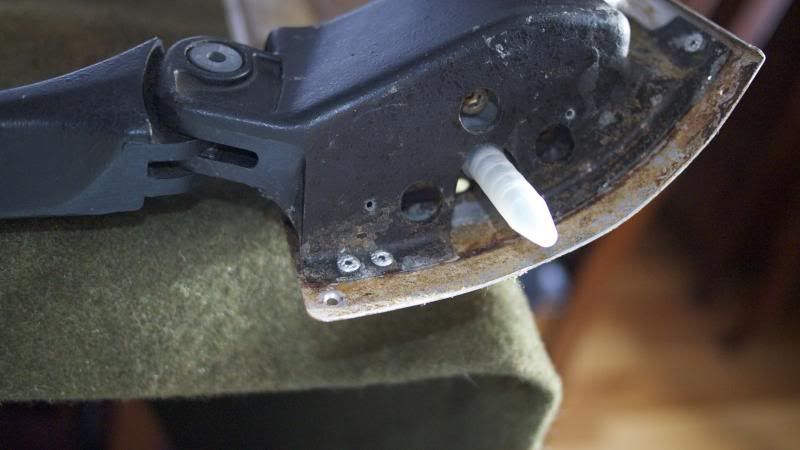 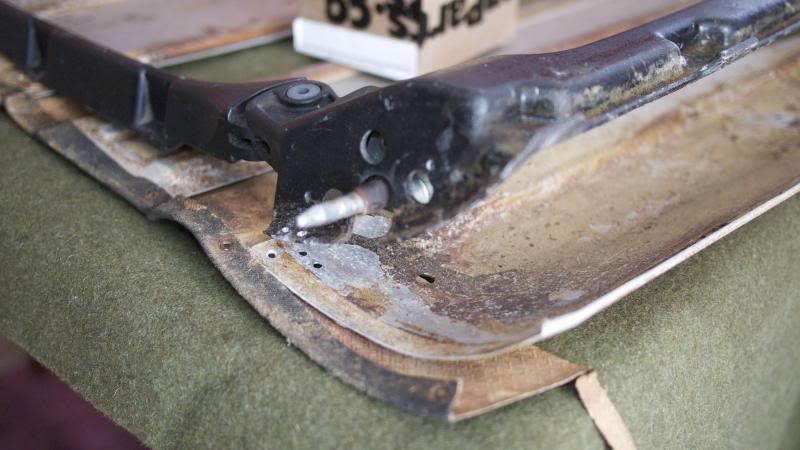 Once the new post was back on, I re-rivited the frame back on the boards. 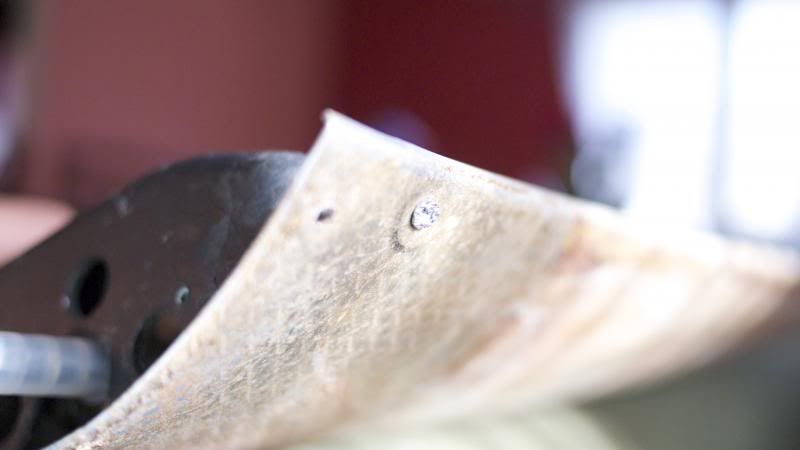 So, now I had to get rid of the rotted out webbing by drilling out the old rivets. 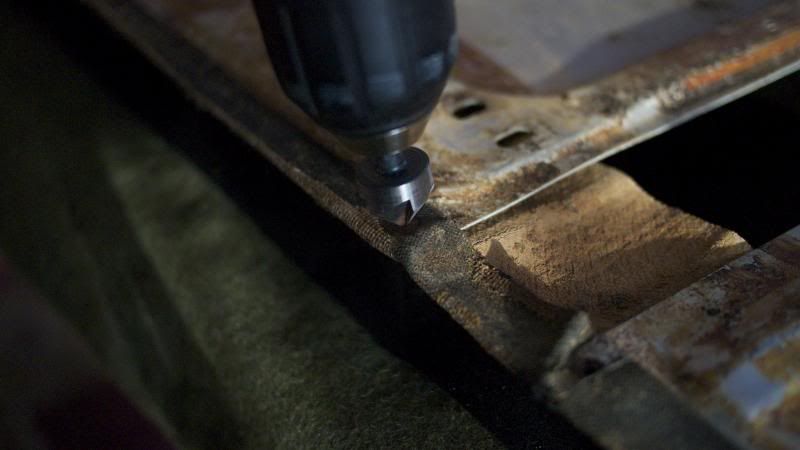 The steel plates that hold the brackets rusted out and I snapped the screws while trying to remove them… had to make new plates with new screws. 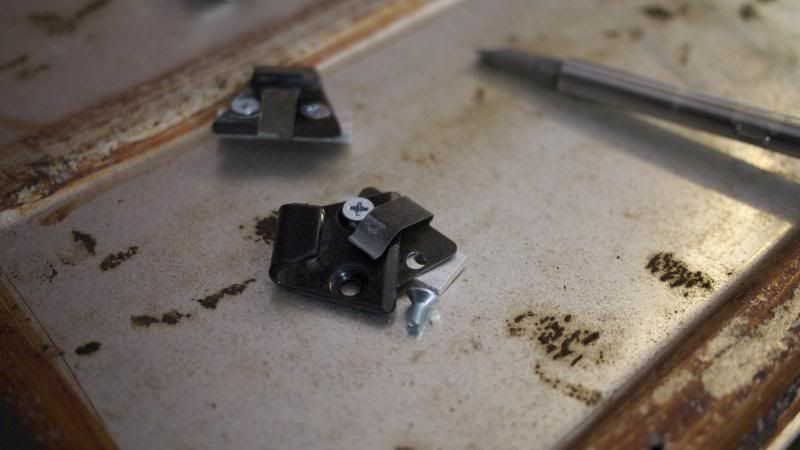 re-assembled the pieces back together to get the shape back. The little brackets needs to be adjusted to move the aluminum boards up/down. I used the new vinyl cover (under the frame in black) as the template to shape the top. 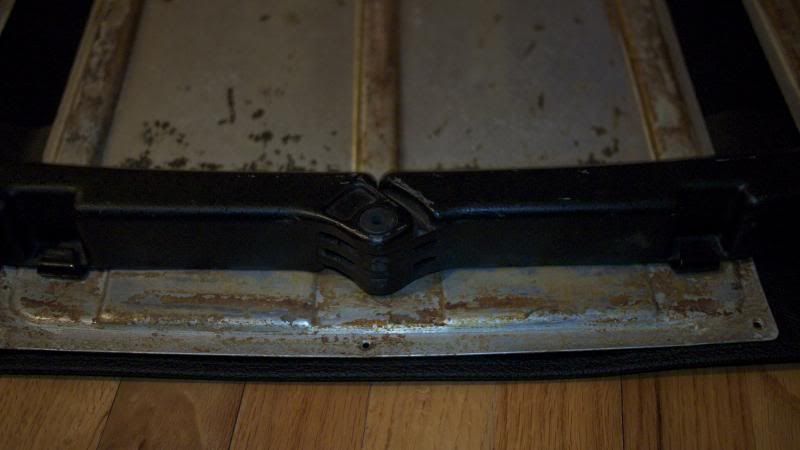 added new foam for the recessed area of the board to keep lumps out of the top and taped down the bracket nut in place. 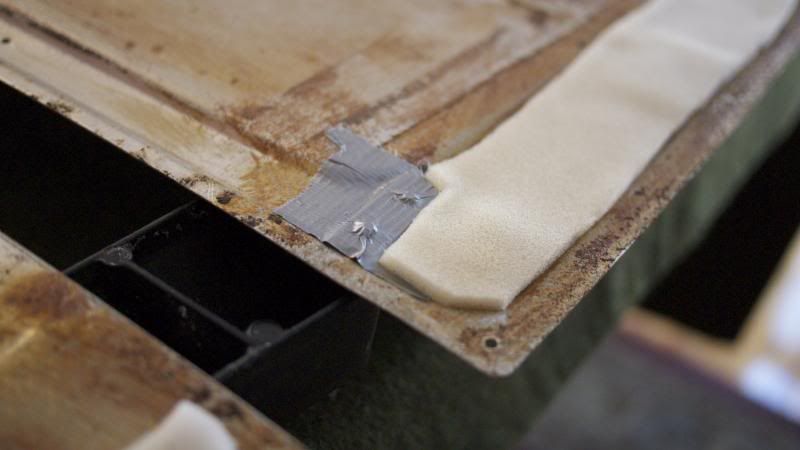
Last edited by redridge; 12-13-2013 at 05:06 PM.. |
||
|
|
|
|
Registered
Join Date: Aug 2008
Posts: 844
|
placed the frame on the car and checked for squareness and adjustments, marked its position at all the hinge points just in case I totally screw up the shape.
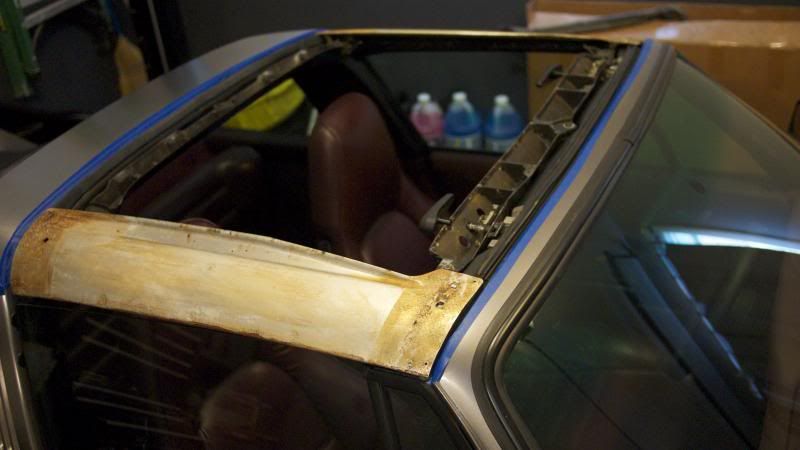 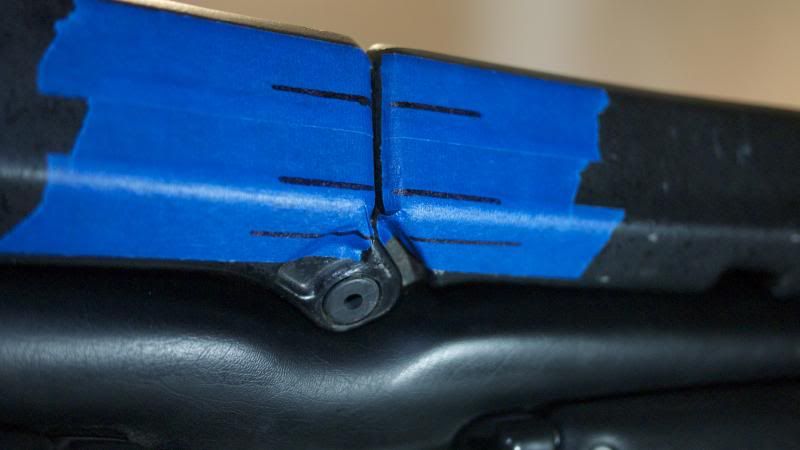 these 3 bolts adjusts the up/down of the top, there is also adjustments for the rear of the top. Once adjustments are made, take off the top carefully to put the boards and webbing on. 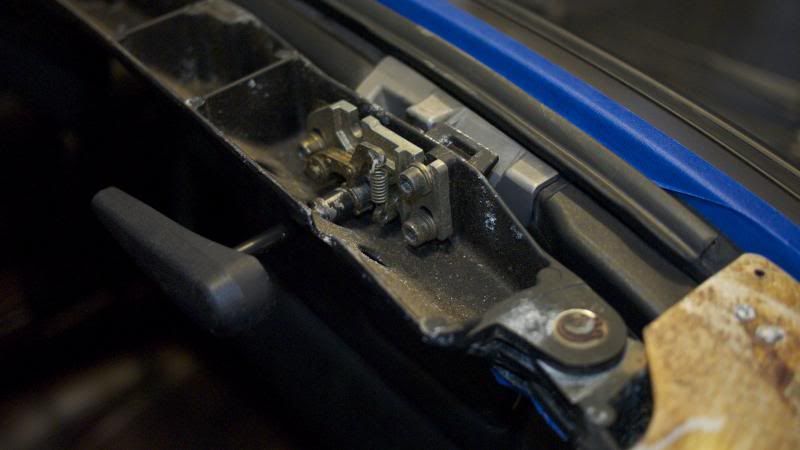 now ready for the new webbing… you can see the rectangular bar I made that holds down the bracket. Make sure the 3 boards are in center with its brackets. Once the webbing is glued on the boards will no longer have adjustments... this is very important, center the boards with its brackets before glueing down the webbing! 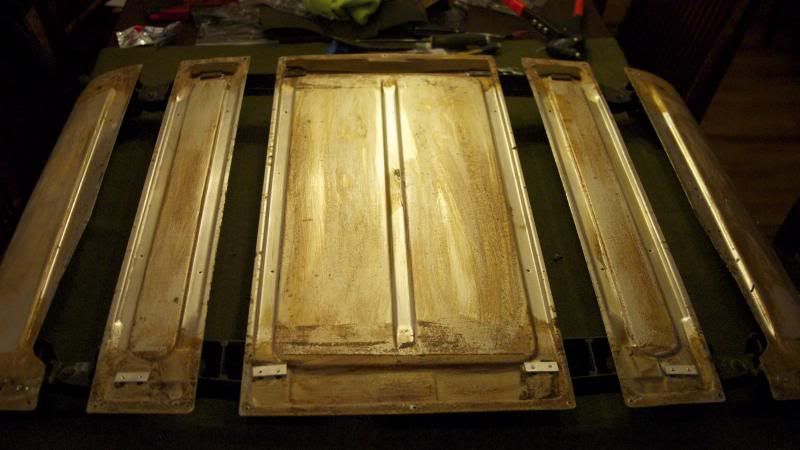 determine how much webbing you want to use (I used 4" from the edge). Clamp down one side and glue the board and webbing… pull to the other side making sure it taught but not to tight. Clamp down the other side. 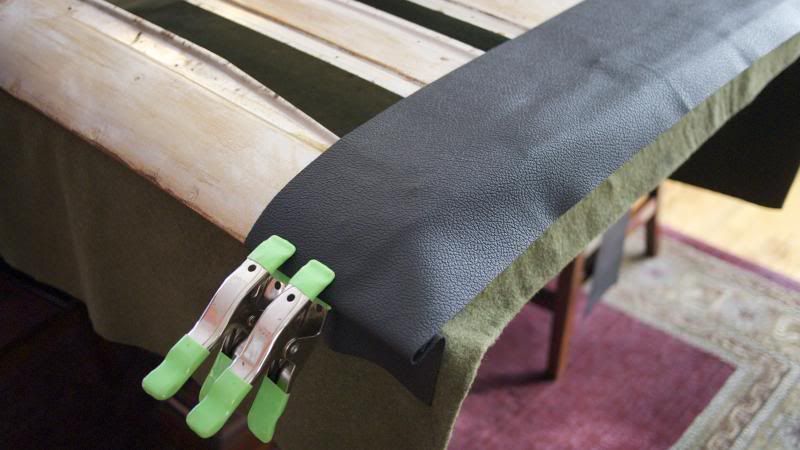 Cut off excess webbing, about 5/8" from the edge of the board and fold the webbing over to cover the other side of the board. Use the rivets from the kit, add some glue to the board and webbing and rivet the webbing in place by using the existing rivit holes (you also need to puncture the webbing so to push the rivits through. I used a vice grip to crush the rivits in place…. use PLENTY of clips and popsicle sticks to hold down the edges… Wait till dry. 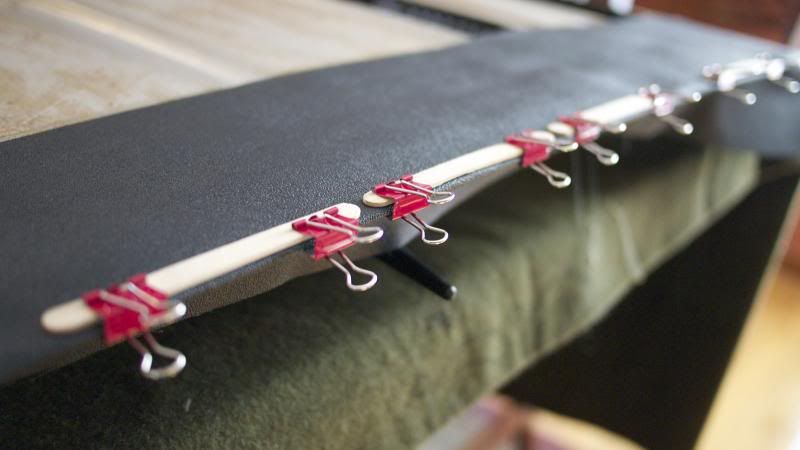 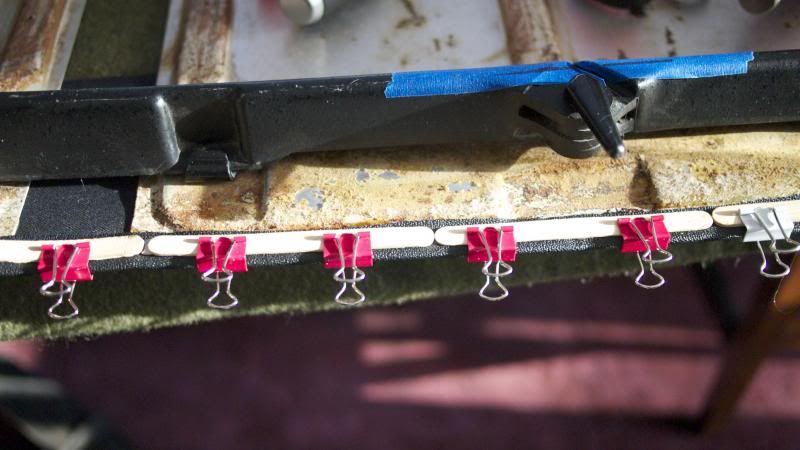 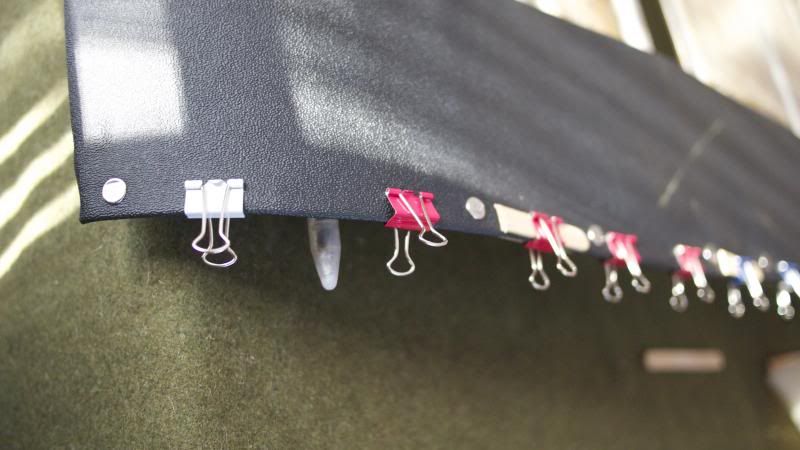 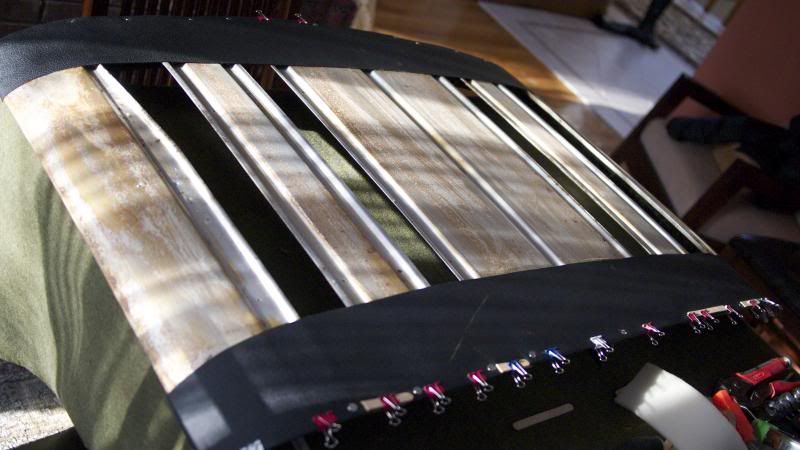
Last edited by redridge; 12-13-2013 at 07:03 PM.. |
||
|
|
|
|
Registered
Join Date: Aug 2008
Posts: 844
|
|||
|
|
|
|
Registered
|
Impressive......
Red,
What do you call those rivets you used? Could you post the backside of the rivet/s? Thanks. Tony |
||
|
|
|
|
Registered
Join Date: Aug 2008
Posts: 844
|
|||
|
|
|
|
Registered
Join Date: Nov 2002
Location: venice ca
Posts: 928
|
nice job
__________________
Jason 81 SC 97 328is 87 Jeep Comanche (RIP) |
||
|
|
|

|
|
Registered User
|
Great dyi project write up ! I will be following your progress, this is on my to do list. Keep up the good work, looks great.
|
||
|
|
|
|
Registered
Join Date: May 2011
Posts: 7,245
|
Quote:

__________________
79 SC Targa 72 T Targa Sold 68 T Coupe Sold 65 912 Coupe Sold 62 356B Coupe Sold |
||
|
|
|
|
Registered
Join Date: Aug 2008
Posts: 844
|
Thanks Porwolf... I asked the boards here about these rivits and no response.
Targa Top Padding Kit? |
||
|
|
|
|
Registered
|
Very cool! I struggle with my top and this is very helpful.
|
||
|
|
|
|
Banned
Join Date: Aug 2010
Posts: 4,682
|
Wow, talk about timing...thanks for doing this. Need to do YouTube Porsche 911 DIY (note to self)...
how much time do u have involved? How much time start to finish? Would u do another one for pay? 706-392-2580 Thx Mark |
||
|
|
|
|
Registered
Join Date: Aug 2008
Posts: 844
|
alot of time were waiting for glue to dry, Im thinking 7-8 hours with waiting so far. Gonna finish this project first before considering doing another... I should finish this project this weekend.
|
||
|
|
|
|
Registered
Join Date: Aug 2008
Posts: 844
|
here's some more progress while it snows outside…
lay down some glue (I used spray glue here) on the boards and webbing. Put the burlap down… you need 2 people to stretch it out while laying it on the top. 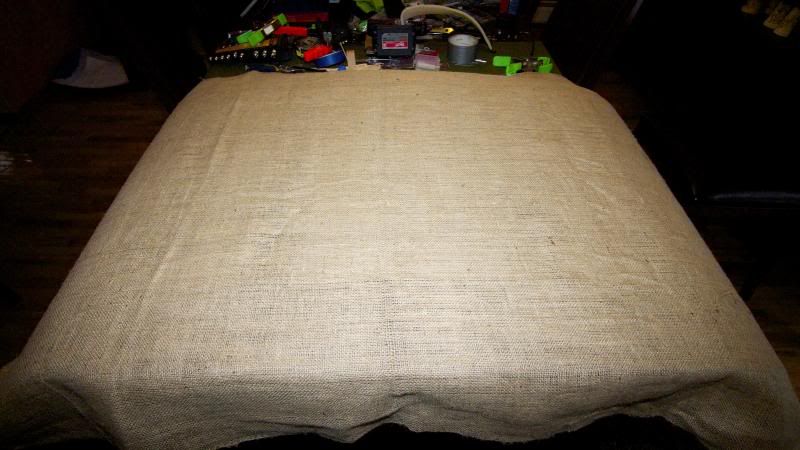 again with an extra hand, spray some glue on the burlap and lay down the new foam. 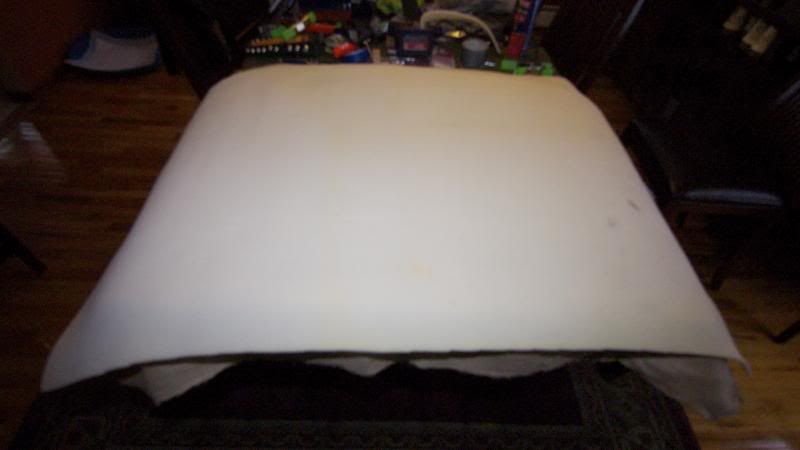 cut the excess material leaving about an 1" from the edges to fold over. 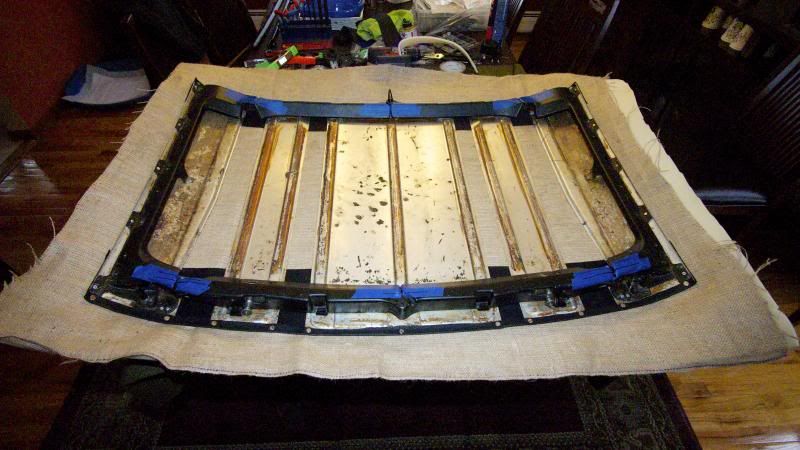 glue the burlap down to the boards and glue the foam down on the burlap… use clips and popsicle sticks to keep shape... wait to dry. 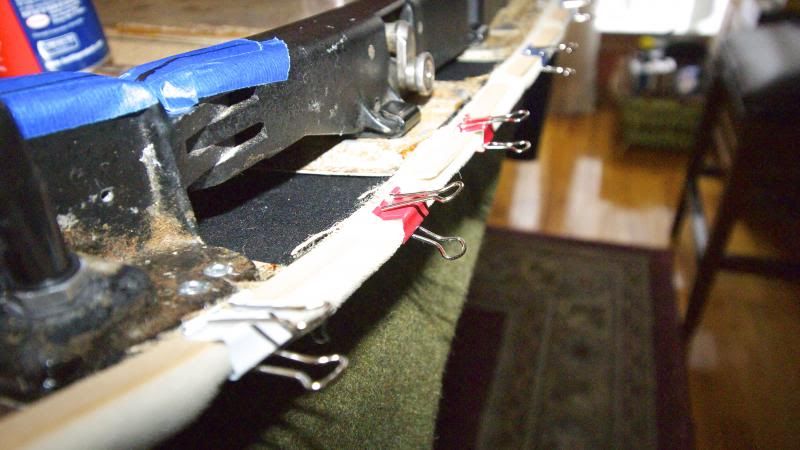 Take the new vinyl cover and mark its center (to find the center, just fold the cover in half). Slip the new vinyl cover on the center of the frame. 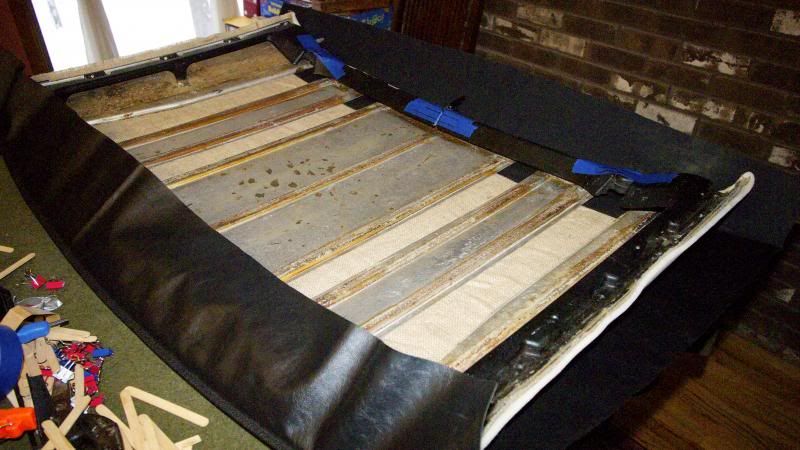
Last edited by redridge; 12-14-2013 at 03:14 PM.. |
||
|
|
|
|
Registered
Join Date: Aug 2008
Posts: 844
|
pull the vinyl cover to the tops front edge, while making sure it is flushed, instal the brackets. You need to pierce the vinyl to get the screw through to the rectangular nut that is tape down underneath. At this point the Top should be semi-folded to install the brackets. This is just to get the vinyl in place... Final adjustments will be needed once all the brackets, post and corner plates are in place.
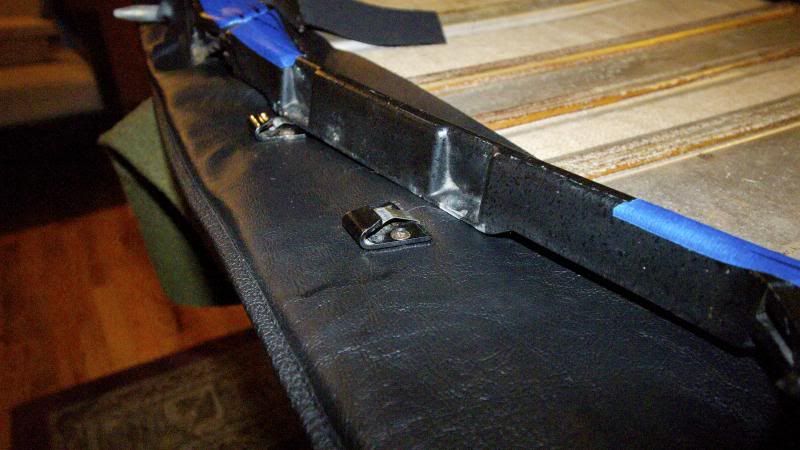 Install the posts. 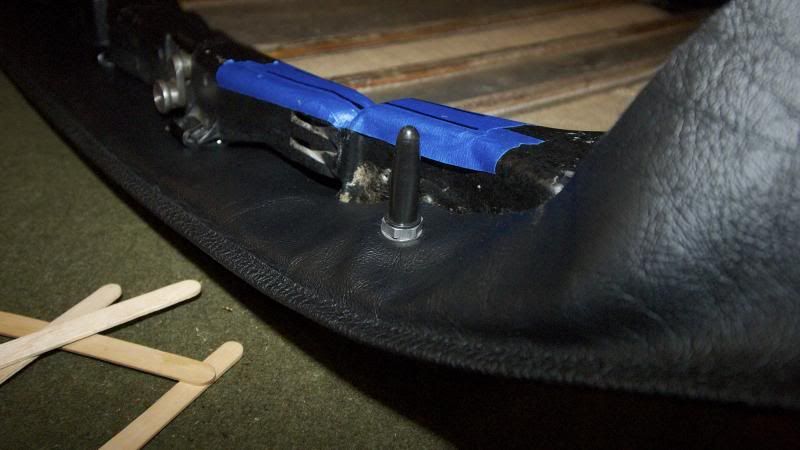 On the corners, cut the excess vinyl and glue down the vinyl. Tuck the vinyl under the frame while expanding the Top… Repeat the procedure on the other side… The vinyl will be cold so you need to pull and stretch the material to get it flushed on the edges. Once it is flushed, clamp it down and install the brackets… once the brackets are installed the vinyl will stay put. 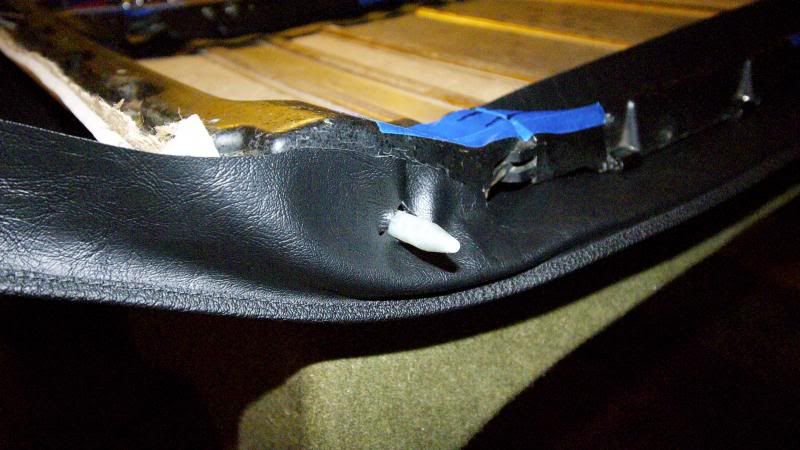 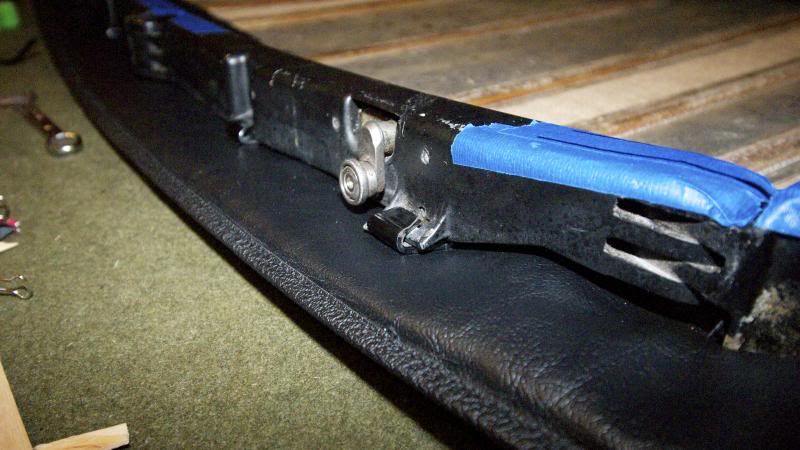 You need to pull and pull to get the vinyl flushed to the edges... with the top semi-folded, stretch and pull the vinyl to to sides. When the top gets expanded to the unfolded position, the vinyl will stretch, taking out the wrinkles. 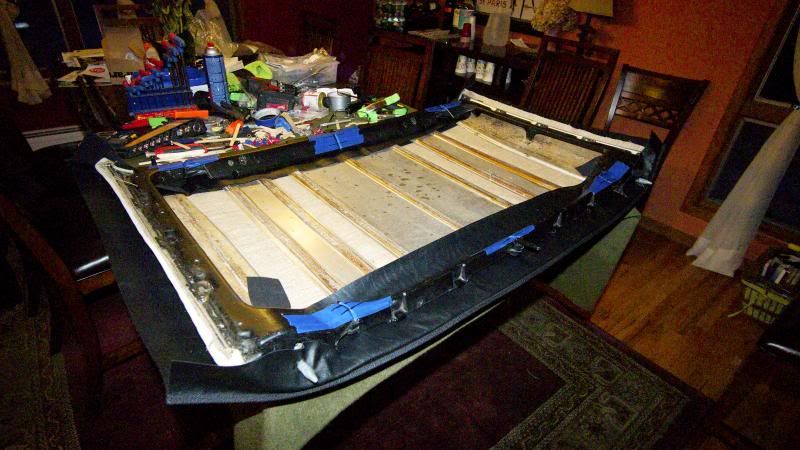 I ran out of glue so this is it for now, I still need to do the sides and do some more stretching… hopefully the vinyl will stretch out some more overnight. Again, this is just to get the vinyl in place... Final adjustments will be needed once all the brackets, post and corner plates are in place. Time to shovel some snow. 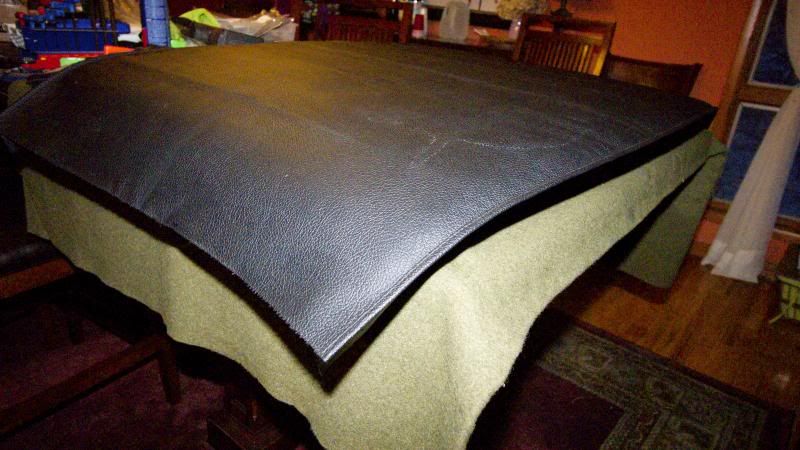
Last edited by redridge; 12-14-2013 at 03:35 PM.. |
||
|
|
|
|
Registered
Join Date: Aug 2008
Posts: 844
|
just to finish this thread… here are some final detail pics.
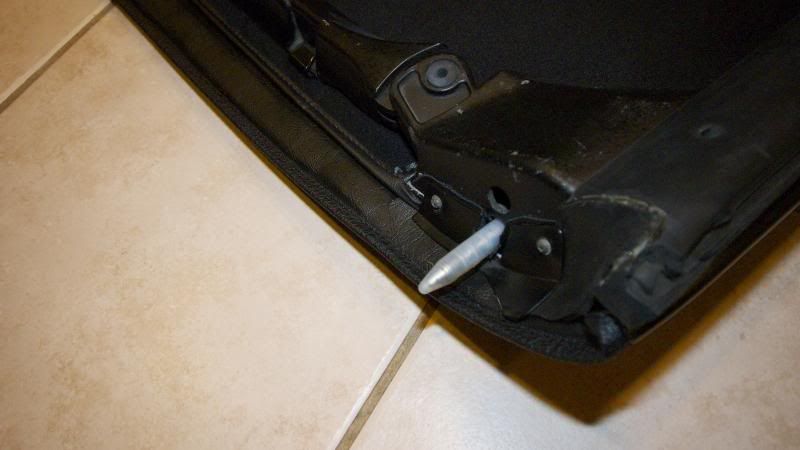 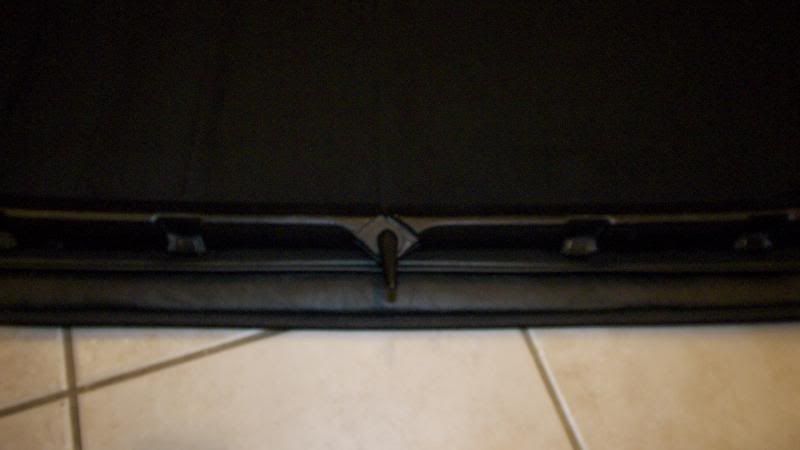 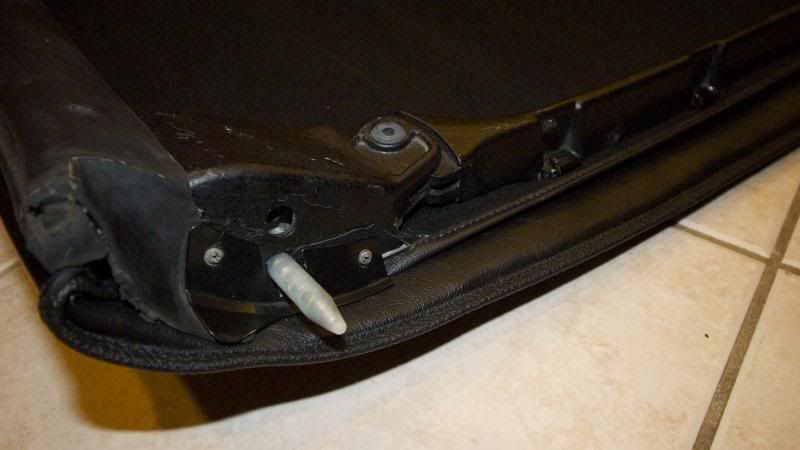 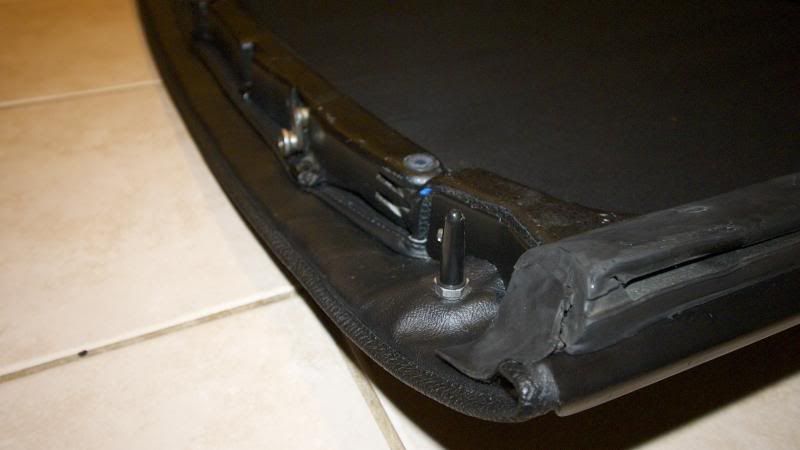 when putting the interior liner, you just transfer the bottom bracket holes to the liner and mount the bracket on top. Dont forget to glue the liner. 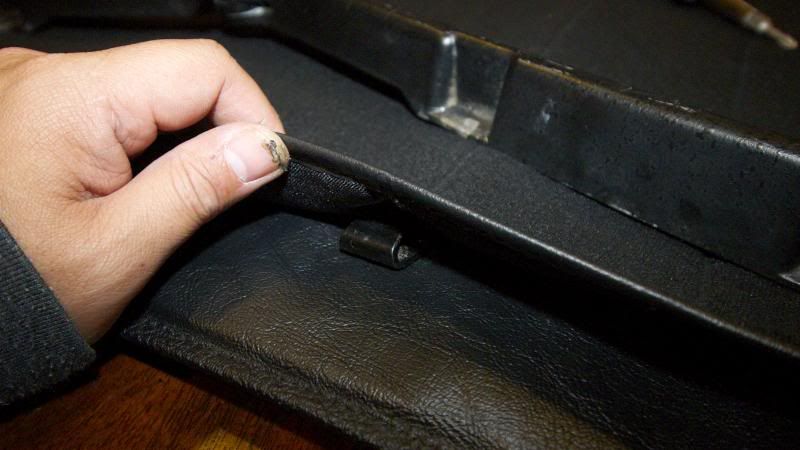 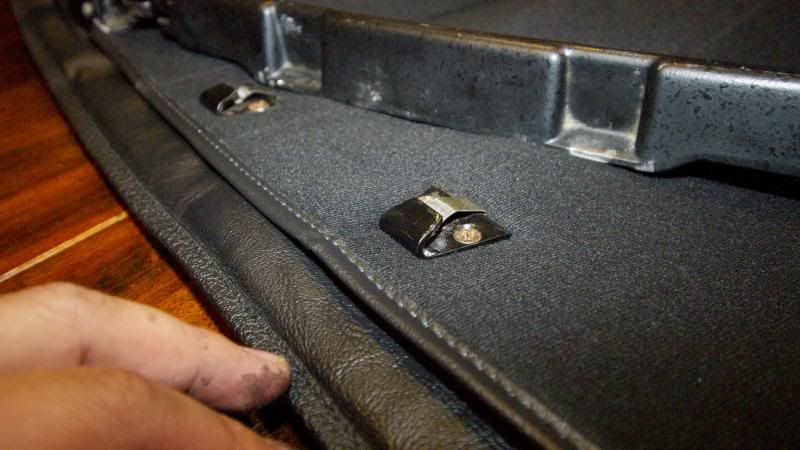
Last edited by redridge; 12-16-2013 at 04:16 PM.. |
||
|
|
|
|
Registered
Join Date: Aug 2008
Posts: 844
|
|||
|
|
|
|
Registered
Join Date: Nov 2004
Location: Raleigh, NC
Posts: 3,894
|
Wow !
Wonderful job and thank you for posting the walkthrough,
__________________
John D. 82 911 SC Targa-Rosewood 2012 Golf TDI |
||
|
|
|
|
Registered User
|
Ditto. Thanks very much. Best how to on targa top rebuild to date. The full picture.
|
||
|
|
|
|
Registered
|
This thread should be in the tech article section!
|
||
|
|
|
|
ROW '78 911 Targa
|
Post a picture of it mounted on the car to show the final fit please. Looks great!
|
||
|
|
|