Originally Posted by Peter Zimmermann

Ernie; Here's the install instruction...
Clutch cable installation Ė 1977-1986
OK, first I must make a few assumptions; (1) the pedal assembly area has been cleaned, (2) the clutch pedal helper spring on the left side of the pedal tray is in good condition, (3) the clevis pin bushing has been replaced, (4) the rear of the car is in a raised position, and properly/safely supported, and (5) if your old cable, at its Bowden tube, passed through a hangar/anchor attached to the side of the transmission, roughly above the throttle lever, remove that anchor and re-install the nut with a wavy lock washer. The hangar will not be re-used.
First, put a thin coating of grease (I like amber disc brake wheel bearing grease) on the new clutch cable. Installation into the car is tricky, because you donít want that greased cable to touch anything, and drag dirt along with it. While lying under the car guide the clevis end of the cable over the throttle lever on the side of the transmission (clean towels, rags, even newspaper, placed to help keep the cable clean can be invaluable), and into the cable attachment tube welded onto the firewall. Push the cable forward until the Bowden tube reaches the firewall tube, and push the cable home over the firewall tube.
Move to the inside of the car, locate the front end of the cable in the tunnel, and pull it out from the tunnel. Wipe the threads off because usually a little bit of dirt will be sticking to them. Screw the jamb nut on to the cable. On cars with a known good clutch, leave six threads on the clutch cable showing between the rear side of the jamb nut and the rear end of the threaded section of cable (in other words, screw the nut on until it almost bottoms out, then back it off until you can count six threads). Screw on the clevis fork until it reaches the nut, but donít tighten it; the chance that the other end of the cable is at the correct position to install over the hook will be slim. Push the cable into the tunnel until the clevis fork lines up with the clutch pedal shaft, and push the clevis pin home with a light coat of high quality grease. Your final step before getting out of the car is to pull the clutch pedal up from the floor and support it in that position (I use a 13mm open/box wrench for this, probably because it works so well Iíve never bothered to make a tool).
OK, back under the car. Take your pry bar (large flat-bladed screwdriver), your 2x 15mm open end wrenches, 2x 13mm open end wrenches, and your circlip pliers with you. Hook the cable onto the hook on the long cable arm and use the pry bar to push that arm toward the rear of the car Ė use your head, the spring is very strong, and you donít want fingers in the way. Loosen the adjustment bolt jamb nut, also on the long arm, and back off the bolt a little. Grease the splines on the TOB fork shaft, slide the short arm on, and install the circlip.
Take the end of the Bowden tube, spread the 15mm nuts apart enough to fit over the aluminum anchor, and, with a lock washer on each side, slip the cable into place on the anchor. To save a problem later, slide up under the firewall and make sure that the forward end of the Bowden tube is properly seated.
Now, go back inside the car and take a 12mm and 10mm open end wrench with you. Remove your clutch pedal brace, and push the pedal down to the floor and hold it there while snugging the jamb nut to the clevis fork (I use my left elbow against the clutch pedal, use my left hand to hold the 12mm wrench in place on the clevis, and snug the nut using the 10mm wrench in my right hand). Itís a little awkward, but you can figure out the best way that will work for you. Release the clutch pedal from the floor; it should come up close to the top of its regular travel.
Now for the fun part, cable adjustment. You should be back under the car, hopefully you still have your 15mm and 13mm wrenches with you, and you also need two feeler gauges; a 1.0mm and an 0.2mm. You can also use, of course, a 1.2mm gauge along with your 1.0 gauge; I found it easier to have the first two gauges, and use them together for the initial setting, then use only the thick one for final adjustment.
With the clutch cable slack, adjust the distance between the end of the adjustment bolt and the tip of the short arm to 1.2mm. The gauge should come out with a bit of resistance. Hold the head of the bolt and snug down the jamb nut. Next, use the two 15mm (wrench size) nuts to gradually tighten the clutch cable, keeping in your vision where the arc of the Bowden tube is, and concentrating on the gap that youíve set to 1.2mm. The Bowden tube should rest about an inch from the side of the transmission, and you can actually see your gap at the adjustment bolt begin to close. When it does, wiggle the cable near its hook, it should be pretty tight. Insert your 1.0mm gauge in between the adjustment bolt and the tip of the short arm, and use the 15mm nuts to continue to tighten the cable until your gap is 1.0mm. Watch the Bowden tube as you final snug the two 15mm nuts, depending on how you turn them the tube will want to move out of its desired position.
Re-enter the car, and depress and release (by hand or foot) the clutch pedal a few times. Go back under the car and recheck your cable tightness, and your measured gap. Adjust as necessary keeping in mind that all changes must be done by keeping the Bowden tube in position, the cable tight, and the final gap at 1.0mm.
Go inside the car, reinstall the floorboard and carpets (make sure that the gas pedal rod is seated properly in the gas pedal), pat yourself on the back and go for a drive.
|


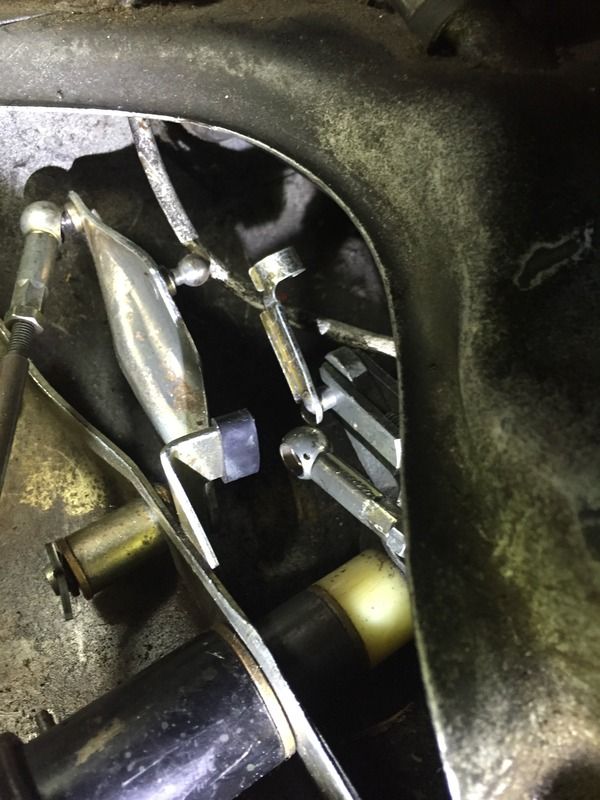
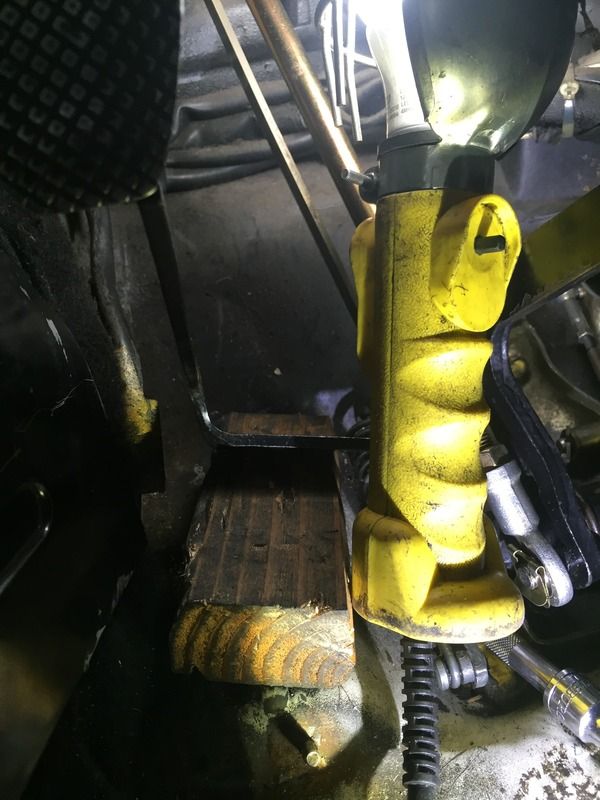

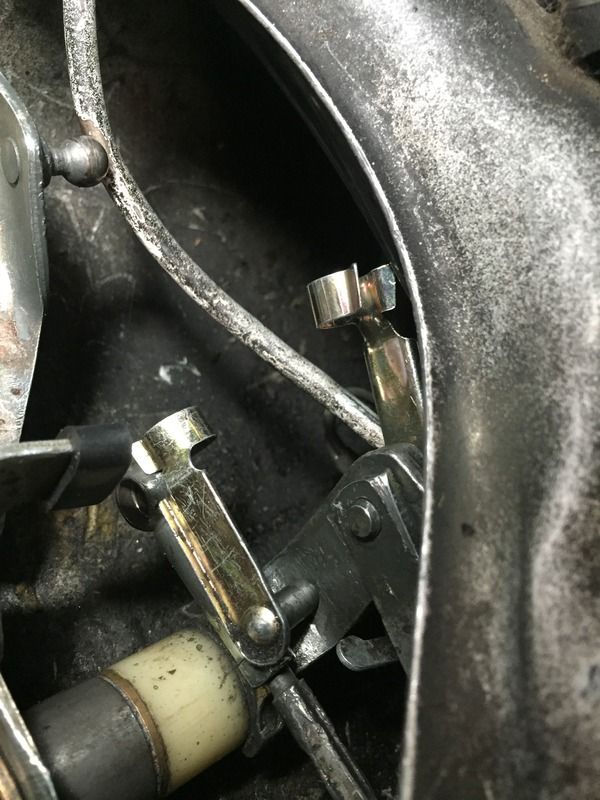
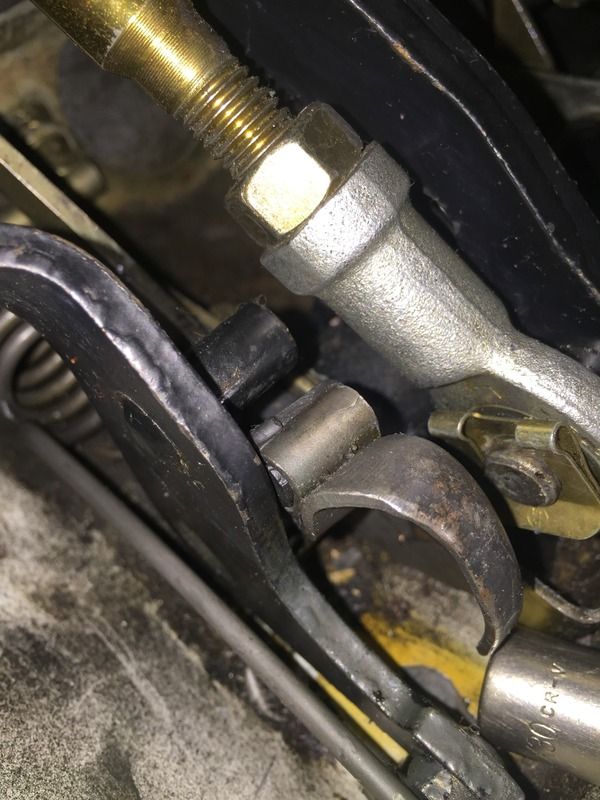
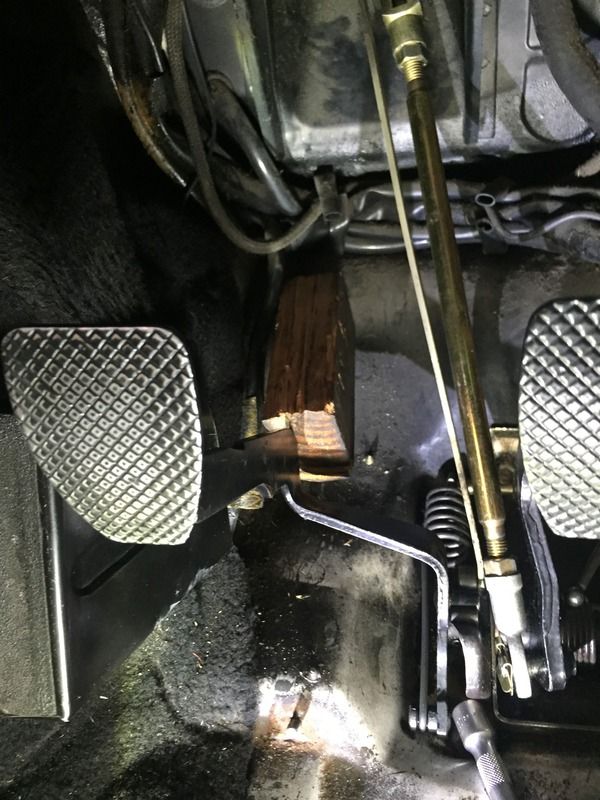
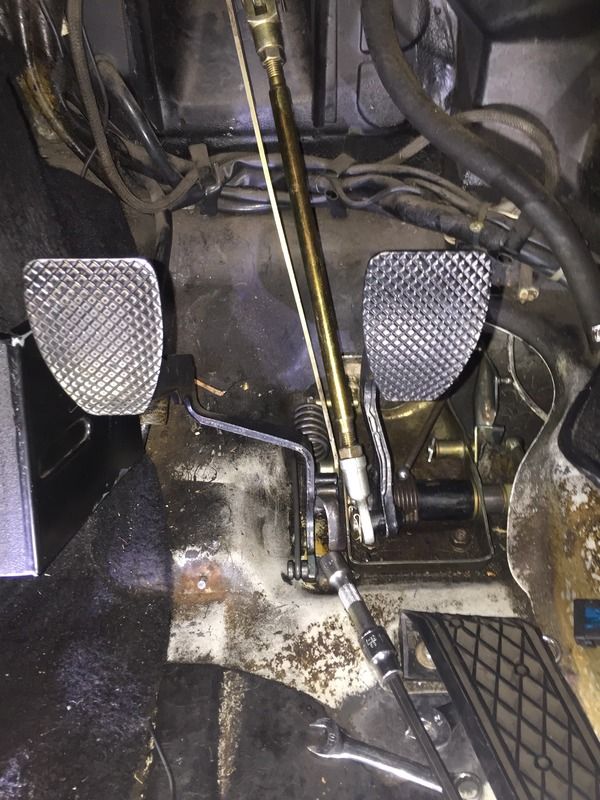

 . Yes, you need to loosen the first two to gain access. I did this to insure nothing was touching the Clutch Cable. DONE.