Great info on this. Really appreciate the guidance. My Ambient Air Valve and check valve system were making the infamous 'buzzing' noise and I finally got around to ordering the parts to repair.
I've seen posts suggest blocking it off, and even my seasoned Porsche trained tech said 'no value', but I like stuff to work, so I just did this 'superceded' part.
Please know that my old AAV had the 3 hoses - as all should - but with differences notable to the new part #:
1. The center vacuum hose on old is now coming out the side.
2. Importantly, the hose bib/nipple on the new part is considerably smaller than the old. Even the new hoses I bought from Porsche (and subsequently returned) are larger, like my current ones, than will fit onto the new nipple.
3. You will need the new bracket and the new AAV as the old bracket is nowhere near compatible without adhesives. Your choice on that as it's around $70 for the bracket. Oh well.
4. Check hose condition. Mine were fine, save from the one from the one-way check valve (with the built in tapered bulge, but this is NLA. Some creative fiddling would probably resolve this, but mine had no leaks as I could tell.)
In order to refit the new AAV, this was for my 1985 Carrera 3.2:
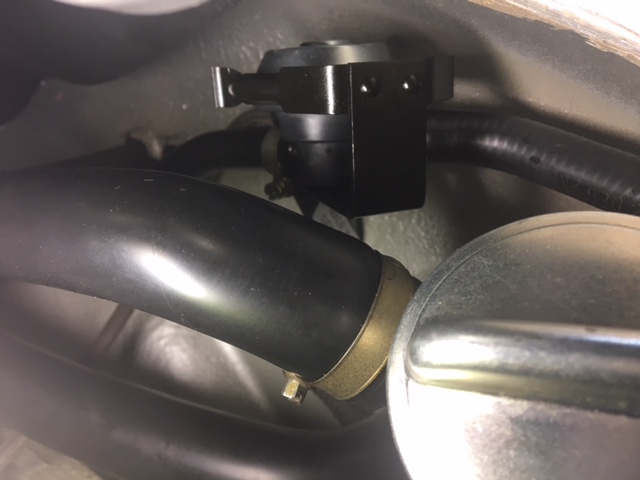
1. Remove 3 old AAV hoses. 1) From oil tank, 2) To throttle body, 3) To vacuum port.
Arrow direction should be facing 'forward' to front of car.
2. Remove AAV using 14mm socket with medium extension. I found it far easier to remove air breather lid for access.
3. Check hose fitment to new AAV. Vacuum line is the same. Yet warm air hoses were larger than nipple on new AAV as noted. Conveniently, the new nipple is basically the identical OD to the ID of the old nipple. So, optionally....
3A. Remove nipples from old AAV using Dremel or other.
3B. Lightly remove barb from new AAV nipple to accommodate fitment of old nipples. (See pic.) On mine this was an exact, tight fit.
3C. Epoxy or weatherstrip adhere old nipples to new AAV. Let dry.
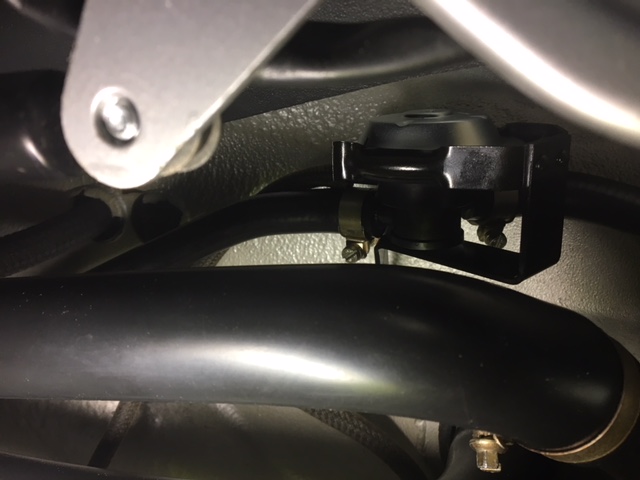
4. Lightly re attach new bracket to stud, allowing it to move out of the way.
5. Thread hoses for neatness and short routing to new AAV with newly installed nipples. Arrow goes 'forward'.
6. Note hose from oil tank goes 'under' the new bracket so it won't bind.
7. Tighten bracket.
8. Slip in new AAV until prongs are snug.
That's pretty much it. Except for the stupid nipple problem (make your own joke here), this was a 30 minute process.
Hope this helps.