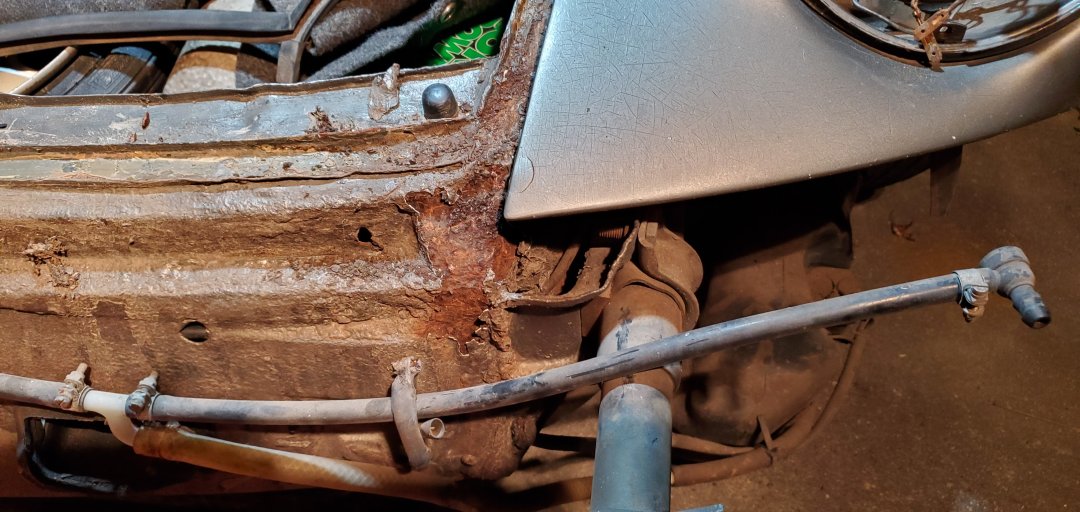
Here is why you should never schutz/seam seal/undercoat surfaces that aren't properly primed (epoxy) or protected . This was the result of prior collision damage and the repaired area received a coat of body schutz to sort of match the factory schutz. All it did was trap moisture between the schutz and the panel. Heavy rusting in this area.
At first I thought it would media blast out, but started finding thin areas. We are going to end up replacing that section of the front fender apron with a piece from Restoration Design. Just waiting for it to arrive.
Situation like this car where we are just stripping the exterior, I really like using these "cookie" discs to remove the paint. Empire sells real good lasting ones and they are priced right. Stay away from the Harbor Freight ones. Pure garbage. Bought two when I was in a pinch one weekend. Two of them lasted almost no time. Probably equivalent to less than half of the quality one. So in reality cheap isn't cheap. And they are the same price and considering how they last they actually cost 4X as much. I tell my clients this about paint too. Cheap basecoat aint cheap.
https://www.empireabrasives.com/4-1-2-easy-strip-paint-removal-disc/
Then follow up with 80 grit on a DA sander. Some areas require using smaller discs, wire brush etc. I use a small self contained spot blaster for certain hard to reach areas a lot of the time. Think where a vertical and horizontal panel meet in the corner. Saves a lot of time. Then hand sanding with 80 any areas that I can't do with the DA.
Took a break from stripping the exterior to work on some of the metalwork. Dan was very specific in that he didn't want any filler on the engine lid. I told him I would do my best.
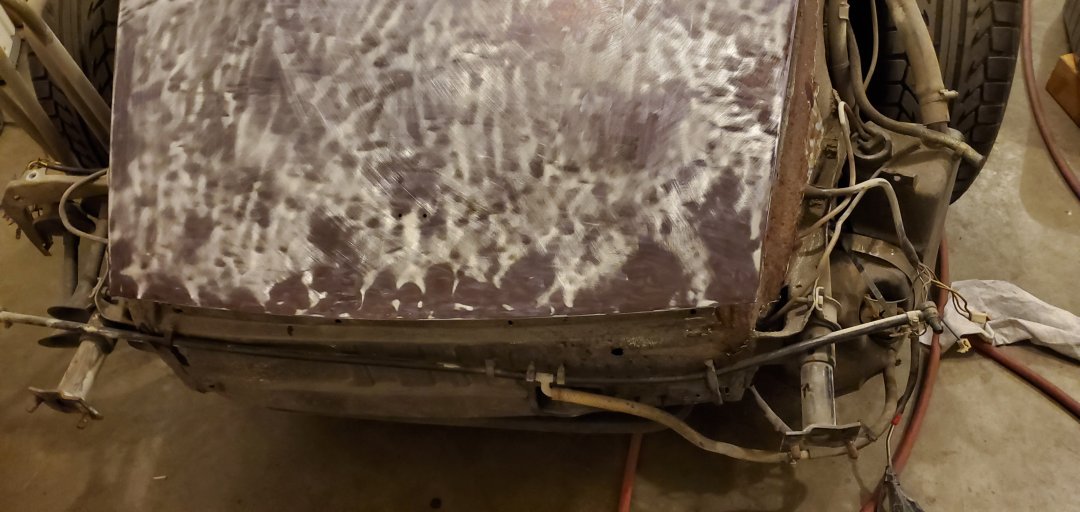
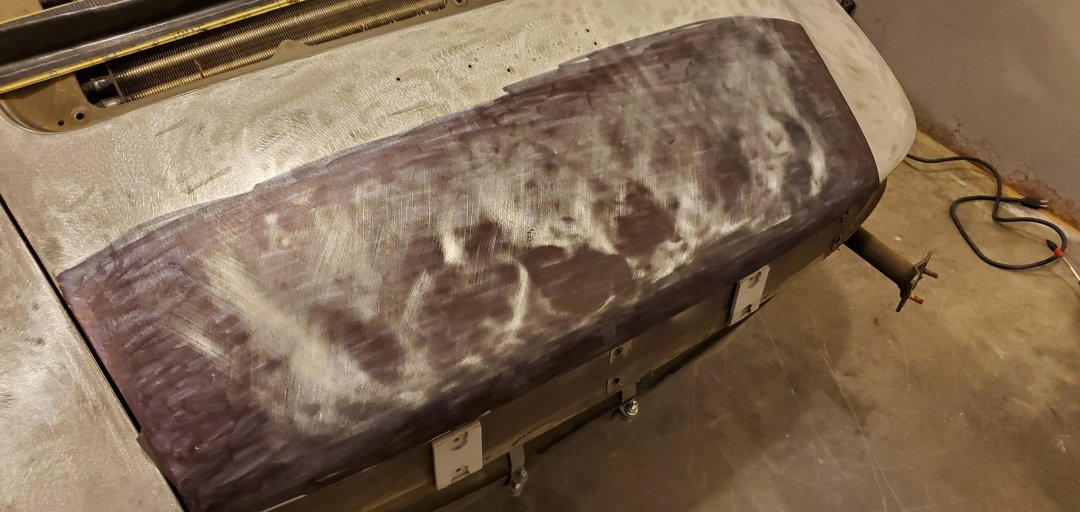
Here I've covered the panel in black sharpie as a guide coat.
Using an acrylic block I made a couple of passes over the panel with 320 grit paper. Just to highlight the problem areas.
Now here is where things start to morph into more than what you expected going in. Every job is like that. I've just made my peace with it and accepted it as a fact of life.
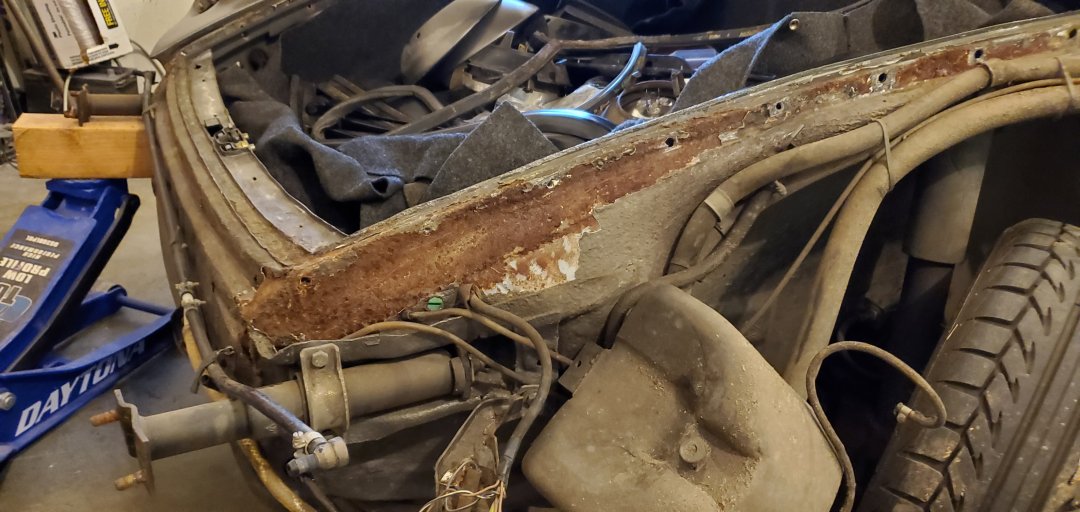
Started working the lid, found that the lid latch brace was just too much in the way to be able to completely access the backside with a dolly or spoon so that I could metal finish the panel. So I did this.
Pulled the lid, drilled out the spot welds holding the brace (14 IIRC).
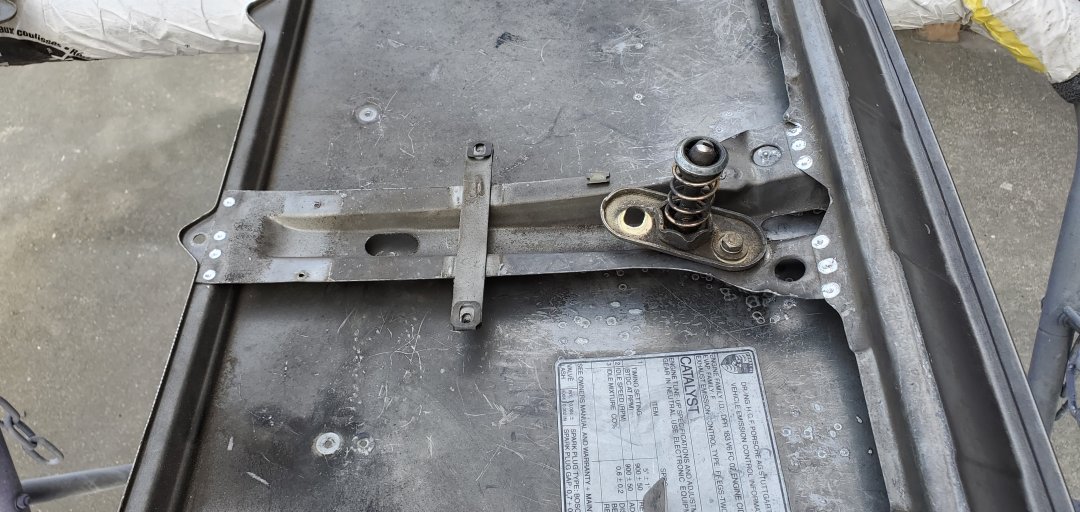
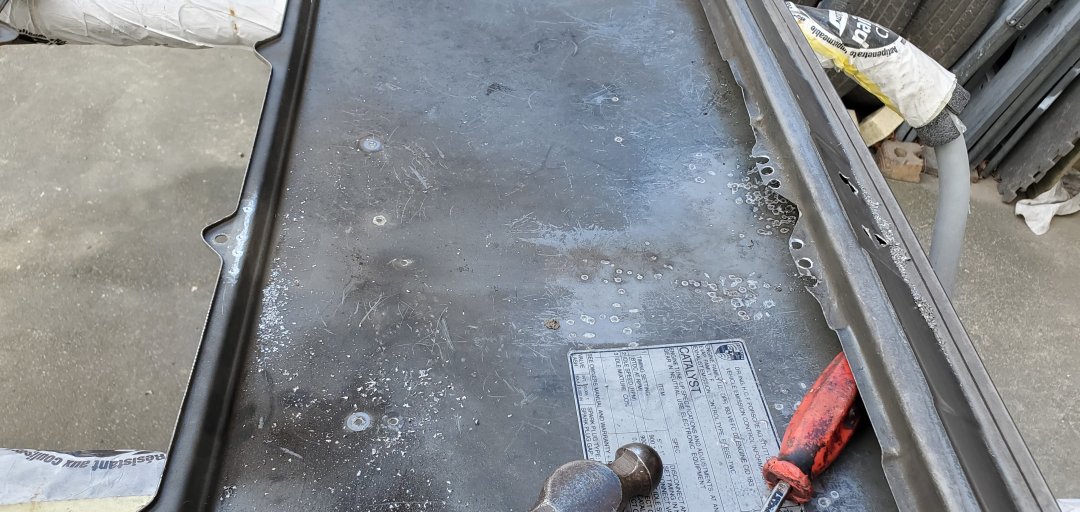
After carefully drilling and working my thin chisel tool in between the panels to fully release the welds I ended up with this. Now I should be able to metal finish the panel easier. Still a challenge though due to the inner lid structure.
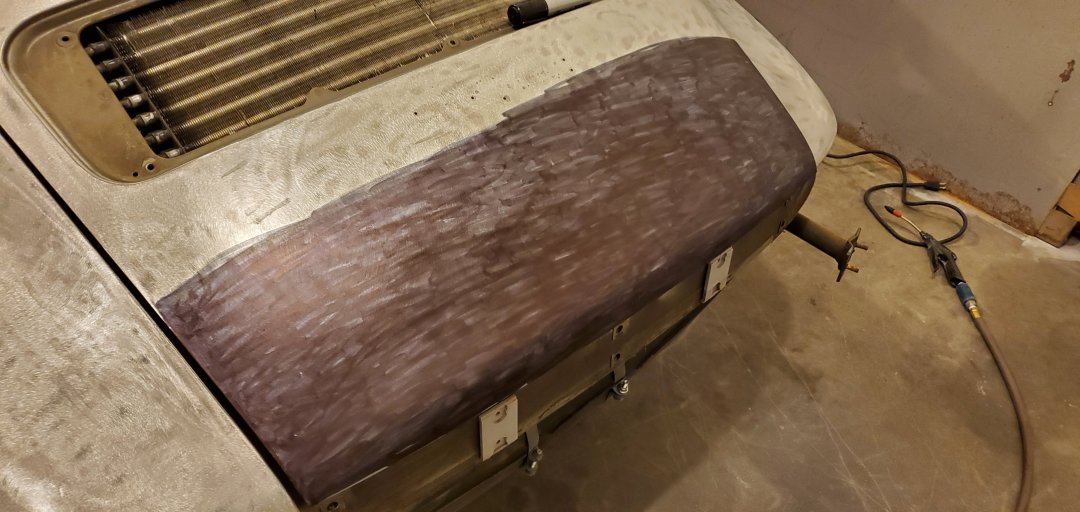
Decided to take a break from the lid. So I went about trying to get the hood corrected. (excuse the mess please, I've since cleaned up

)
Again my big magnum sharpie for a guide coat. The hood has problems all over. Over half of it was in filler.

Here you can see the worst of the damage at the very front. All of this was just "caved and paved" with filler.