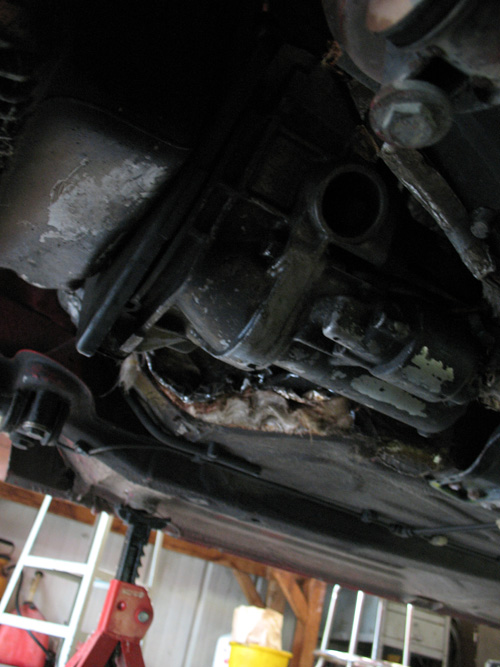
After those are out, the only thing holding the trans in is the top two bolts on the rubber mounts. Put a jack under the trans and take these out. The slowly lower the trans back and down and out. As you can see mine was covered in grime. It may have been overfilled at one time. I'm going to clean it up and check for leaks.

But, if you're like me.. you'll have a nice clean backup on standby just in case..

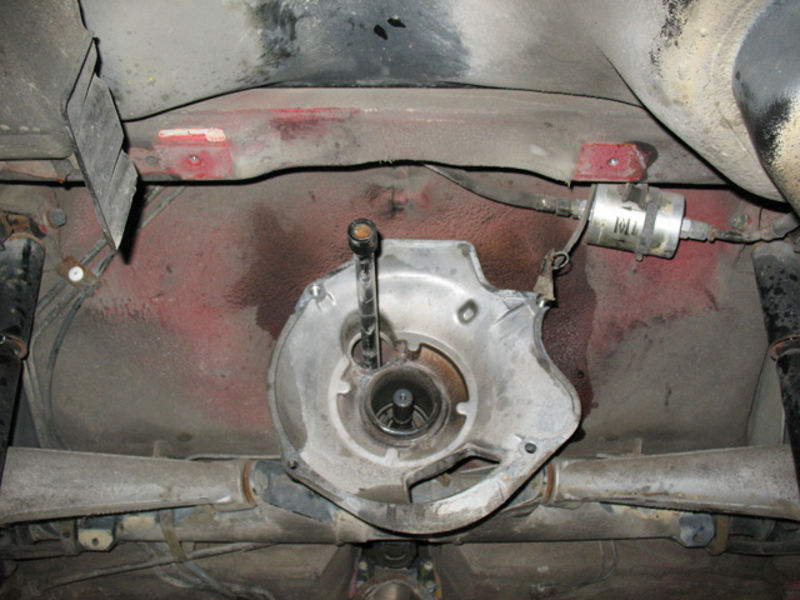
Now in the rear you will just have this:
Now it's time for the starter. This was difficult. After you remove the wires to the starter, there are two bolts holding it on the bellhousing. One faces forward, one faced back. The one that had the head on the forwards size will be stuck, I bet on it. It also cannot be accessed with a large socket wrench or impact. It must be turned with either a slim 19mm spanner wrench or a 19mm short socket on a small breaker wrench or small ratchet.
After the started is out you can get to the 4 torque tube bolts. Undo these (17mm). Then you can slide the TT back. Get some help here. After the exhaust hangars are all off, push the tube up and rotate it 180 degrees. Then slide it back, clearing the tabs over the torsion bar housing.

You will then be able to see the driveshaft splines. Note how much room I have here.


Now it's time for the difficult part. It's time to remove the sensors from the top of the bellhousing. There are 3. They are in the vary back of the motor, on the top of the bellhousing, facing the driver's side. To get to them effectively, I pulled the starter wires up to the top of the motor and set them aiside. I then undid the hose clamp holding the heater core line and valve and pushed it away. Then I pushed the ECU harness out of the way. They are way back there. My sensors were held in with 10mm bolts. The top most forwards sensor can be got at with a long extension directly. I linked together three 1/4 drive extensions on a ratchet which had enough tolerance in them to 'bend' and make a flex shaft, fitting the socket on the sensors easier.

Lots of PB blaster here. You don't want to have to force the sensors out. To get the back sensor bolt off I put a floor jack under the back of the motor and used it to push up, tilting the motor forwards (remember, the TT is disconnected at this point). This brought the rear sensor bolt into view.
You will hate this part, but it is satisfying when they come out. When getting them out, twist them back and forth repeatedly as you pull up.

I do not have a lot of pictures explaining the rest. I deviate from the standard method a bit here. Instead of pulling the clutch fork pin, which I have tried and failed to do before on another car.. I opted to take the pressure plate bolts out through the started hole. This is time consuming, as I was by myself and had to go rotate the motor with a big wrench at the front of the car, then get under the car and look for the bolts in the starter hole. After they were out the PP is free in the bellhousing.
Then there are only 4 bellhousing to engine bolts and a big ground cable holding the bellhousing on. Two of these are easy, two are difficult to reach. I had to use a 'breaker bar' style socket wrench (one that doesn't ratchet, just a u-joint) that could bend in a weird angle, to reach them. Here also I had to tilt the motor forwards to get at one near the top of the firewall and then pulled the motor aft to gain clearance to one under the brake booster. There is a big ground cable at the top that is held by a 13mm bolt.
Then it comes off! The bellhousing and PP come together, held by the clutch fork.
