Thanks everyone for all the encouraging feedback!
Unfortunately, one of the side effects of me neglecting the thread for so long and bringing everyone up to date, is I could always get a suggestion that is great, but too late....But, life just gets in the way. This is the big reason why I had to find someone who could do this for dad and I.
Good catch on the dimples. You can tell Grady is paying attention!. The LWB tube does have dimples for the aforementioned purpose. But, they were in the wrong place once the SWB tube mounts were welded on. They were patched to restore the appearance of the stock SWB tube.
Originally, I couldn't care less about the LWB dimples in the SWB tube, but I was convinced that they should be patched over to restore stock appearance.
The parameters we setup for the project were:
- Fun driver
- Safe
- Do nothing to jeopardize future restoration
And it really came down to being trivially easy to patch the dimples now, but after the whole thing was assembled and undercoated, if that was later desired, we just created a lot more work.
One thing I have learned about Aaron, is that he is very restoration focused. He has quite the eye for detail. Generally, we went back to stock in most places unless there was a significant performance or reliability benefit or not. For example, in this case, we left the 3 drain holes in the LWB tube and primed and painted its interior.
Aaron never mentioned the reinforcements found on the '73 and '74. That's just one of those things that will have to go on the "next time" list...
Anyway, in order to install the torsion tube, A section of the interior wall of the main structural member on each end of the torsion tube had to be removed. This opens up one of the infamous bare steel internal compartments. Frankly, this was one of the most frightening things for me, because at this point we had already got in fairly deep, and it would be possible to find out at this point that the car was in worse shape than we expected.
Here is what we saw:
Drivers side:

Passenger side:
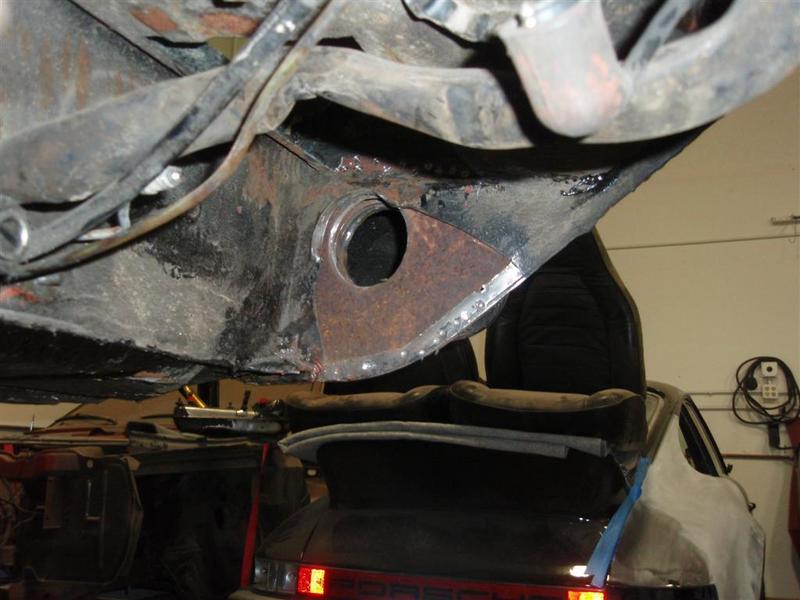
In these pictures you can also see rectangular holes that were cut in the bottom of the rear seat pans to get access to the top of the tube.
The overall assessment of this was: rust yes, Swiss cheese definitely not. You can definitely see some scale present, but you can also see some (small) patches of un-oxidixed metal in the first picture.
The next picture shows the inside of one of the removed sections:

So this is the point of one of those decisions that you make and may forever wonder if you made the right one. The opinion was that the rust was not to bad, and Aaron has seen much much much worse. It really appeared that in this section at least, that the rust was superficial.
Here is came down to money and the goals of the project. If we decided to chase this rust, the budget will explode beyond our abilities and the time would extend unacceptably. In light of the strength of the frame in the near to mid term, pragmatism won. Instead, the cavity was sand blasted and protected before being sealed back up.
Aaron located some reproduction pieces to replace the sections cut away. You can see them in the next picture, along with the torsion tube before the brackets were welded in place.

The next two pictures show the torsion tube located in place before being welded to the body. I am impressed by what is possible with a Celete jig. And after seeing it done this way, I wonder how one would accomplish this without one.


Next time, I'll show off the completed body work and perhaps some cool engine pictures.