I just completed my extra audio rack today.

No burnishing of the aluminum.
No repair of the splits in the butcher block.
No varnish even.
I settled for a course 80 grit on my belt sander and some sanding sealer and wiped down the aluminum with some Acetone, and called it a day.
Bolting it all together was much more of an ordeal than I had counted on, one bolt even has some JB Weld type putty stick to hold the head on because I snapped it off.
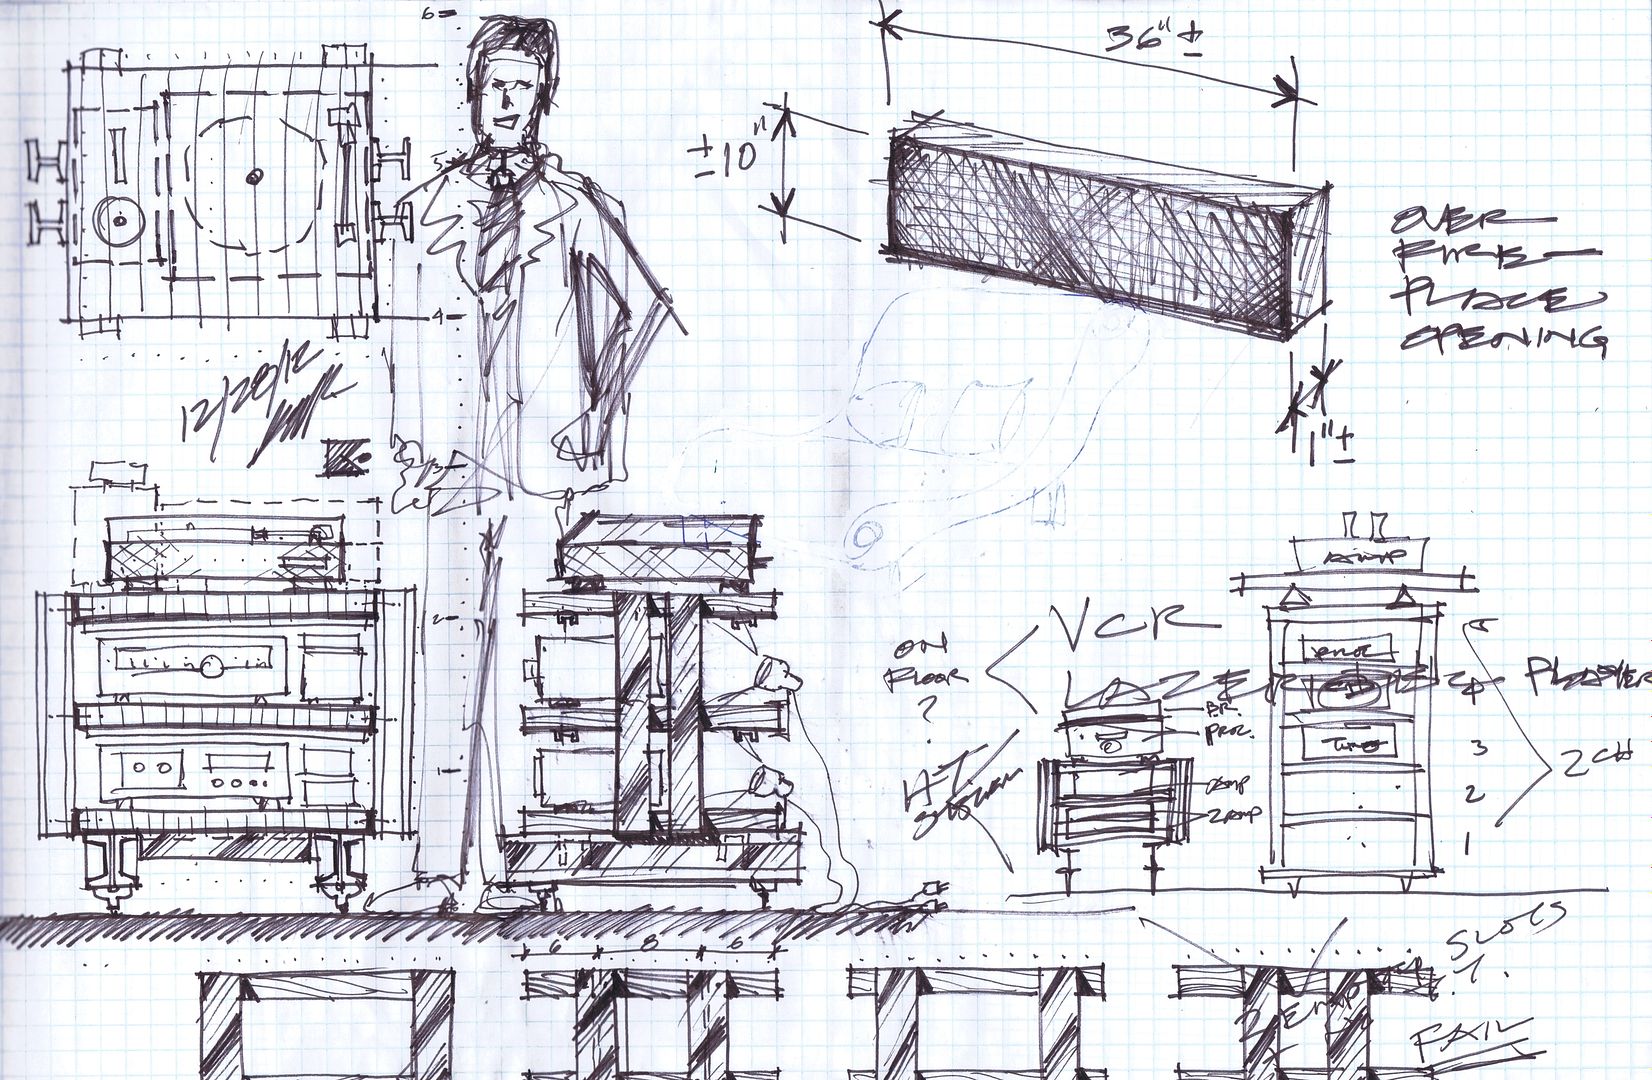
The last sketch *see link for more), did more as an afterthought while I was already getting the parts ready.
DIY Audio Rack 2012 Photos by kach22i | Photobucket
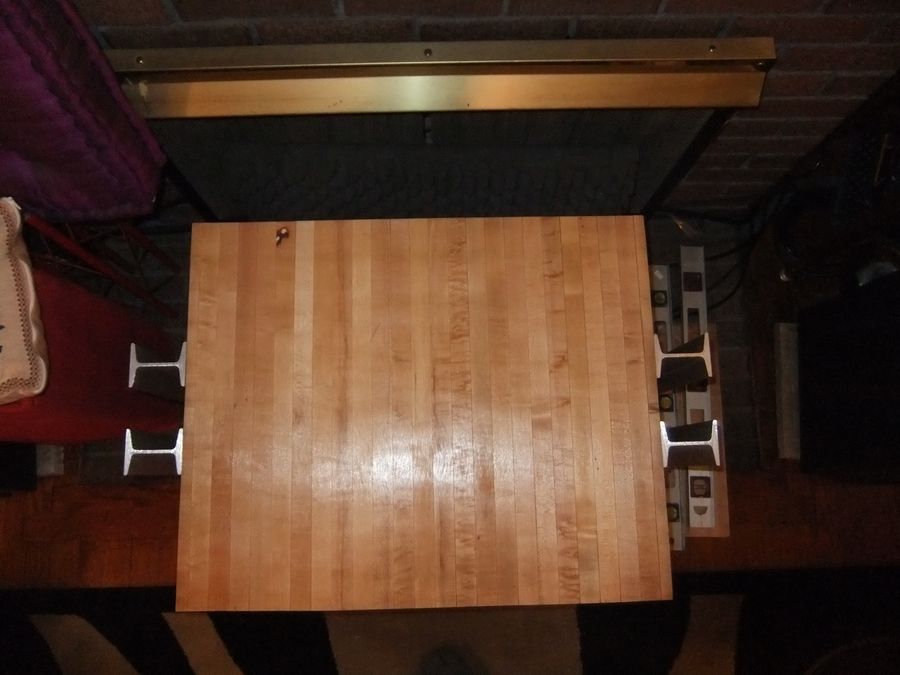
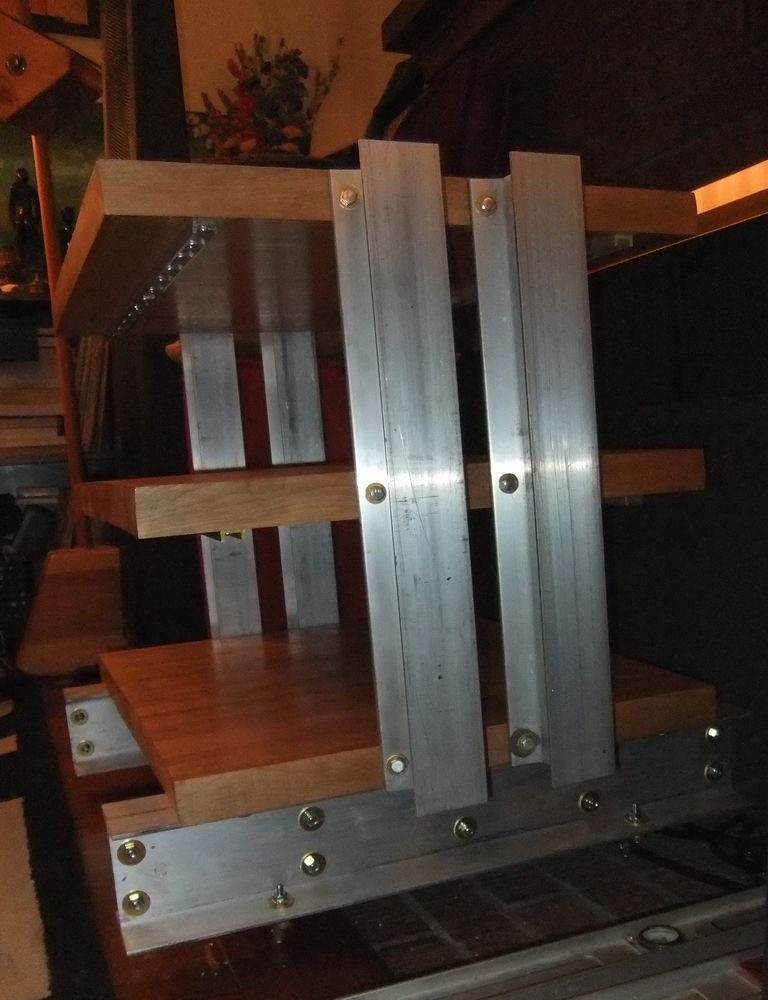
Some photos of the actual rack below.
DIY Audio Rack 2012 Photos by kach22i | Photobucket
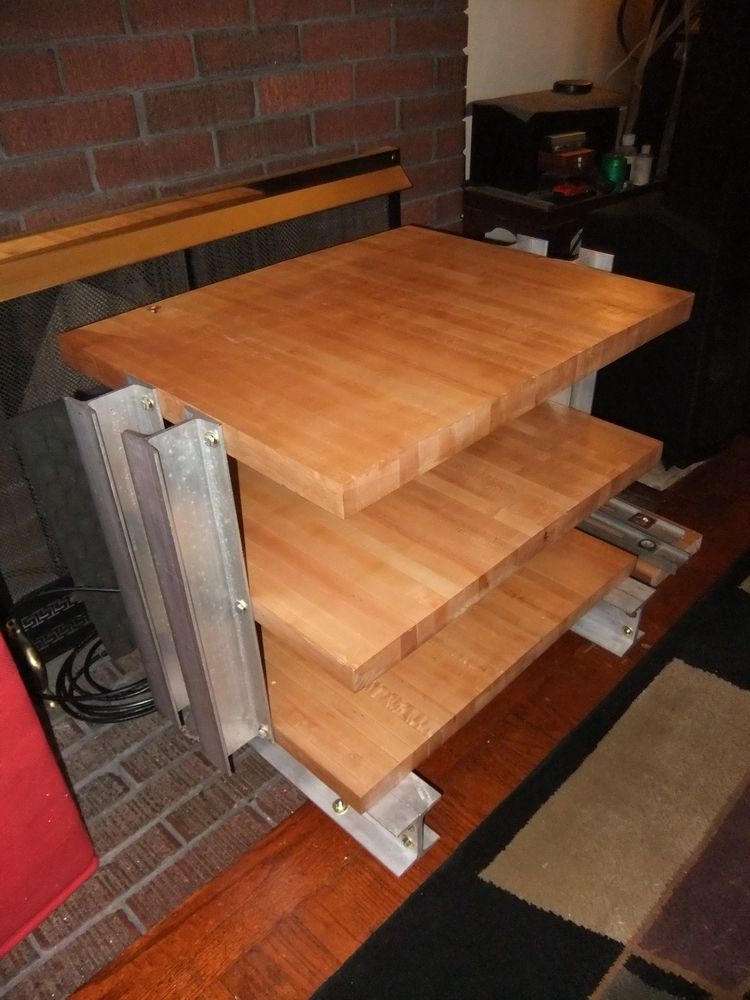

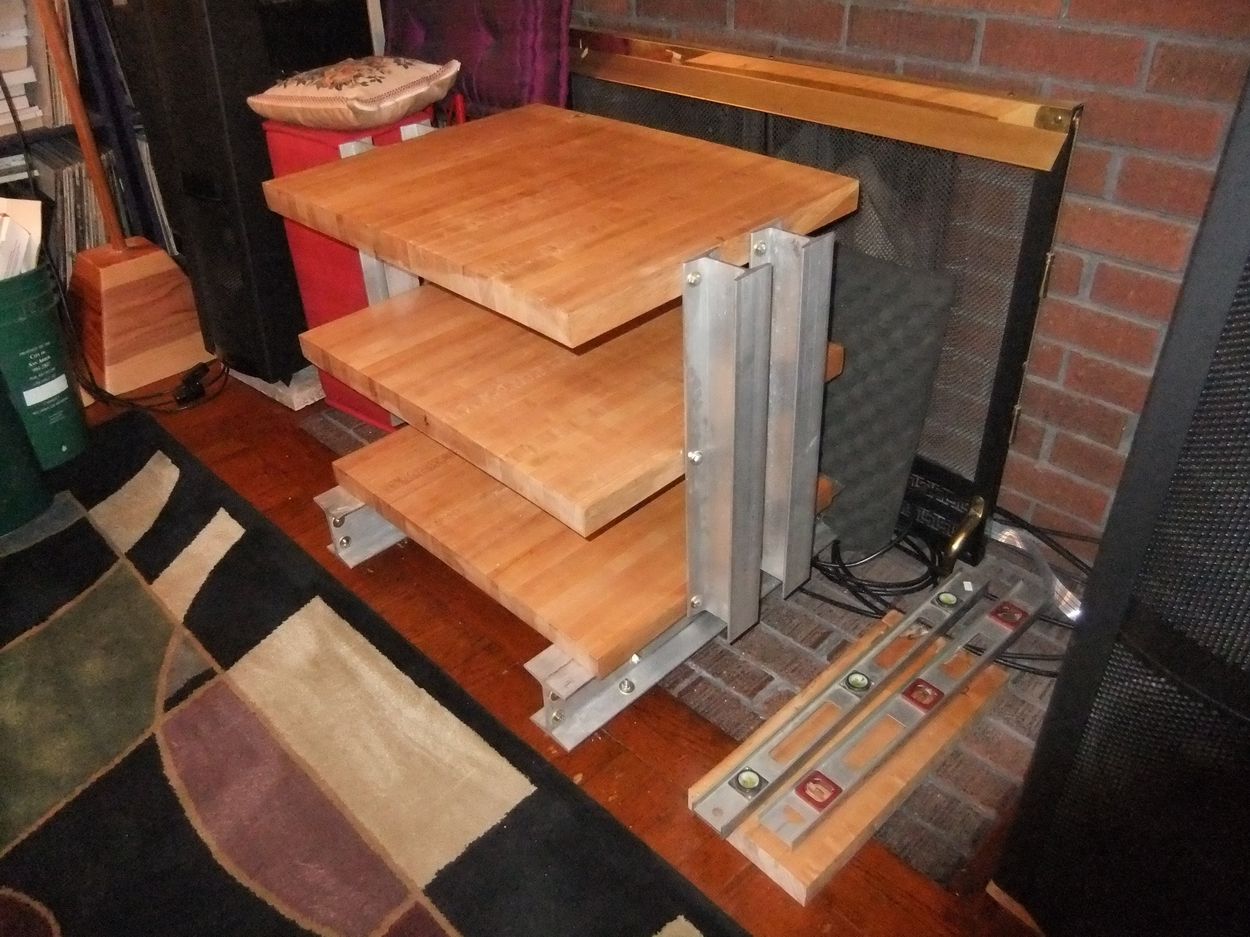
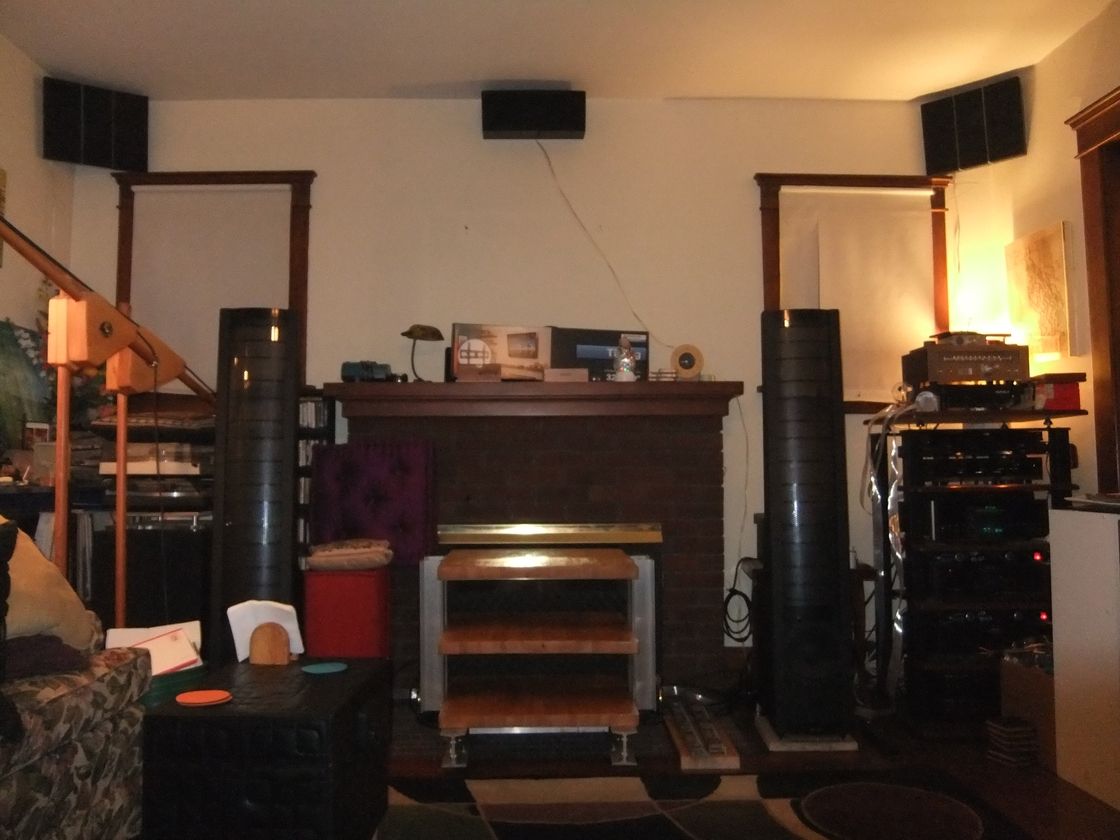
I did away with my original goal of being able to operate three turntables at once, and settled on being able to play the top one, and store the other two below. Once I'm settled in on one turntable, I'll be relocating my tuner, VCR and tape deck.
The original 4-foot tall rack I had in mind would have just been too much for the room, plus I want to get a flat TV over the fireplace, so I did not want to obstruct the view any.
The feet are cast brass with adjustable screws. I think I found them in the electrical section of the local hardware store, about $8 each.
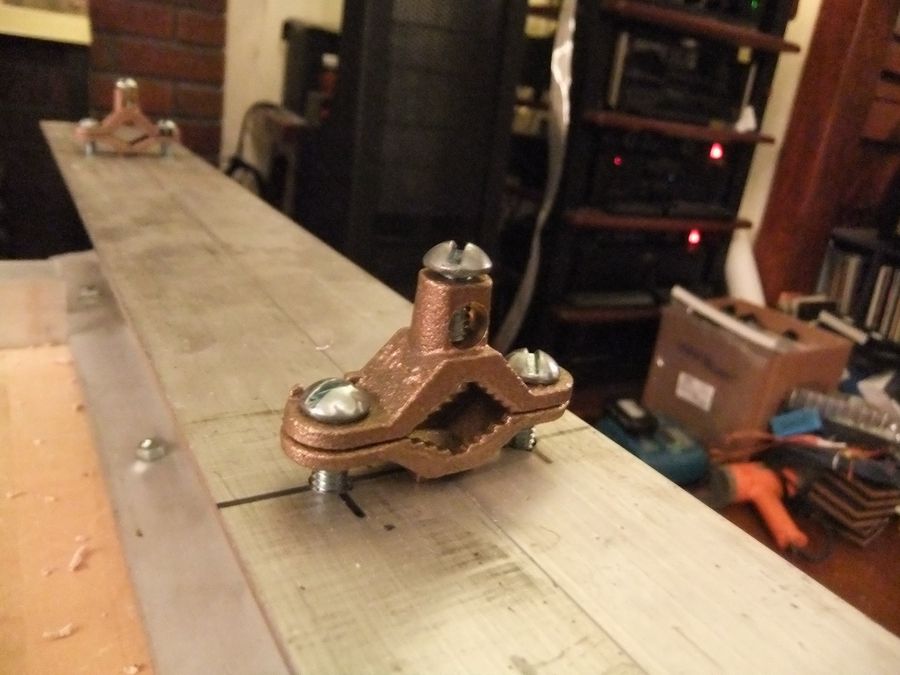
The steel bolts and bare aluminum go very nicely with the brass washers.
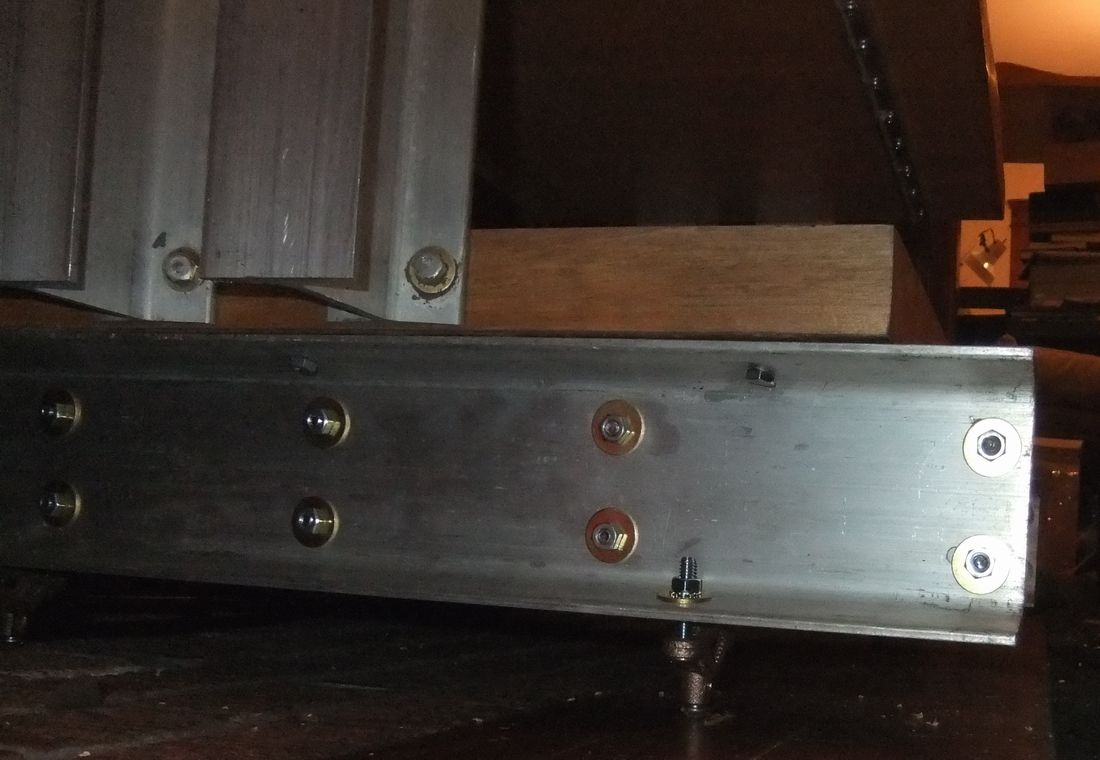
If anyone else tries something like this, my biggest headaches were in not over-sizing the holes in the aluminum enough to account for my sloppy marking of wood drill holes on the shelves. I bound a few of the lags up, despite re-drilling and enlarging all of the vertical array holes going onto the sides of the shelves.