Thanks gLewis80sc, and good to hear.
When the car was dismantled and waiting for some parts I tackled one of the jobs I was going to leave until later, mainly because I wanted to do all bodywork and related tasks at one time. Also, I have a body repair background, so i know it's always going to worse than what it looks!
The taillamp seals are a common job that is required on the 911, actually it probably would be on any car of this age. I had noticed when when i first washed the car the seals were shot so I added them to my first parts order.While the parts from our host are generally competitively priced the postage cost to the other side of the world impacts that initial saving. So when doing an order to our host I try to maximise it by including a few parts from further down the "To Do" list, while it can hurt the budget at the time It should balance out in the long term. I started with the RHR one, mainly because i was standing next to it when i decided to do the job. Also one of the lens retaining screws was missing as the threads has been stripped on the lamp body, I found these thread repair inserts at the local independent auto parts store, should have taken a pic of it before i put it in but i forgot. It's bit tricky drilling out the old hole as there was no room for error and alloy can catch when drilling it. Anyway all went well and it did a great job.
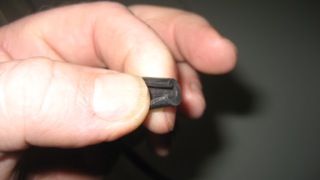
Thread insert fitted:
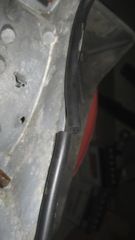
The seal was cracked and rock hard and generally useless:
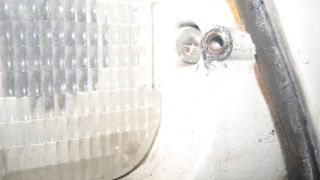
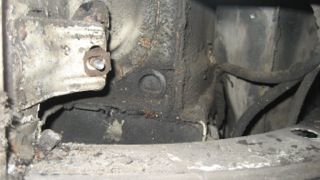
The screws that hold the lamp body to the car were seized solid even though i'd been soaking them with WD for a while, experience told me to drill the heads off if i was going to save the captive nut spire clips:
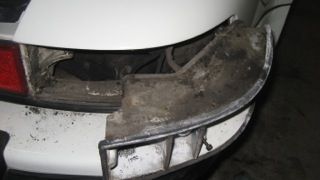
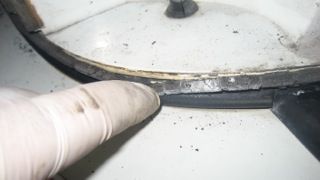
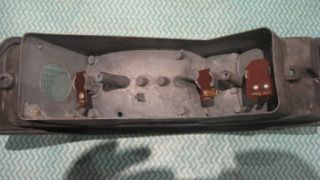
There was a lot of crud in there and obviously the lamp had not been removed lately:
Removing the lamp rear cover to remove the wiring was not as easy as it should have been, WD and some gentle heat eventually persuaded the screws to move. The cover still had the original caulking as a moisture seal, this was now dried out and useless and as it was Sunday i was not getting any new stuff today.
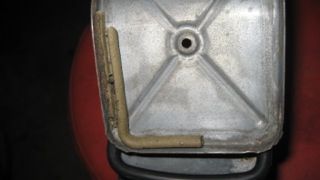
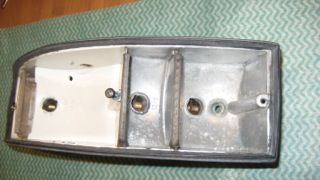
After quite a bit of cleaning the lamp came up quite nicely and was in very good condition.
The new seal fitted well but you do need to take your time and glue it on.
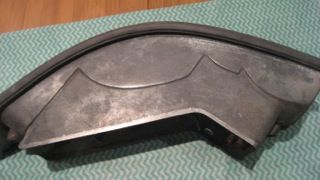
I came up with the idea of using some windscreen washer hose to make a seal for the rear lamp cover. By slitting it down its length it kind of clipped on to the lamp body and stayed on fine, a bit of jiggling is required to get the cover to sit just right bit i was quite happy with the result.