This post is connected to the post last week about the excess carbon build up pon some used cylinder heads we bought.
Since I started here with the excess carbon thread on our 3.4 (started as a 3.2) I thought I would keep y'all updated on how it goes once in a while.
We are certain that the rings didn't seal properly after the last build, but some asked if we checked the cylinders for taper or oval from either heat or wear. Well, that was our project today! I dragged out the old hardly used (in at least 25 years I think) and it's done maybe 35-45 engines (90% v8 SBC) in the dark past. As any budding engine builder of a 911 must know how to use this lovely and perfect device for anyone with a bit of OCD, we set out to check our 98mm cylinders.
We measured in 3 places top, mid and bottom at 90 degrees around the bore
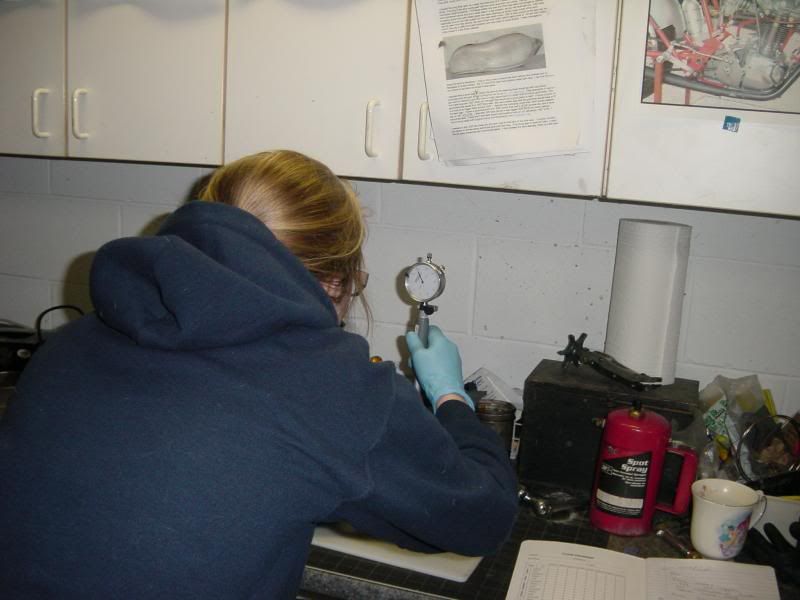
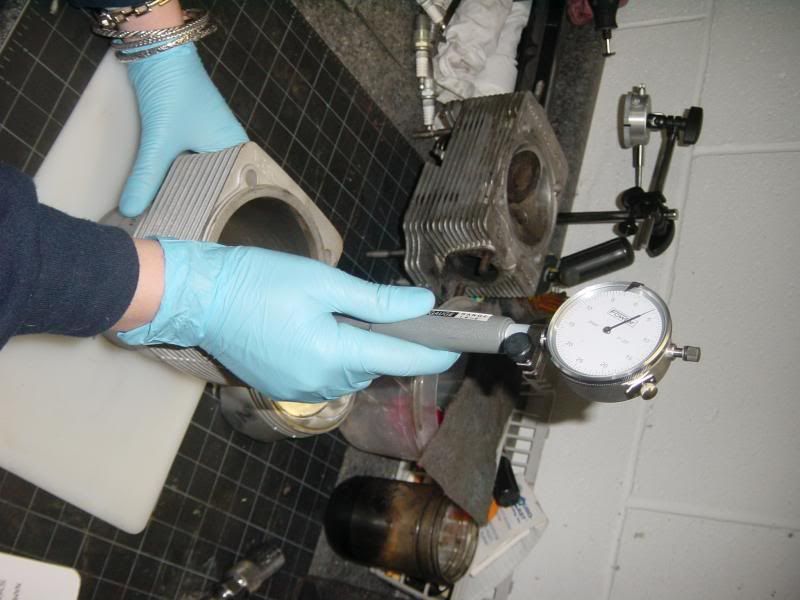
The 98mm bores check out at 97.98mm in all 3 positions with a max taper or oval 0.025mm (.0001") This is the best she could measure. So basically no taper or oval. Allie did LOTS of measurements until she felt good using the gauge and was getting the result repeatably. Our Micrometer has NOT been calibrated in many years and it was about 59 degrees in the basement and not the typical 72 degrees used for perfect measurements. But we are confident of the dimensions we made. The JE 10.5:1 pistons measure perfectly and have a clearance of .00035", which is right at the bottom (tight side) of the JE spec for fit. Pistons and cylinders are good to go!!
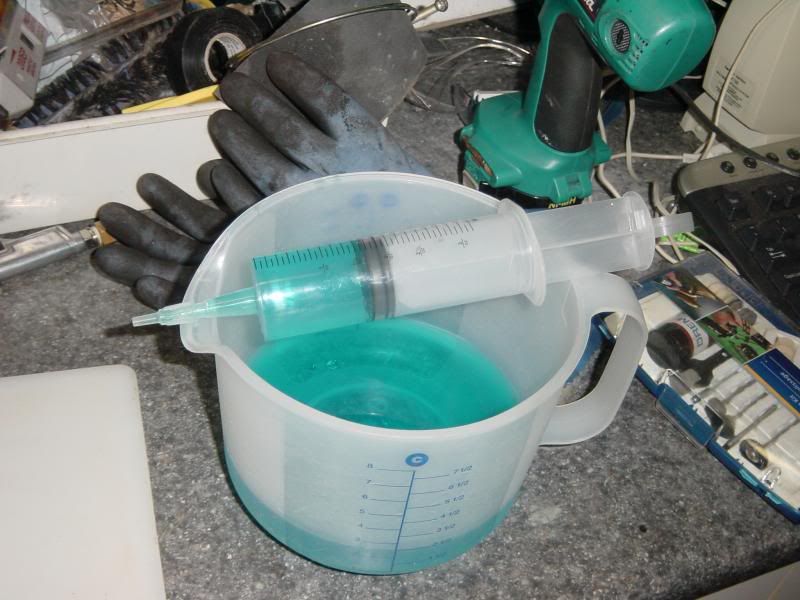
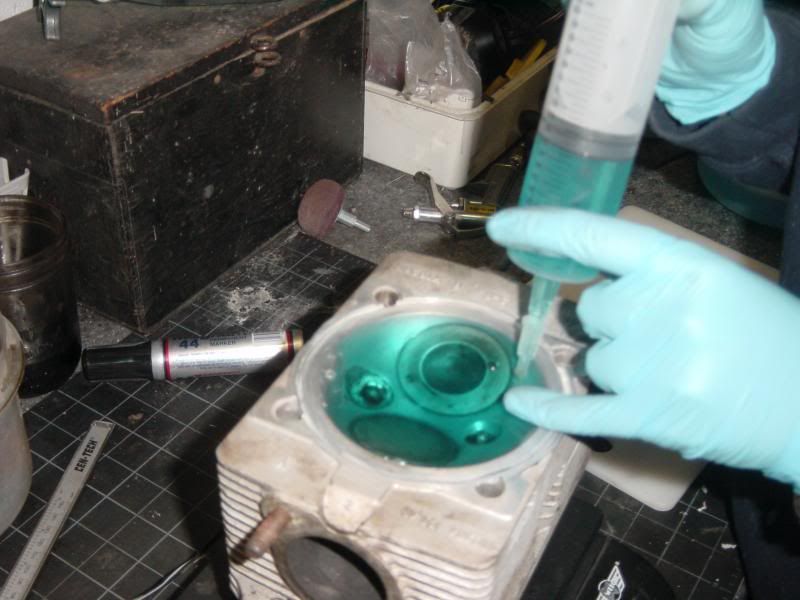
Next up was CC-ing the heads so she can calculate the compression ratio with a 1mm deck height. So we began our first try at calculating the cc of the combustion chambers. First try was just using the weight of water and our scale. The smart folks that set up the metric system (not that I can really use it, since I think in inches) have 1cc of water weighing 1 gram!! So this should be easy right? the 3.2 heads should have a 94mm combustion chamber but they have probably been cut so there was no way to know other than measuring. We have a huge syringe not a super accurate burette (loaned out over the years to never be returned....) for this so our technique was gonna be a bit redneck :-) We mixed up some blue water and set to measuring 94cc into the syringe. We squirted that into the head and it filled up nicely...except for the BULGE of water due to surface tension. Damn! I was hoping to get away with a nice even level at 94cc but this was not to be.
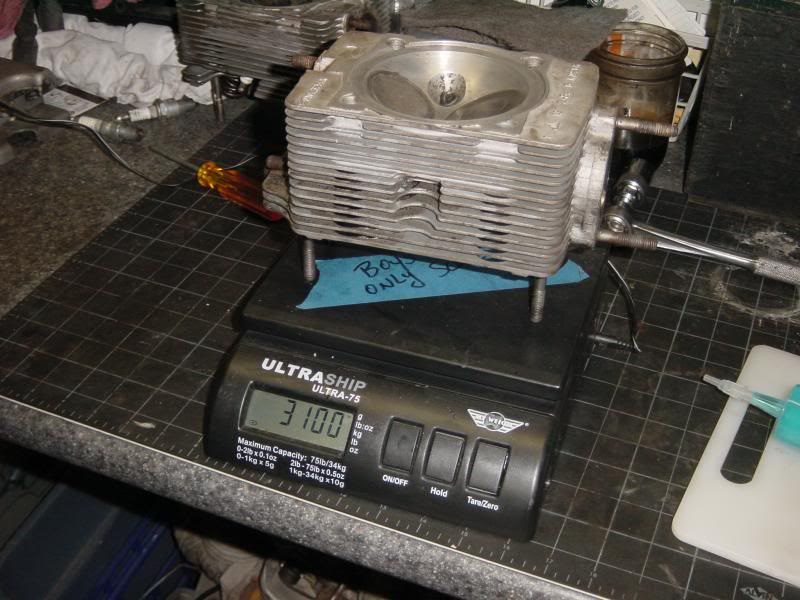
I tried to capture the bulge in the next pic. If you look in the 4-6 o'clock area you can just see it. The head also went up in weight by 95 grams. so we knew we were getting the right amount of water.

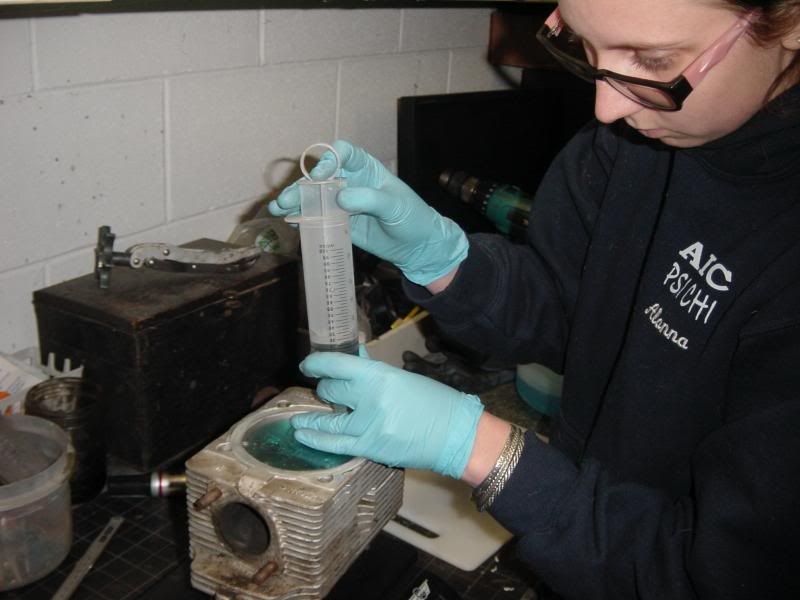
Nest was to cut out a piece of plexi to make a lid for the chamber so only so much water would fit. This was quite easy and with 2 holes in it and some white lube around the edge we were ready for our next attempt at accurate chamber volume.
Inject on the right side, set the head at a slight angle so the air gathers at the vent hole.
Squeeze in the water, keep your eyes on the vent and stop when you see the water bulge out.
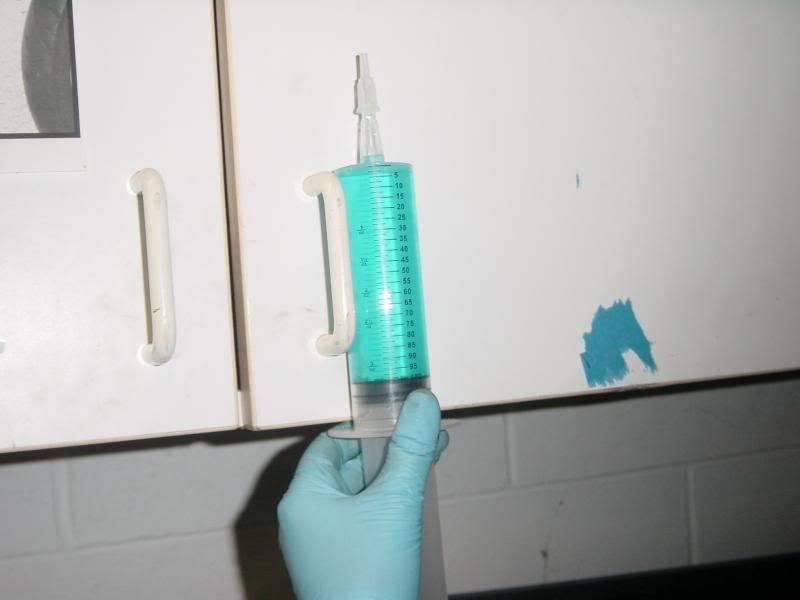
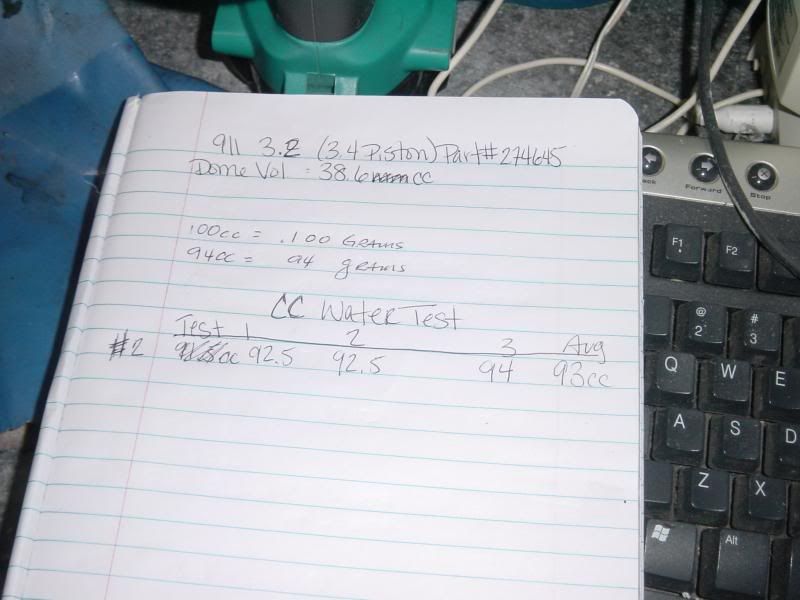
We started each measurement with exactly 100cc in the syringe
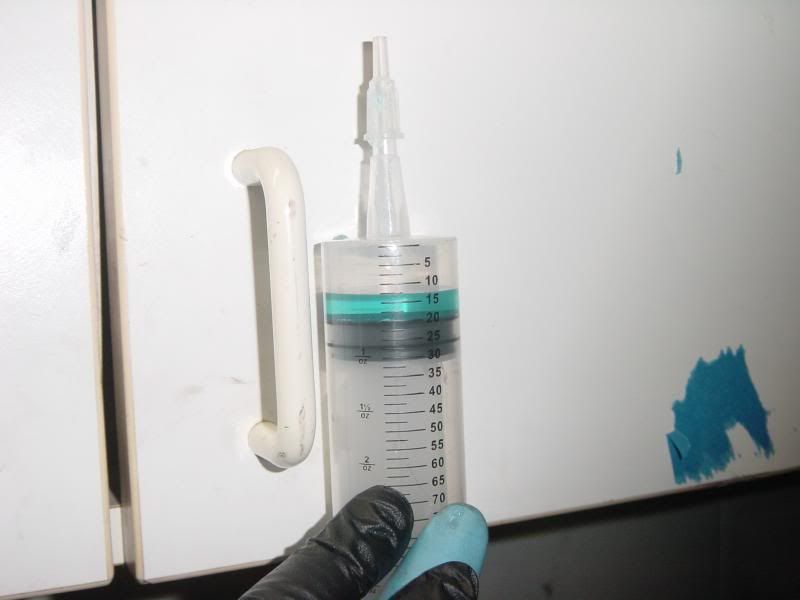
And then measured what was left over. In this pic it's 7.5cc. This leaves us with 92.5cc measurement for the combustion chamber. Allie did each cylinder 10 times and took the average for each head.
Allie is keeping her own notes for the build so she will have 100% records of all that has been done.
I can tell you that this level of science, math geekiness and precision is a wonder to share!! The OCD level is perfect and Allie is loving every minute of it. I'm having a great time sharing my (hers one day) tools. We calculated the compression ratio at 10.1:1 with a 1mm deck height. Perfect for a hot rod 911 with today's fuels.
Share your garage skills with your kids. You WILL NOT regret it!!