For this first-ever Luft build, emphasis was placed on keeping the car streetable vs. building an all-out gravel racer. So, with the suggestion by Pelican, the E-Motion team made the decision to forego a big brake application and stick with the dependable, tried and true stock calipers. Although this '85 was in great shape to begin with, the calipers were in need of a complete restoration so let's follow PMB Performance as they performed their magic on this set of calipers.
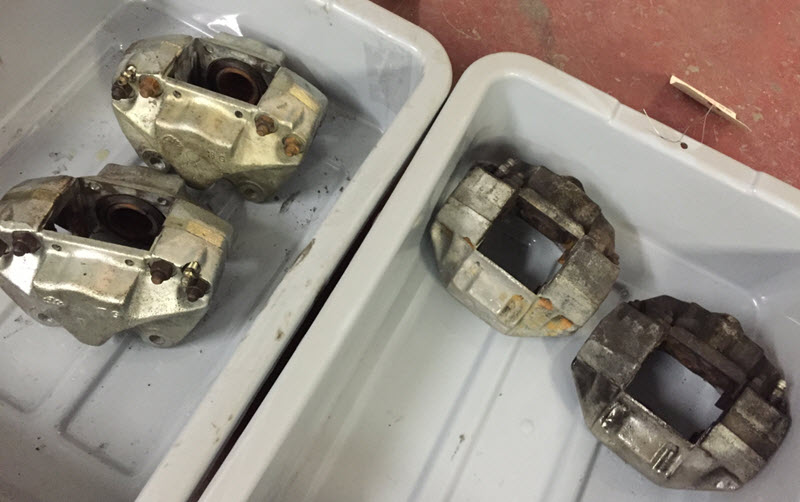
Here's a shot of the calipers as delivered to PMB - tagged and ready to be disassembled:

With a dental pick, the wire clips were carefully pried out and dust boots removed, bound for the trash can - not to be re-used of course. The pistons on the calipers moved freely to begin with so compressed air was used to gradually move the inboard piston out first while a C-clamp held the outboard piston in place. Compressed air was also used to free the outboard piston while padding the cavity.


PMB emphasizes that using the proper Ribe bits for the caliper fasteners is very important, especially for disassembly, as a Torx bit may damage the fastener. PMB removes the fasteners by hand not air, and always torquing the nut, not the Ribe fastener itself. For A-Calipers, an R6 bit is used on an M9 fastener. Now that the calipers are split, the bore seals are carefully removed, again with a dental pick and the entire body is carefully cleaned and inspected before plating.
The caliper halves are finished with yellow zinc which is a clear zinc with a short yellow dichromate bath - short bath being 20-25 seconds in the yellow dichromate while the fasteners receive black zinc. The result is stunning and with the zinc finish, the caliper halves now have a new layer of protection!


Meanwhile, the pistons are cleaned using a vibratory polisher and a mild cleanser. But what about the bores? Should they be honed? The answer is, no, they should not as you want a nice coating of zinc on the bores to prevent build-up of rust.
PMB uses original ATE Classic parts for re-assembly - just as they came from the factory originally.

The seals are replaced and with the bores lubricated, the pistons are properly set, then installed:

After the new dust boot clips are installed, it's time for the halves to be reassembled. The EPDM O-rings are set into their special grooves and the two halves can be fastened. There's a sequence for torquing (always at the nut) and two torque operations with the second being 29ft-lbs.

The pictures above are the actual set of calipers now re-installed on the rally car as you can see below:

So if you ever wondered what happens behind the scenes at PMB Performance, hopefully this gives you a good idea of the emphasis on the details! Although the rally car is up and running at this point, the calipers have been put to the test and are performing flawlessly.
Pelican offers this outstanding restoration service by PMB for A, M, S and Turbo calipers
here.
More to come as we continue to highlight interesting build details of the Luftauto!