|
|
|
|
|
| Author |
|
|
Registered
Join Date: May 2009
Posts: 59
|
Intalling rear main seal troubles
Ok, so I am on my second rear main seal. I f'd up the first one. How the hell do you guys get these to go in evenly? I just tried to put the seal in (with a piston ring compressor and a block of wood) and it went all the way in on one side, and the other is sticking out. How do I get the seal back out without damaging it?
|
||
 06-09-2009, 06:09 PM
|
|
|
Registered
Join Date: Mar 2008
Location: Chicagoland
Posts: 2,695
|
rubber mallet gently going around the edge around and around and around.
u can try slide hammer to get it out...no guarantees though |
||
|
06-09-2009, 06:26 PM
|
|
|
Registered

|
rubber mallet to start it and then pvc pipe with a cap.
__________________
Tom 1990 944S2 Cabriolet 2002 Chevy Silverado 2500HD 2003 Maroon Ford F350 dually |
||
|
06-09-2009, 10:37 PM
|
|
|
Proprietoristicly Refined
Join Date: Jul 2001
Location: ~Carefree Highway~
Posts: 5,833
|
Read post #9 and look at this picture:
http://forums.rennlist.com/rennforums/924-931-944-951-968-forum/504453-rear-main-seal-question.html  GL John_AZ |
||
|
06-10-2009, 05:15 AM
|
|
|
Registered
Join Date: May 2009
Posts: 59
|
Does it matter if the front of the seal (facing the flywheel is damaged? I got pissed and did this ---->
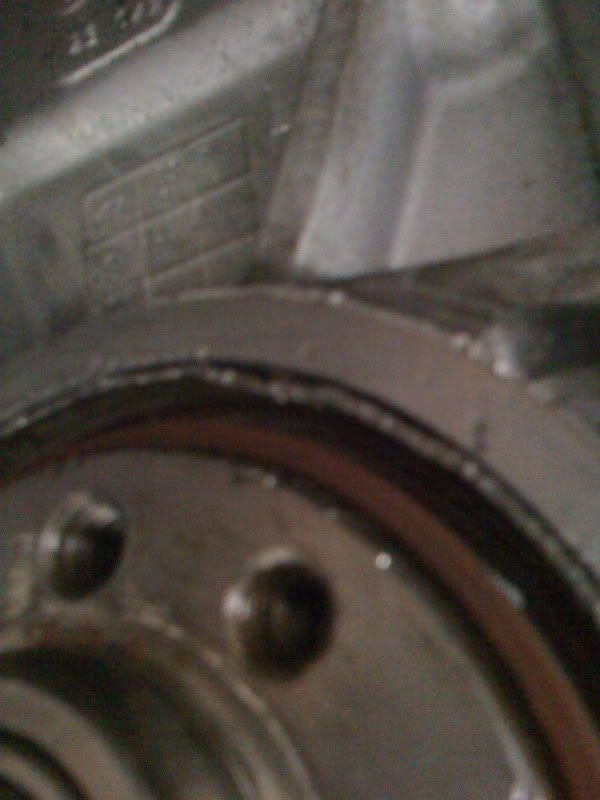  It is flush with the casing |
||
|
06-11-2009, 05:05 PM
|
|
|
Proprietoristicly Refined
Join Date: Jul 2001
Location: ~Carefree Highway~
Posts: 5,833
|
What have you done?
 I suppose that if you thought the RMS would not leak, maybe you would be correct. I have not tried this method of "upsidedown" or in your case UP side IN. It may actually work. I doubt it because of the method of insertion. Is this your second seal? It has to go down to the base of the seal cavity. There is a ledge on the outer block about 1/16 wide that is the bottom for the seal outer edge. I do notice your block does not have my "bevel" but you MUST BOTTOM the seal below the block and not flush. The Pelican OEM KACO seal--bottom--would work best for you. It does not have the "RIBS" on the "bottom" half and would start easier. Both will work.  Take a screwdriver in the screwdriver access slot and remove the seal. You cannot save the seal. Begin again. The memory of getting to the seal is not worth the $20 it will cost you for another seal. GL John_AZ |
||
|
06-11-2009, 05:48 PM
|
|

|
|
Registered
Join Date: May 2009
Posts: 59
|
Hahaha! Are you telling me that I put this seal in backwards? This is the first time I have had to replace a RMS. I was under the impression that the outer edge of the seal has to be flush with the bevel on the block? So do I need to press the seal in until it bottoms out?
|
||
|
06-11-2009, 06:13 PM
|
|
|
Proprietoristicly Refined
Join Date: Jul 2001
Location: ~Carefree Highway~
Posts: 5,833
|
Glad you are smiling
 Here is the typical "bevel" I have marked in red:  Your block does not show this but....... You press it in until it bottoms out.. From an earlier post of mine: FWIW Installer error on any seal is the major problem. Like KuHL 951 posted, using Curil T (Pelican $10.75) will seal the RMS against leaks (applied to the seal outer edge). If you are out of Curit T and want to finish, WD-40 on the outer seal and sprayed in the cavity will also work and it gets gummy after a while to seal better. The crank surface has to be wiped clean of all leftover grease and dirt. You have to oil the inner seal and crank surface with a thick oil or the seal will burn out fast. The seal has to fit to the bottom of the recess. Especially with the Kaco seal. The Kaco seal is smooth on the outer surface half way-this goes in first. The outer half has "ribs". The seal must go to the bottom of the recess "below" the block/casing "bevel". You can get a professional seal press or go to Home Depot and get a 4" screw in sewer PVC cap. Lightly sand the bottom to smooth rough production edges and cut out the center square portion to fit over the crank end. If you have properly oiled the seal inside and out as mentioned above, it will slide in easily with gentle tapping. The block bevel will let you know if you have a correct 360 degree fit and not have an edge that is "off" If you are not through, any RMS will leak. GL John_AZ |
||
|
06-11-2009, 06:27 PM
|
|
|
Proprietoristicly Refined
Join Date: Jul 2001
Location: ~Carefree Highway~
Posts: 5,833
|
Quote:
GL John_AZ |
||
|
06-11-2009, 06:36 PM
|
|
|
Registered
Join Date: Jan 2009
Location: Missouri
Posts: 199
|
I got a hoot out of this thread. Glad you are smiling too and yes, you put the seal in backwards. That is one reason you had such a hard time installing it...I'm surprised it did go in, what size hammer did you use?
 It's, by far, not the worst mistake I've seen. It's good you can sit back and laugh!
__________________
'83 944 N/A '88 Ford F-150 4WD - Does Everything '99 300M - Daily Driver, headlights just polished! '85 34' ITASCA MotorHome, built-in blender baby! '89 Supra - Black - Future 400hp NA sleeper. |
||
|
06-11-2009, 09:03 PM
|
|
|
Proprietoristicly Refined
Join Date: Jul 2001
Location: ~Carefree Highway~
Posts: 5,833
|
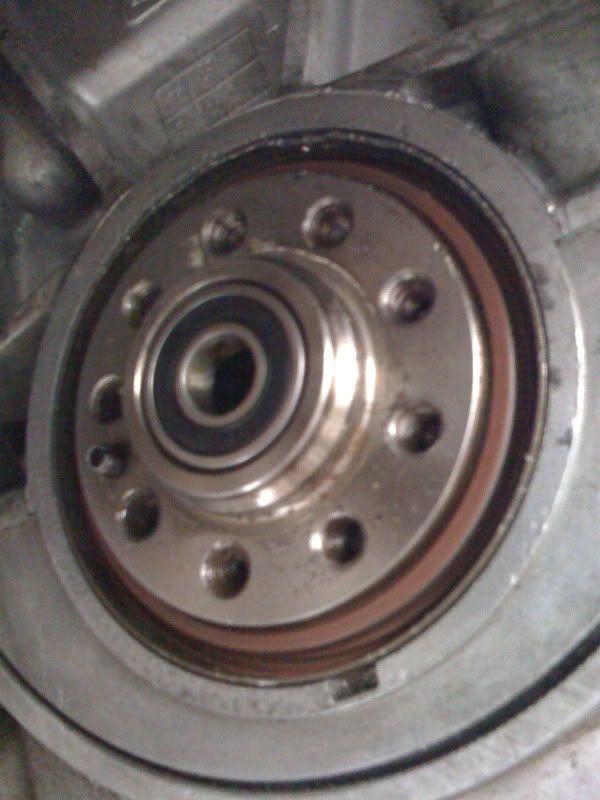
This is a picture of the opening the seal goes in. I have pointed to the ledge inside where the seal has to bottom. I have also circled the bevel again for reference.
 GL John_AZ |
||
|
06-11-2009, 09:43 PM
|
|
|
Proprietoristicly Refined
Join Date: Jul 2001
Location: ~Carefree Highway~
Posts: 5,833
|
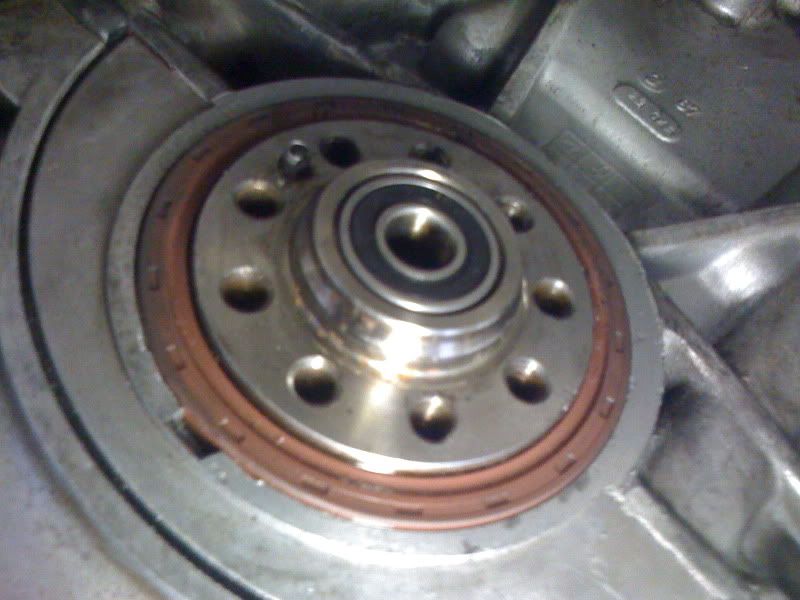
Shogunther,
The PO of your car had the same problem. In your previous post ..."look what I found" your picture showed no RMS. Here is your picture. Removed the clutch and look what I found...  Every thing looks normal. Make sure you have no burrs in the screwdriver recess area or poking up towards the crankshaft, clean the opening and crankshaft. Use liberal amounts of WD-40 or Curil-T. Oil the inside lips of the RMS with thick oil. Buy a 4" screw in sewer cap at HD-take your old seal along for measurement. Gently tap the RMS in. The KACO seal without lower ribs will start easier. Good luck John_AZ |
||
|
06-12-2009, 04:59 AM
|
|
|
Registered
Join Date: May 2009
Posts: 59
|
So the seal should seat in with gentle taps? I am hammering this sucker and it wont go in any further, but it is still sticking out a little.
|
||
|
06-15-2009, 06:49 PM
|
|
|
Registered
Join Date: Jan 2009
Location: Missouri
Posts: 199
|
snap a pic!
__________________
'83 944 N/A '88 Ford F-150 4WD - Does Everything '99 300M - Daily Driver, headlights just polished! '85 34' ITASCA MotorHome, built-in blender baby! '89 Supra - Black - Future 400hp NA sleeper. |
||
|
06-15-2009, 07:02 PM
|
|
|
Registered
Join Date: May 2009
Posts: 59
|
|
||
|
06-15-2009, 07:11 PM
|
|
|
Registered
Join Date: May 2009
Posts: 59
|
Im about to buy one of those freakin Arbor tools!

|
||
|
06-15-2009, 07:26 PM
|
|
|
Proprietoristicly Refined
Join Date: Jul 2001
Location: ~Carefree Highway~
Posts: 5,833
|
shogunther,
I measured my "old" OEM seal I just took out of my 1987 924S-it is ~12.2mm thick measured with a cheap Harbor Freight caliper. It is red/rust in color and has ribs top to bottom. The seal prior to removal was "almost" flush with the block-just a tiny bit below. The OEM KACO seal Pelican sells and the one I just installed in April is a little less than 12mm thick and has ribs only on the top/outter area. My conclusion/reasoning was that KACO wanted a fresh surface on the crank to seal, a little deeper if you follow me, and that is why the seal is ~12mm thick. You can see it in my earlier seal picture. I also measured, again roughly, the depth of the seal "ledge" from the block face to the ledge. It is about ~14.7mm. The block face to the bottom of the screwdriver slot is ~7mm. I do not know what brand of RMS you are using. If you measure the seal that you put in upside down and you got it flush, the seal you have just put in should fit. Yes, the Arbor tool Pelican sells would do the trick. Did you get the 4" sewer cap to help you install this seal? GL John_AZ Last edited by John_AZ; 06-16-2009 at 09:44 AM.. Reason: Thick---thick |
||
|
06-16-2009, 05:47 AM
|
|
|
Registered
Join Date: Jan 2009
Location: Missouri
Posts: 199
|
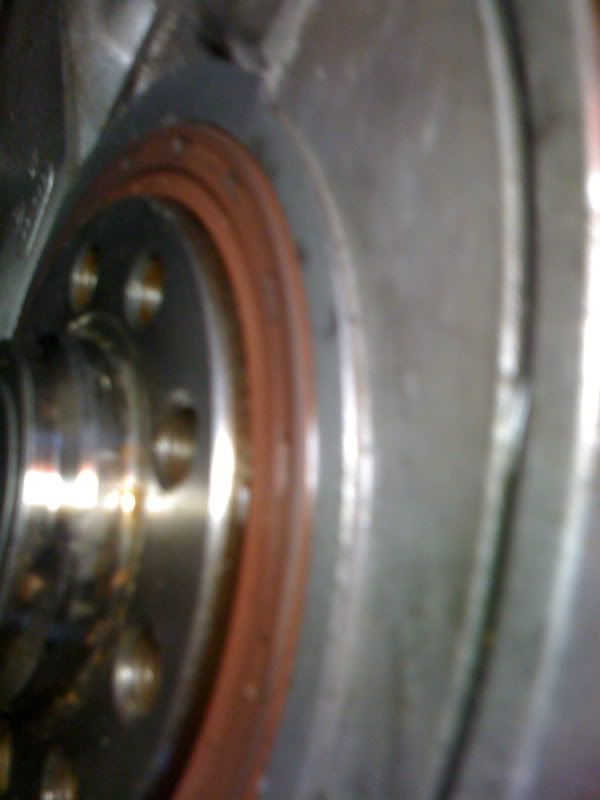
I don't want to start any other issues, but from the last picture it looks like the seal is deformed, like it is too large a diameter. Perhaps it is the wrong seal?
Don't get frustrated...
__________________
'83 944 N/A '88 Ford F-150 4WD - Does Everything '99 300M - Daily Driver, headlights just polished! '85 34' ITASCA MotorHome, built-in blender baby! '89 Supra - Black - Future 400hp NA sleeper. |
||
|
06-16-2009, 06:11 AM
|
|
|
Registered
|
I would do as John suggested, measure the seal you just put in....it may be in as far as it goes.
__________________
Tom 1990 944S2 Cabriolet 2002 Chevy Silverado 2500HD 2003 Maroon Ford F350 dually |
||
|
06-16-2009, 08:03 AM
|
|
|
Registered
Join Date: May 2009
Posts: 59
|
I finally got the RMS seated. Now another problem.....I was torquing the flywheel bolts and one snapped. Do I need to remove this or will it be ok with 8 bolts? What a PITA this has been!
|
||
|
06-16-2009, 08:43 PM
|
|


