Very often our customers asked how can they get the results that we get? What is needed to obtain those results? The answer is very simple: 1. Surface preparation is the secret; if the surface is not prepared correctly you will never be able to obtain great results. 2. The most important thing is time and patience, without them, detailing a car can become very frustrating, not to mention that you need the correct products and the correct tools.
As a continuation of the above, we are providing step by step on how to obtain such results.
Vehicle placement:
To start your detail job, you want to make sure your car is not in direct sunlight and that the surfaces on the outside aren’t hot. If shade cannot be found, you can wait until late evening so the sun isn’t at its full intensity.
Vehicle surface evaluation*-
One of the most important aspects of a successful detail job is the evaluation of the vehicle surface. This evaluation will allow us to prepare ourselves with the correct products and steps, things like light scratches, swirl marks and other paint imperfections can be evaluated at this time, from here we will have a plan of what products are needed and in what order.
You want to prep your washing materials first so you won't be running back to get items from storage while water is on the paint or wheels. You can use a pressure washer usually with no problems, just use caution when doing so. You don’t want to get to close to any surface of the car with high pressure water, especially to pin strips or emblems, failure to do so can result in inevitable damage.
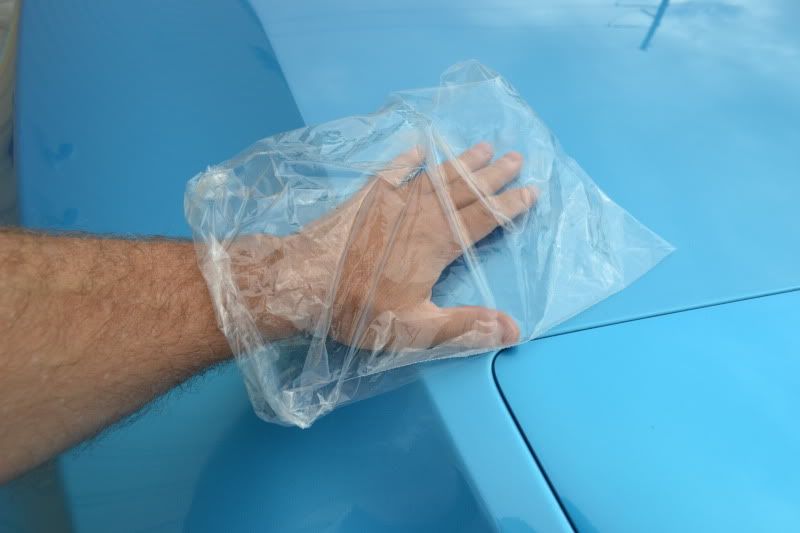
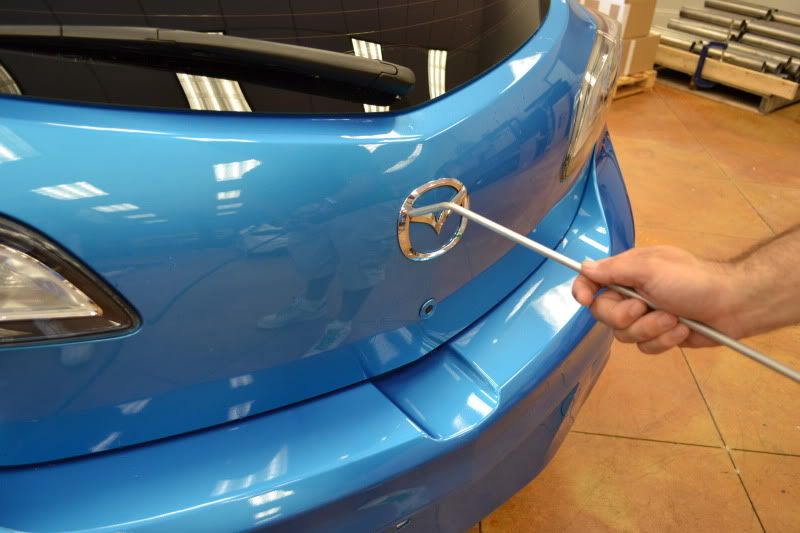
Now let's evaluate the surface condition of the vehicles paint, if you pass your bare hand on the surface chances are that the surface will feel good and free of defects, however a simple test is to use a very thin clear sandwich bag over your hand ( using it as a glove) and pass your hand very gently over the surface, you will feel what appears to be very tinny bumps, that's an indication that your surface is contaminated and that you will need to prepare the surface better, if you have any doubts simply go to your garage and do this test. If you feel any of those bumps you will need to apply correct that if you don't feel any of them you can proceed with your wax.
Sample of the test
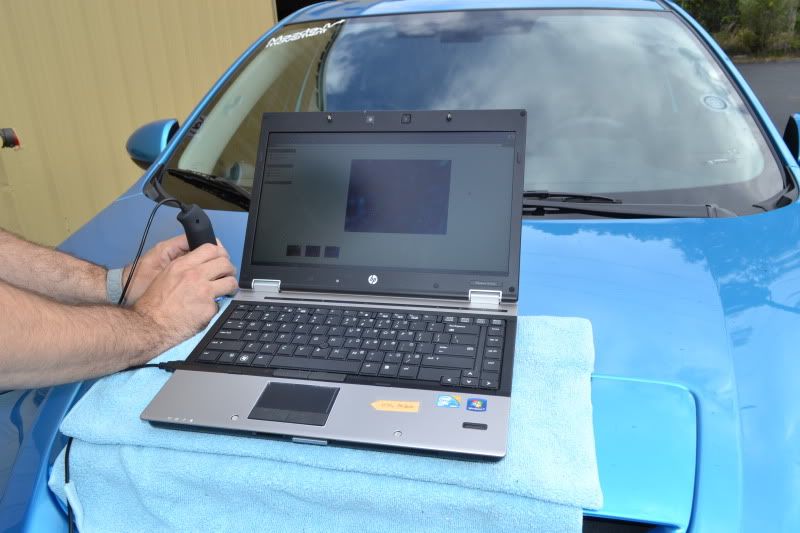
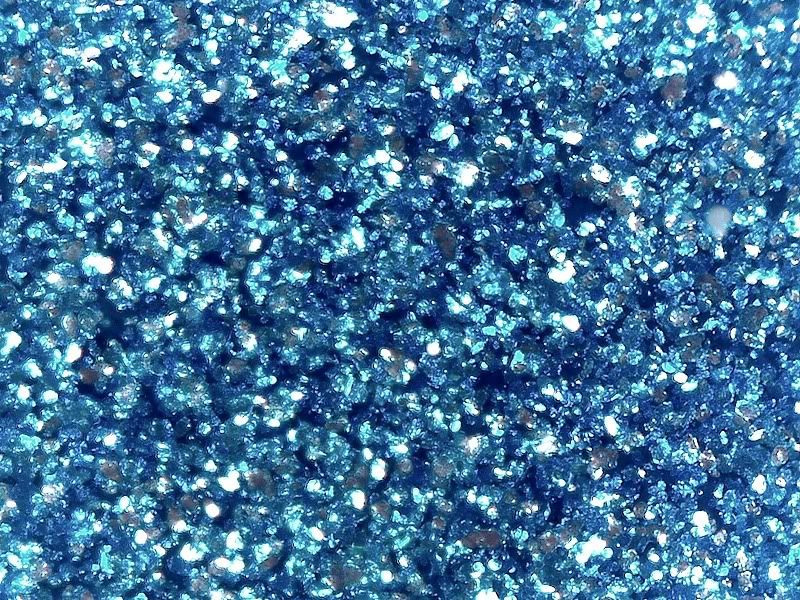
Another tool that we have is 500x magnified digital light which will allow you to see imperfections on the vehicle surface.
Surface with Defects

After correction
Tires and Wheels Washing
I prefer to wash the tires and wheels first, so water doesn’t sit on your clean paint and get baked in by the sun. For the tires, wheels and wheel wells you will only need a few things. You will need a separate set of wash materials so your paint does not get contaminated by the metal particles and dirt on your tires and wheels. Do not use the same wash water or tools on the paint as you did your wheels. I like to have just a simple soft bristled brush.
*Pre Wash*-
Pre Wash I start off by rinsing all the loose debris from the top of the car working downwards. You want to make sure to get all of the loose grime off of the surface so you don’t have to use your wash mitt. What I like to do at this point is just hit all the surfaces including, wheels and tires.
I found out with this process we can avoid ca*using swirl marks, at least to a certain point. Very often as you wash you may be dragging loose grime which will scratch the vehicle's surface, these steps are by no means a solution, but rather a “preventative action.
Wash
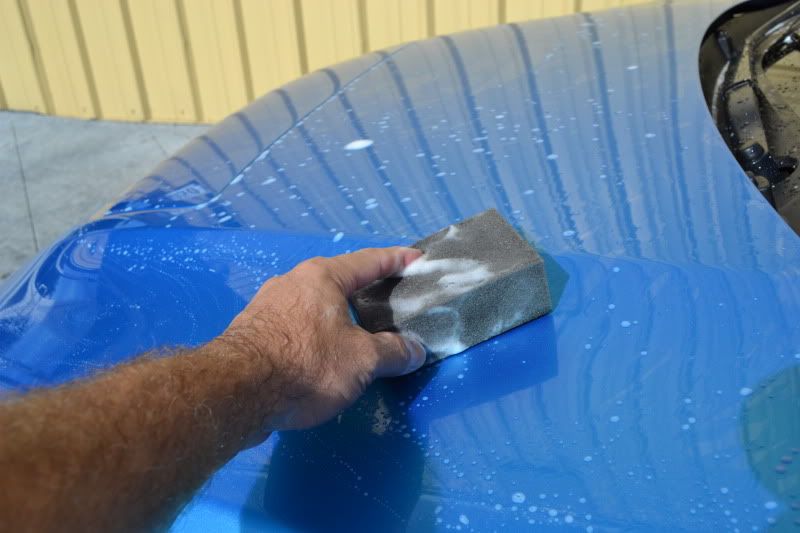
During the washing process we have incorporated one of the mo*st revolutionary products in the market today, the Oxidation block. The oxidation block is a product intended to be used to quickly and safely to remove bonded contaminants, droppings and insect grime from automotive finishes. For automotive paint finishes, this product has the same function and environmentally safety as clay-based stain removers. (Clay bars) benefits are endless but we will skip that information right now.
With a new high quality washing mitt on the bucket with the car shampoo we will work on sections, we wash the surface and immediately rinsed right after we then dip the oxidation block on the bucket which has the soapy solution, after that we proceed to pass the block with a horizontally motion to all the painted surfaces one section at the time. Do it section by section so the soap doesn’t dry. If it does dry, just re-soap the area and rinse again. I do the rear of the car and the front bumpers last, as these have the most grime. You want to wash in long sweeping strokes, don’t wash in circles.
Drying Vehicle surface
If you have air available this is by far the best way to dry the vehicle if not use you waffle weave drying towel from the top down to dry the rest of the car. There should be very little water left on the surface of the car left at this point. Make sure if you see a spot of dirt you missed, or loose debris on the car, don’t touch it with your drying towel, re-wash the area and then dry. I usually use a couple of inexpensive micro fibers to dry the wheels and tires.
Taping
Taping Since we are going to do a full detail job the use of power tools will be needed, as safety measurement we will tape all the trim areas and delicate areas, the main purpose of this step is “in case” that we make contact with the power tool we will not damage the trim area, not taking the important step while using a power tool could result on leaving “scuffing marks” on the unprotected surfaces.
Paint Correction
Swirl Remover/ Light Scratches and paint corrections In this step you should tackle all of the above problems; this could be a very long section which can be addressed with many different tools so we will concentrate in the Swirl Remover and the The Porter Cable 7424 or (7424 XP newest version)
With this tool(s) many different foam pads can be used, they all come in many sizes designs and colors, the color is the industry standard rule of thumb for a certain job, all do recently more and more colors are appearing in the market.
Yellow Foam Pad- Use for Heavy duty Compound
Orange Foam Pad- Use for Light duty compound
Green Foam Pad- Use for Compound/Polish
White Foam Pad- Use for Polish
Black Foam Pad- Use for machine Glaze
Blue Foam Pad- Use for Polish/Sealant
For Heavy imperfections a compound will be needed.
Car Wax
Car Wax We now move to the final step, the application of the car wax, Again we like to apply the wax by hand and remove via porter cable using a white foam pad and finished with a super flush Micro fiber towel.
The use of Porter Cable is not necessary for the pre wax and wax steps but for an extreme detail they help a lot. Applied by hand, I like to use the Porter Cable and finished with a Microfiber towel to remove the wax, it seems to work great for me.
Tire Dressing I like to apply a tire gel using an applicator with a very thin layer of tire gel to the tire sidewall if more shine is desired a second coat can be applied, most of the time one coat is enough.