|
|
|
|
|
| Author |
|
|
Registered User
Join Date: Mar 2013
Posts: 10
|
944 build
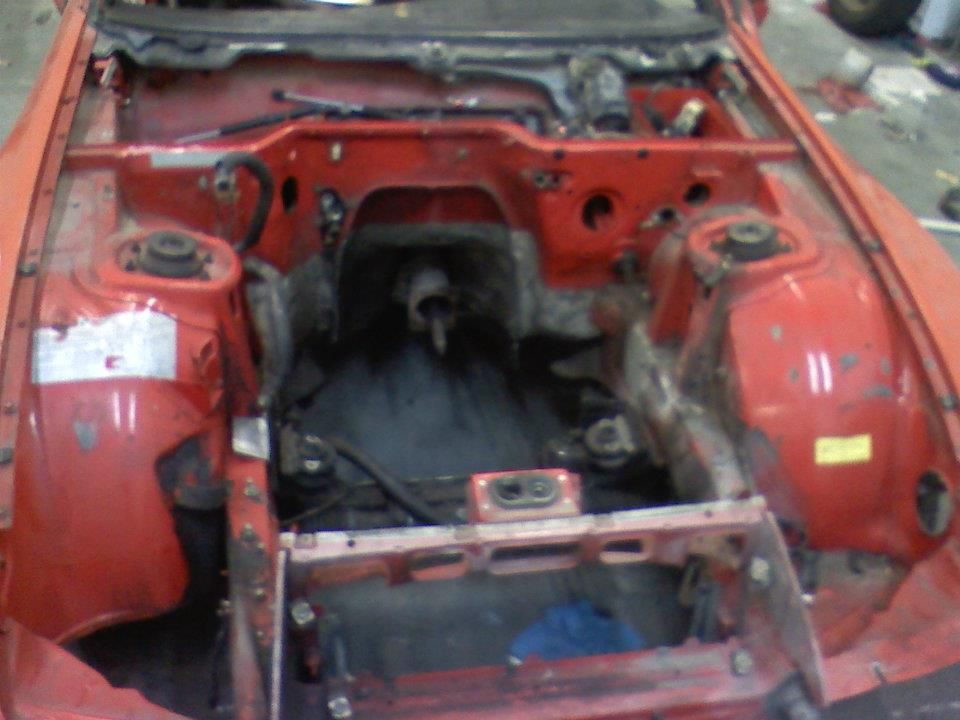
A little background on myself and the car. You guys will appreciate what's being done with the car and i'm sure you can help me out along the way as well. This is my first venture into a Porsche. I own a shop in New Haven, Ky. We deal mostly with imports and we took on this project hoping to have a nice show/street/weekend car for it's owner. I'll try to post updates asap to keep the build thread up to date.
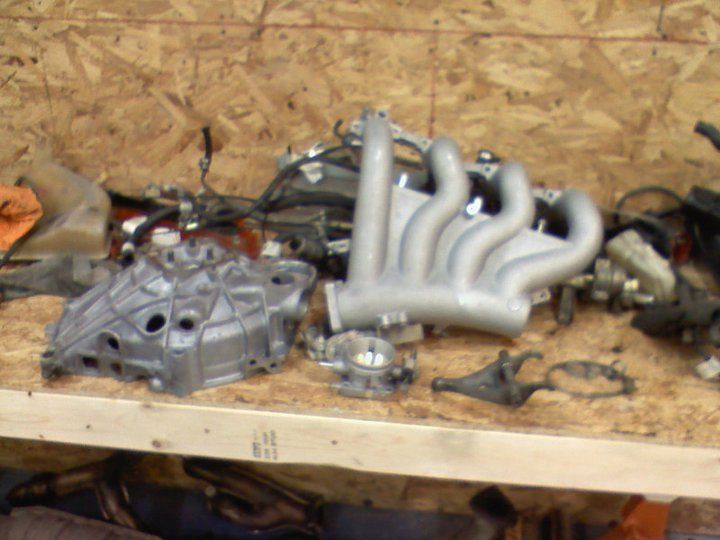
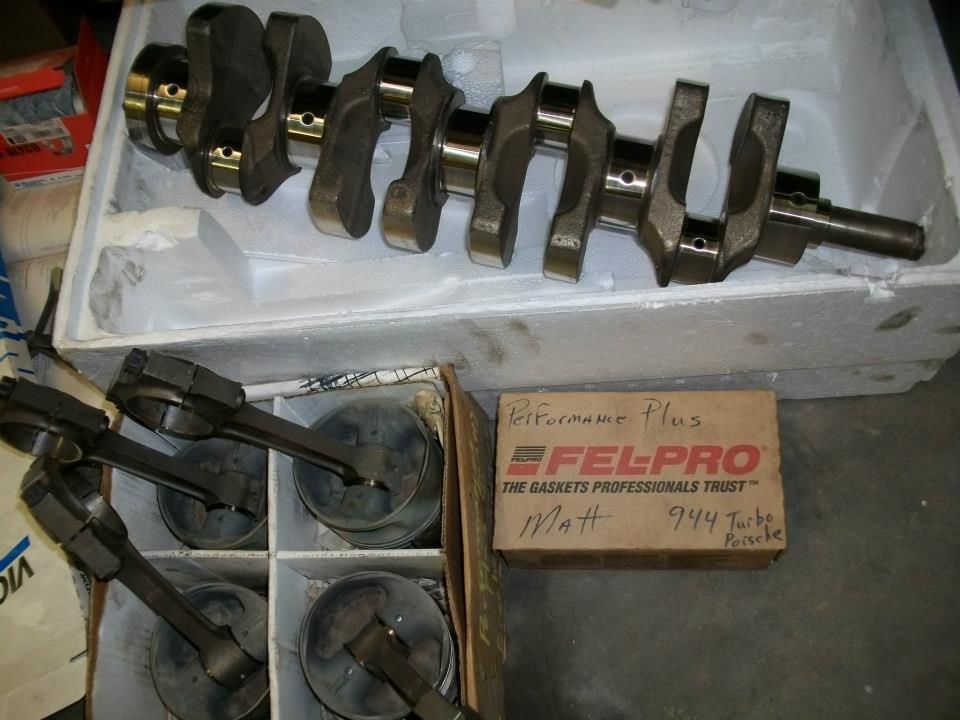
Anyways, here's what we're starting with. An '86 944 Turbo with a mess load of problems. Turbo is shot, exhaust valves are bent, dash is cracked, seats are beyond repair, etc. The idea is around 350hp, we're scared that the owner won't know what to do with more than that. We're putting a Precision 5758 on it and doing a lot of custom work after the motor gets rebuilt. We've had fresh sleeves put in the motor but kept the factory bore. On to the pics. 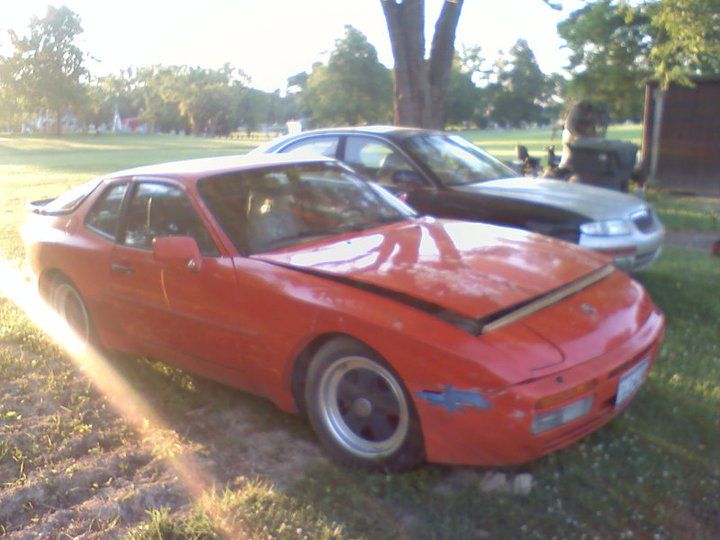 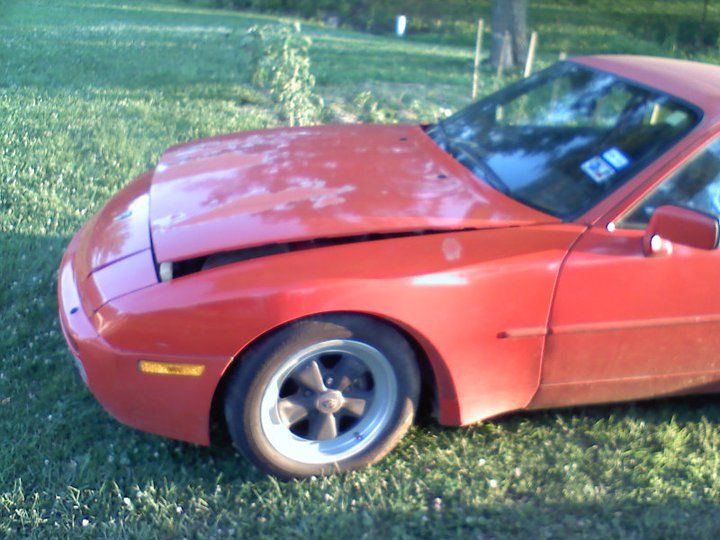 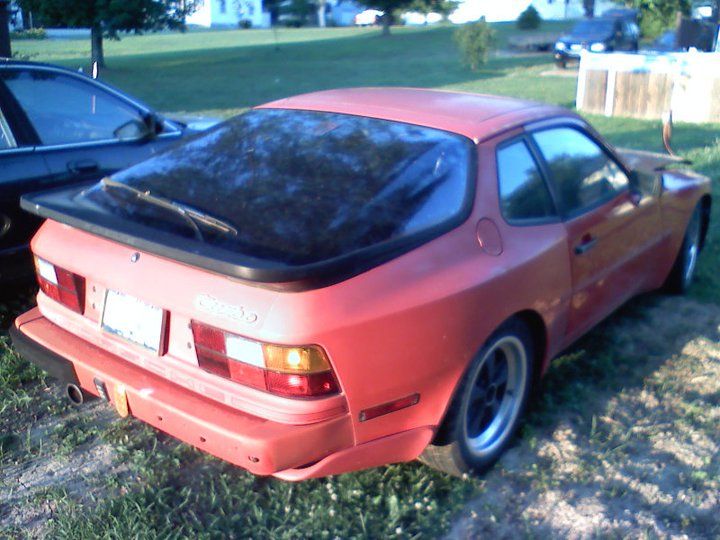 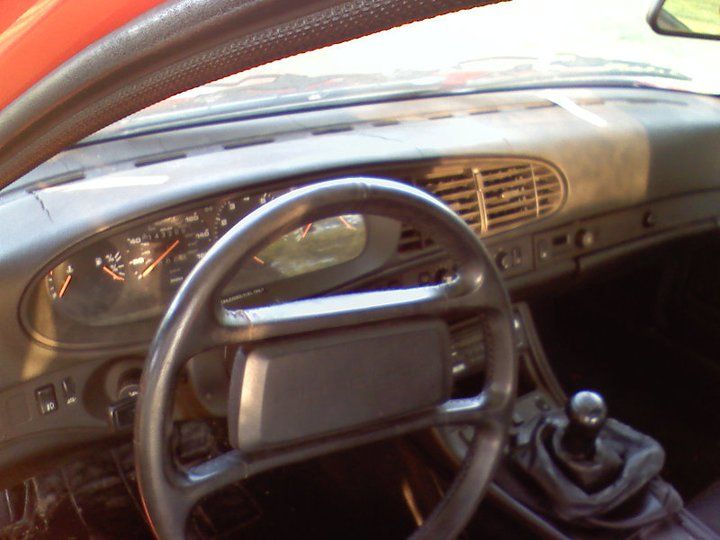 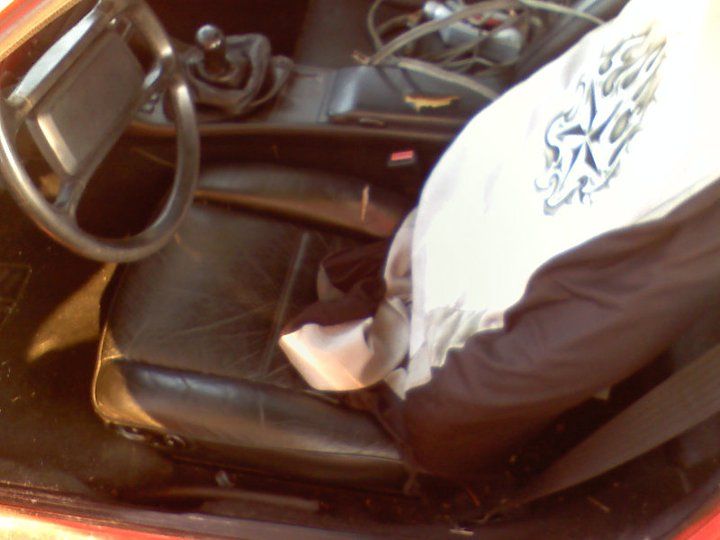 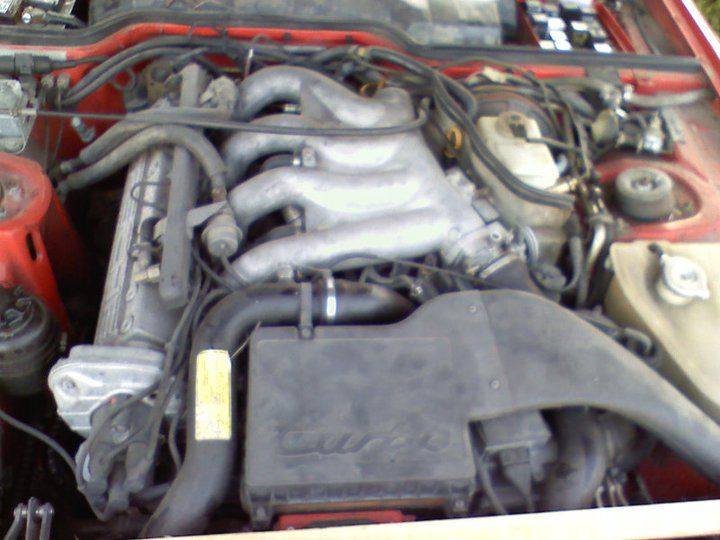 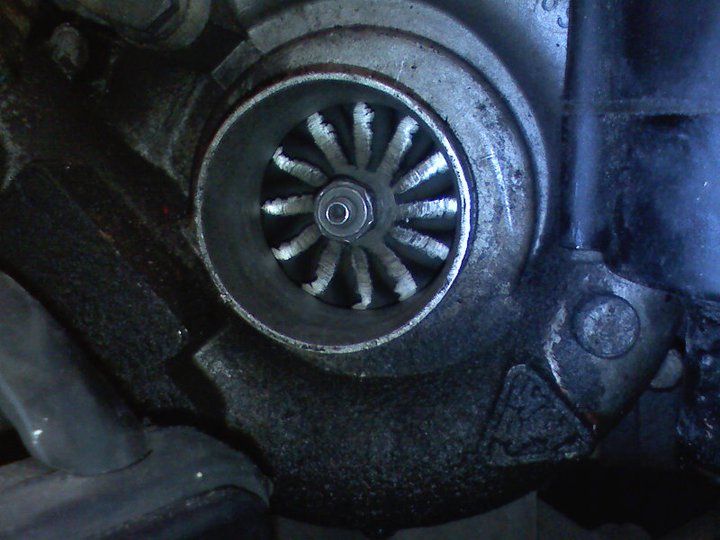 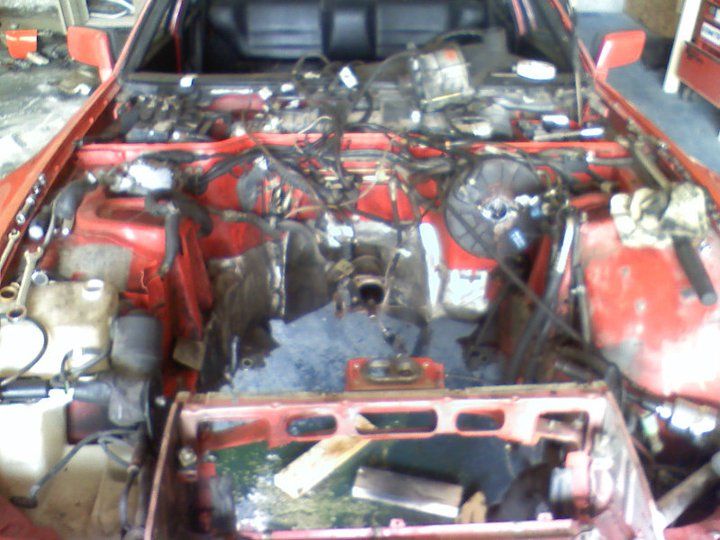  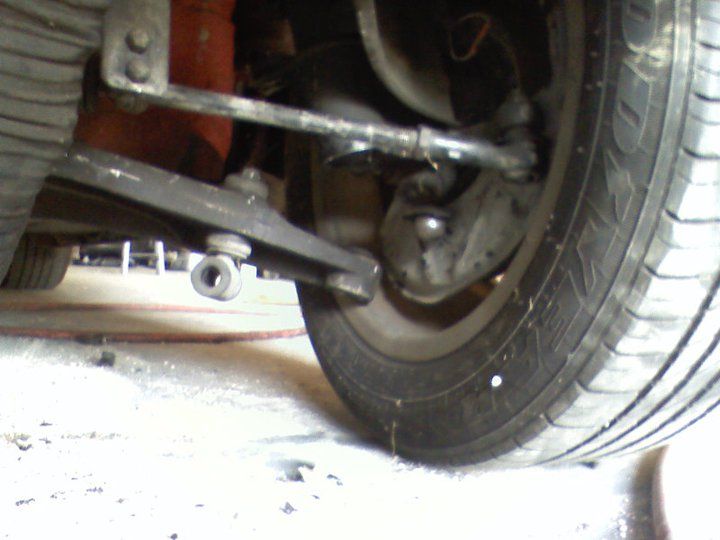
|
||
 03-26-2013, 04:41 PM
|
|
|
Registered User
Join Date: Mar 2013
Posts: 10
|
More pics
|
||
|
03-26-2013, 04:41 PM
|
|
|
Registered User
Join Date: Mar 2013
Posts: 10
|
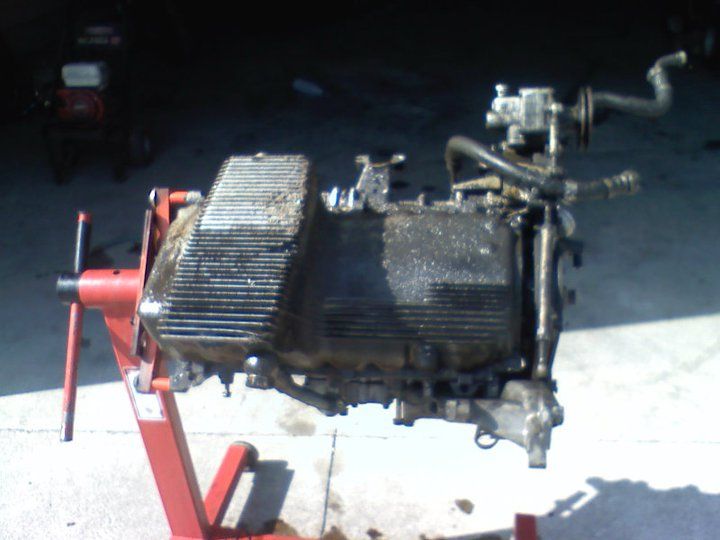
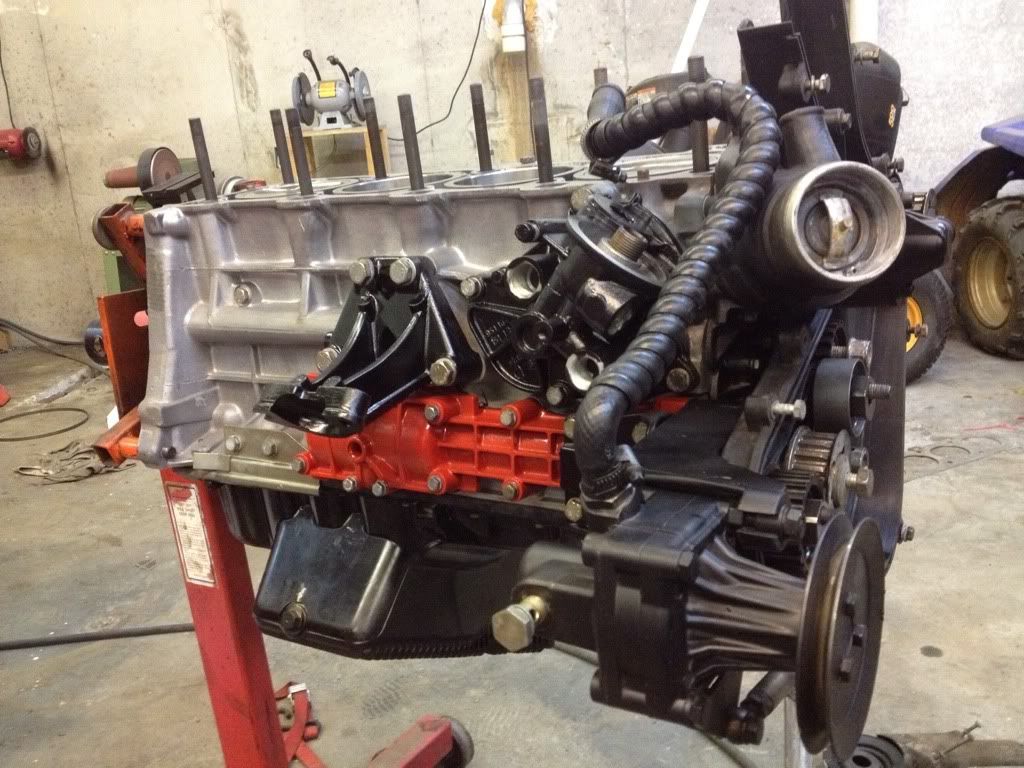
   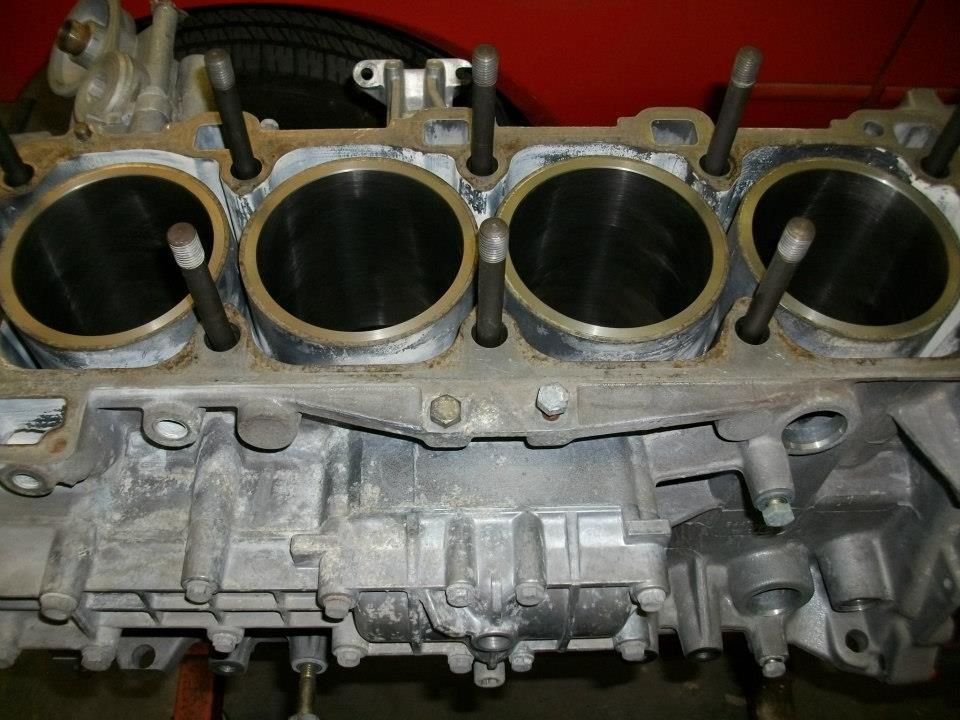   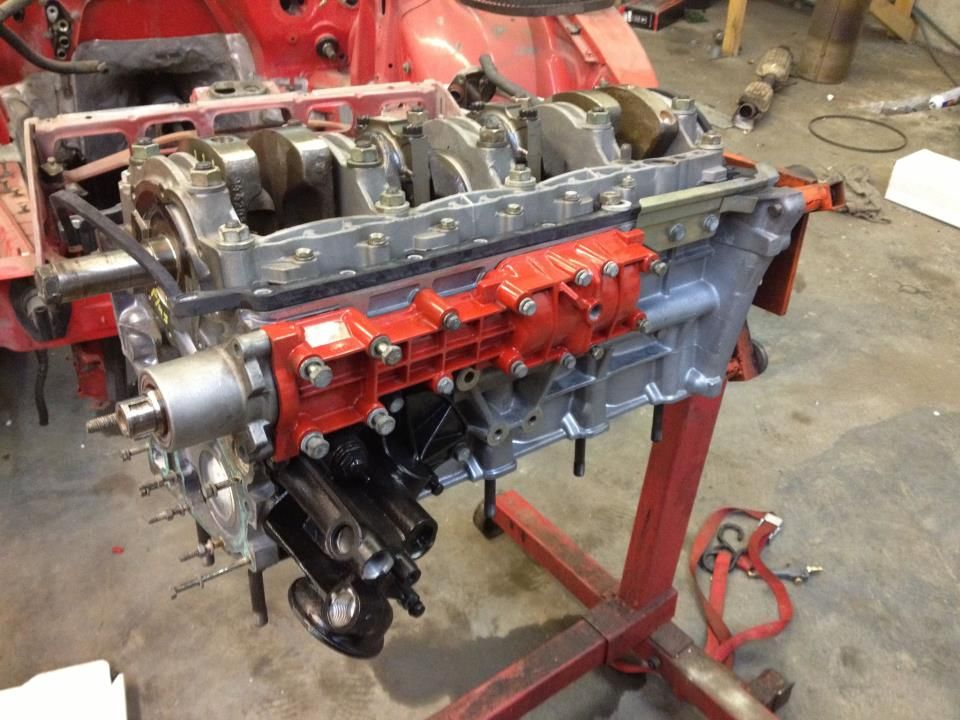 As the motor sits right now. Working on getting the front of the motor put together tomorrow. And, yes, I realize that the balance shaft cover is on the wrong side  already fixed. already fixed.
Last edited by nsusammyeb; 03-26-2013 at 04:46 PM.. |
||
|
03-26-2013, 04:42 PM
|
|
|
Registered
Join Date: Oct 2008
Location: New Hampshire
Posts: 32
|
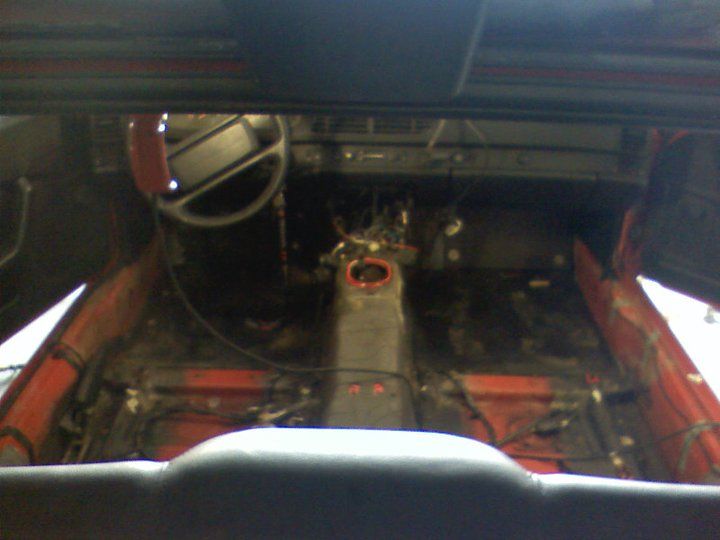
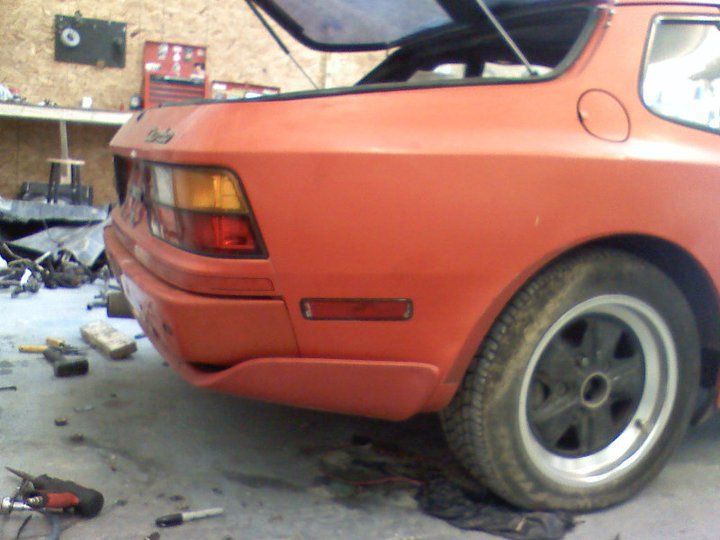
I like the rear bumper mod. What did you do to mount it?
|
||
|
03-27-2013, 10:03 AM
|
|
|
Registered User
Join Date: Mar 2013
Posts: 10
|
Quote:
|
||
|
03-27-2013, 12:36 PM
|
|
|
Registered User
Join Date: Mar 2013
Posts: 10
|
Ran into a couple snags today. Realized that I didn't seal the oil port that flows through the girdle so I had to pull that back off and fix it. Found a crack in the oil pan and got it welded up and painted. It's been about a year since this car has been torn down and we're just getting into it again. Finding parts and bolts etc. has been a chore!
Last edited by nsusammyeb; 03-27-2013 at 04:03 PM.. |
||
|
03-27-2013, 02:15 PM
|
|

|
|
Registered
|
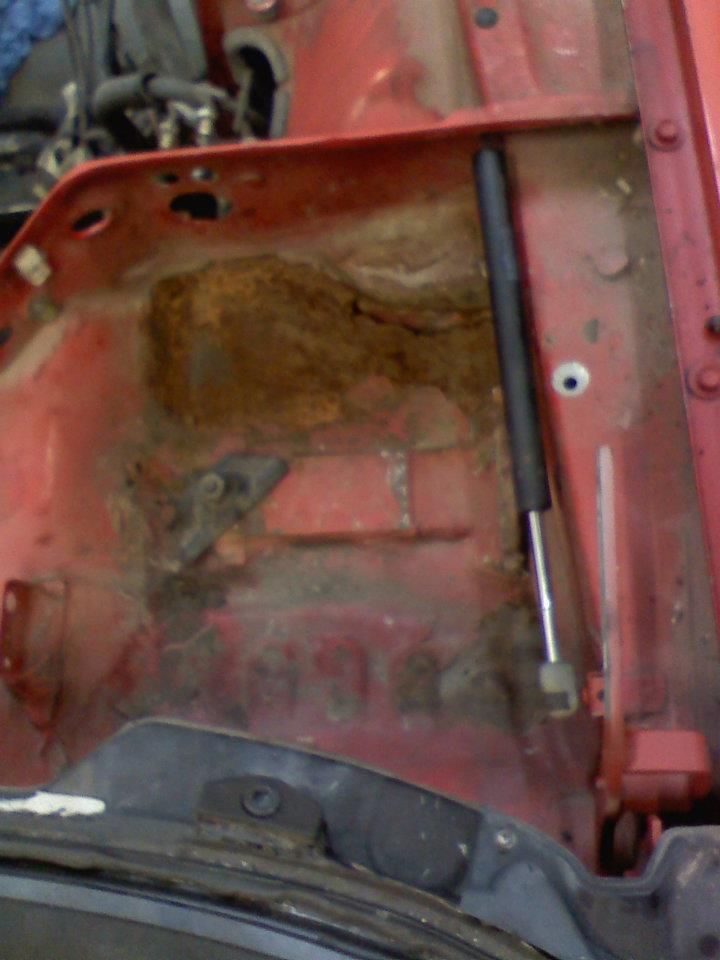
WoW...what a mess. That will be some resurrection. Good time of year for that being Easter and all. Good luck and may the force be with you.
__________________
Patrick Youtube 333pg333 86 modified 951 |
||
|
03-27-2013, 11:05 PM
|
|
|
Registered User
Join Date: Mar 2013
Posts: 10
|
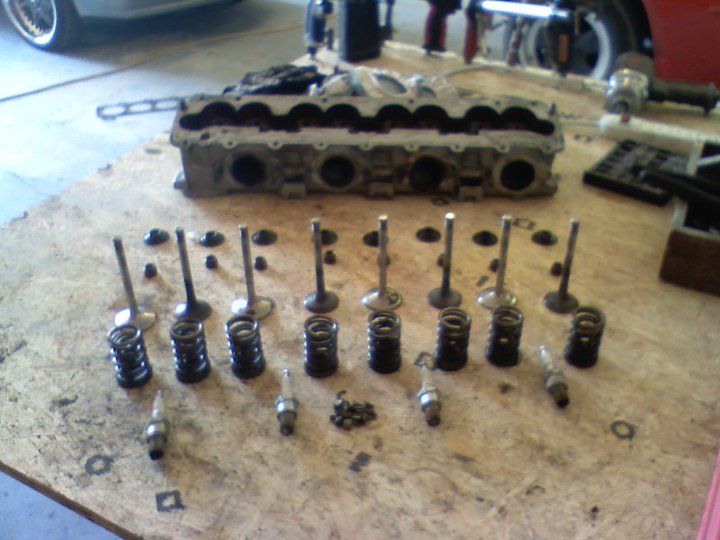
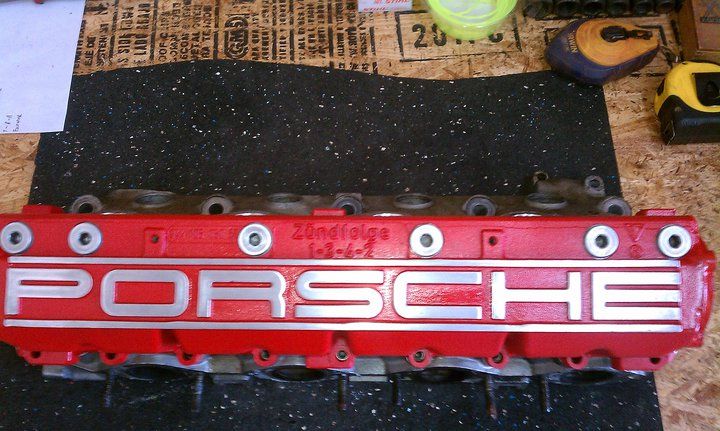
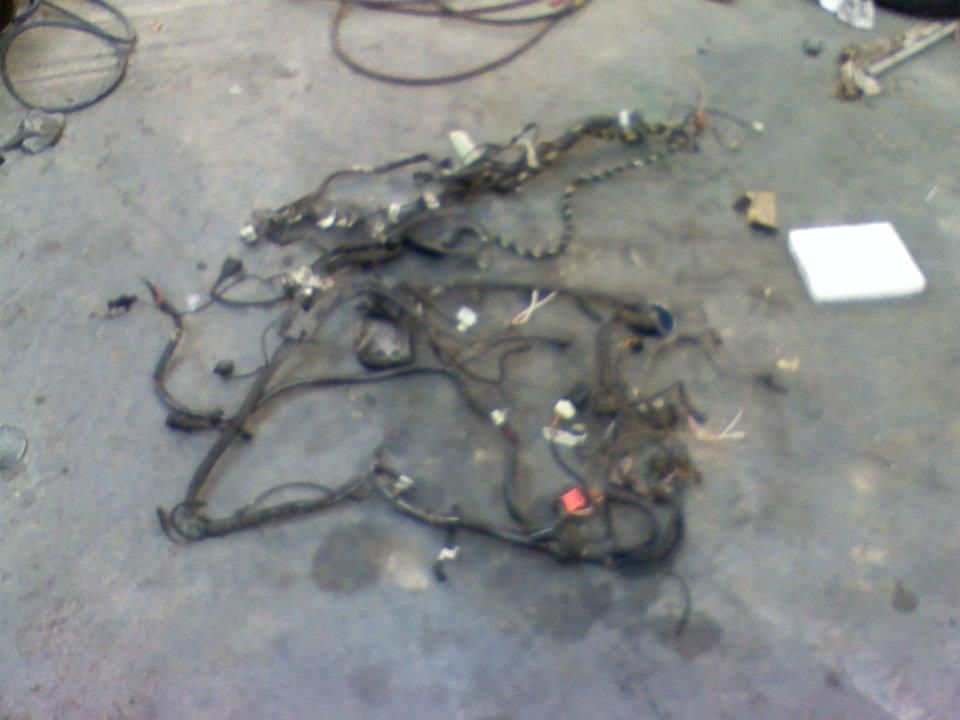
Yea, car was a complete disaster so we decided to just strip it down and start from scratch. It's going to be on a megasquirt standalone. Head just got finished up installing the new valves and seats so we'll be picking it up today and hopefully mocking a few things up in the engine bay by the end of next week. Ready to do some fabrication!
|
||
|
03-29-2013, 06:34 AM
|
|
|
NY944Turbo
|
Nice, keep us posted.
|
||
|
03-29-2013, 02:29 PM
|
|
|
Registered
Join Date: Aug 2007
Location: North of Boston
Posts: 163
|
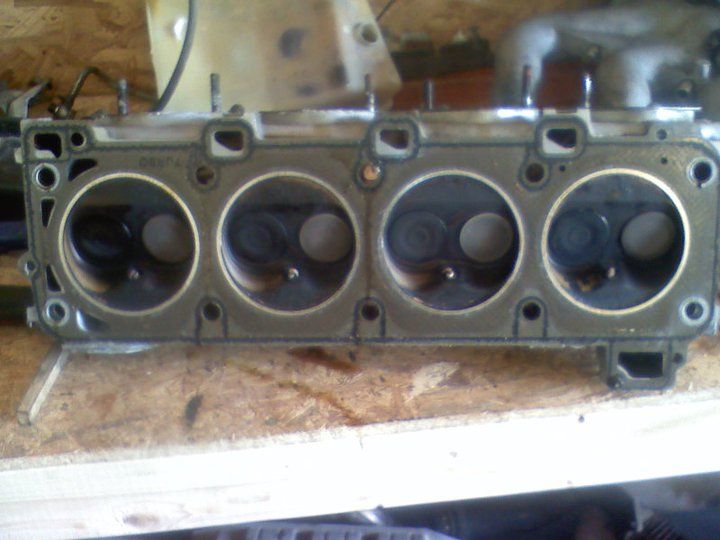
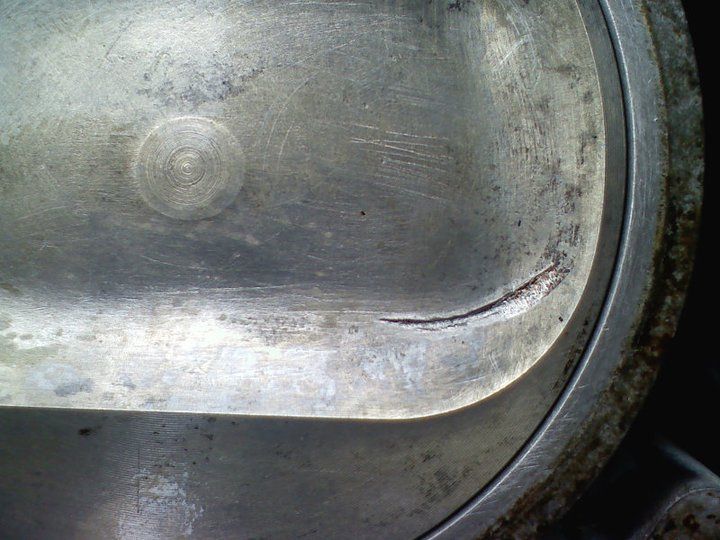
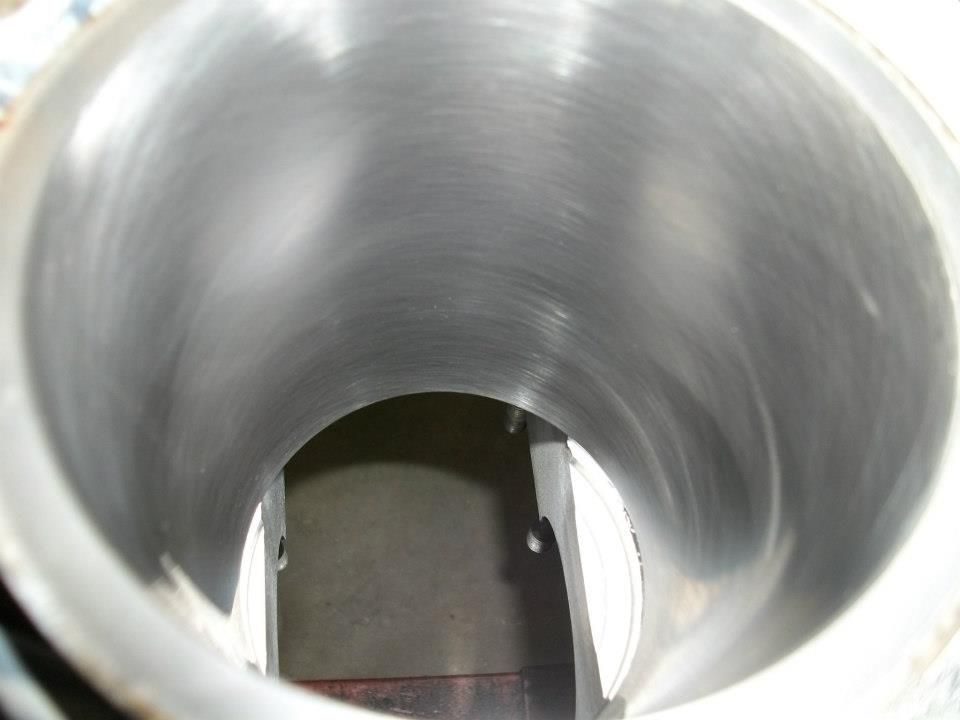
Did you hone the cylinder walls? Looks like a distinct cross hatch.
__________________
86 944 NA 2.5 |
||
|
03-29-2013, 05:56 PM
|
|
|
Registered User
Join Date: Mar 2013
Posts: 10
|
Quote:
|
||
|
03-29-2013, 06:21 PM
|
|
|
Registered
Join Date: Jan 2003
Location: Atlanta, GA
Posts: 2,688
|
Thanks for sharing all the pictures!
__________________
89 944 - Alpine white/blue, Focus 9 DME and MAF, MSDS headers |
||
|
04-01-2013, 06:01 AM
|
|

|
|
Registered User
Join Date: Apr 2013
Location: oklahoma
Posts: 3
|
nice
|
||
|
04-07-2013, 10:39 PM
|
|
|
Registered

|
Heck of a project! Good luck and keep us updated!
__________________
10 E92 M3 13 Jeep GC Limited 98 Jeep Cherokee 87 951 C3 Stingray |
||
|
04-10-2013, 10:08 AM
|
|
|
Registered User
Join Date: Mar 2013
Posts: 10
|
Been a long time since an update, I've been getting some work done little by little on it. Here's the latest pictures. We're getting everything mocked up in the bay before we start on the body work. I am having trouble remembering where a couple things go...I can't find where the top hose on the oil seperator goes. I'm wanting to think that it just went to the intake/air box, I'm not very familiar with how the CCV is set up on this motor.
  I'll be building a custom coolant overflow as soon as I can find a spot to put it...lmao. |
||
|
12-10-2013, 11:04 AM
|
|
|
Registered
|
My $0.02. Drill top of AOS and vent crankcase to atmosphere with a catch can. OE top of AOS hose routes back to J boot. Nice pics. Thanks for sharing.
|
||
|
12-10-2013, 04:39 PM
|
|
|
Registered User
Join Date: Mar 2013
Posts: 10
|
Quote:
Billet 60 trim is on the way as well as feed/return fittings and lines. We'll probably spend the next couple weeks finishing that and getting this thing wired up. |
||
|
12-11-2013, 09:59 AM
|
|
|
Super Moderator

|
in the original photos it looks like something entered the turbo intake, destroying the compressor. do you know what the story is there?
__________________
'89 turbo-s (2.7, wolf3d ems, garrett dbb turbo, tial 46mm, etc. fast!) |
||
|
12-12-2013, 04:17 PM
|
|
|
Registered
Join Date: Mar 2008
Location: Nashville, TN
Posts: 4,063
|
I had a turbo like that once, story was a bolt from the air box came loose or something and just nuked the compressor wheel.
|
||
|
12-25-2013, 01:16 PM
|
|
|
Registered
|
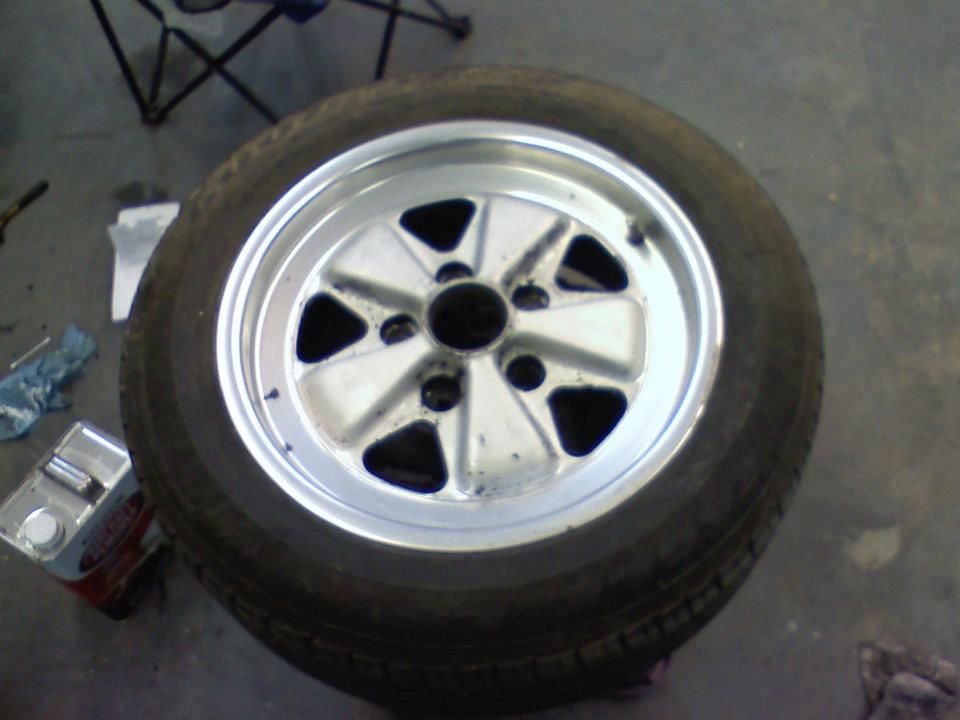
Keep the Fuch's on it.
|
||
|
12-26-2013, 07:13 AM
|
|


 1989 Porsche 944 turbo 2.5 modified turbo
 Darth's escape Podule
 2010
2010  951
951 Jeep XJ
 M3
M3 Baby Hauler
 C3 Stingray
 1989 PORSCHE 944 TURBO
 Porsche 944 Turbo
