 |
 |
 |
 |

|

|
|
|
|
|
|
Registered
Join Date: Sep 2002
Location: Rockwell, NC
Posts: 438
|
Fixed front hood latch on 1999 Boxster
I recently purchased an Arctic Silver/gray, 39K mile, two owner, 1999 Boxster for my wife. We have had a couple other Boxsters and 996's in our past and she has always loved the way Boxster's drive. I am not much of a convertible fan but she does love driving with the top down. Happy wife, happy life!!
With the car being 18 years old, I expected to have to repair some issues. Those issues have been few as the car had obviously been well taken care of. However, from the git go, the front trunk has been an opportunity. For one, it didn't latch as easily as other Boxster's and 996's that we have had. And it did not release correctly either. To get it to open required propping up the release handle and then lifting up on the hood. I did a search on Google and came across an old Renntech thread that pointed the way to a solution. Adjusting Hood Latch Mechanism - DIY Articles - Carrera (996) - Common Fixes and Repairs - RennTech.org Community However, there were no photos. So I documented my repair with lots of pics, which, hopefully, will help someone else facing this problem. While it isn't necessary to remove the front trunk carpet to do this repair, I did remove mine to make for easier access to the latch mounting bolts and the electrical plug for the sensor and the hood light. The spare tire must be removed before removing the carpet. There are two clips on the front of the carpet insert, two on the driver's side and one on the passenger side. 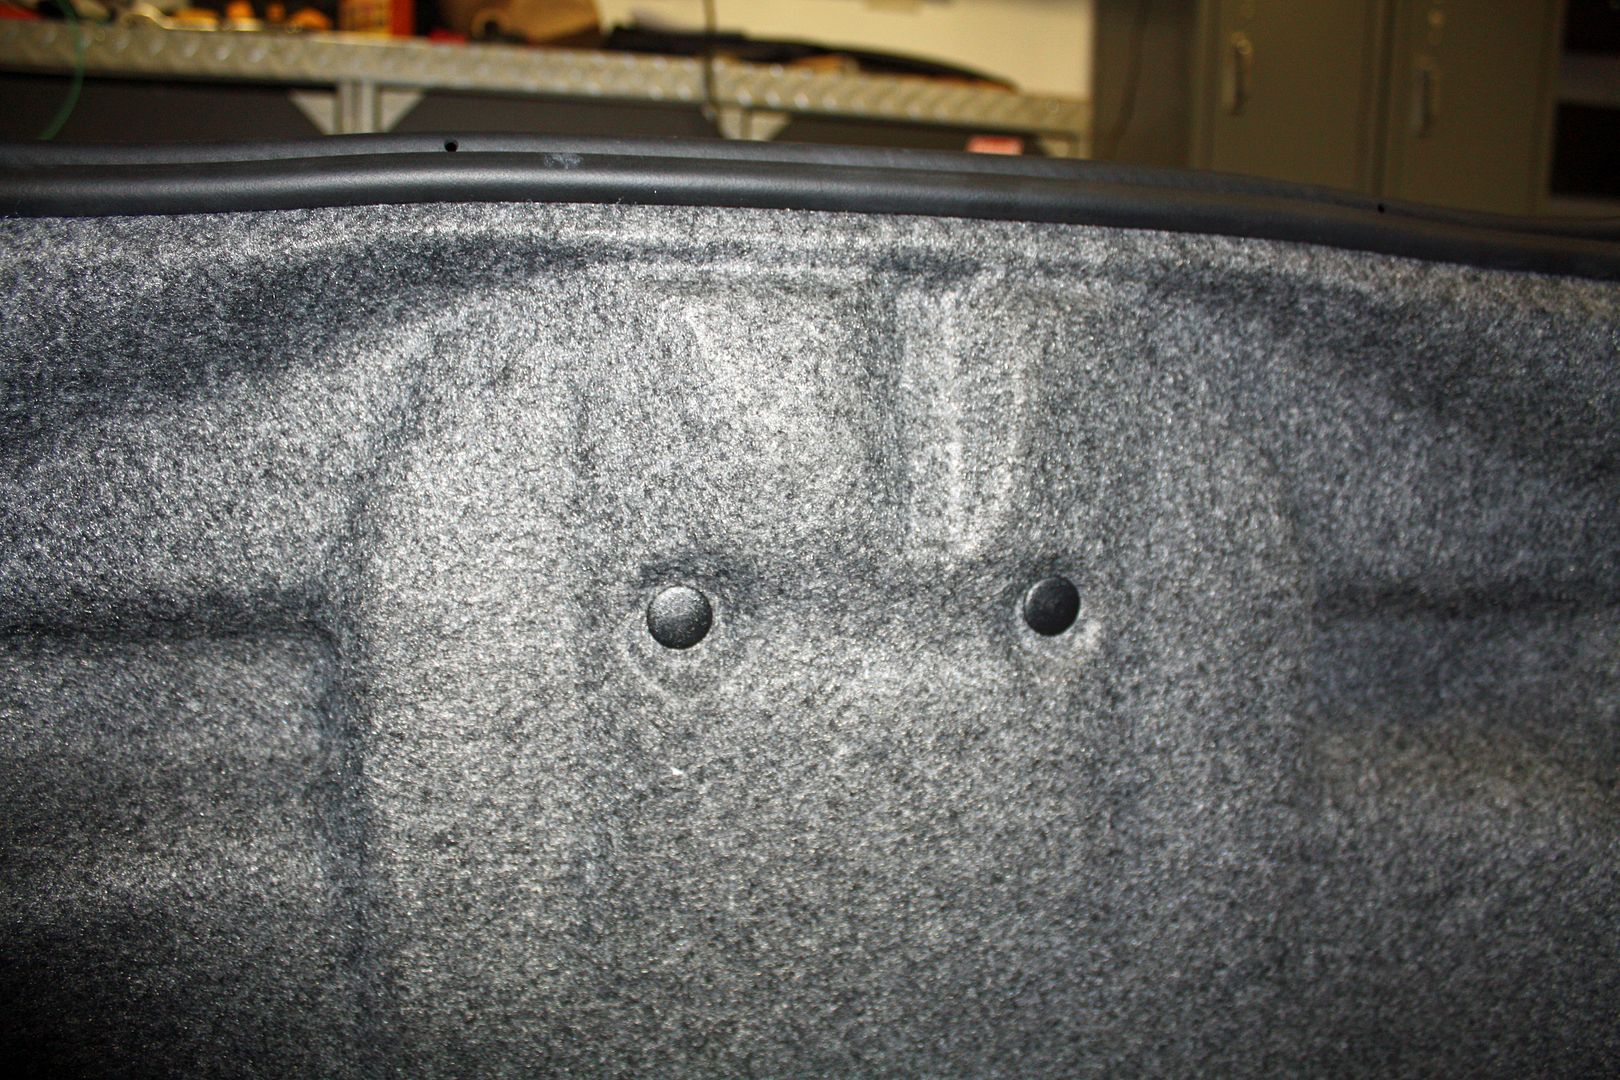 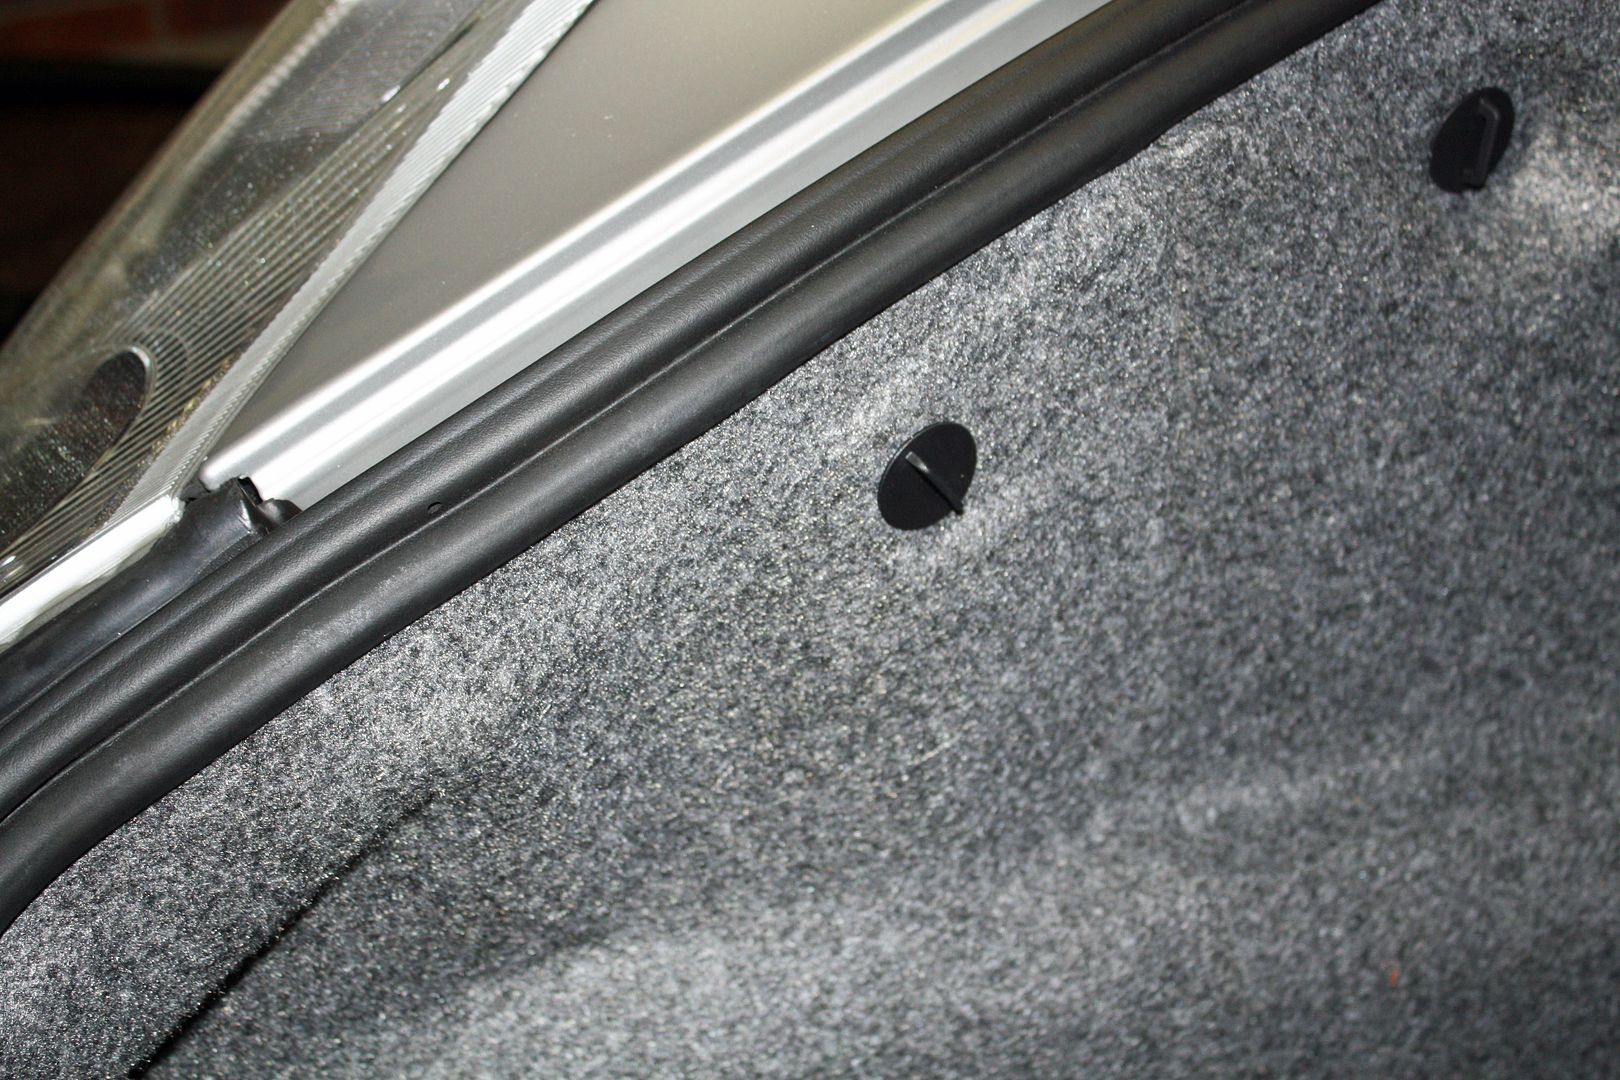 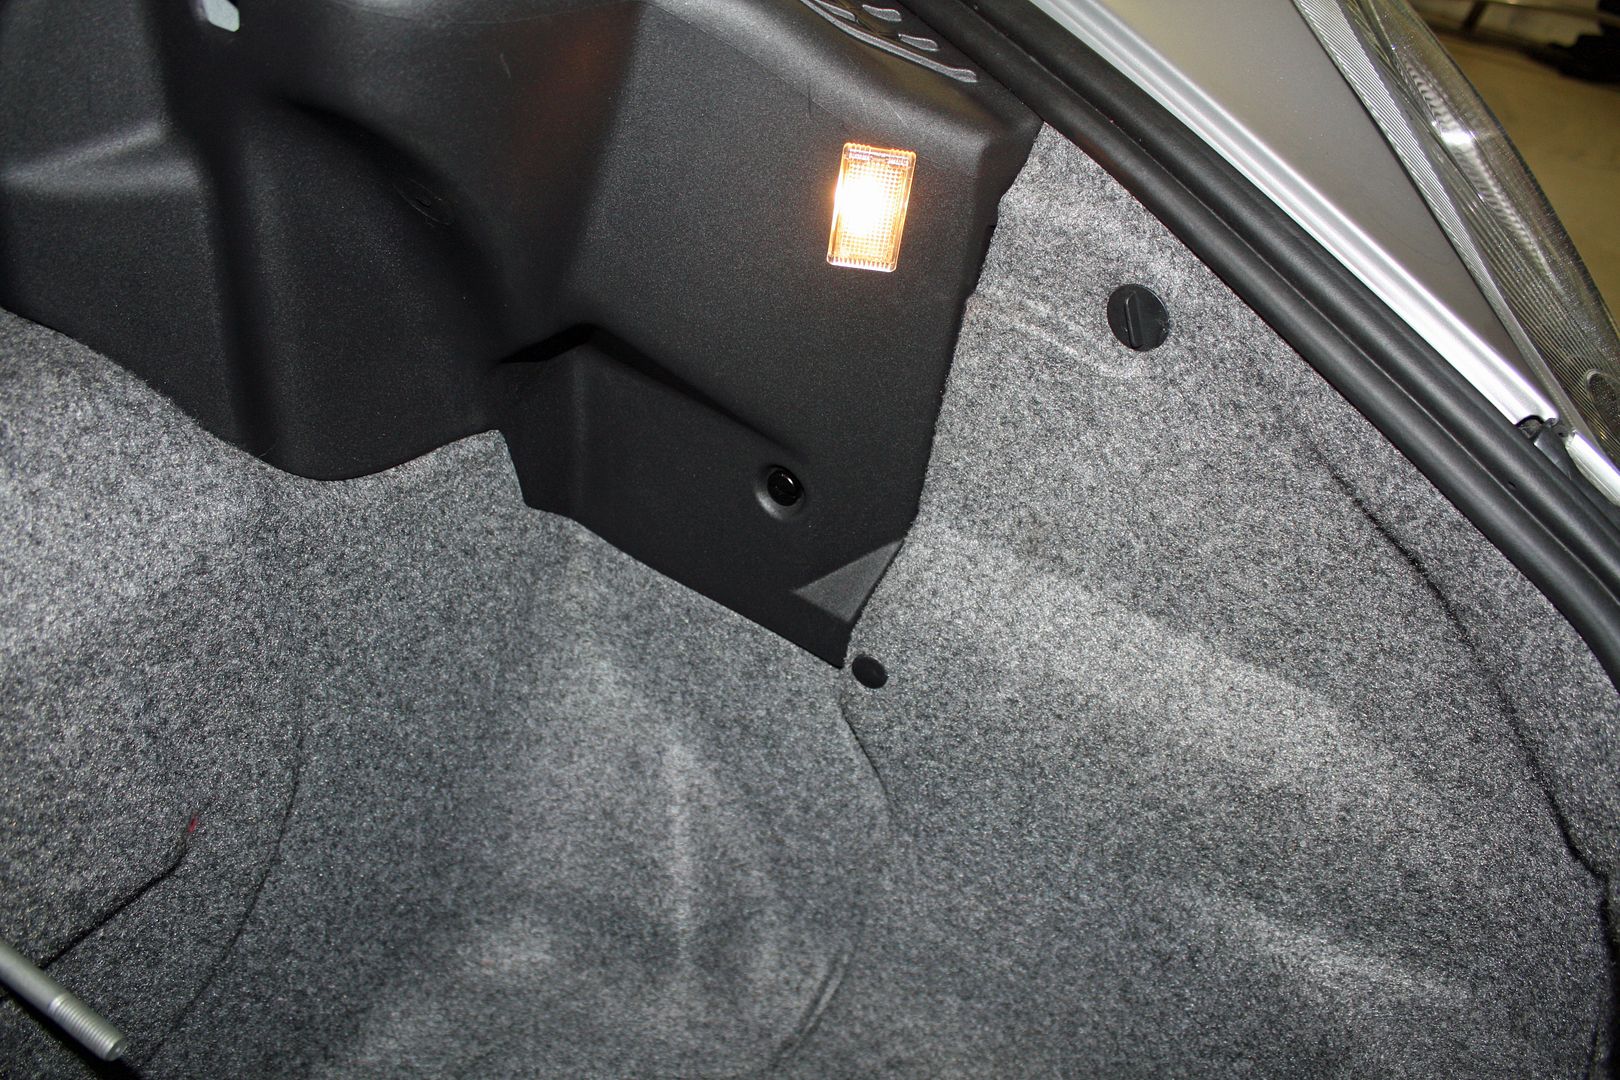 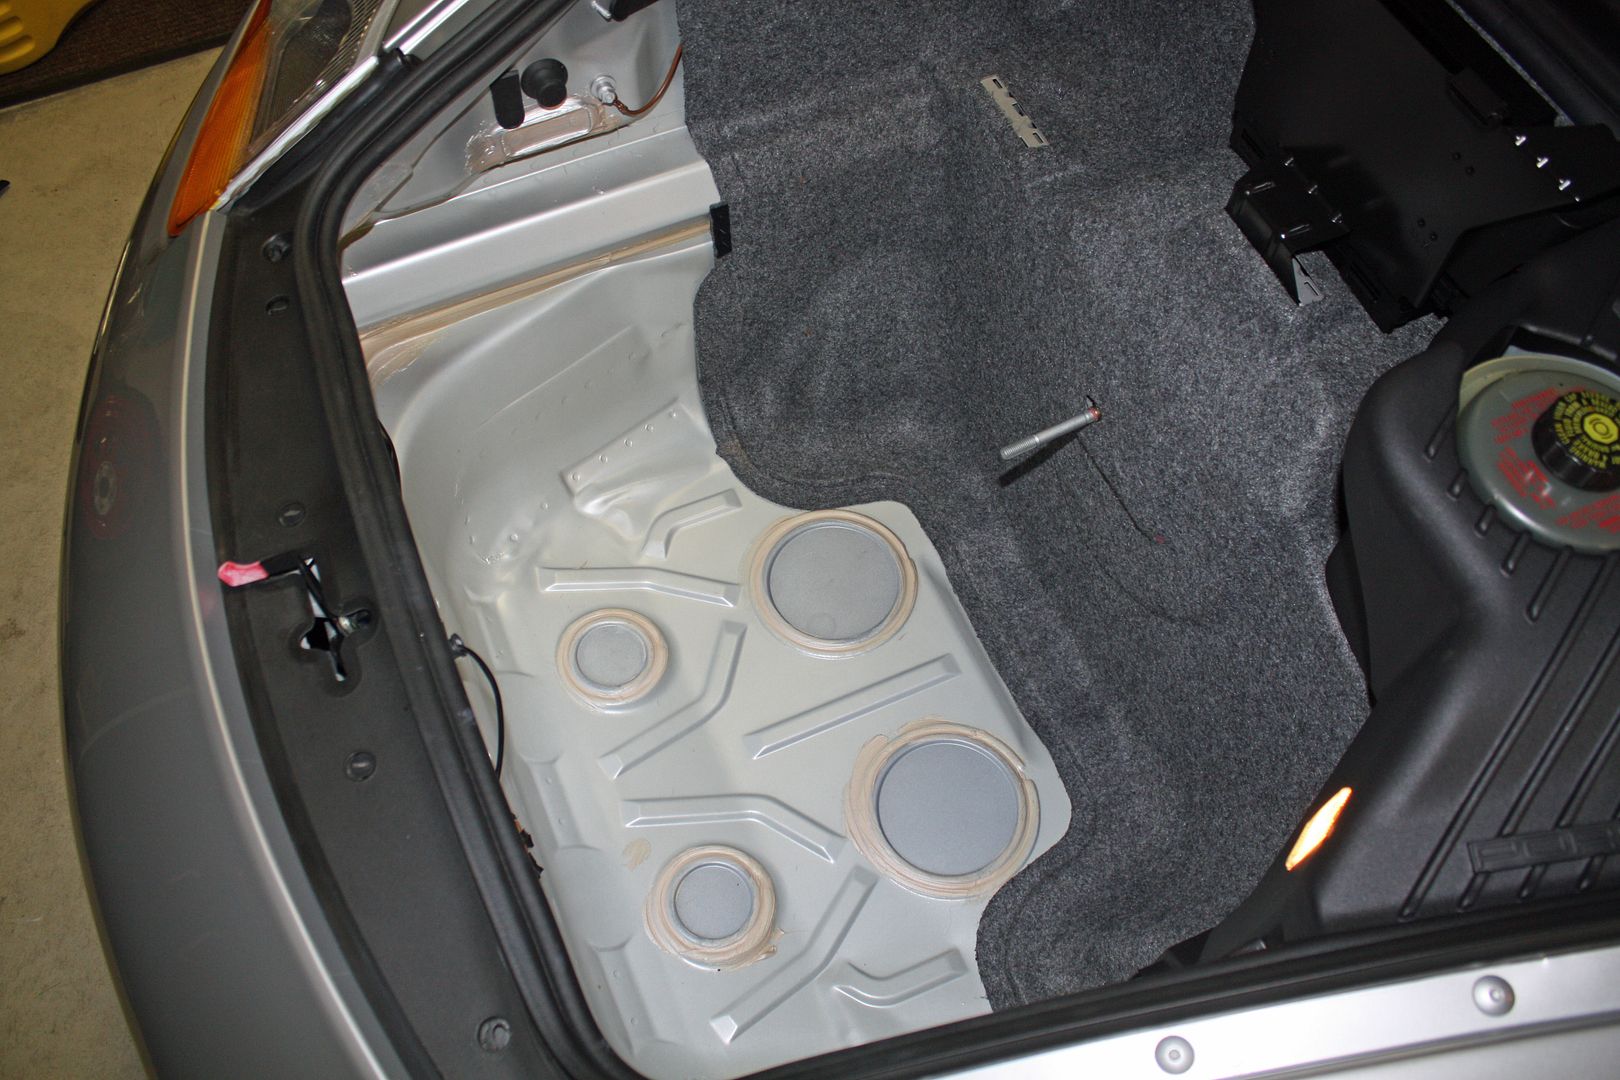 The next thing to remove is the rubber trim piece that surrounds the hood release latch between the front bumper and the trunk. There are four fasteners that require a half turn with a screwdriver for removal. 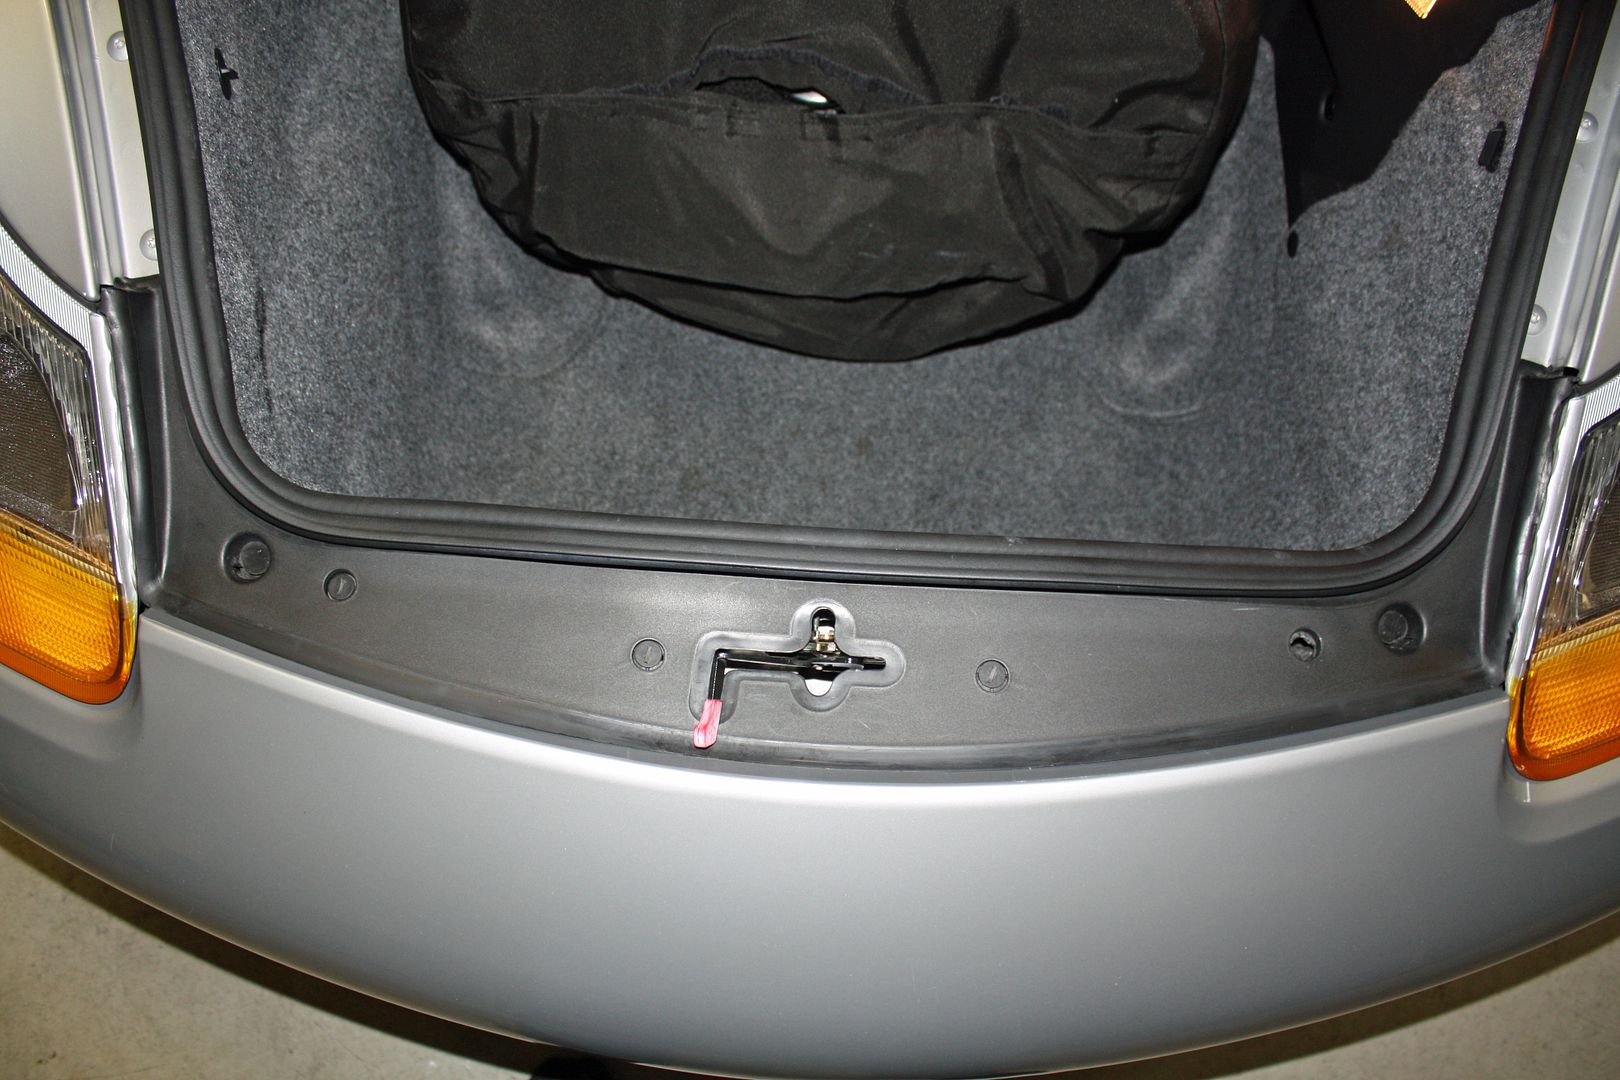 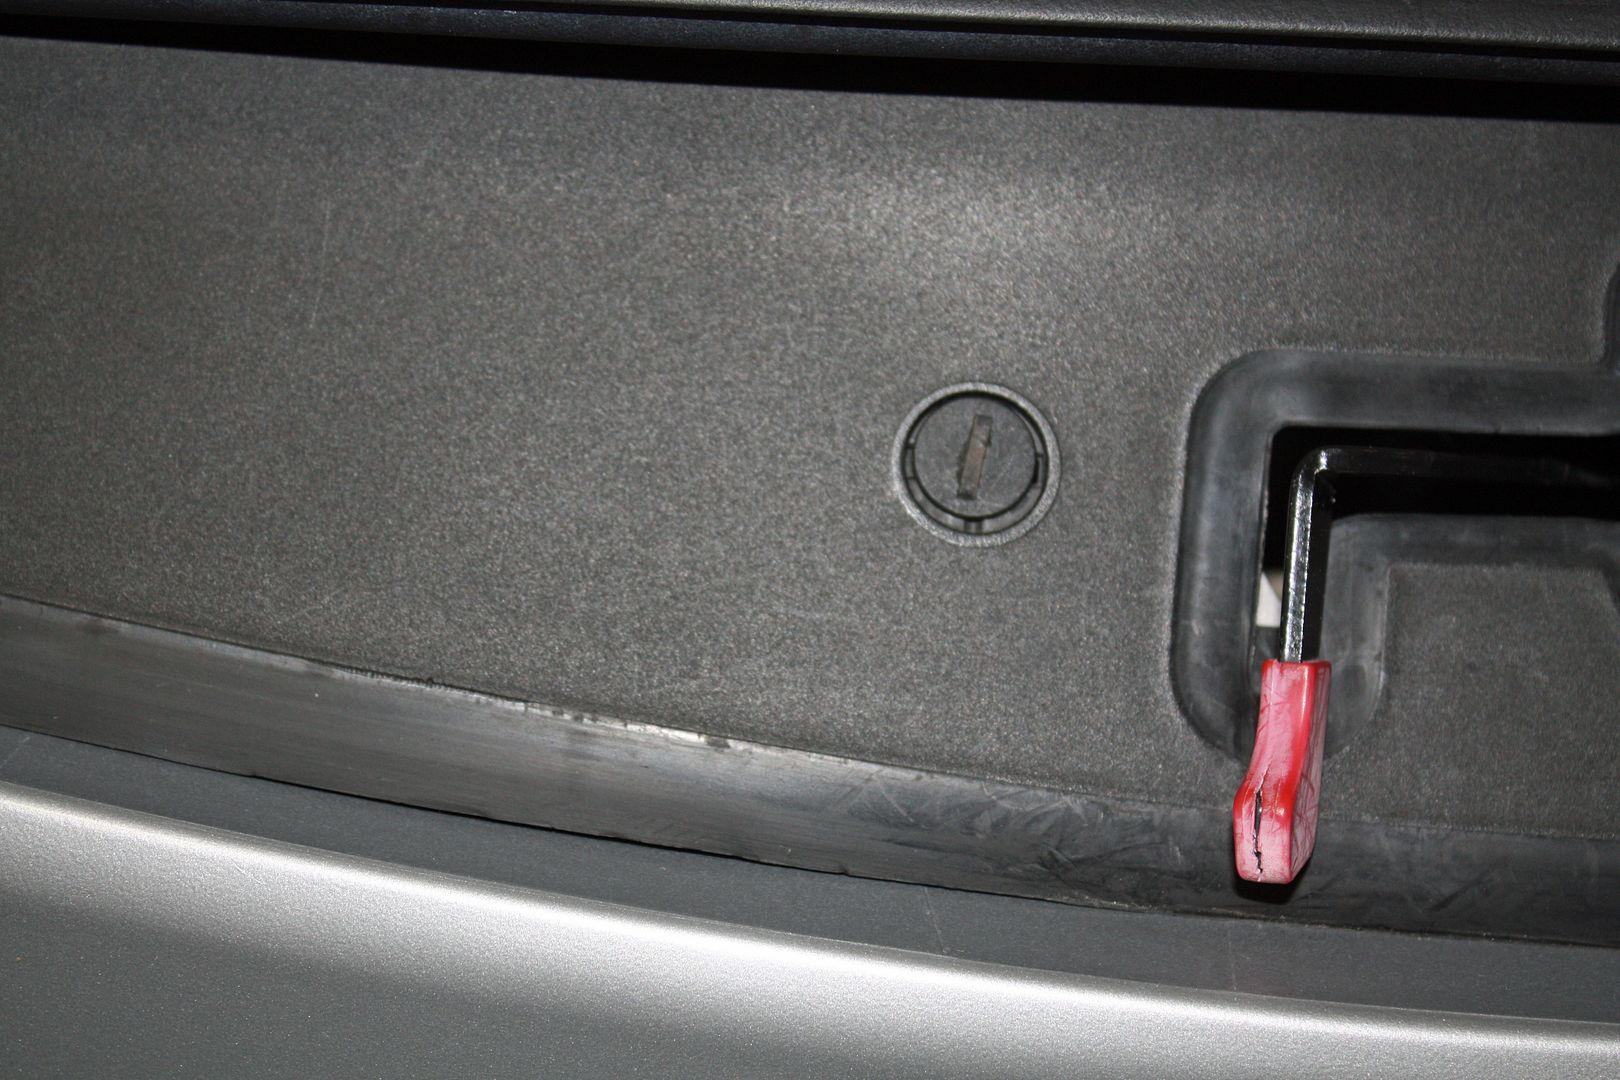 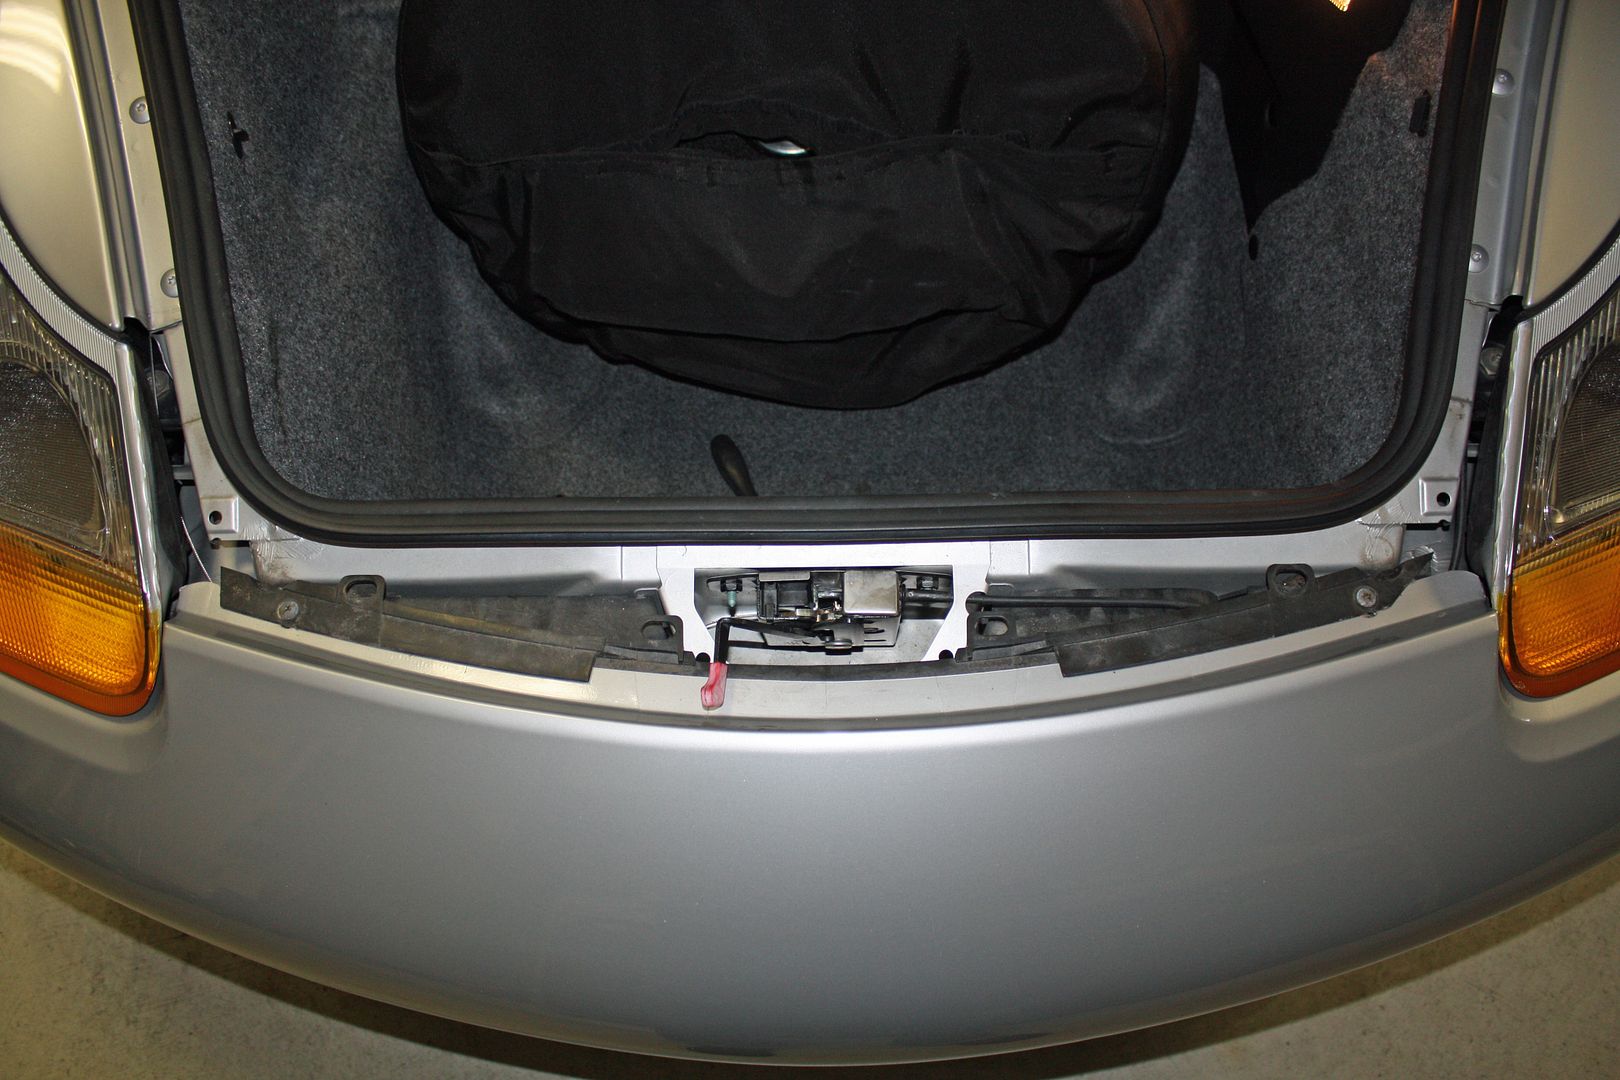 There is a plug for the trunk open sensor and the trunk light on the backside of the latch opening. After unplugging the the plug, twist the mount sideways on the body to release it. Then removed the mount from the wiring pigtail. Push the grommet in and place the wiring inside the latch area. 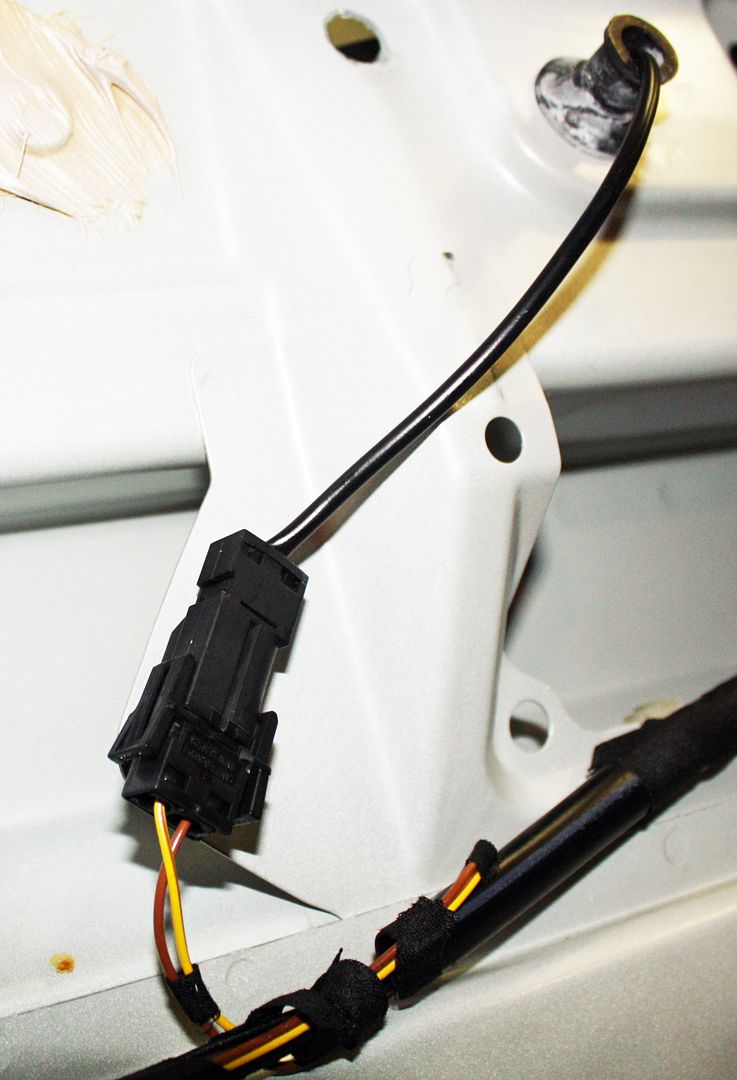 
__________________
www.jerryforthofer.wordpress.com
|
||
|
|
|
|
Registered
Join Date: Sep 2002
Location: Rockwell, NC
Posts: 438
|
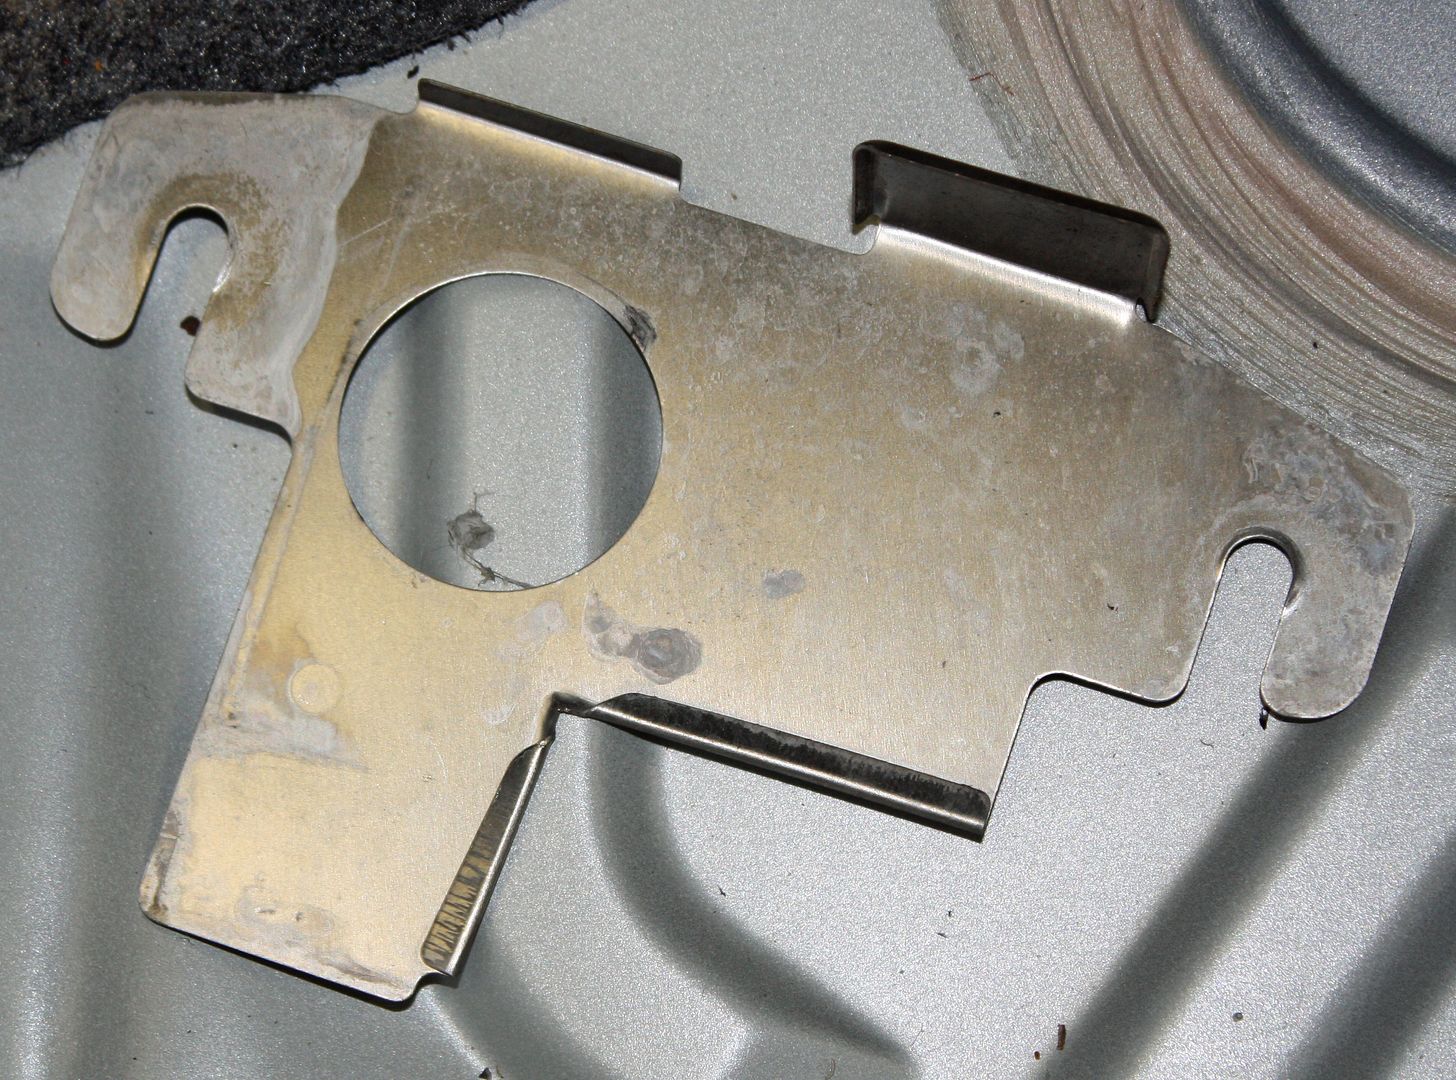
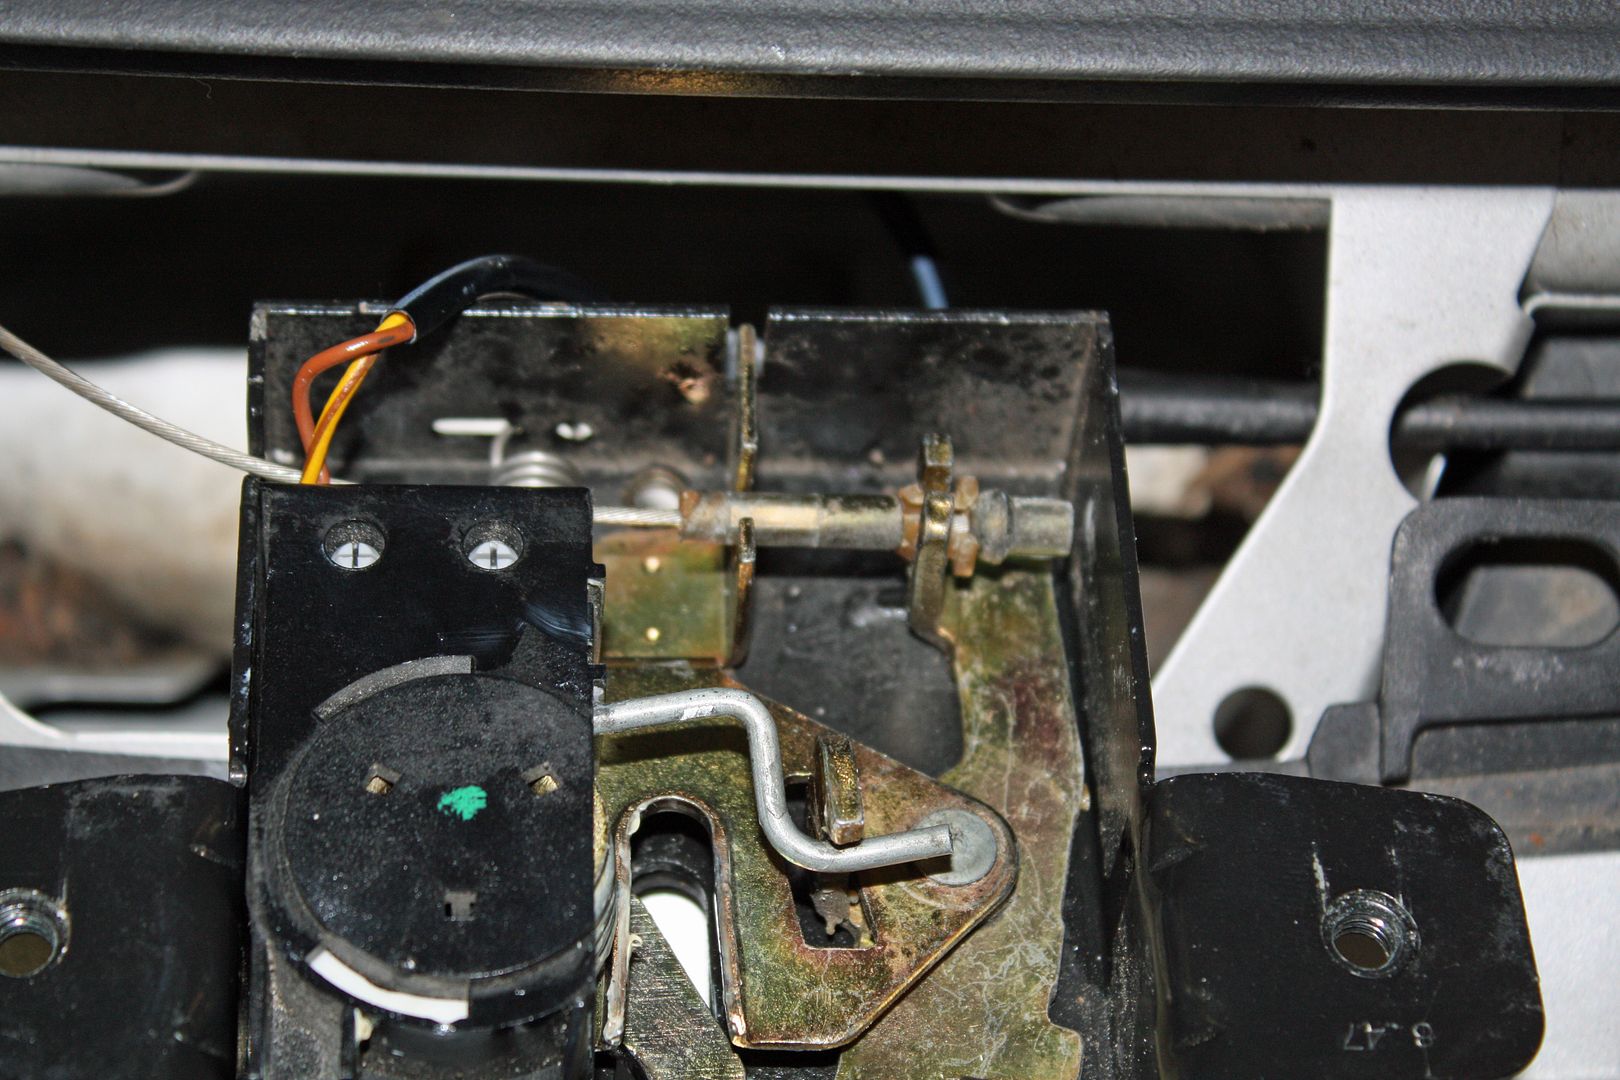
This being a '99 Boxster, there is a cable release instead of an electrical release. Remove the cable at the top of the hood latch. With it released, remove the two 10mm bolts on the rear to remove the latch. There is a plate between the latch and the body that comes out with the latch. With the latch loose, the emergency release cable at the bottom can be removed. Now the latch can be removed from the car.
  This is what the latch looks like out of the car. 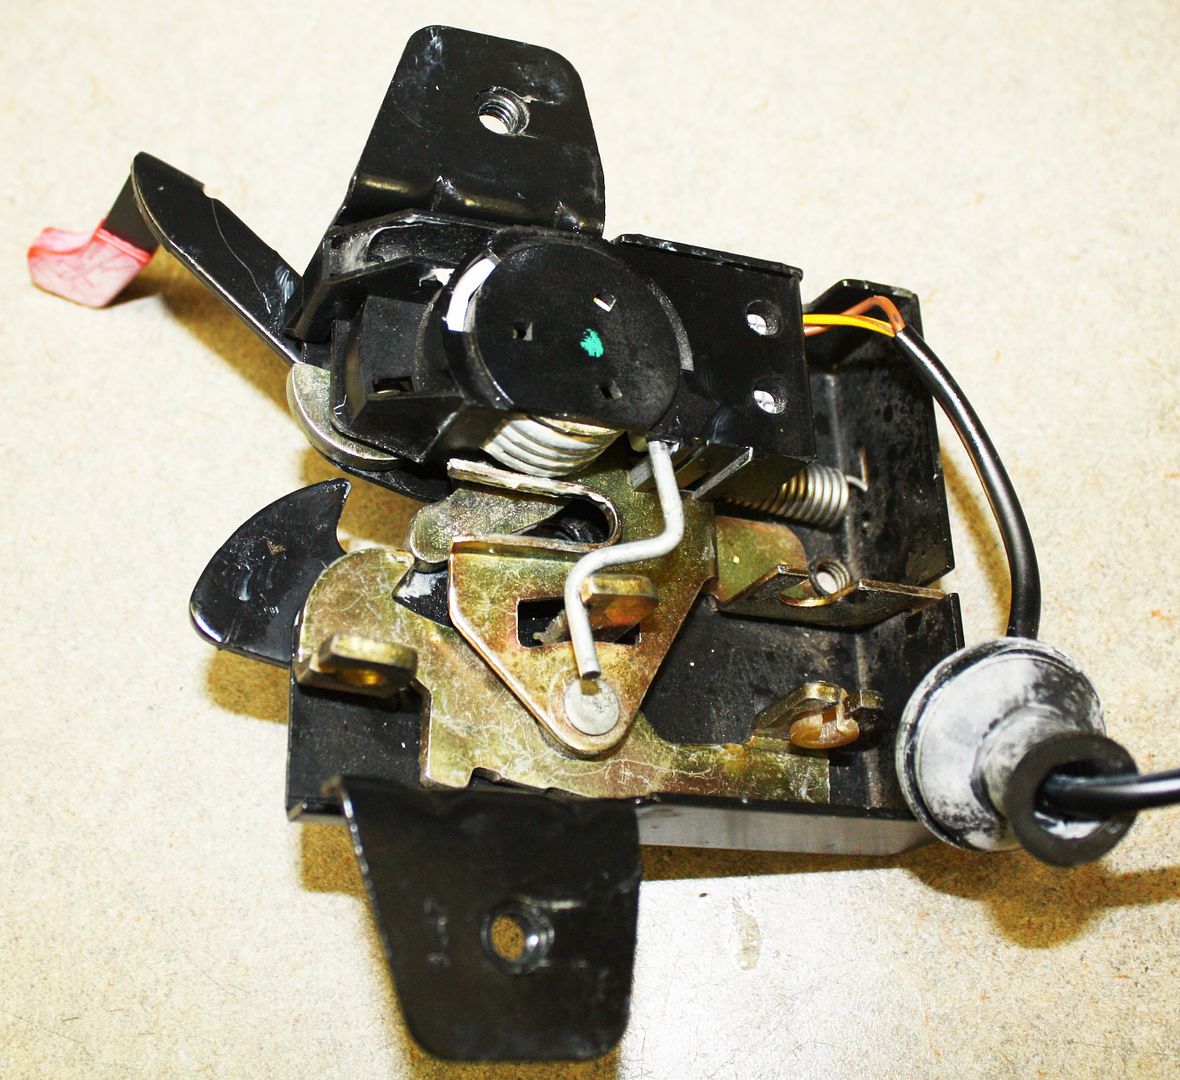 The culprit here is that large coil spring under the plastic cover. To remove that cover which houses the closed hood sensor, there are two tabs that can be seen in the photos below. 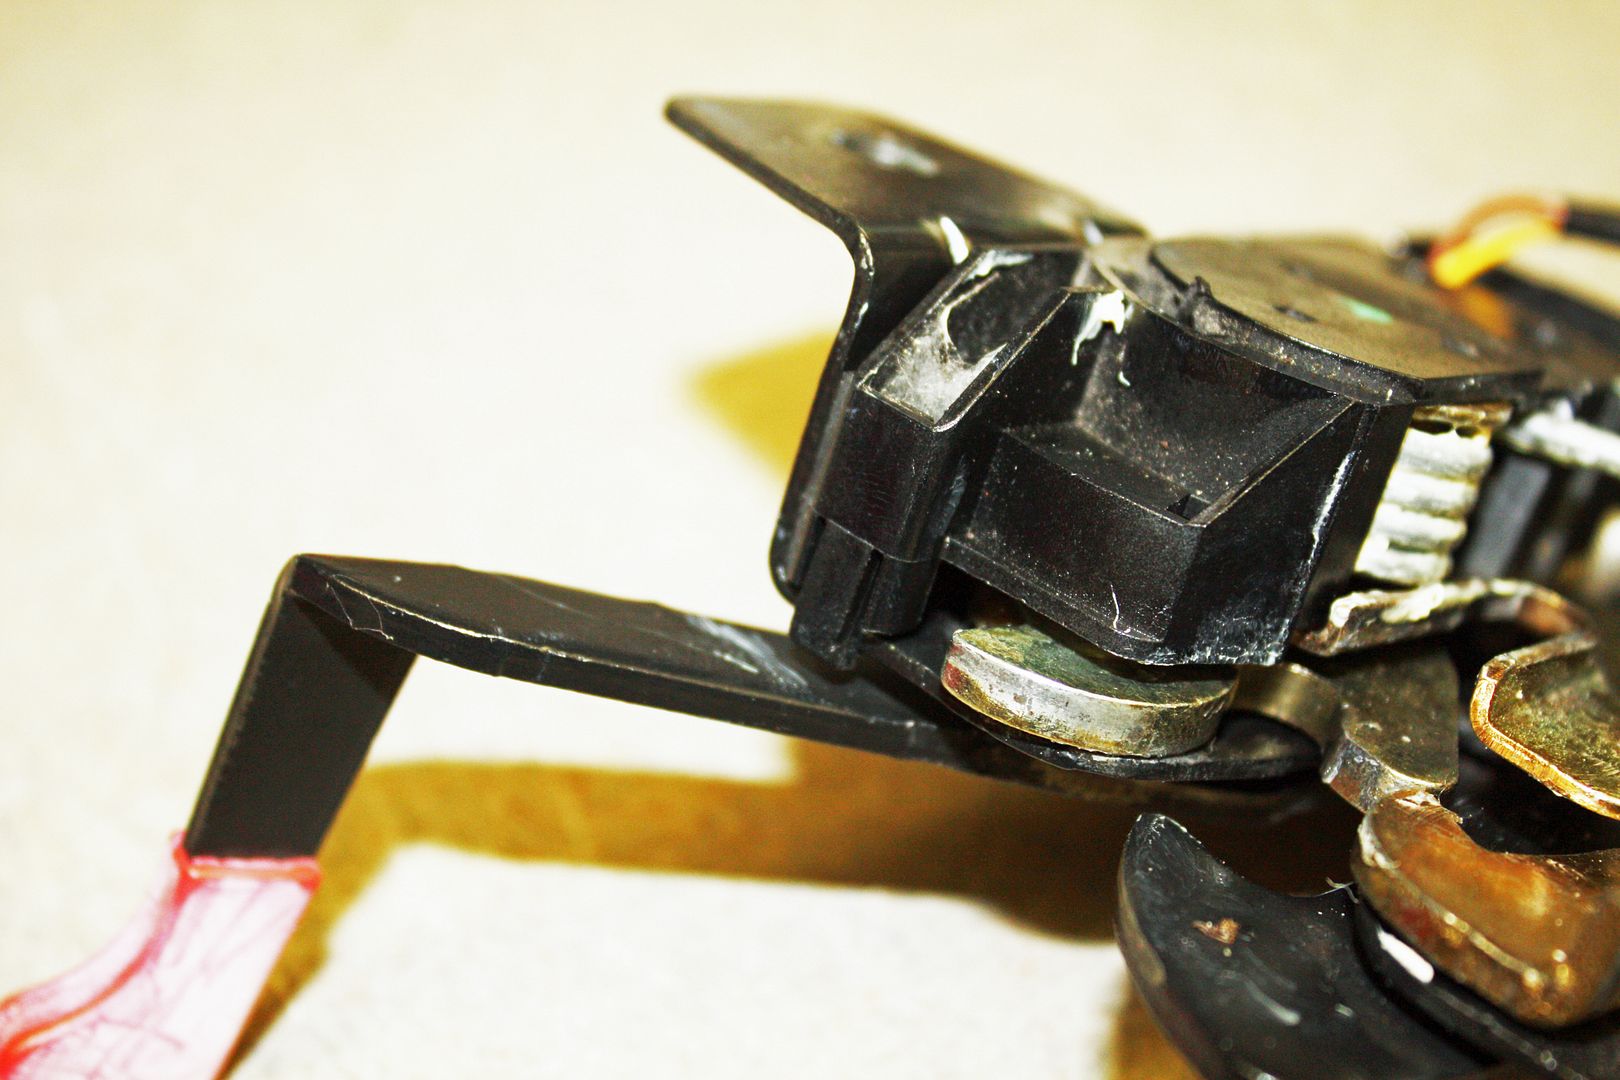 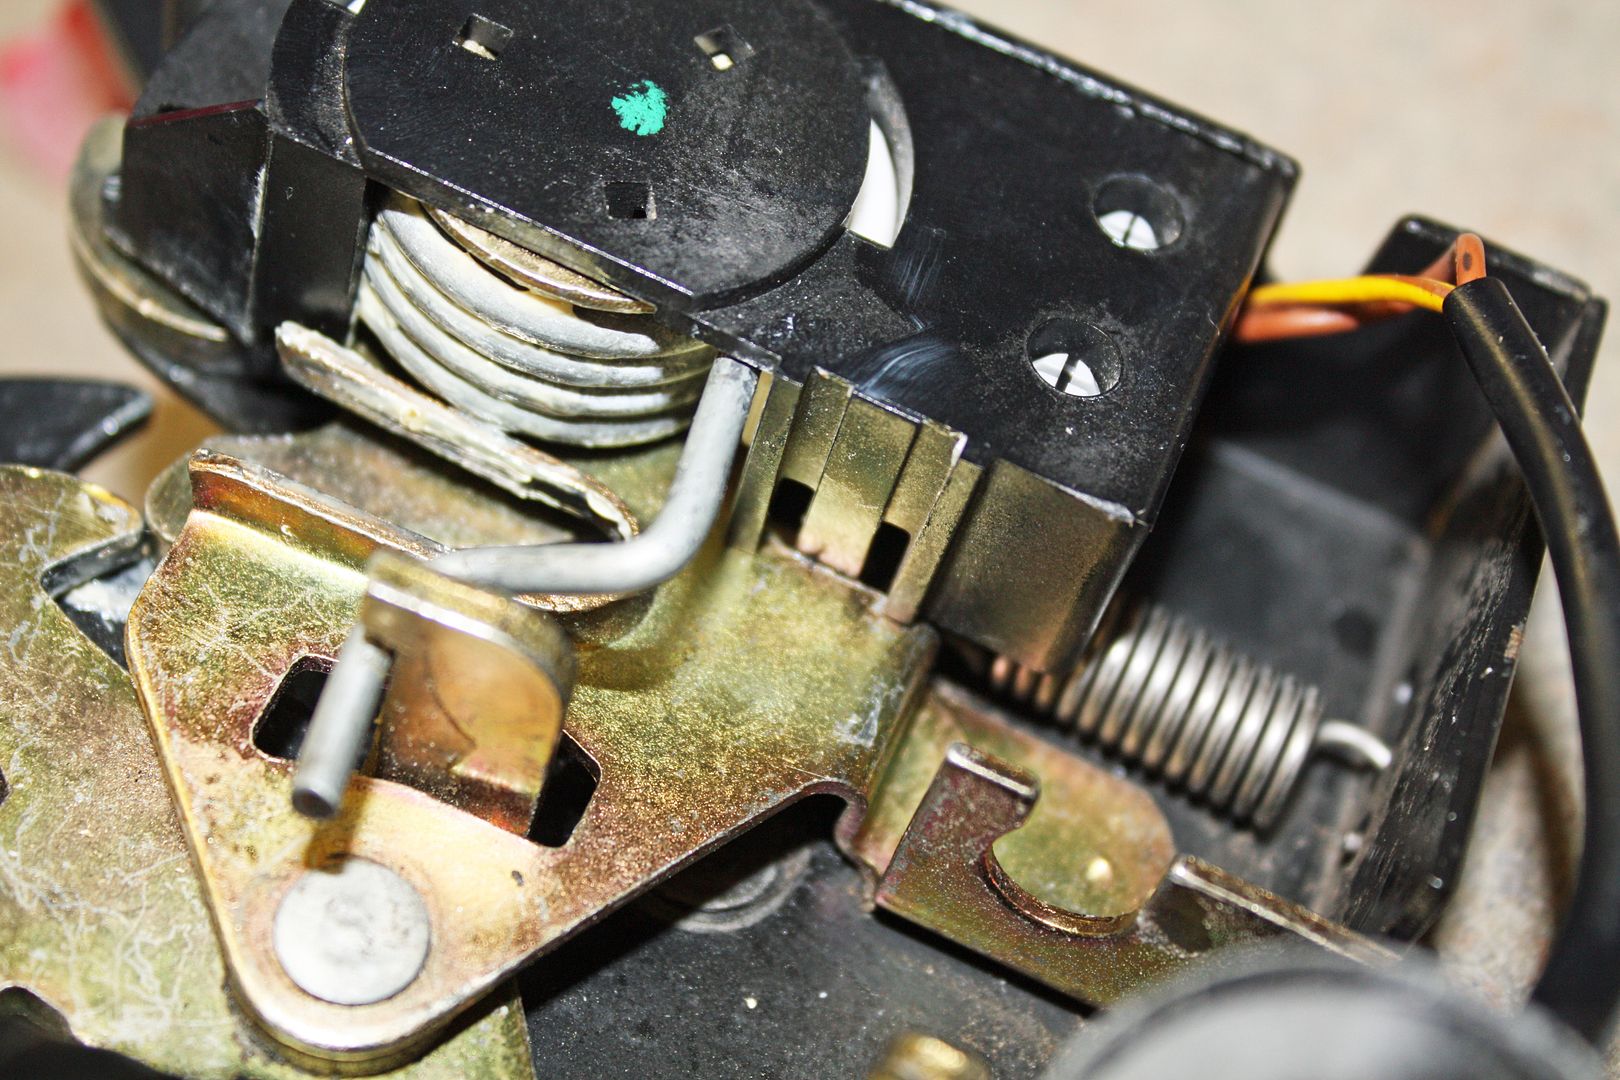  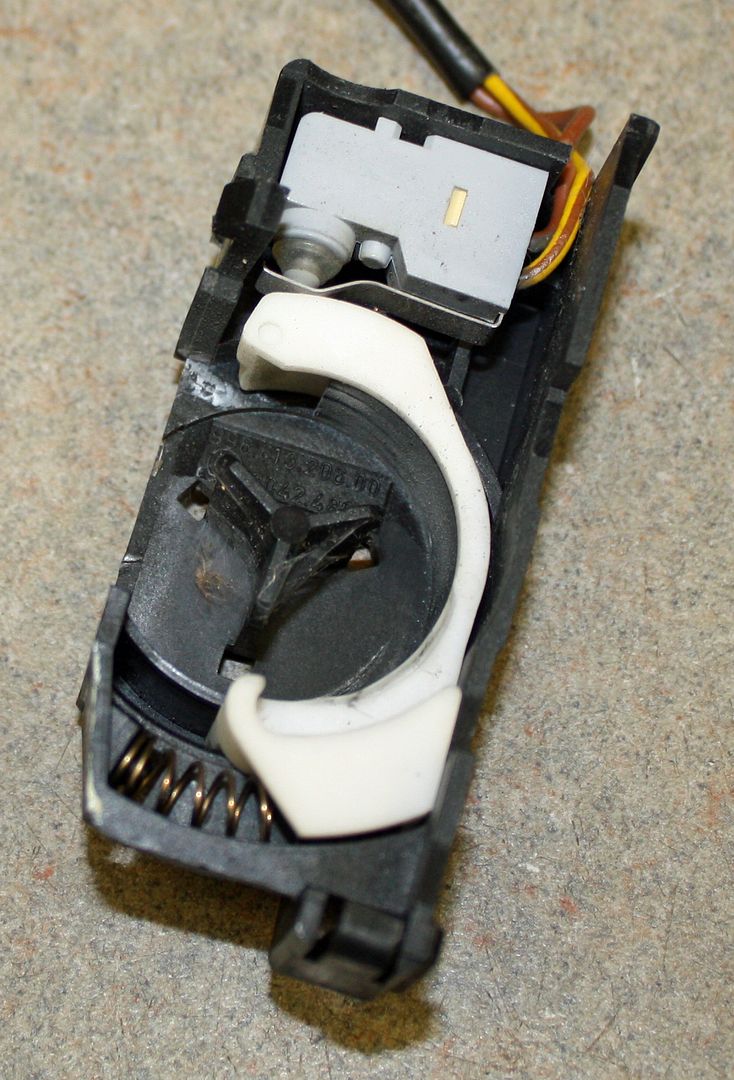 Now we can see the problem. The spring has popped out of the hole. 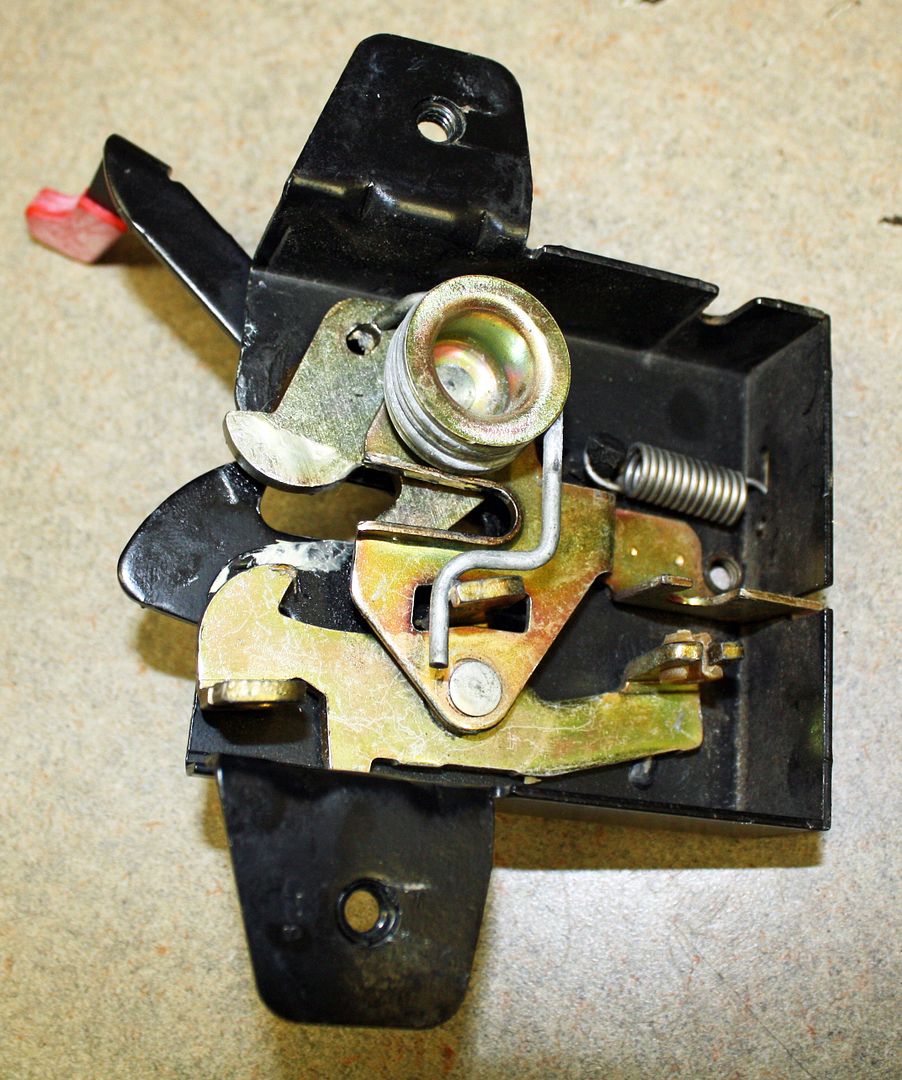  To get it back into the hole, I used a needle nose to to squeeze the end of the spring against the housing. After re-inserting the spring, I lubricated it. 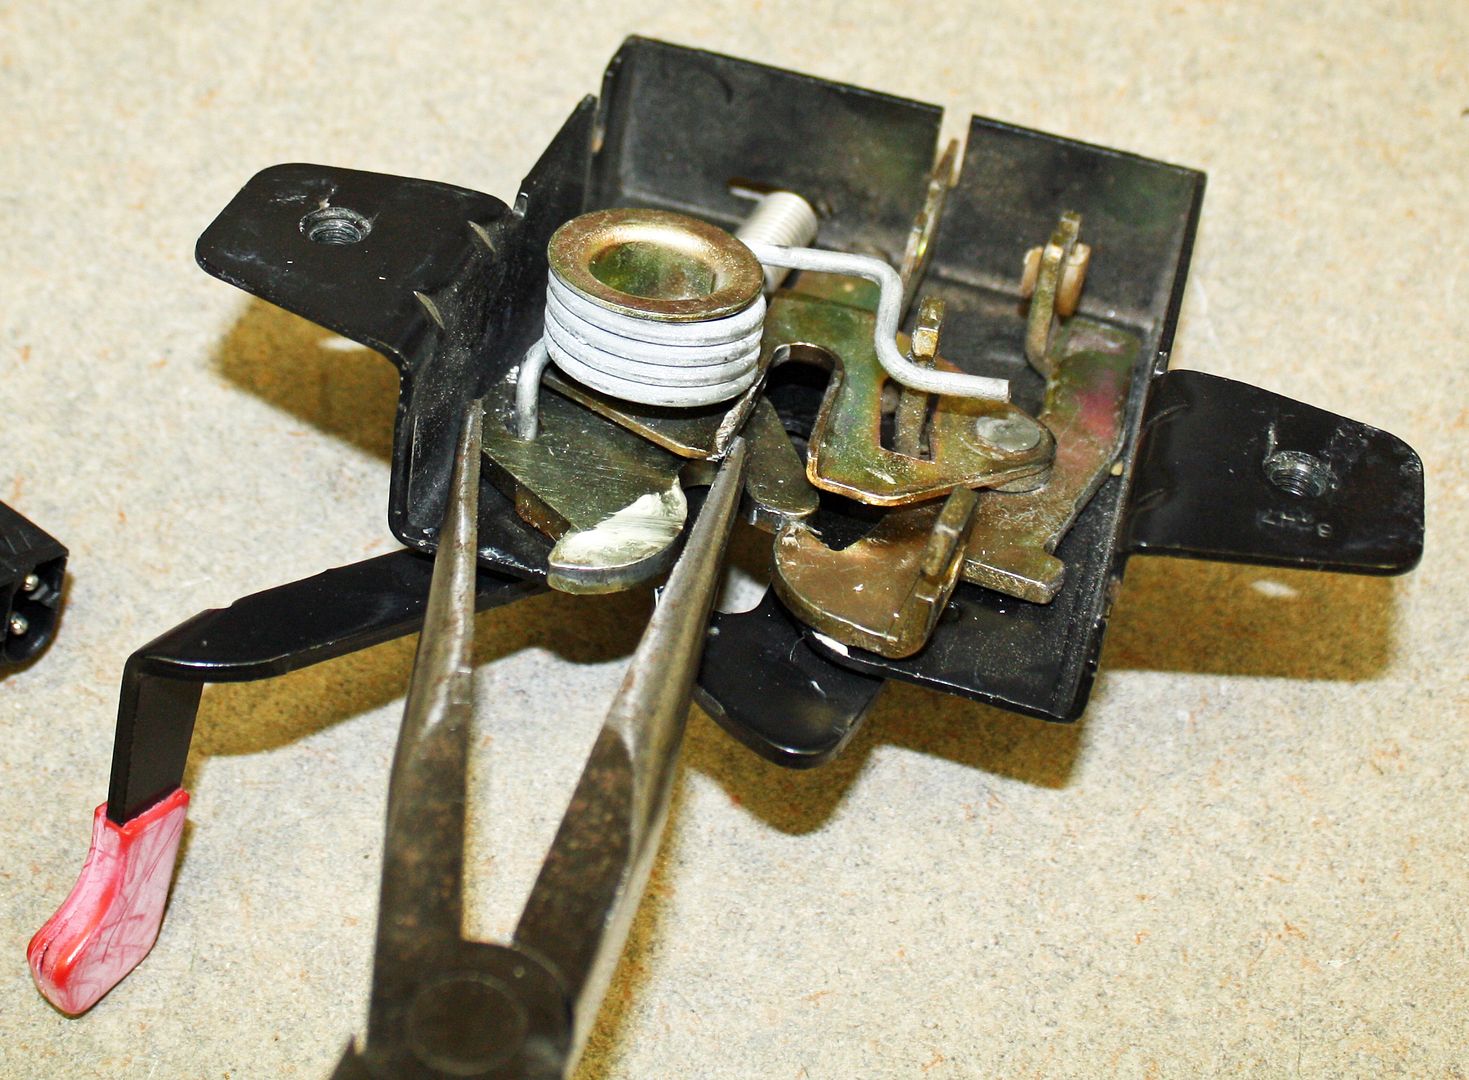 Re-assembly was the reverse of the instructions above. It takes a bit of time to align the hood latch. And now the trunk lid both closes and opens like it should. A little time spent here will save you the cost of buying a new hood release mechanism.
__________________
www.jerryforthofer.wordpress.com
|
||
|
|
|