 |
 |
 |
 |

|

|
|
|
|
|
|
Registered
Join Date: Apr 2012
Location: Santa Monica
Posts: 172
|
Hey Kenik
That is my car on a rotiseree up there, I am about to rip the floors off of the bottom, and don't totally understand how it will happen, but am drilling spot welds. I have a hard time imagining how the floors will come off since they extend beyond the spot welds to the rocker flange. I know Chris did this in this thread. I tried to find a thread showing step by step removal, but no dice.
__________________
roads? Where we are going, we don't need roads. |
||
|
|
|
|
Registered
|
Quote:
Restoration of my 69 911 Cheers Al
__________________
People are mushy - Paul Hawkins on the merits of where to crash on the Targa Florio |
||
|
|
|
|
Registered
|
Quote:
That looks like a very clean way of doing the process, and something I will do when my '67 needs new floors (sometime later this year). The flanges on my '68 were pretty much shot at, hence I cut the whole floor and flange away, and remade them. Chris |
||
|
|
|
|
Registered
Join Date: Apr 2012
Location: Santa Monica
Posts: 172
|
Thanks for all the input guys! Definitely helps.
__________________
roads? Where we are going, we don't need roads. |
||
|
|
|
|
Registered
|
|||
|
|
|
|
Registered
|
|||
|
|
|

|
|
Registered
|
Single windscreen wiper linkage. Without being able to find any info on what the Carrera cup guys use.....I decided to make my own
 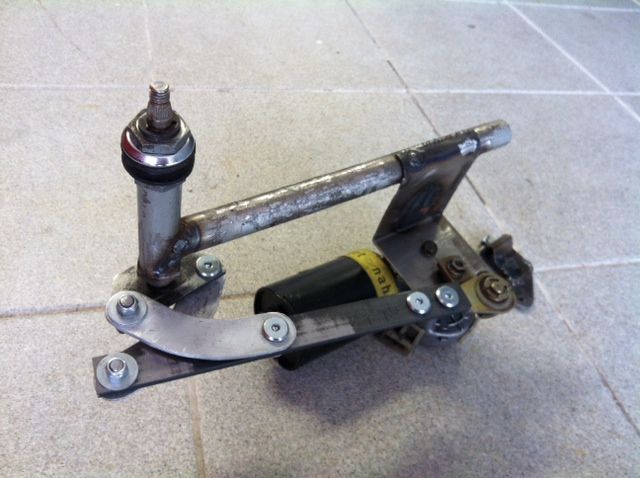 The motor sits on the opposite side to normal, as the linkage hit against the underside of the dash board when unit was trial fitted the other way around. There is a small bracket that attaches to the dash to support the unit, this will be hidden under the dash 'carpet'.........Having the unit tucked up under the dash ( access through speaker hole) would have been abit cleaner, but this solution is ok and there is plenty of room been the motor and the back of the dials: 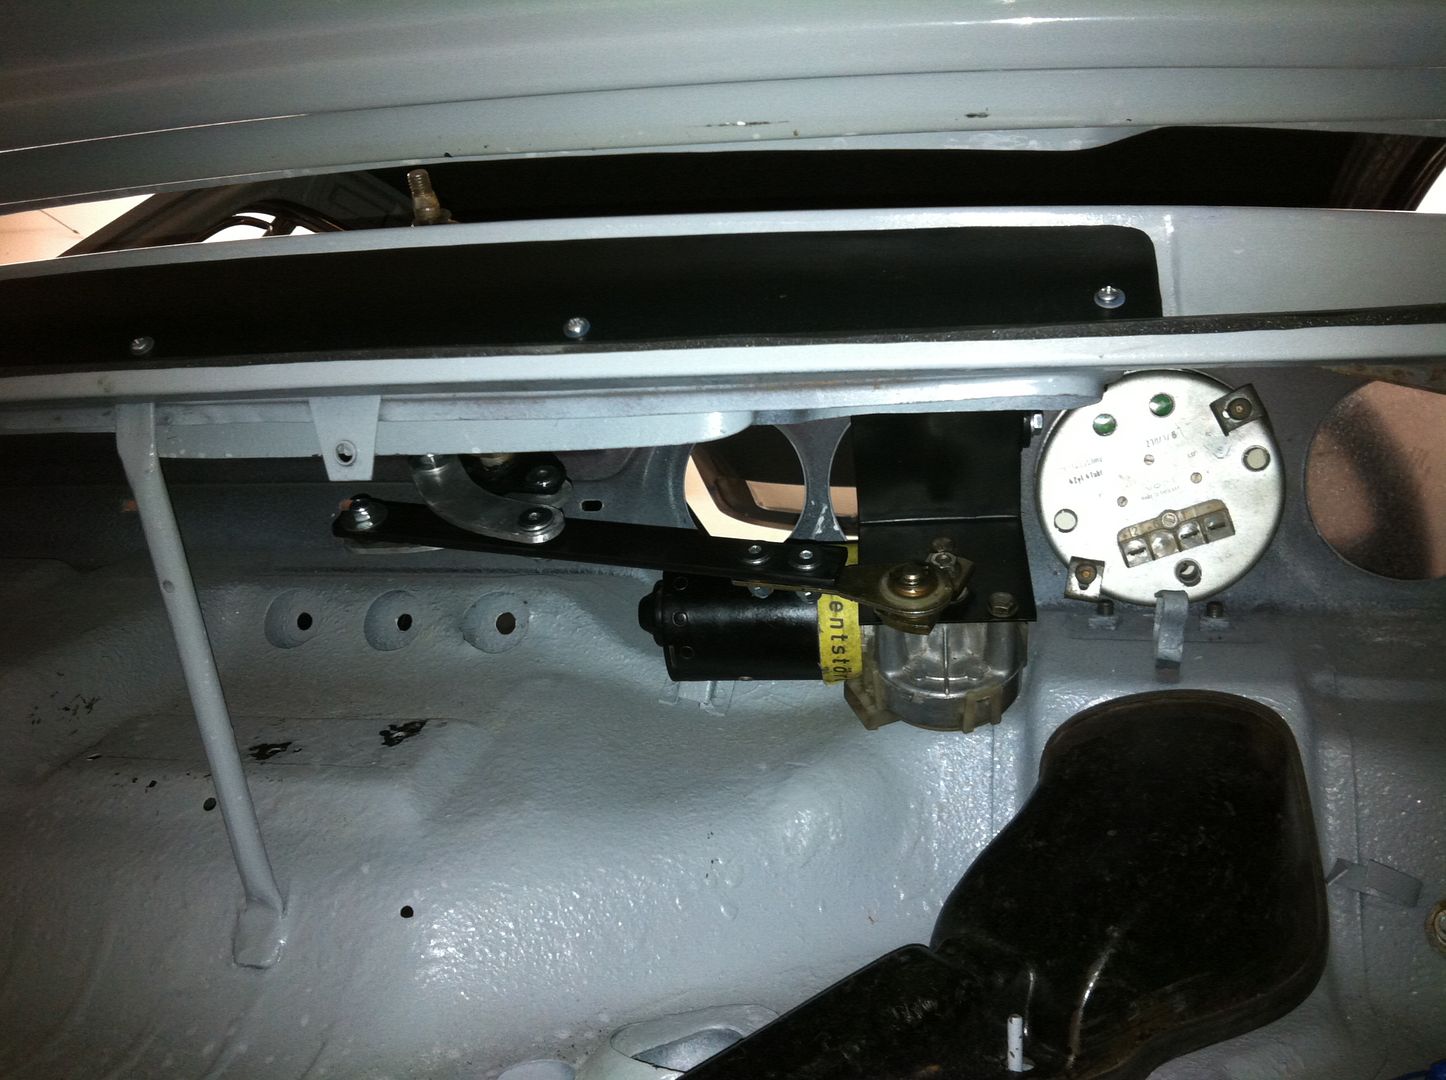 Finally found a way to connect the Oil cooler to the later Oil tank. I need to cut the elbow off the hose, and then I will have the fitting Swage in place... 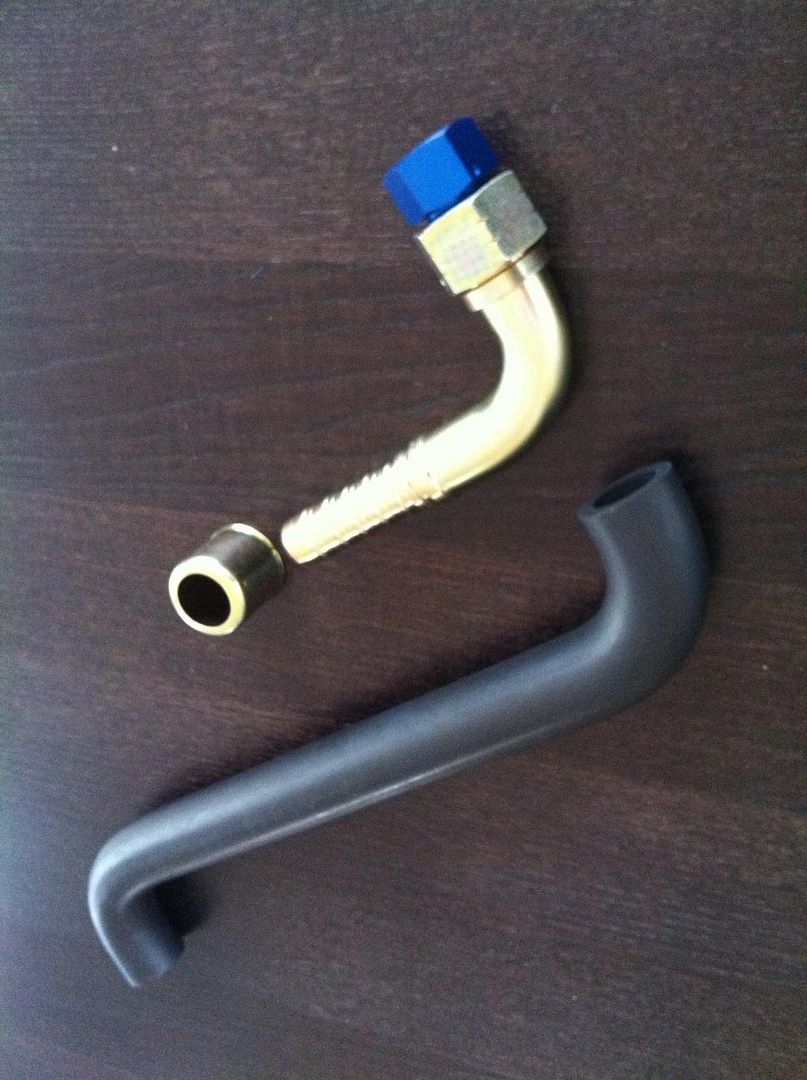 It is not compact though 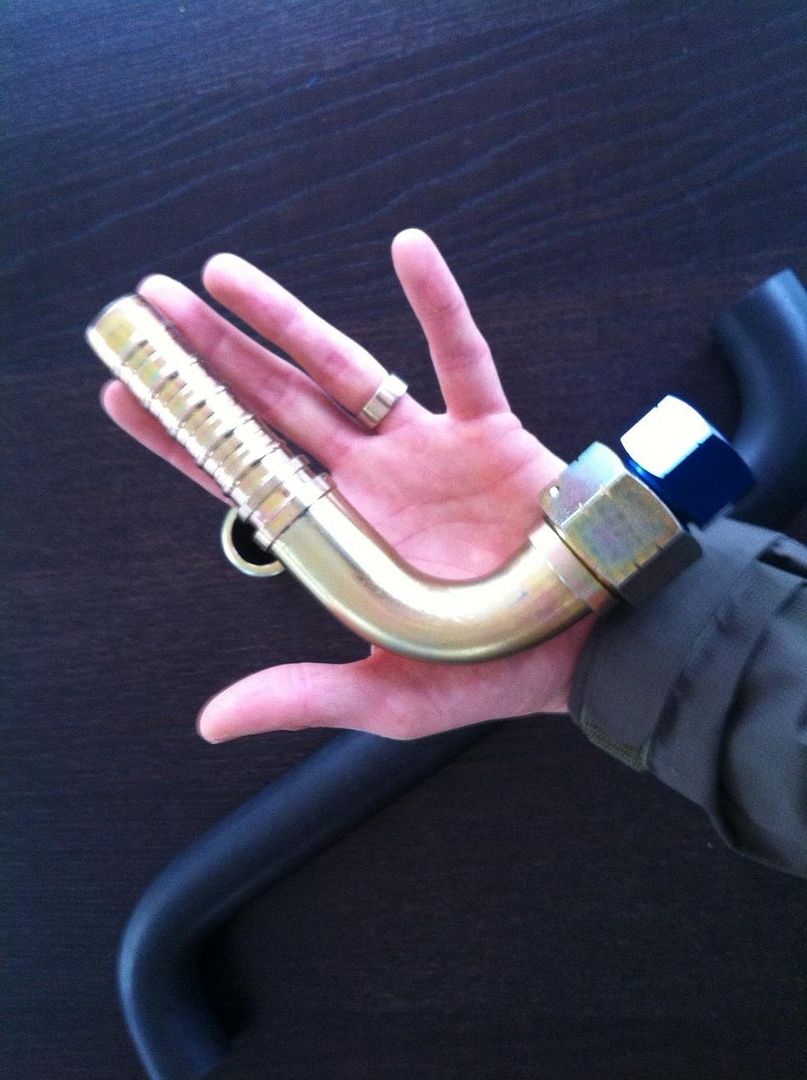 Sometimes its the simple things that are rewarding. Aluminium mesh cut, bent and shaped to make Oil tank guard, mesh is anodised Gold which matches perfectly to the new and clean Cad plated parts 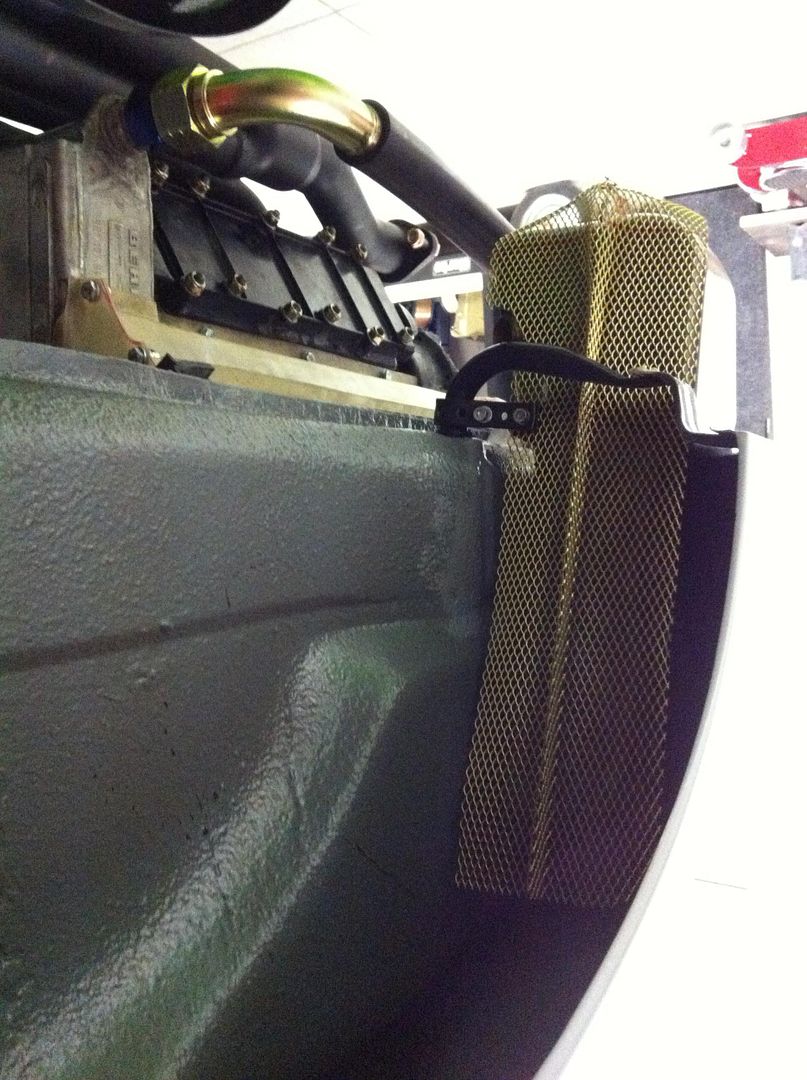 Chris |
||
|
|
|
|
Registered
|
One small suggestion,
If you haven't done it already, put a piece of foam over the end of the handle of the trolley jack. I had an accident with mine where the handle dropped back and put a nice scratch in my paint and it was sitting in almost the exact same position yours is in the picture. I never thought it could happen but it did and luckily I was able to have it buffed out. Cheers Al
__________________
People are mushy - Paul Hawkins on the merits of where to crash on the Targa Florio |
||
|
|
|
|
Registered
Join Date: Aug 2011
Location: Concord, NC
Posts: 509
|
I love this build! Been a great read! Always look forward to progress updates!
|
||
|
|
|
|
Registered
Join Date: Feb 2003
Location: Black Rock, CT
Posts: 4,345
|
GLAD to read that u will adjust the angle of the lap belts, especially as you lack a sub strap!
__________________
Jake Gulick, Black Rock, CT. '73 yellow 911E , & 2003 BMW M3 Cab. Ex: 84 Mazda RX-7 SCCA racer. did ok with it, set some records, won some races, but it wore out, LOL[/B] |
||
|
|
|
|
Registered
|
Harness mounts revisited. I made a new set of mounts using some think plate steel.
Spot welded in place and then ran a bead around... 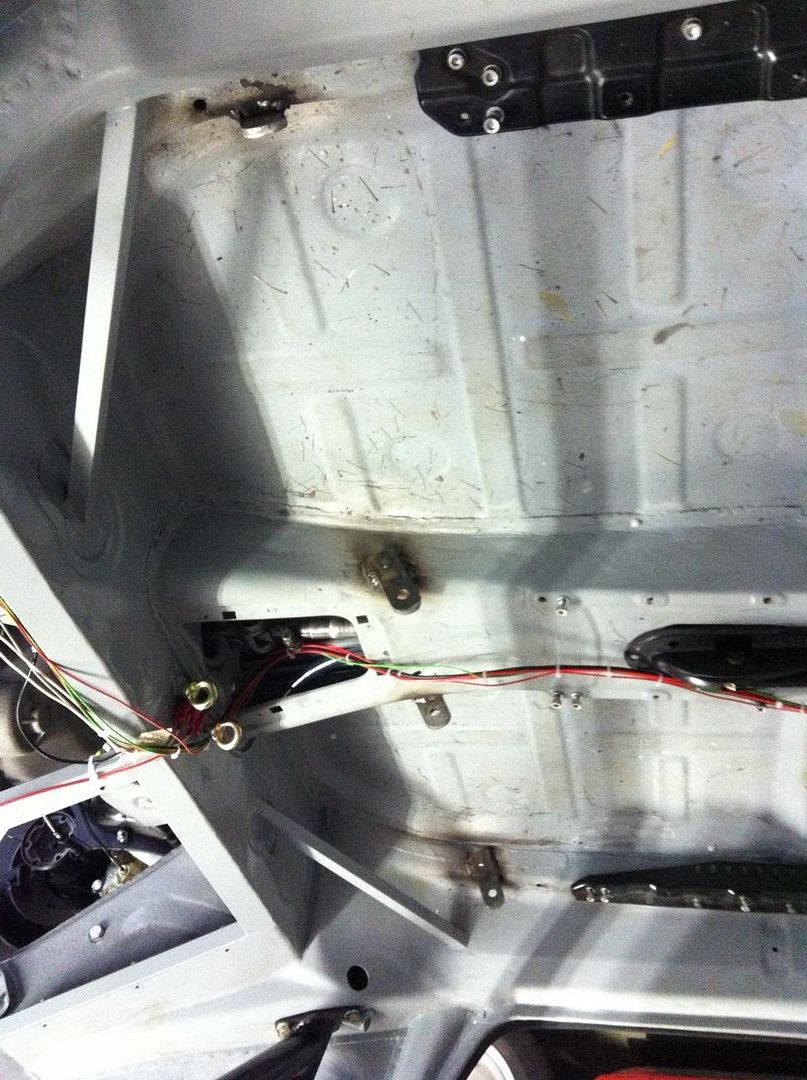 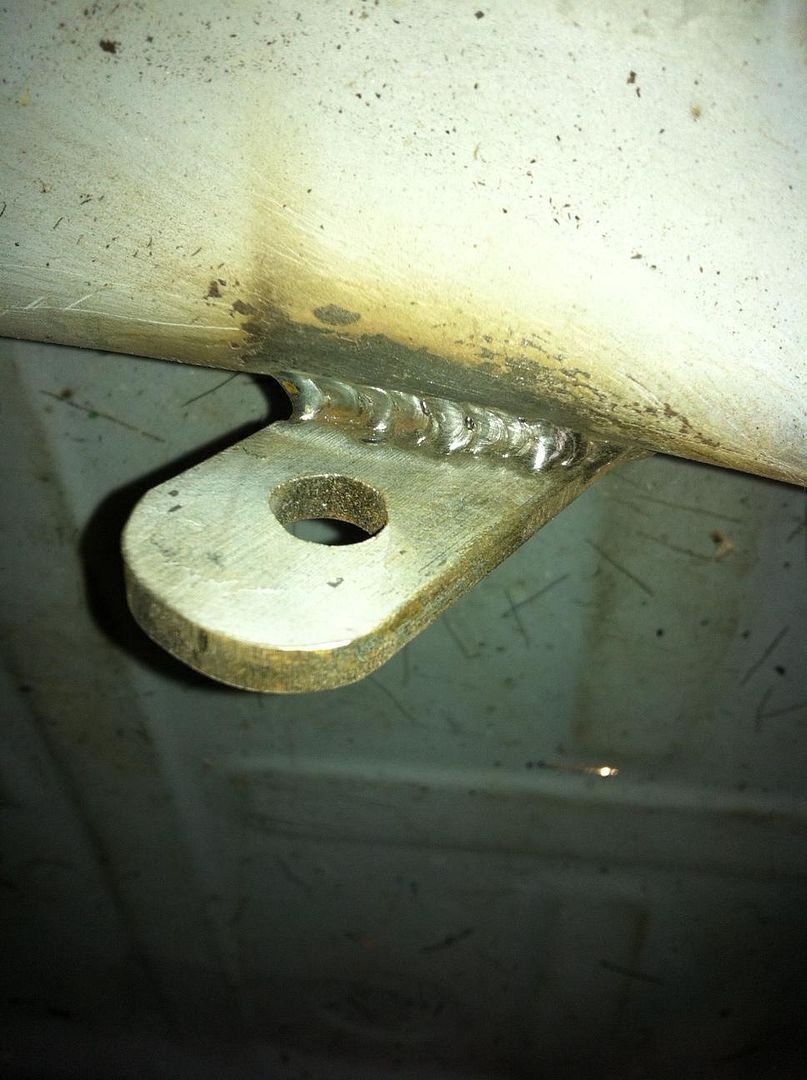 Painted the mounts, and then re-fitted seat and Harness. The Harness now feels alot more sung, even on a not so fat bloke. 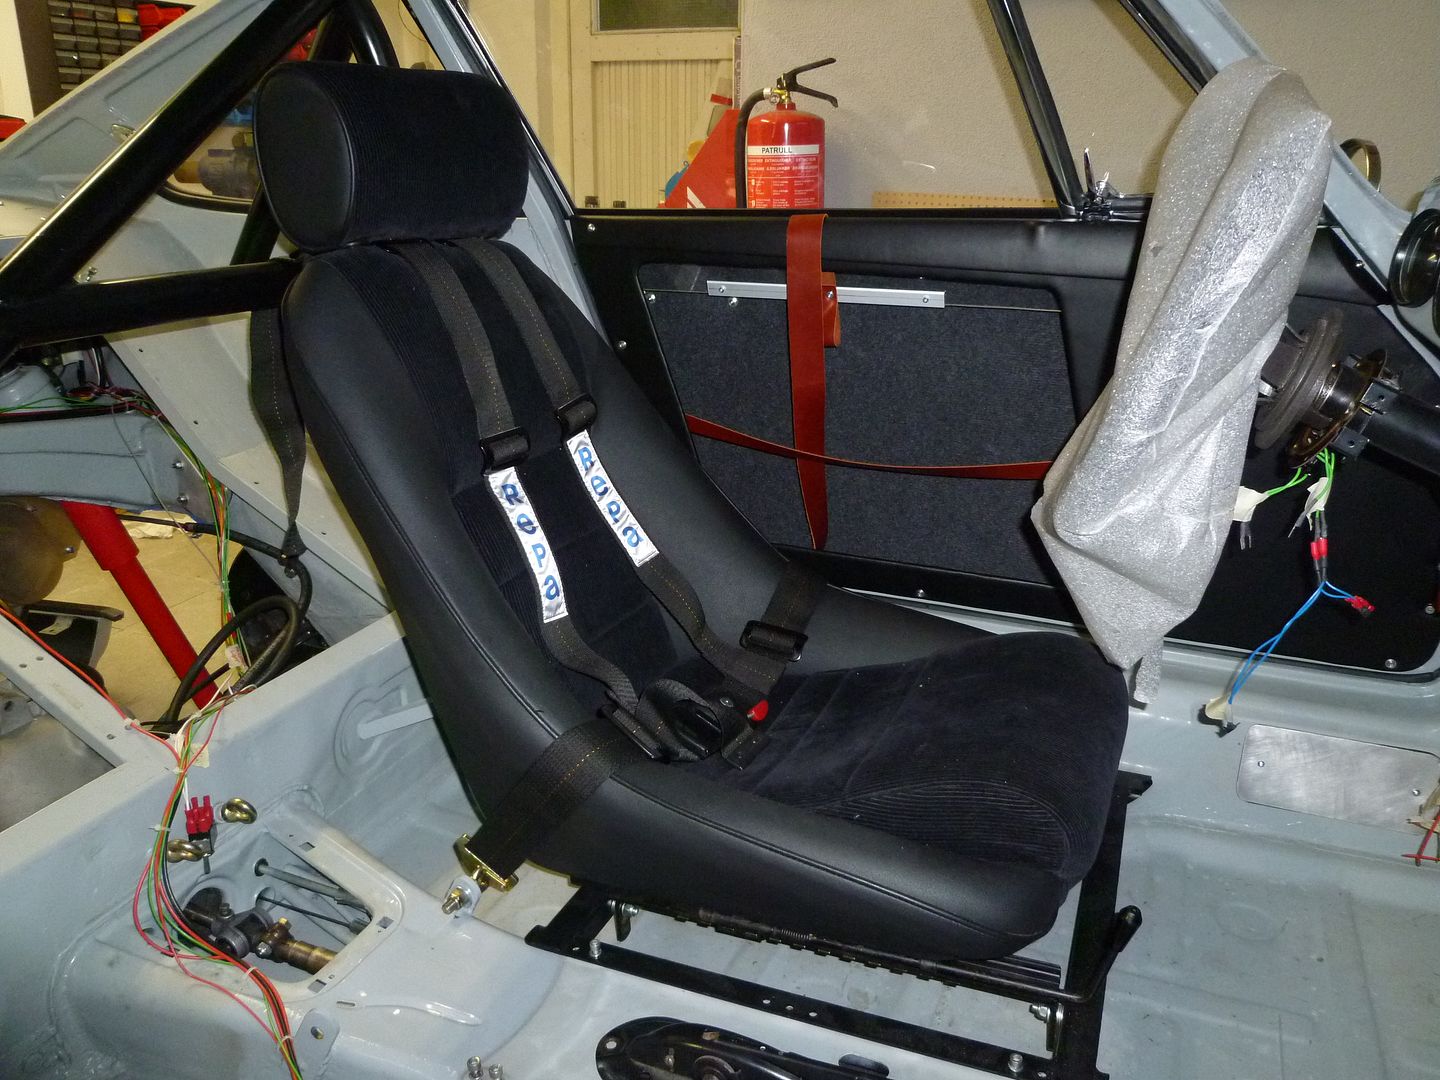 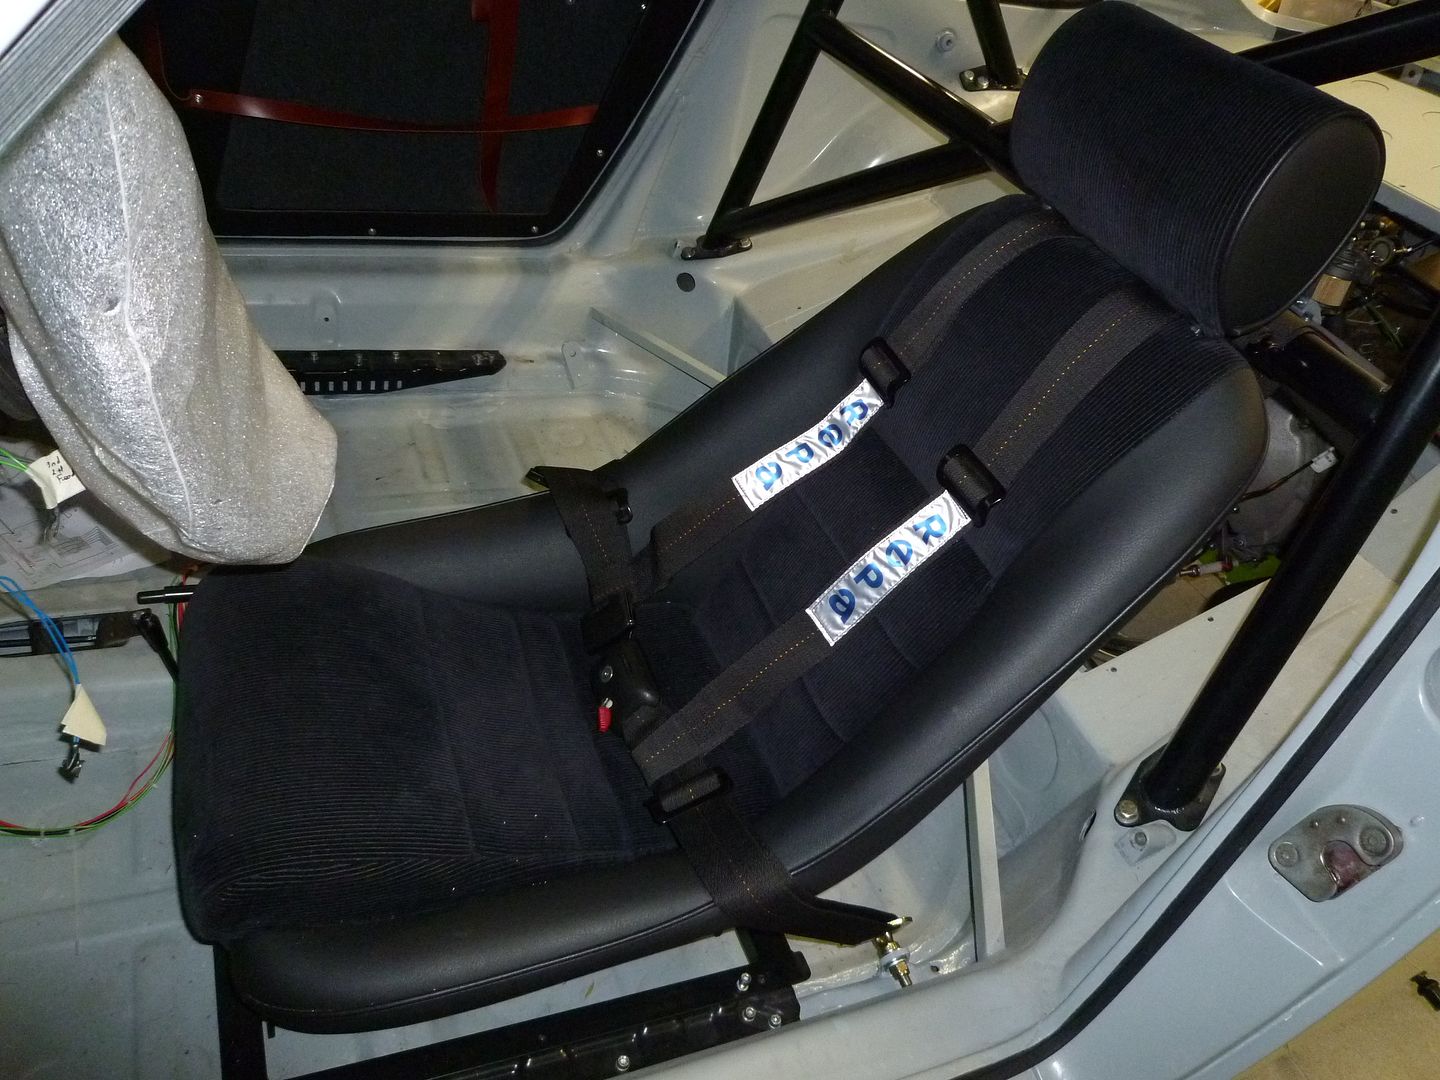  I have seen afew early race cars fitted with a 4-point harness, that still use the original mounting points.....but this update does feel more secure. Chris |
||
|
|
|
|
Registered
|
|||
|
|
|

|
|
Registered
|
So after afew months of head scratching I think I have finally solved the problem of attaching the '70 911 Gearbox to the original '68 Stub axles. The rumour was that using 914 parts would be the answer. I acquired with some 914 Output shafts, and I picked up some 914 C.V's and Driveshafts on Germany Ebay. The 914 Driveshafts are 47,0cm long, the magic number I needed was 41.5cm , so after considering having the 914 shafts shortened ( don't really know how this would be done without he things snapping when in use ) I looked again at the original Driveshafts that came with the car.........41.5cm!!! and these have the same splines as the 914 C.V joint !!! Can it really be that straight forward.
So long story short....I believe that this is finally the correct combination: 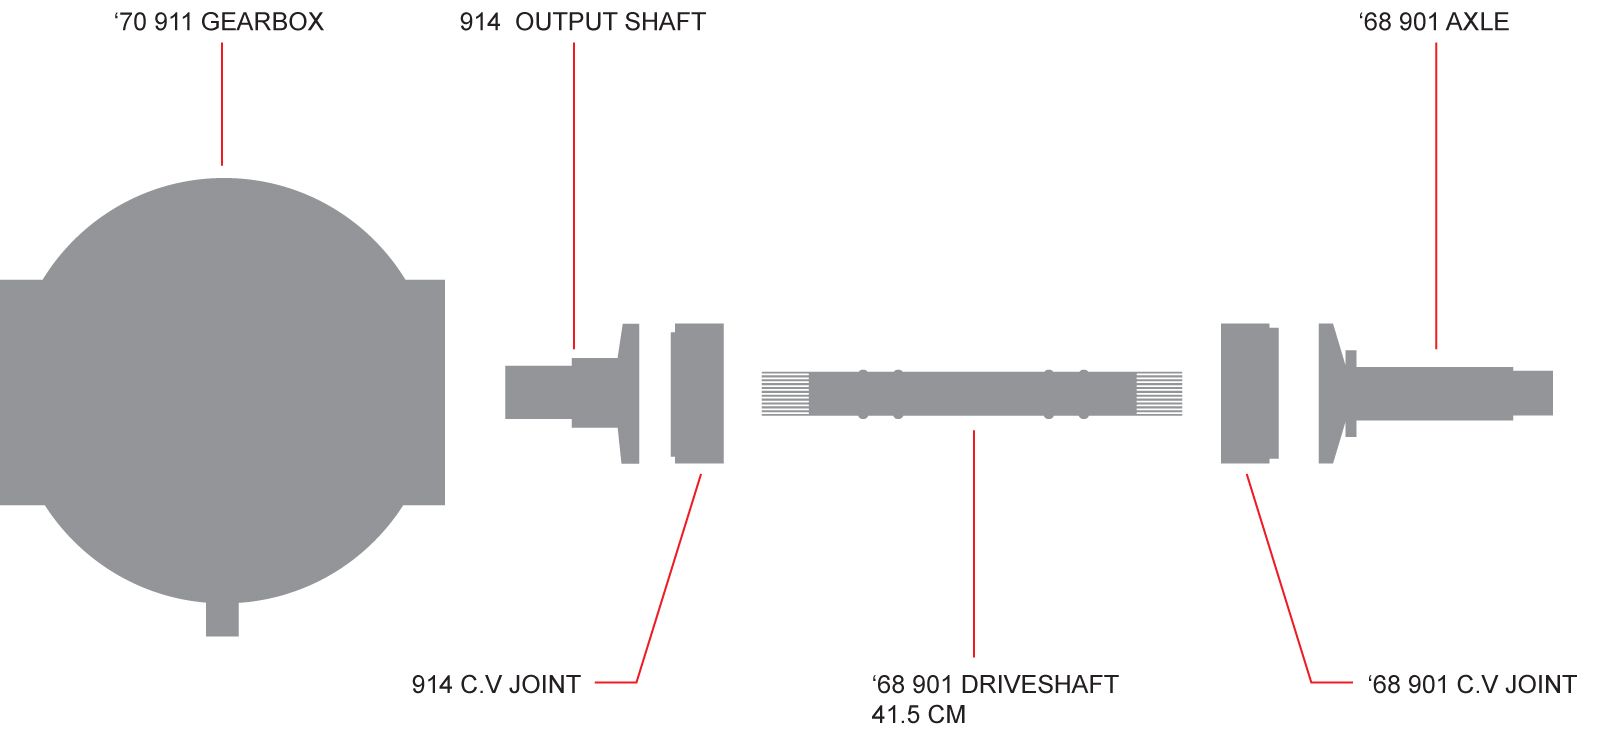 All the C.V's are currently in a friends Ultrasonic Cleaning Bath, so I can check the condition. HOWEVER, I do need another 901 driveshaft if anyone has one lying around....the other Shaft that was fitted looks like it came from something else. I believe that this is the original, and what I need: - 41.5cm Length - 27.0MM Across Splines - 33 Splines 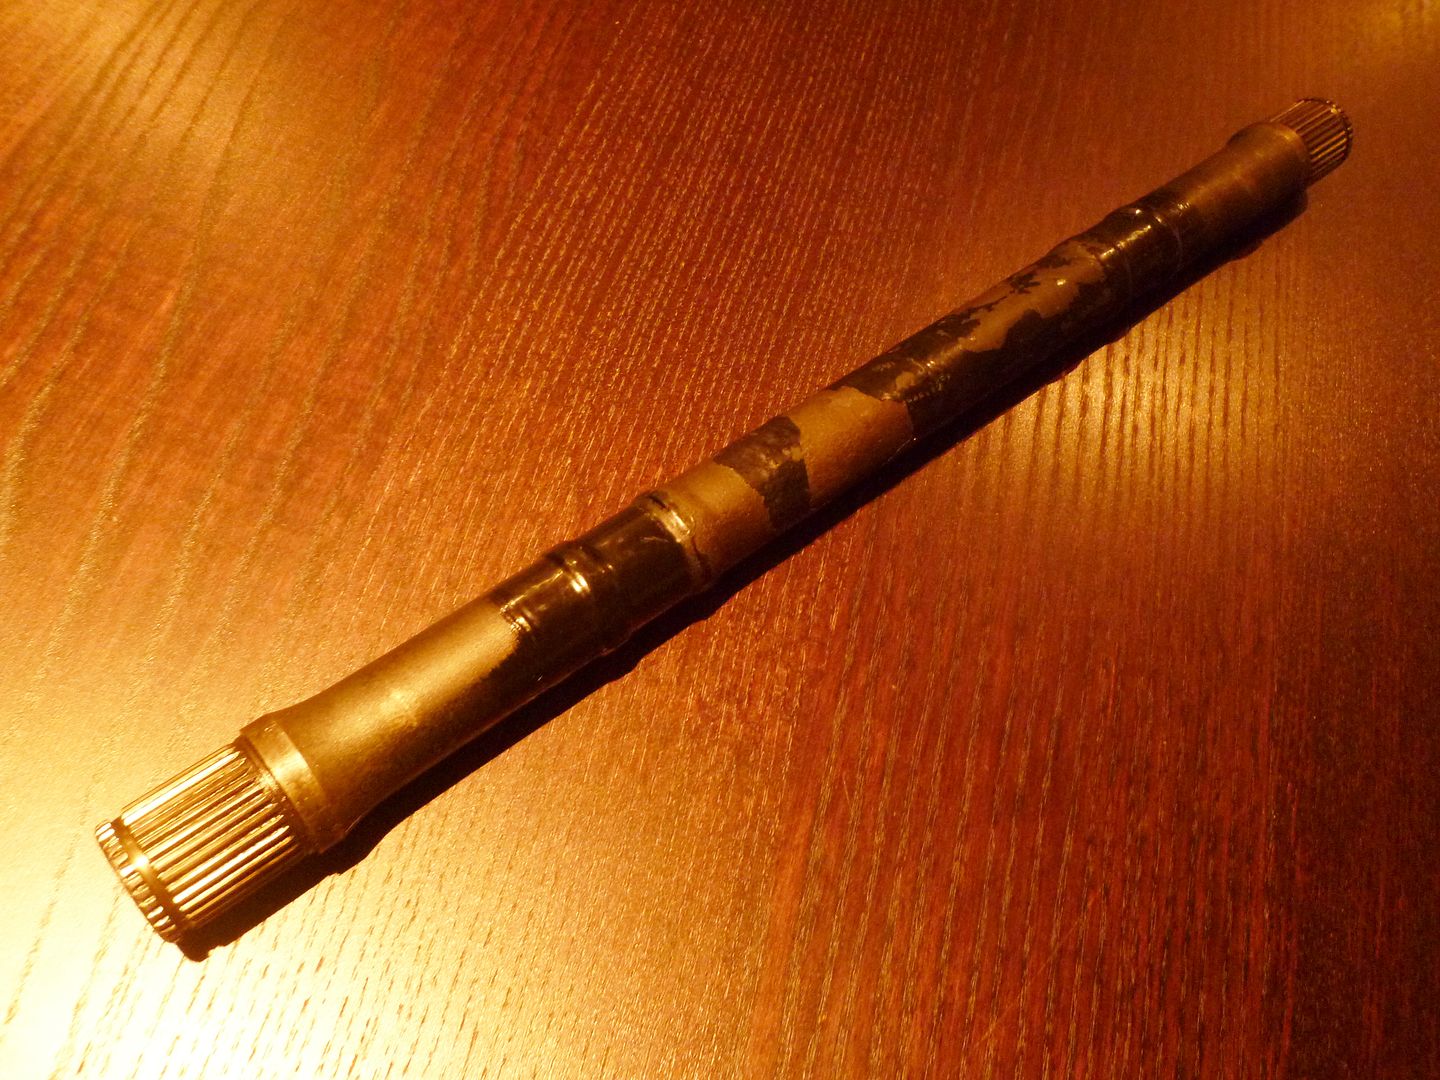 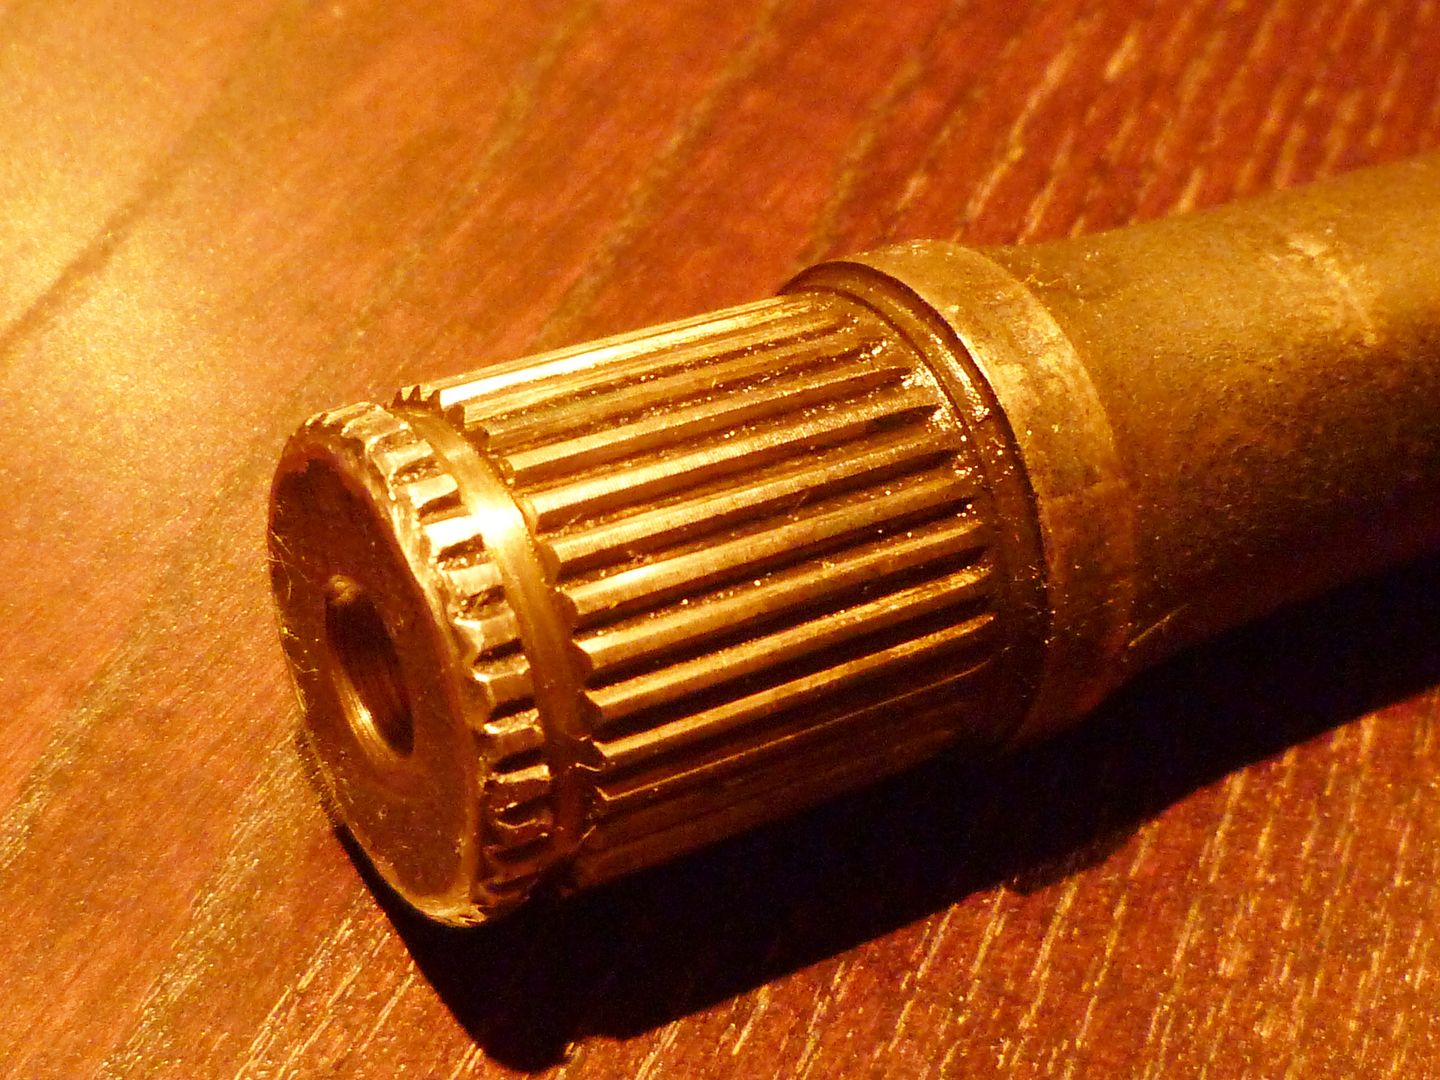 Chris |
||
|
|
|
|
Registered
|
|||
|
|
|
|
Registered
|
Hard Brakelines installed.
The kit I used is from Cohline... 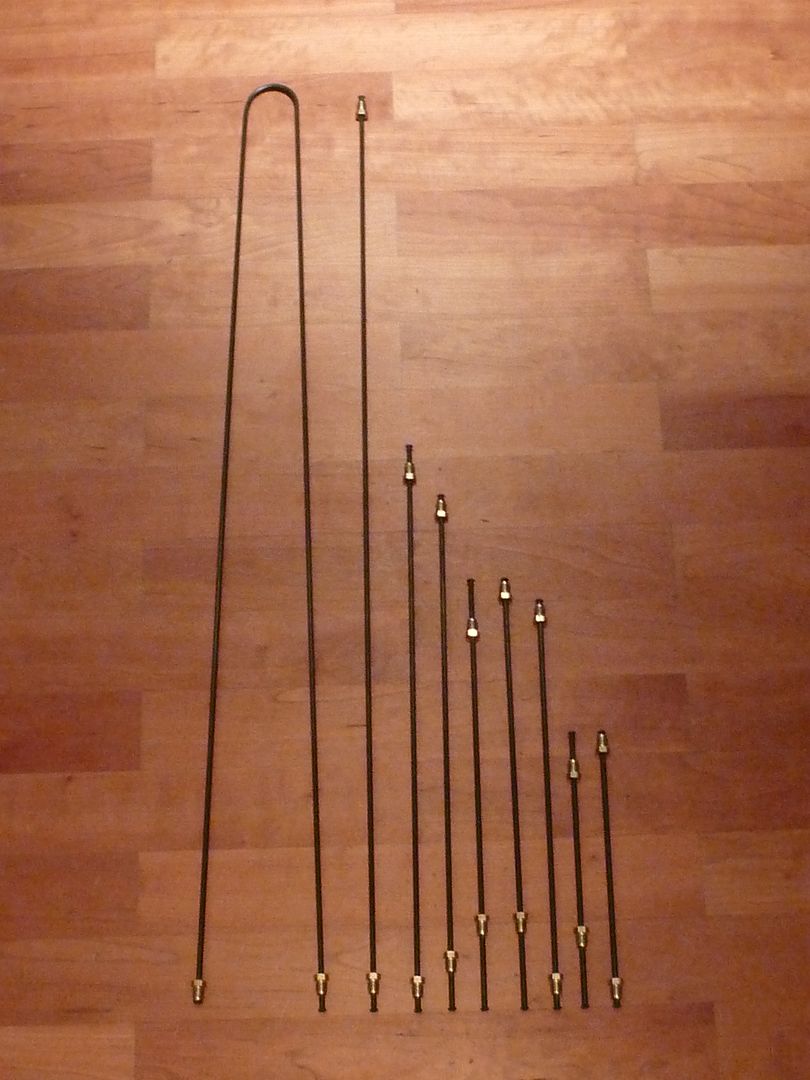 ...the only problem is that there was abit of confusion of which piece goes where...I assumed that the long one went from front to back :roll: but after a bit of thought I worked out : LEFT TO RIGHT for a LHD '68 1. FRONT TO BACK 2. MASTER CYLINDER TO FRONT PASSENGER-SIDE STRUT 3. CONNECTING REAR OF #1 TO REAR DRIVER-SIDE TRAILING ARM 4. MASTER CYLINDER TO FRONT DRIVER-SIDE STRUT 5. REAR CALIPER TO TRAILING ARM 6. REAR CALIPER TO TRAILING ARM 7. CONNECTING FRONT OF #1 TO MASTER CYLINDER 8. FRONT STRUT TO CALIPER 9. FRONT STRUT TO CALIPER The fitting was surprisingly straight forward, start to finish was about an hour and actually quite fun. I just need to go over everything to check for tightness and add the spring retaining clips...The Hardlines connect to Goodridge braided hoses: 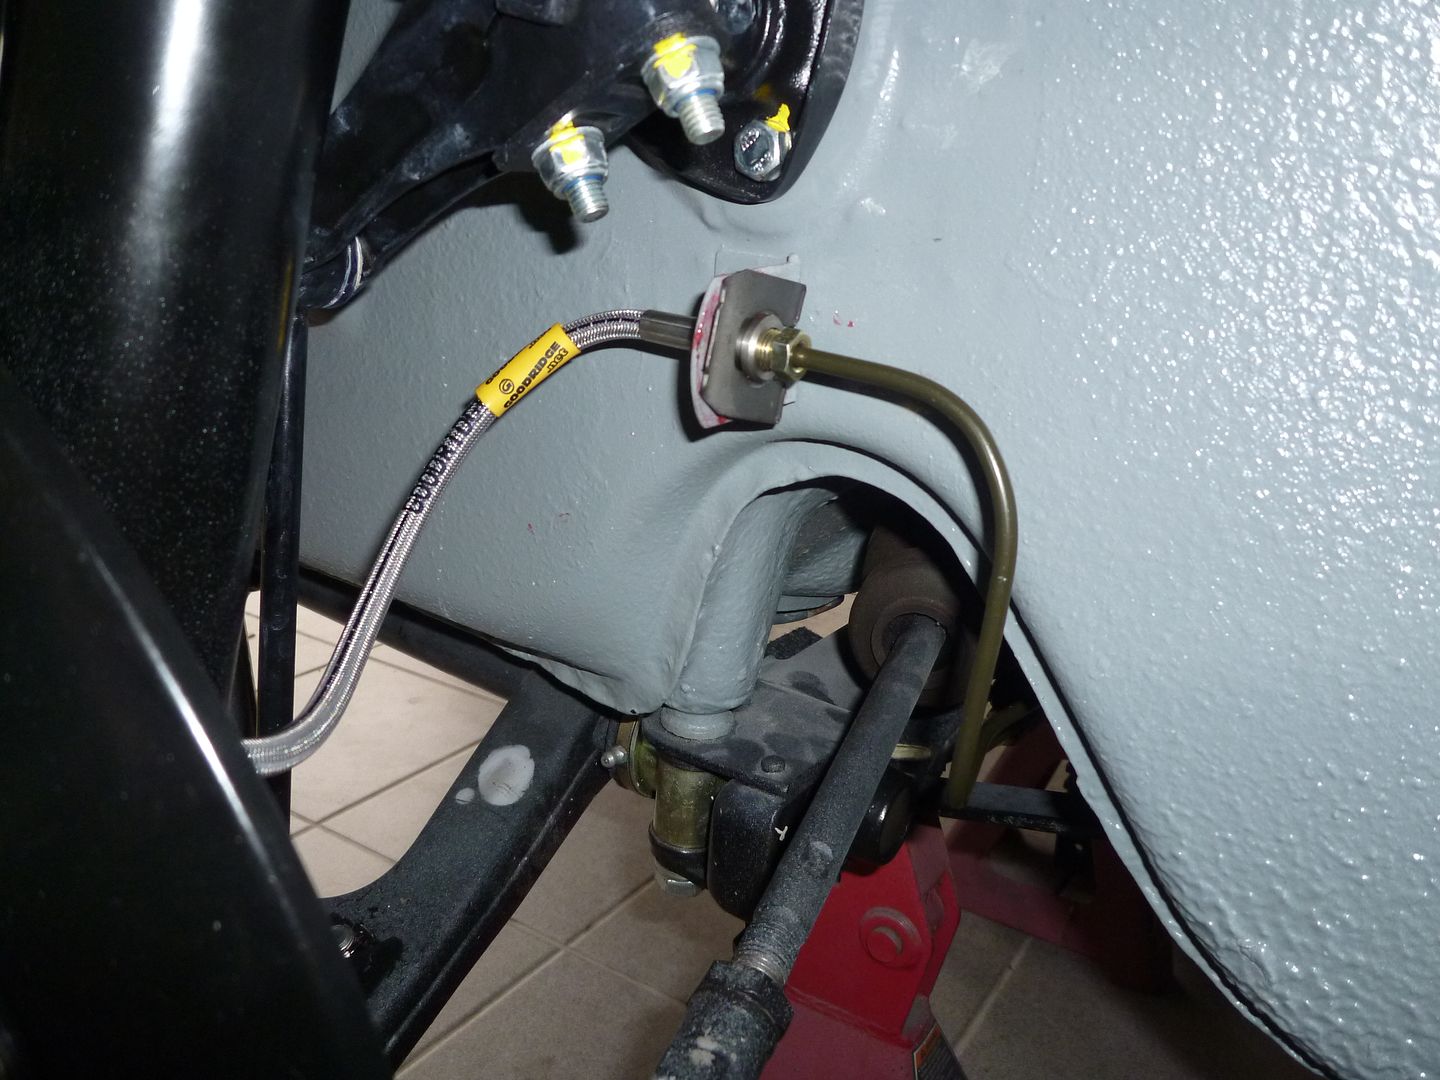 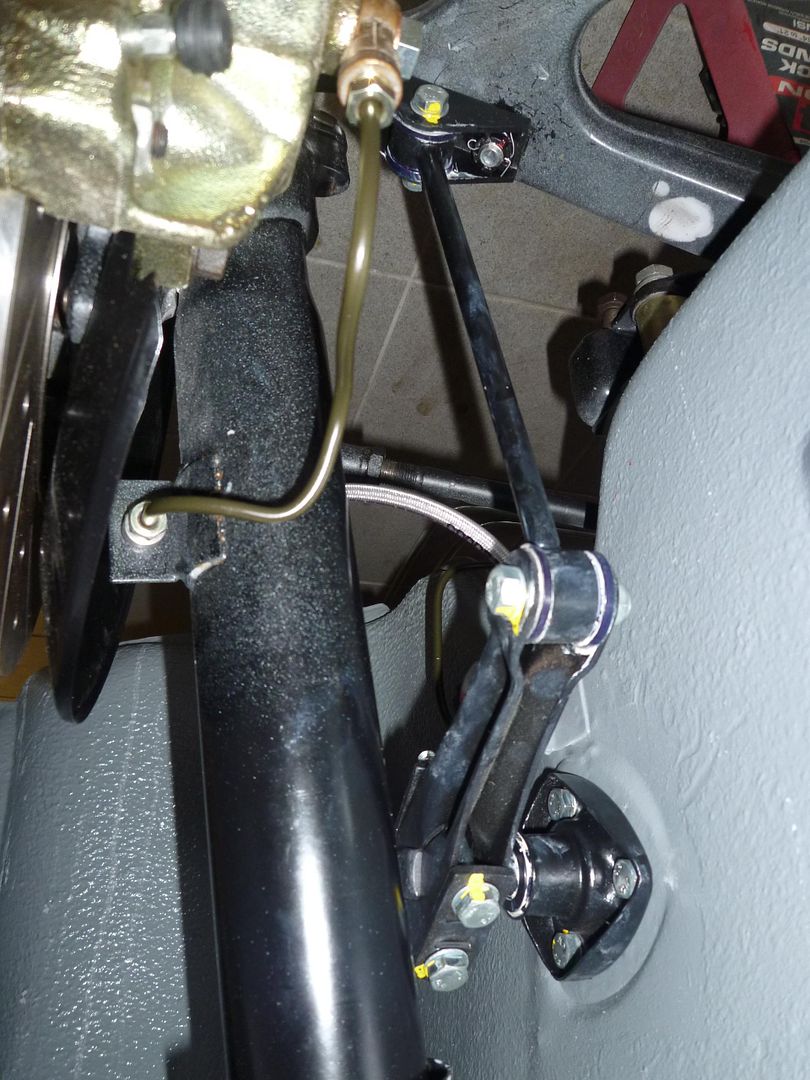 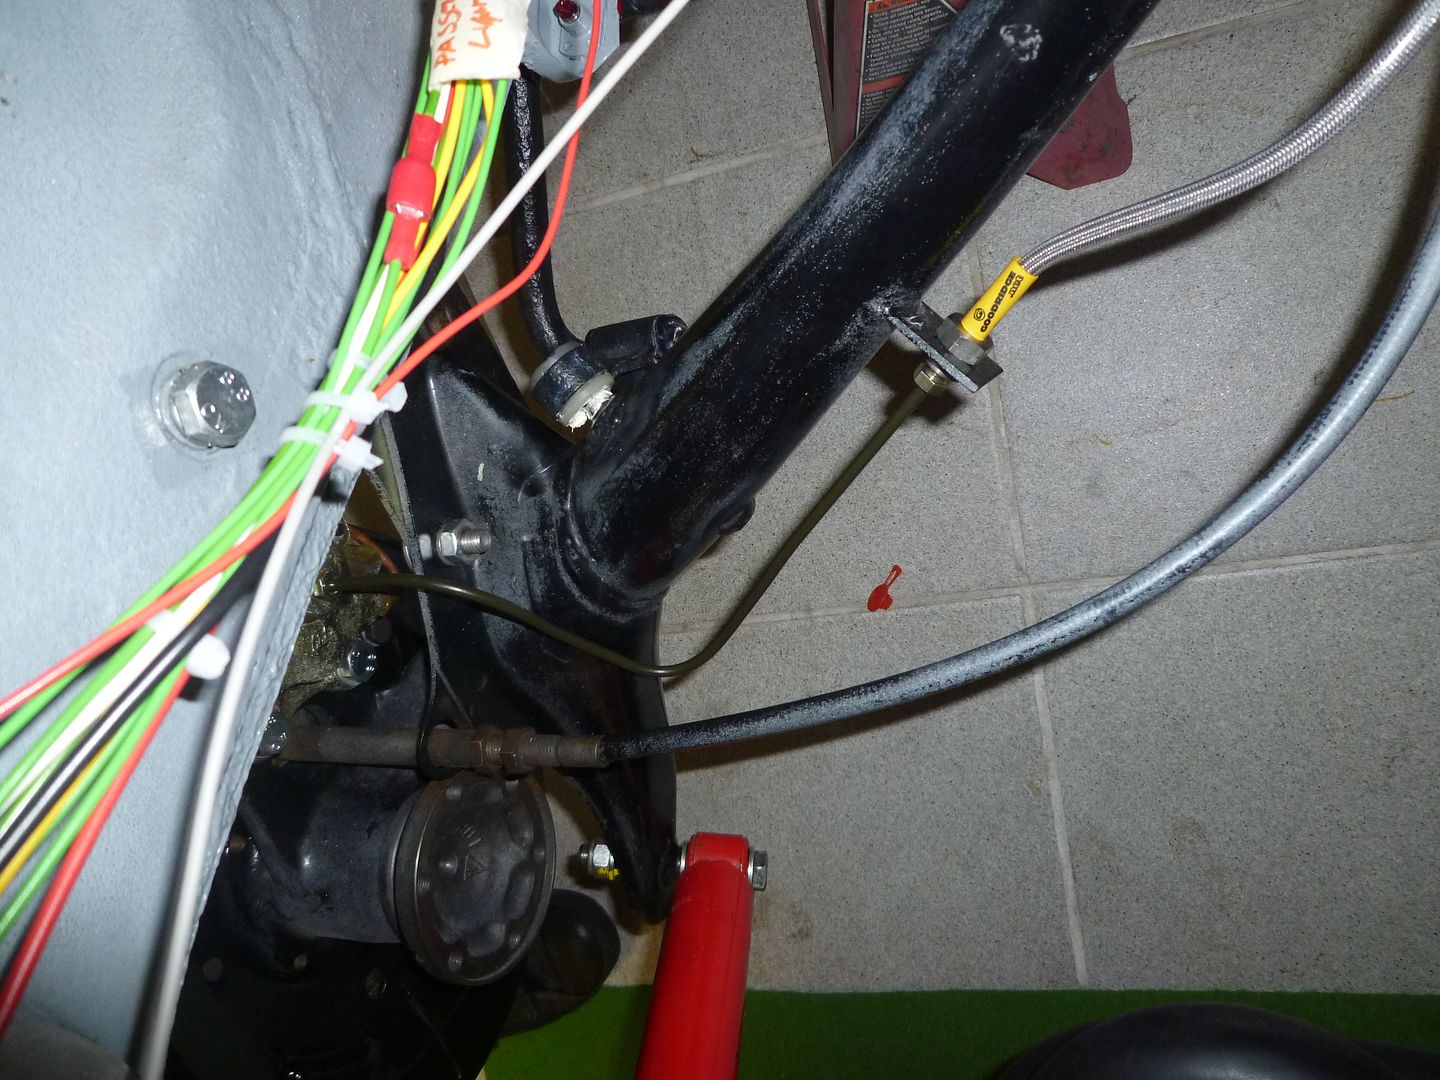 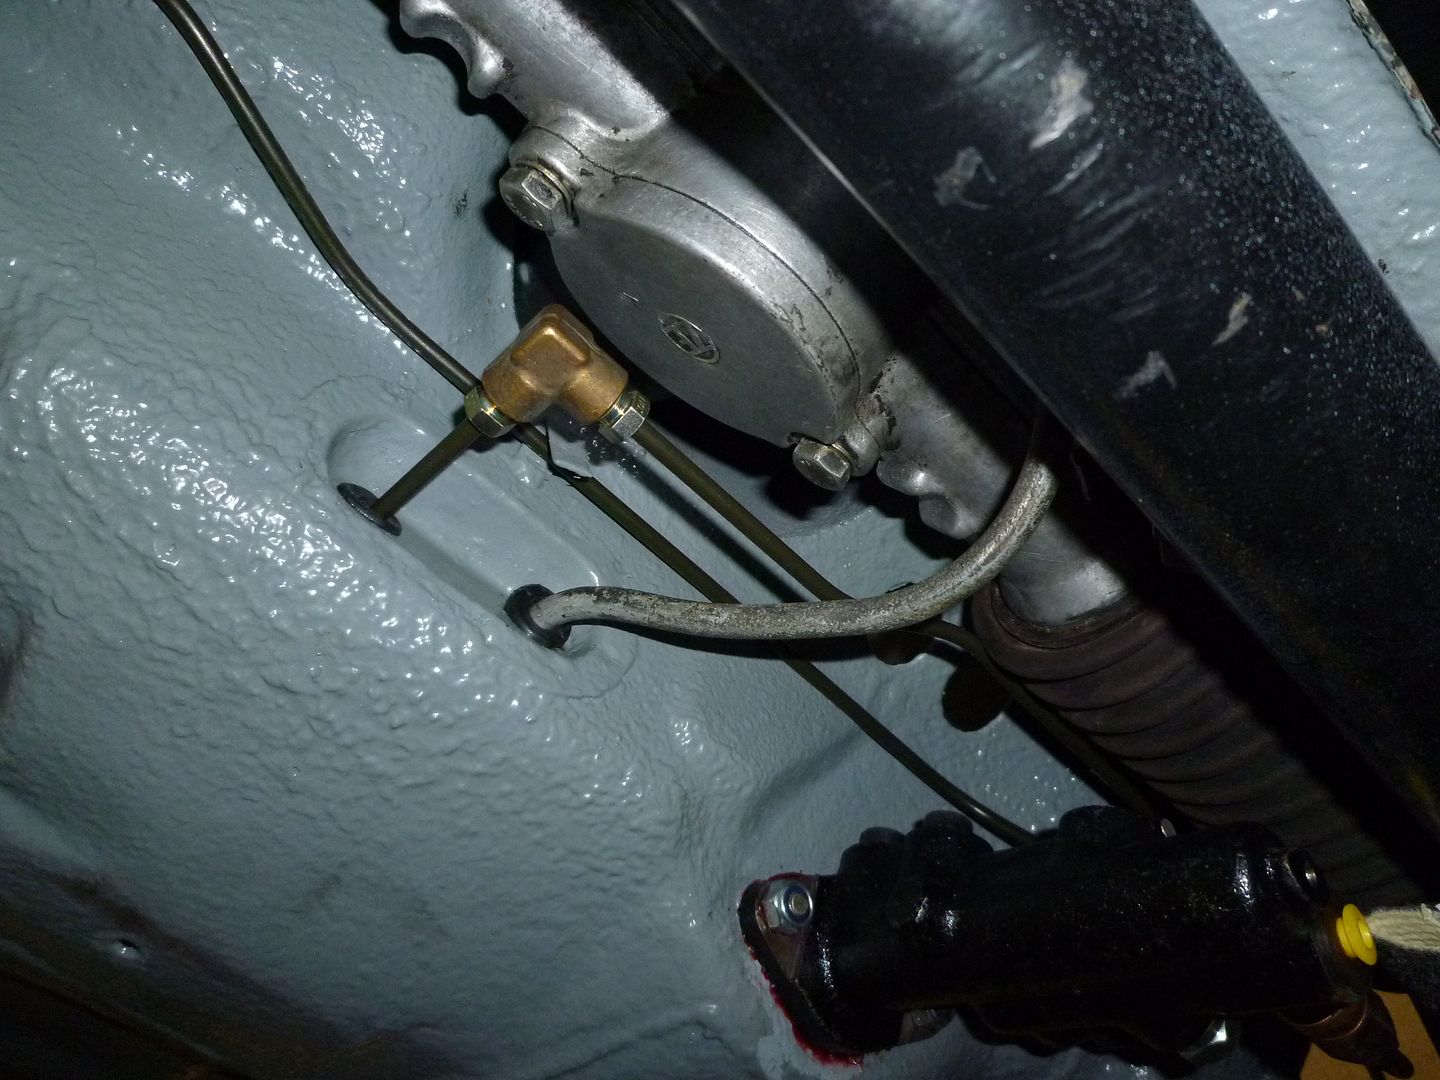 ( Nb: Steering rack now removed and refitted, so that the fuel line is correctly routed over the top )  This little tool worked a treat... 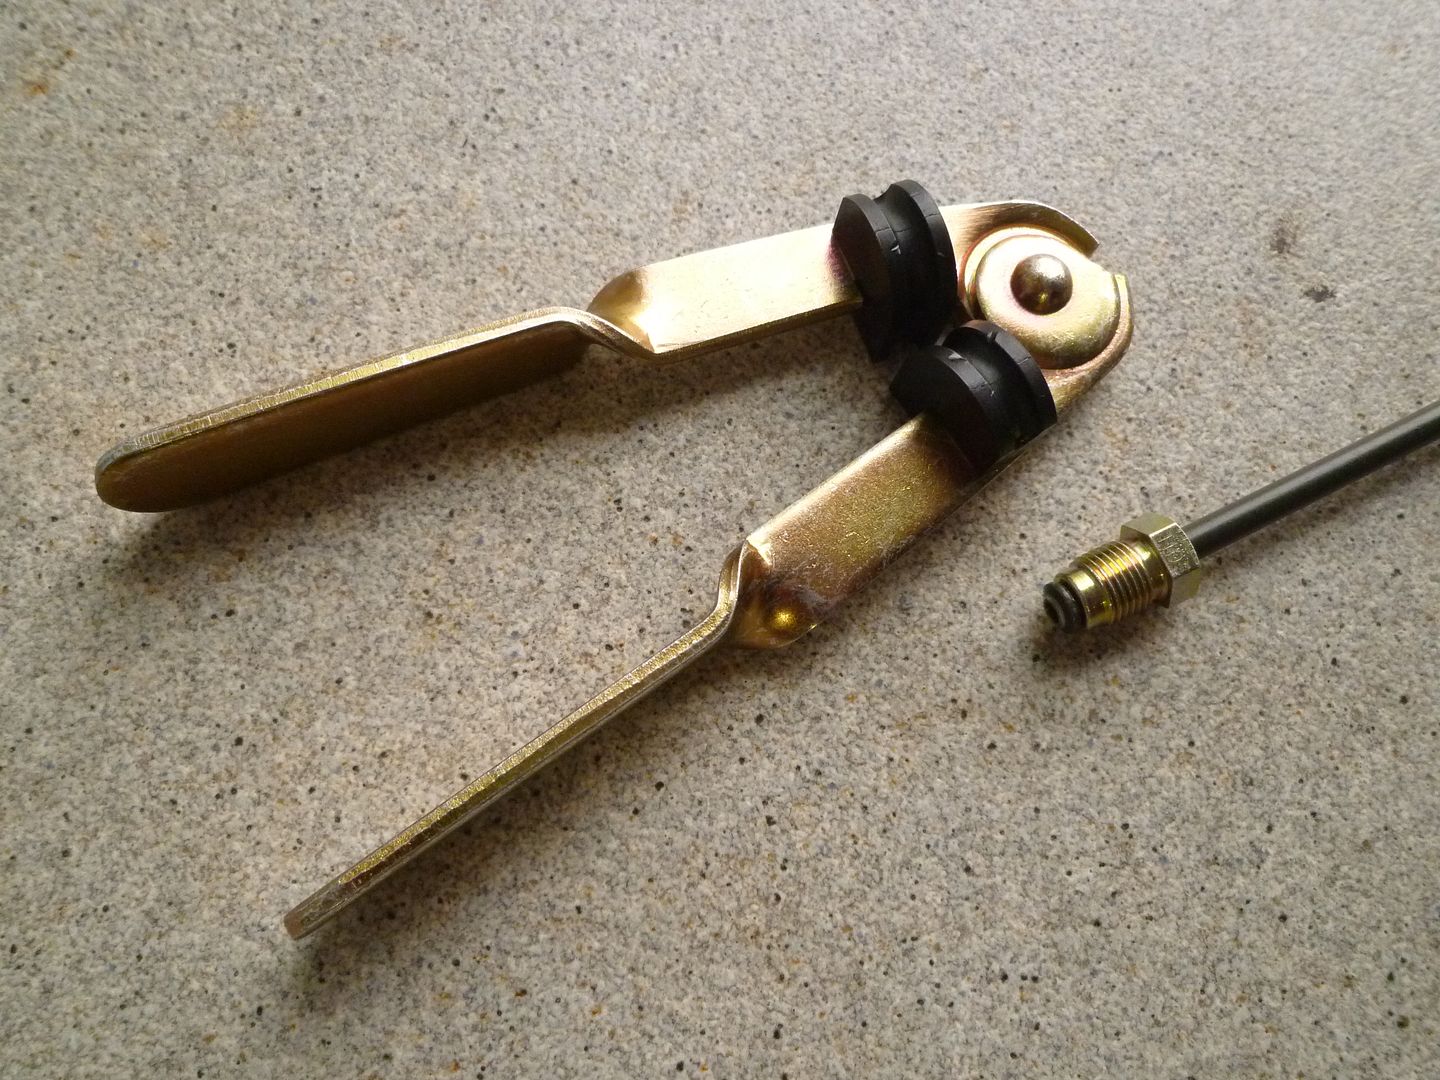 Chris Last edited by jury; 10-06-2013 at 12:02 AM.. |
||
|
|
|
|
Registered
|
Been really looking forward to this arriving...
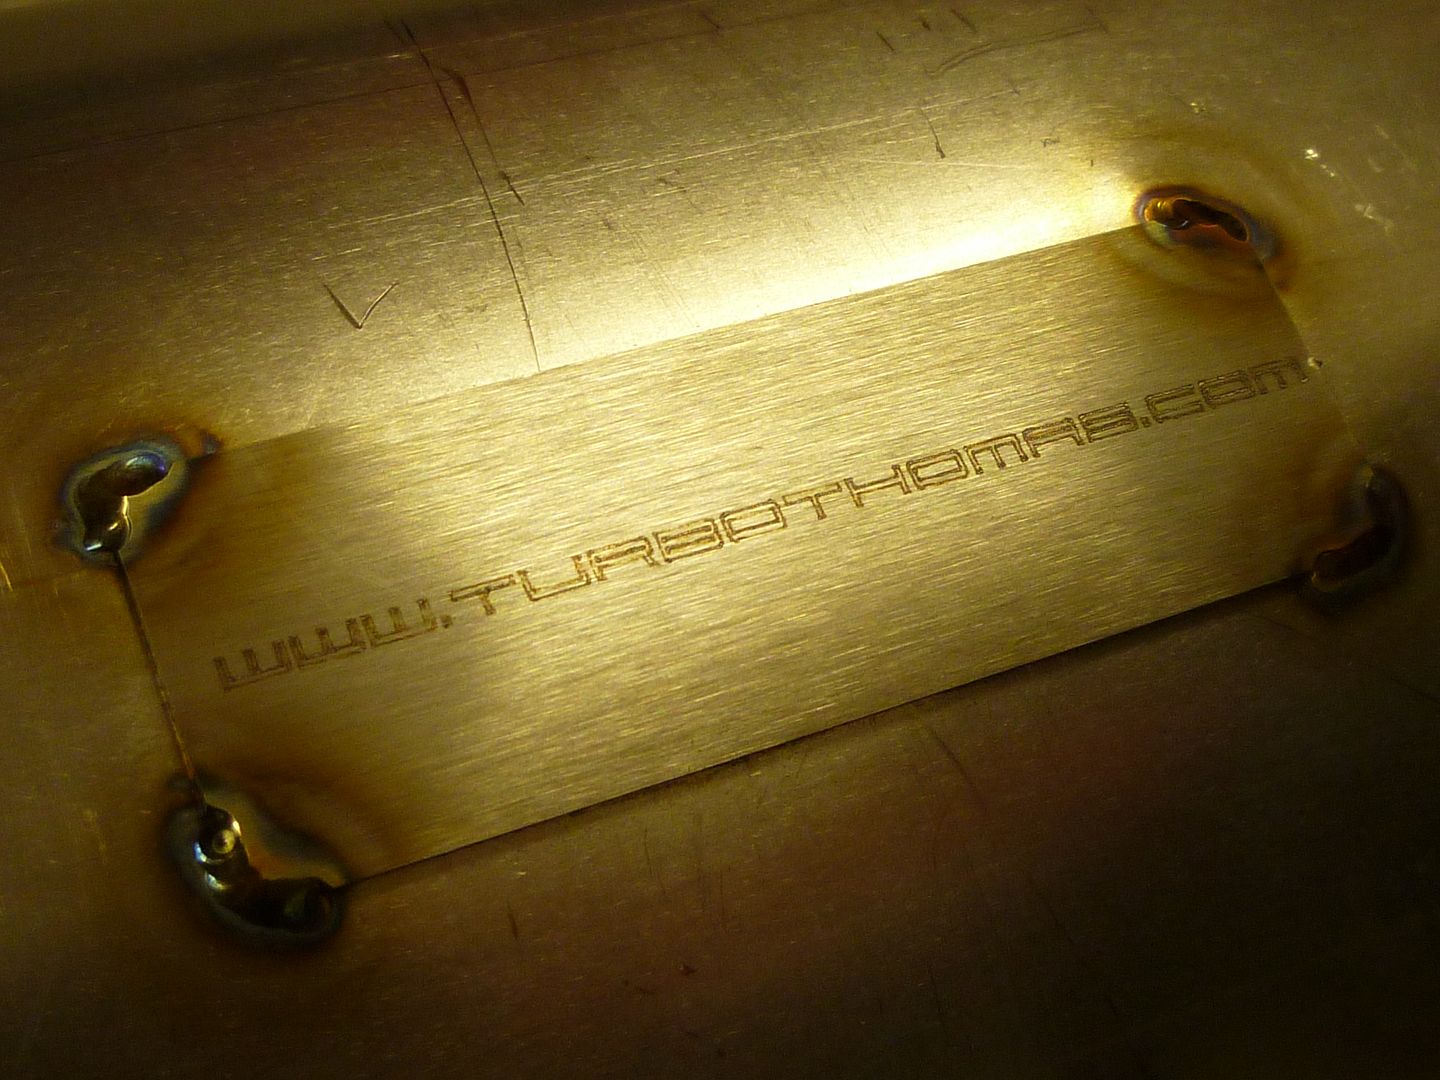 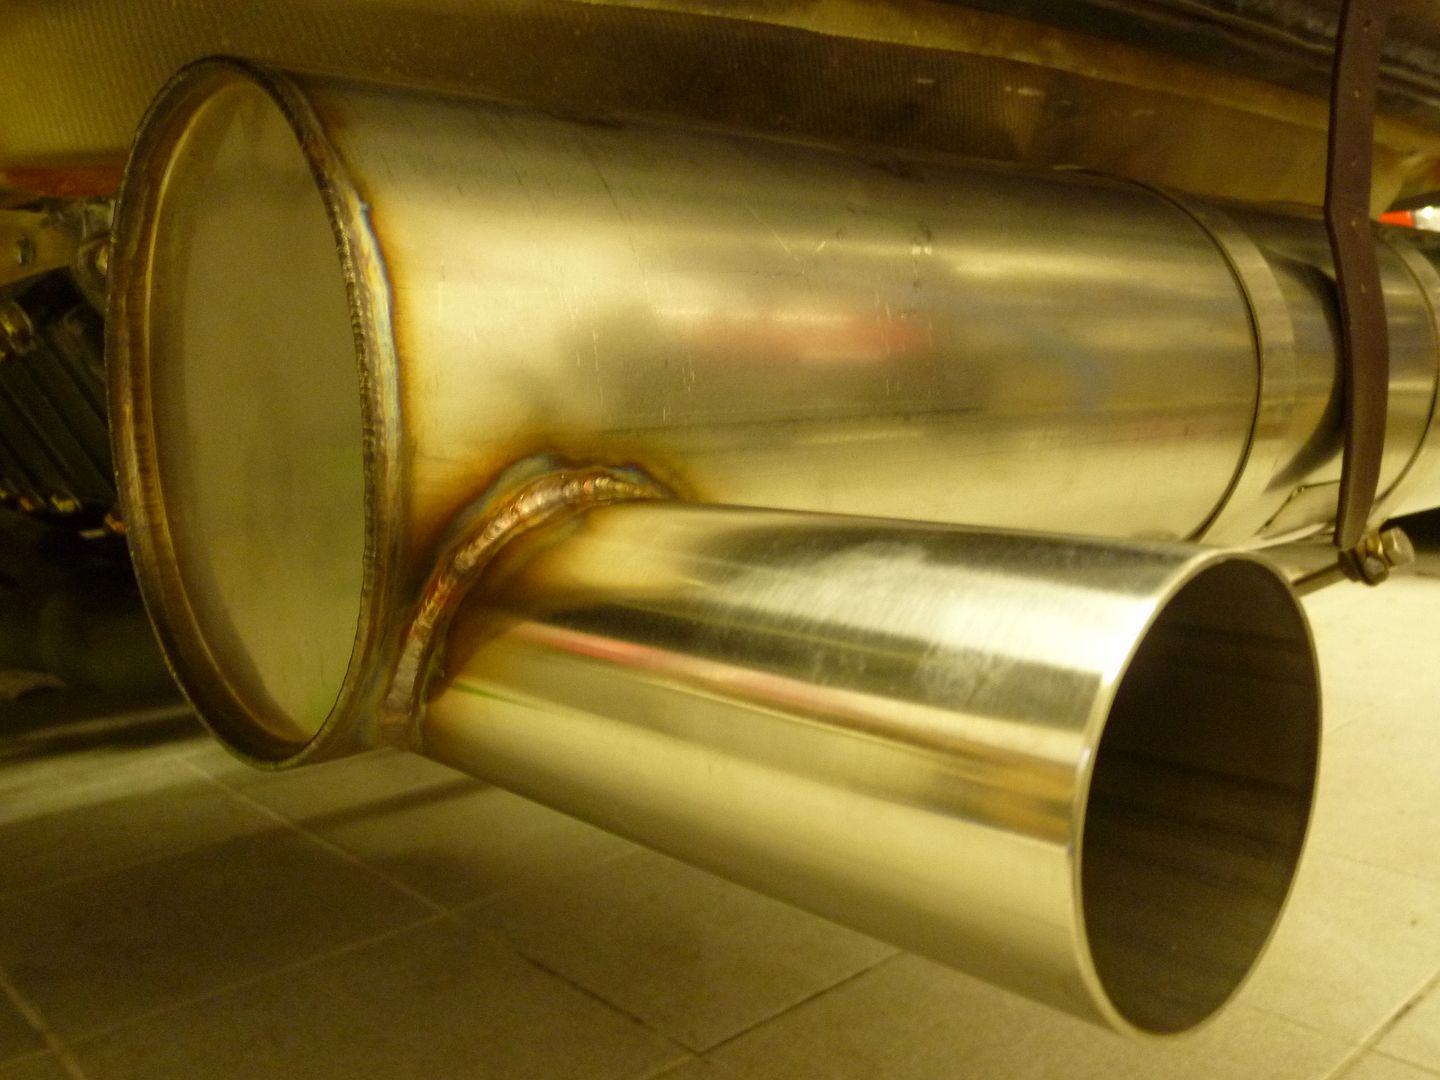 Rich at TurboThomas was great to deal with, very friendly and his product speaks with itself...Couldn't resist a quick fitment this evening. The bumper needed abit of trimming, and I plan some more 'strategic holes ' in the fibreglass to aid cooling, but I am really happy with it... 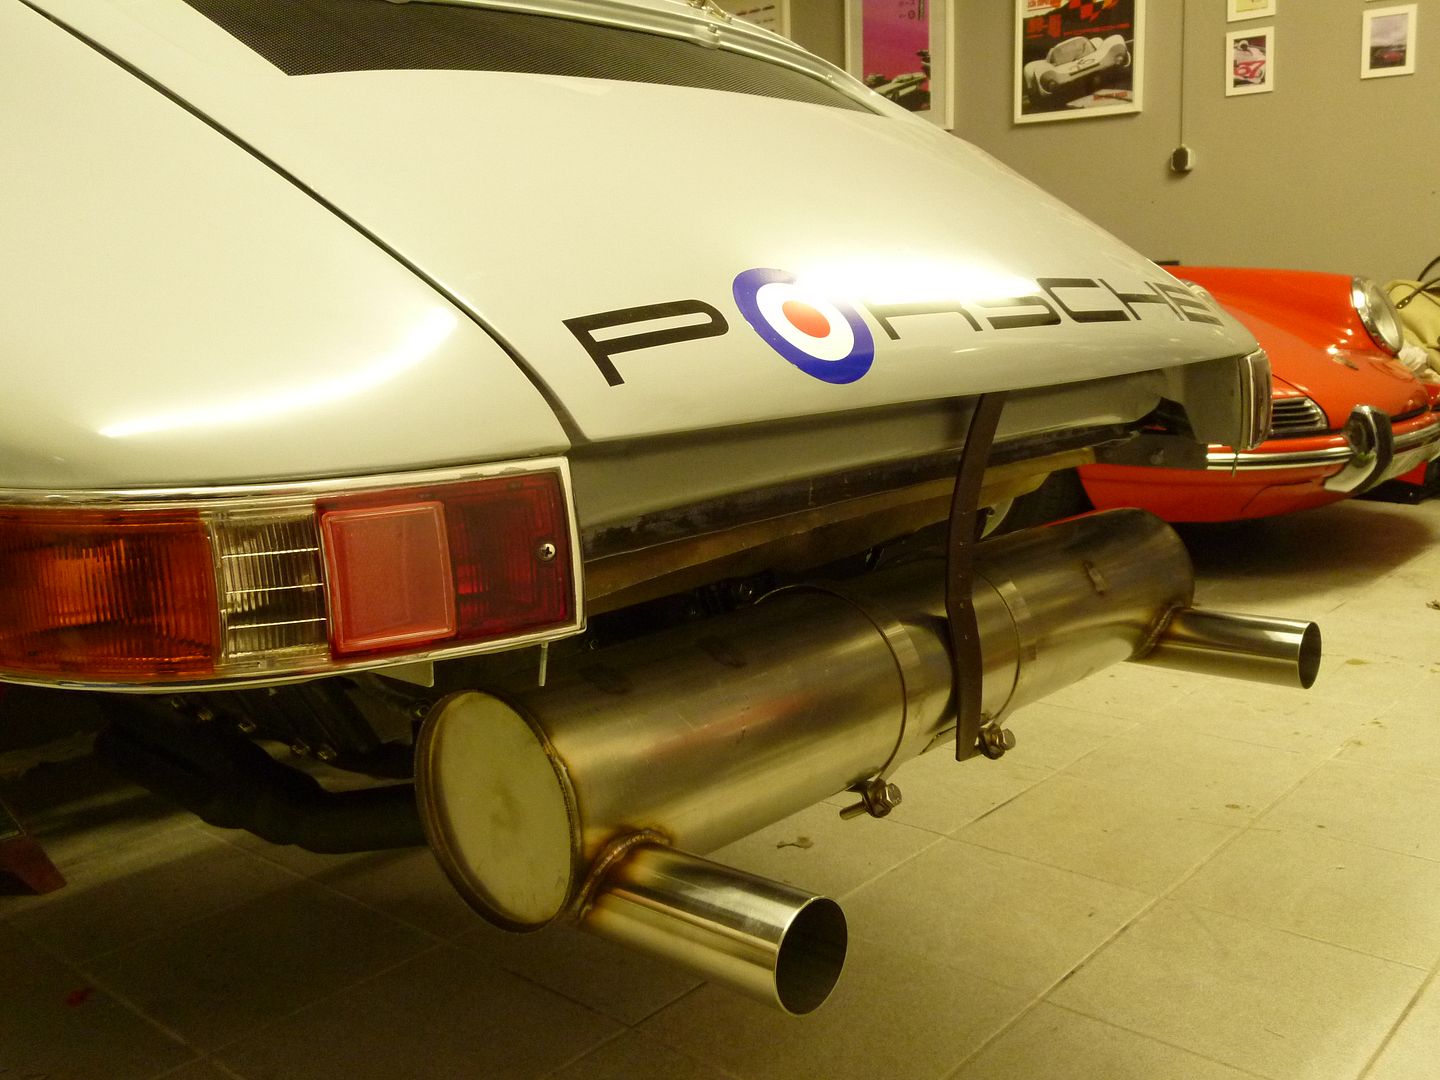 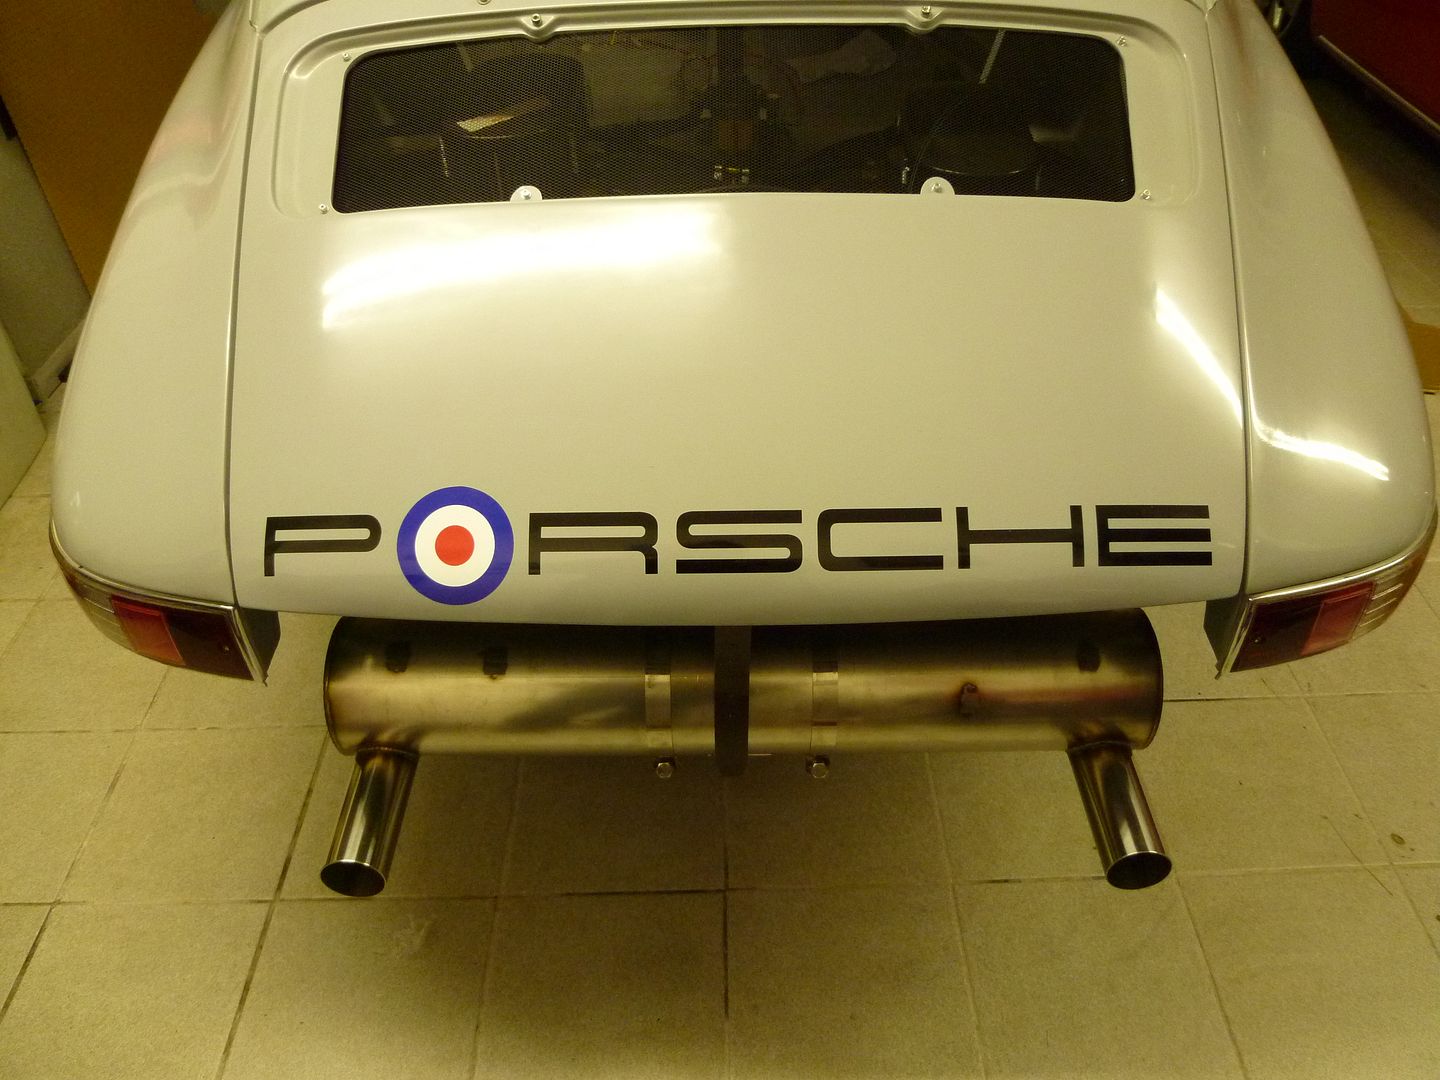 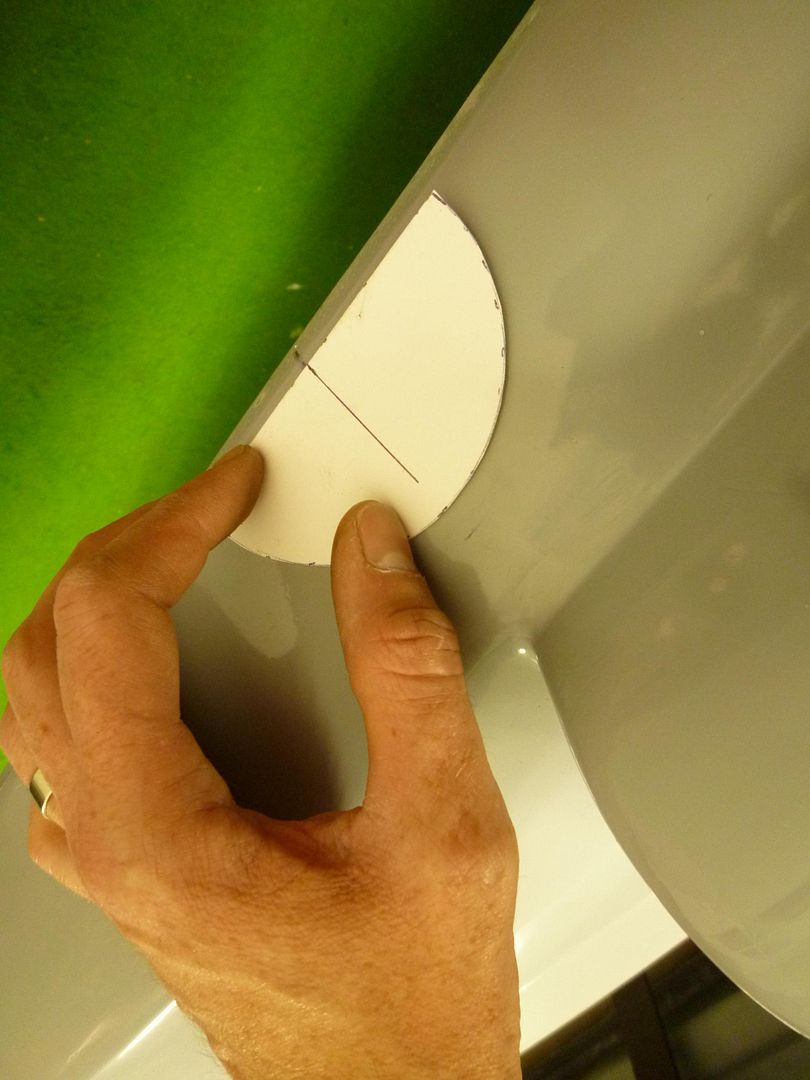 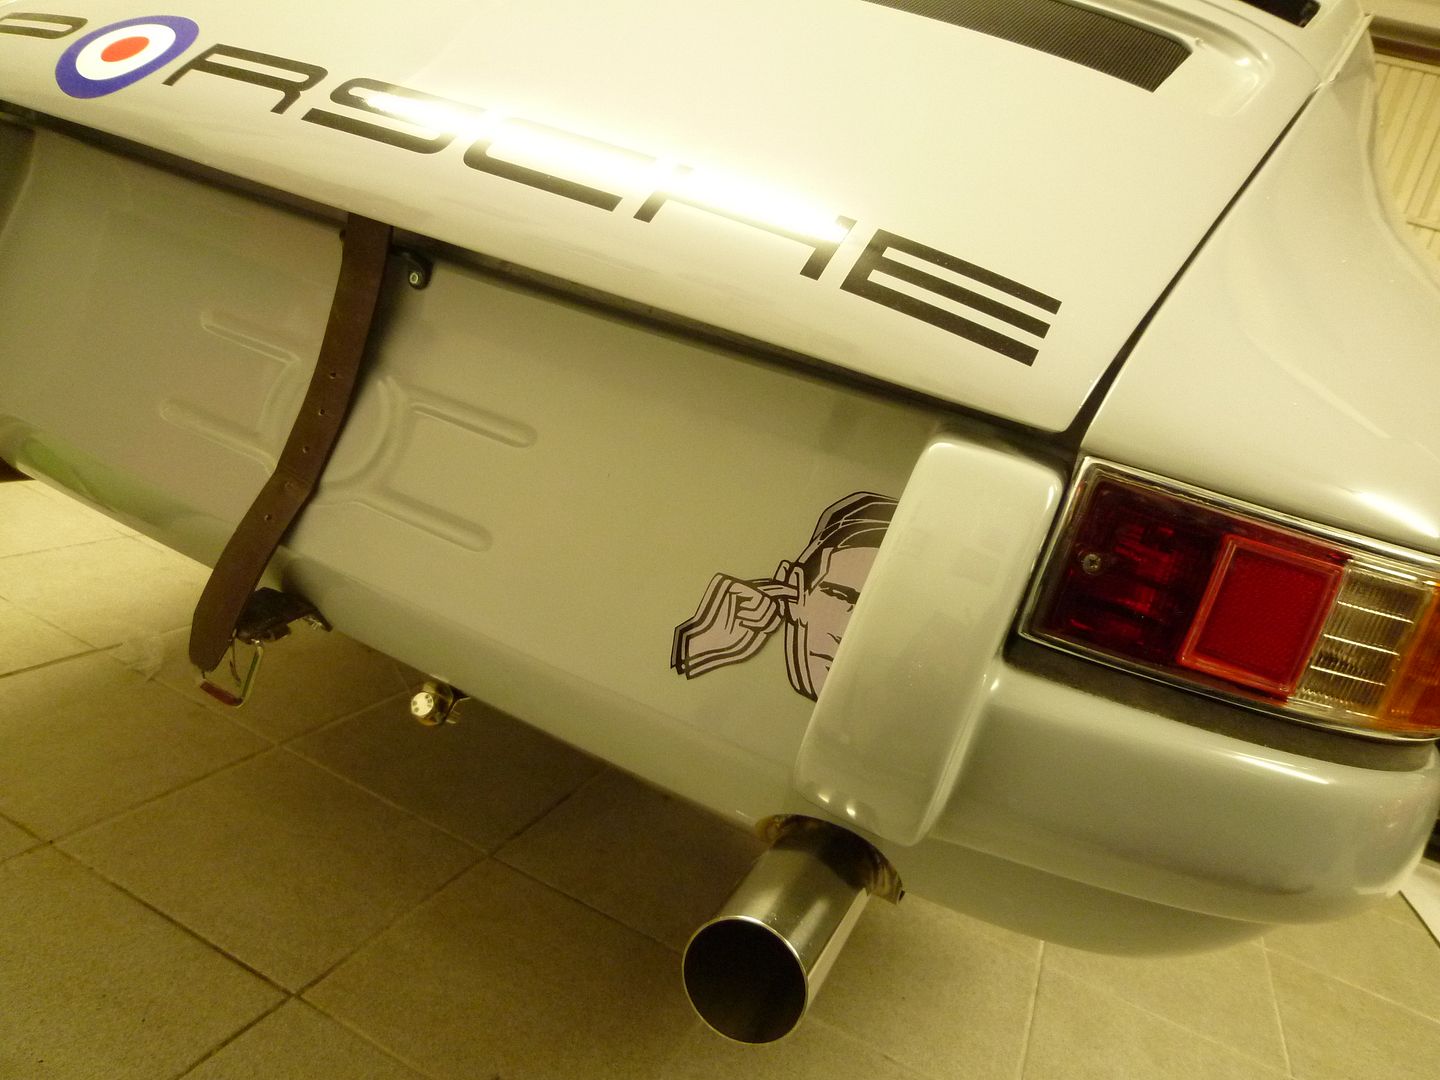 Can't wait for that first start up now  Chris Last edited by jury; 10-06-2013 at 02:02 AM.. |
||
|
|
|
|
Registered
|
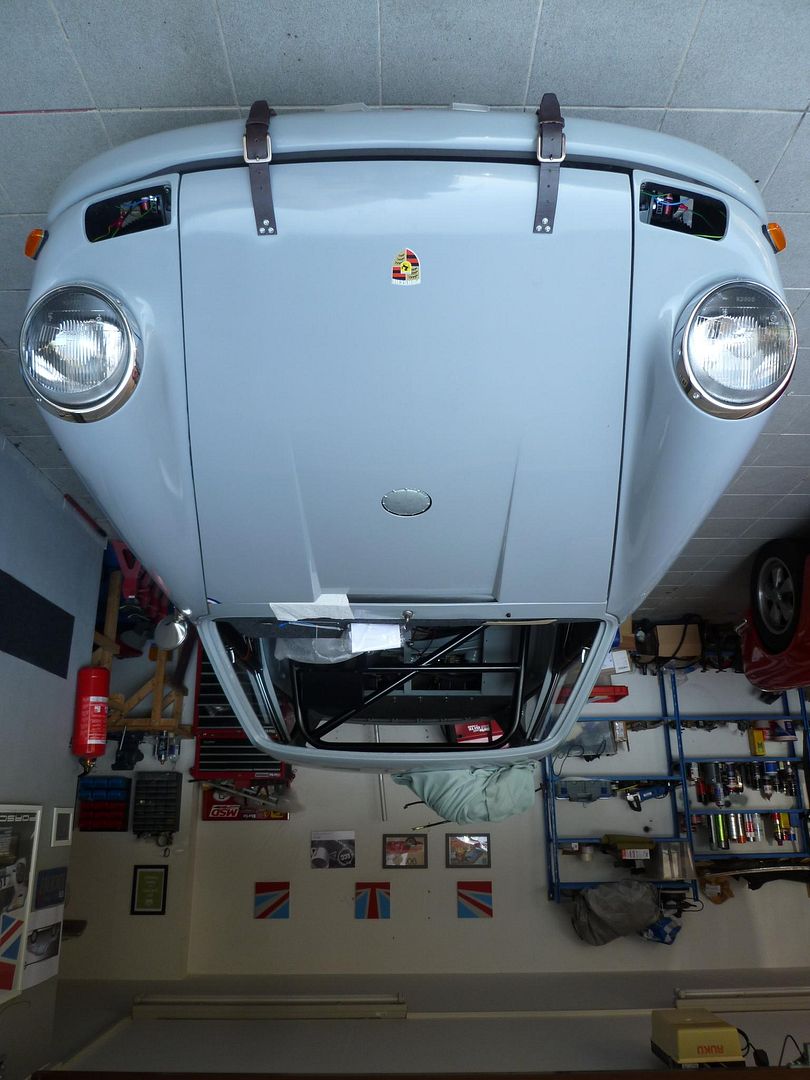
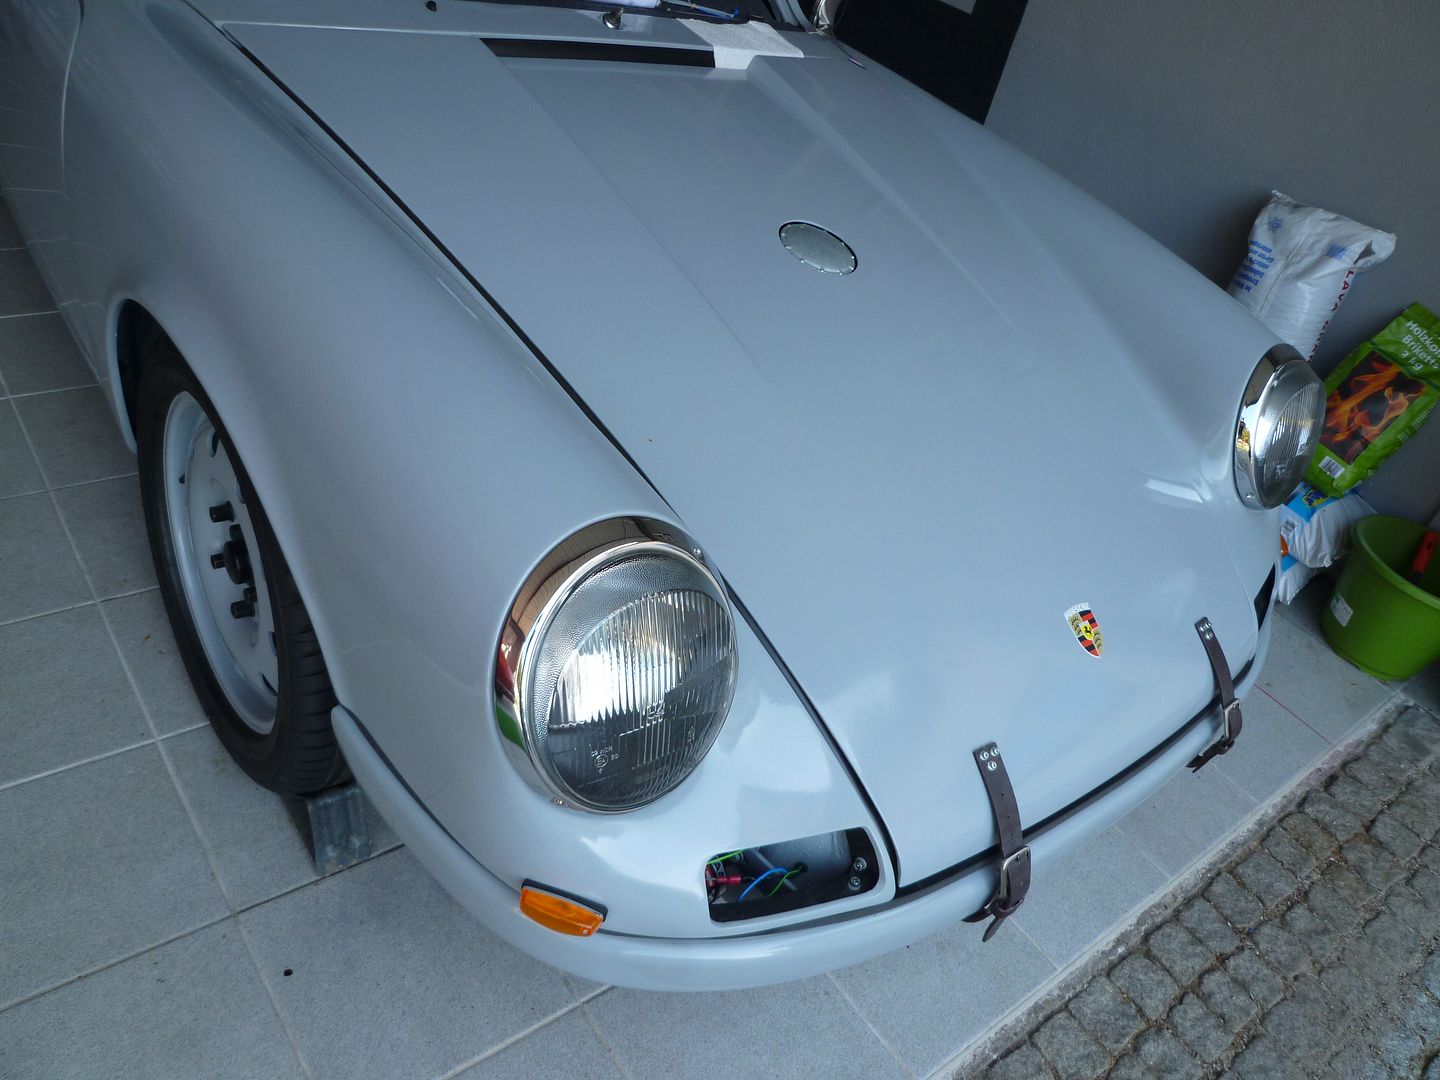
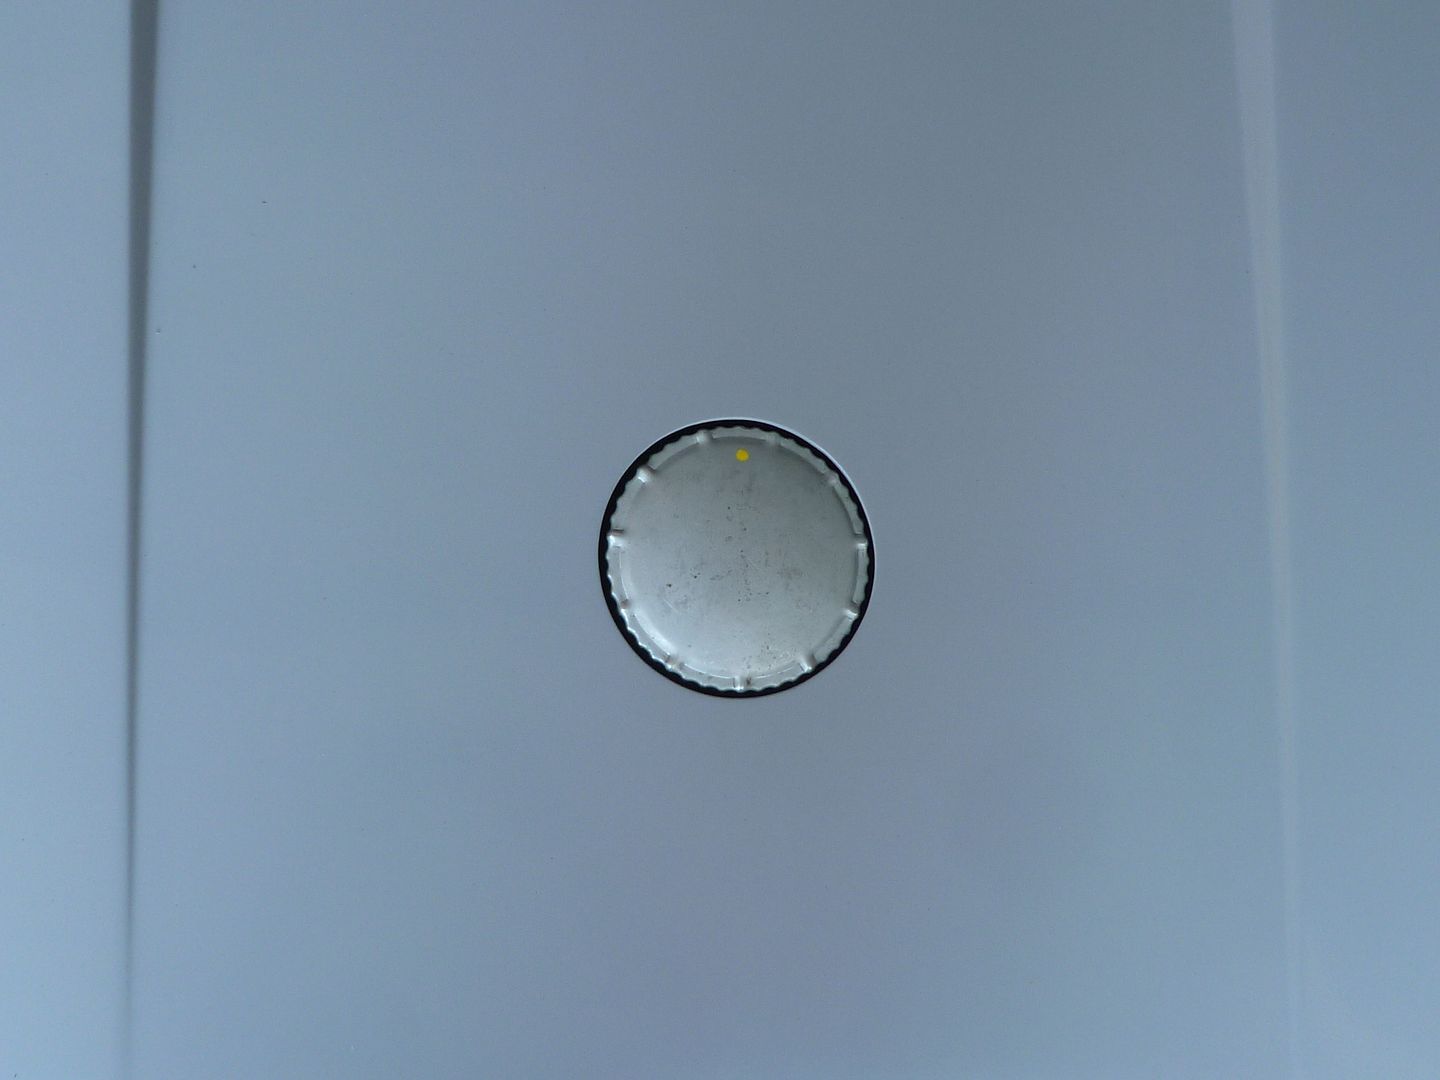
Petrol tank finally fitted, and thankfully it is still aligned with the bonnet hole.
   Made up a 'Clamp' to hold the spare wheel in place. Currently thinking of using the heavier 15-inch space saver to give some balance to the Lightweight front end. 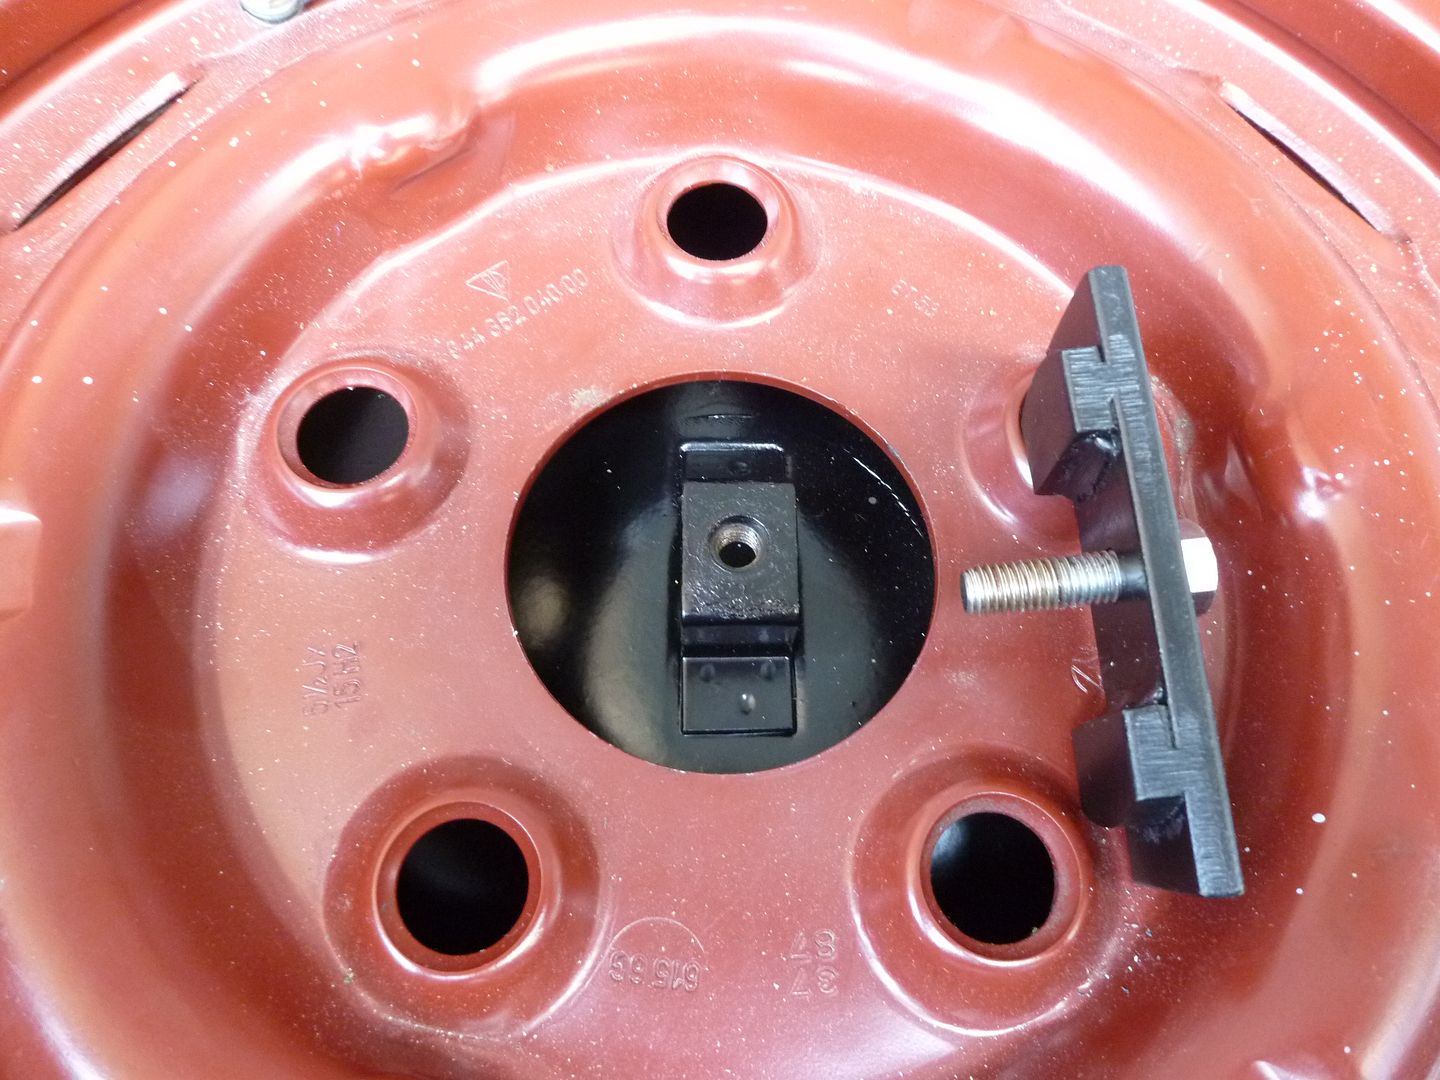 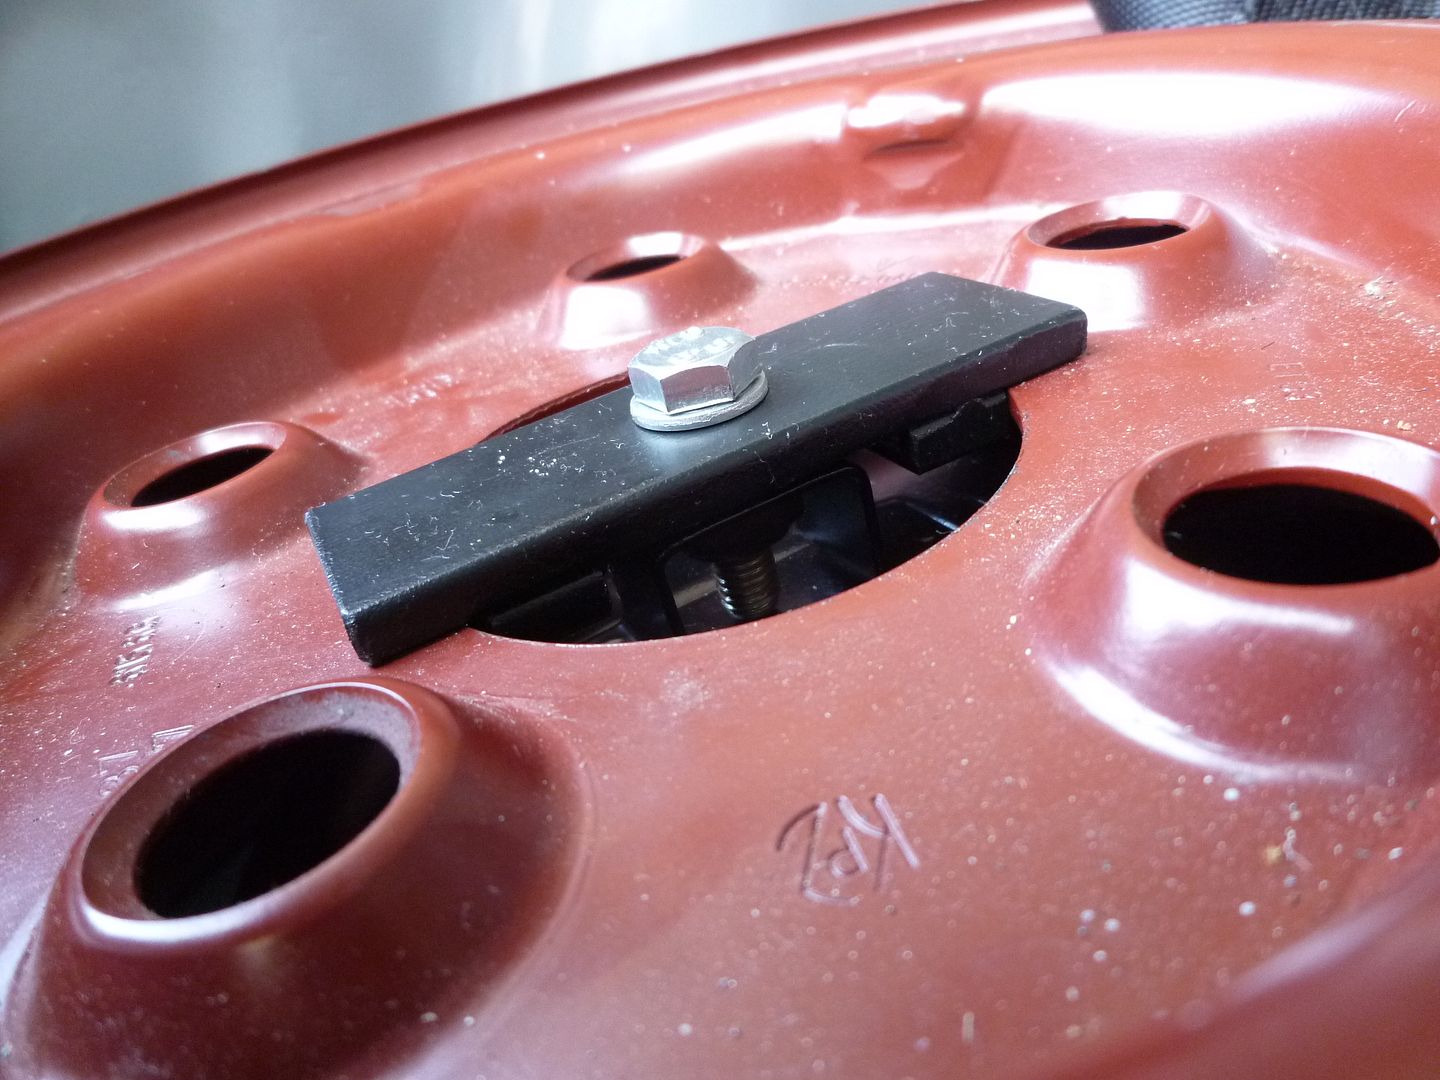 But couldn't resist making up a spare wheel/tool roll holder on a quiet Friday afternoon at work  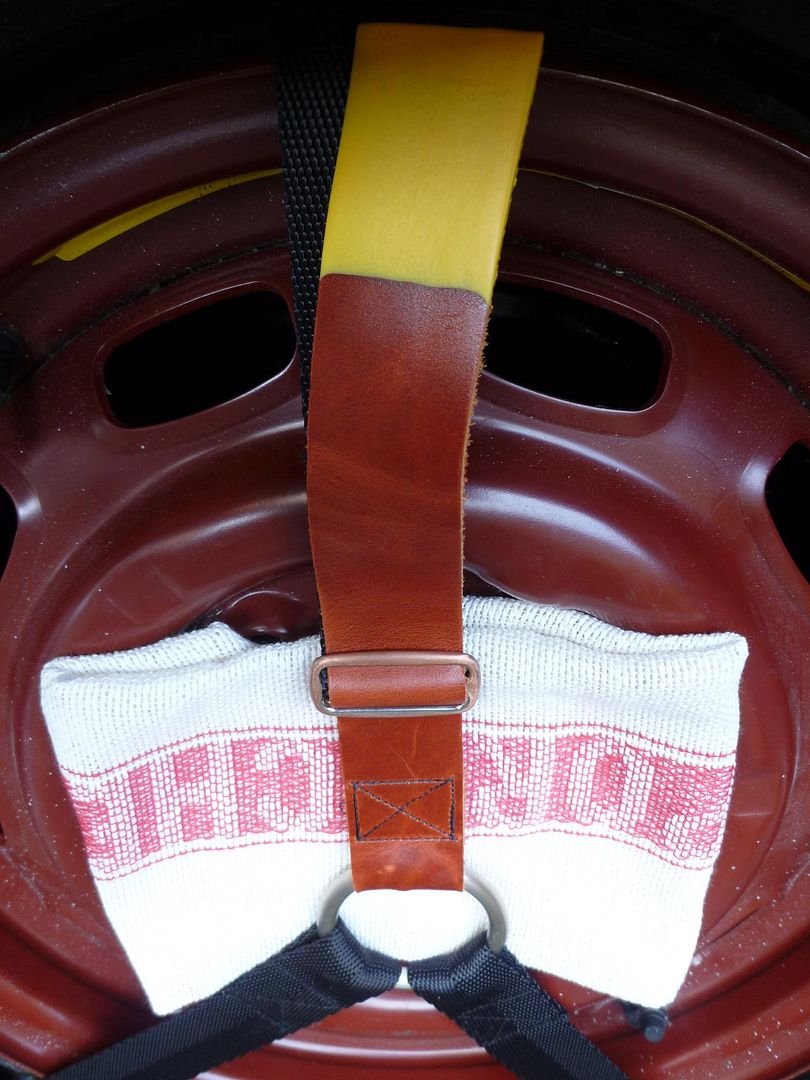 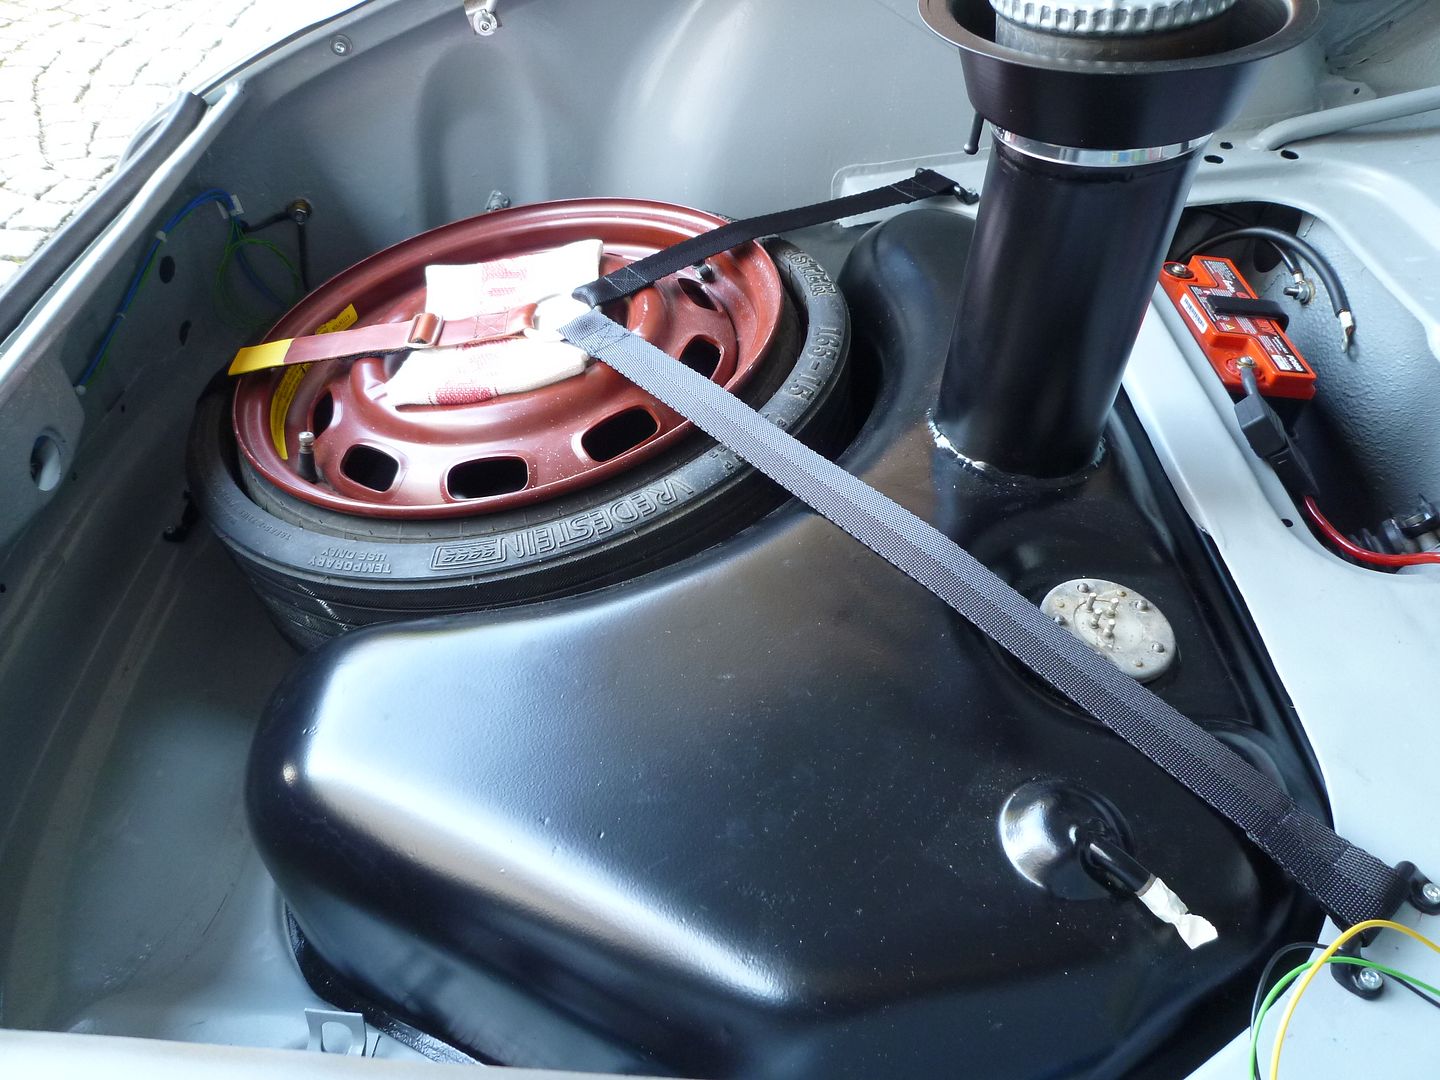 Chris Last edited by jury; 10-06-2013 at 02:02 AM.. |
||
|
|
|
|
Registered
|
Not quite in the Petrolicious league yet, but alittle teaser into a side project...
Chris |
||
|
|
|
|
Registered
|
Love it, oh and the Spa 6 hour video is pretty cool too :-)
Cheers Al
__________________
People are mushy - Paul Hawkins on the merits of where to crash on the Targa Florio |
||
|
|
|
|
Registered
Join Date: Mar 2005
Location: Spain
Posts: 765
|
Quote:
Was it easy to have this part made, cost? i ask since i am thinking of doing the same thing, and love the quality on the part, and the possiblity of having 2 made up with you there. Also like the bending tool for the lines, what brand is it? no wurth ? |
||
|
|
|