|
|
|
|
|
| Author |
|
|
Decode it.

|
AC Receiver Dryer - How does it attach!?!?!
Removing the front bumper has motivated me to do some deeper cleaning.
While I have the bumper off I'm going to concours level clean everything from the firewall forward. I will also replace any rubber that looks suspect. The car has about 36,000 miles on it but is 22 years old... Anyway, in digging into the front wheel well I needed to remove the AC receiver/dryer in order to clean behind it. Just pulling it away revealed tons of gravel and dirt, not to mention ancient cosmoline I want to remove. I figured out how to remove it: Unscrew the screw for it's bracket visible below it and then loosen the two screw style hose clamps. Once you do this you can slide the dryer down and off, revealing the bracket and it's upper most screw. This is where the problem lies: I also removed that screw, wanting to remove the bracket for cleaning. As soon as I did one of these fell out of the car:  The hole the screw went through is visible in the top of the picture below:  How the hell am I going to get that nut thingy back in there? There is no obvious access to the otherside of that sheet metal! This seems very wonky. I can't find any pictures or diagrams in the forums or parts diagrams that help. Does anyone have a reference or pictures? Are all 911s with AC systems like this?
__________________
'88 Porsche 911 Coupe - Venetian Blau ║ '78 Mustard FJ40 "Uglina" ║ '87 BMW 529i "Maytag" ║ '87 BMW 535is "Vlad" ║ '85 BMW 528i S54 "Minerva"
|
||
 06-02-2010, 08:15 PM
|
|
|
Registered
|
I am going to guess that the PO stripped and oversized the top hole and fished in the speed clip to fasten the dryer in place, if you can't get the clip on the back side you should be able to just go with a larger screw in the oversized hole.
I don't believe speed clip is stock, but I could be wrong. |
||
|
06-02-2010, 10:00 PM
|
|
|
Decode it.
|
Quote:
It is POSSIBLE that he had AC work done that would have required the dryer to be removed between 1988 and 1997 but highly unlikely. In any case, even if the PO had stripped and oversized the hole how did HE get the clip on? There's no way to get to the back side!!!
__________________
'88 Porsche 911 Coupe - Venetian Blau ║ '78 Mustard FJ40 "Uglina" ║ '87 BMW 529i "Maytag" ║ '87 BMW 535is "Vlad" ║ '85 BMW 528i S54 "Minerva"
|
||
|
06-02-2010, 10:37 PM
|
|
|
Registered

|
You don't have to use the original holes; fill them with your favorite patch.
Drill new holes adjacent to the old ones: left, right, up or down. So long as you can move the hoses over to the drier. Attach the vertical support strap. Attach the drier with new hose clamps. Hopefully you are installing new hoses. Here is a shot of a typical unit installed: 
|
||
|
06-03-2010, 02:47 PM
|
|
|
Decode it.
|
Quote:
Next question: What are examples of "favorite patch" techniques? I may just do a new top hole...
__________________
'88 Porsche 911 Coupe - Venetian Blau ║ '78 Mustard FJ40 "Uglina" ║ '87 BMW 529i "Maytag" ║ '87 BMW 535is "Vlad" ║ '85 BMW 528i S54 "Minerva"
|
||
|
06-03-2010, 03:00 PM
|
|
|
Registered
|
Favorite patch? hmmmmm. Well, unless you want to grind, weld, grind, sand, prime and paint, I'd say clean the area thoroughly, insure the metal edges in the inner diameter of the hole are not bare (prime and paint), lightly ruf (lol) up the surface around the hole with some grit paper and apply a polyurethane thinner based patch; anything that will bond to the surface and prevent moisture from getting on the other side of the hole. I'm not an expert on body work so I'd recommend you browse the forum here and see what others have done. Otherwise if want to keep the hole you'll need a rather large sheet metal screw or self tapping bolt (another idea already mentioned which maybe simpler and effective).
|
||
|
06-04-2010, 07:45 AM
|
|

|
|
Decode it.
|
If i were to fill this hole with JB Weld and then re-drill it, would it hold?
__________________
'88 Porsche 911 Coupe - Venetian Blau ║ '78 Mustard FJ40 "Uglina" ║ '87 BMW 529i "Maytag" ║ '87 BMW 535is "Vlad" ║ '85 BMW 528i S54 "Minerva"
|
||
|
06-04-2010, 04:54 PM
|
|
|
Registered
|
Perhaps a simple way would be to insert a plastic screw anchor like used to attach screws in drywall and use the original screw. It should hold well and will be hidden by the strap.
|
||
|
06-04-2010, 05:49 PM
|
|
|
Get off my lawn!
|
You might use JB weld to patch the hole but I would never expect it to hold up the the vibration of driving. Just my opinion.
__________________
Glen 49 Year member of the Porsche Club of America 1985 911 Carrera; 2017 Macan 1986 El Camino with Fuel Injected 350 Crate Engine My Motto: I will never be too old to have a happy childhood! |
||
|
06-04-2010, 06:01 PM
|
|
|
Registered
|
1) fix and patch the hole.
2) take the drier bracket and attach it to the lower hole 3) swing the bracket left or right just enough to drill a new hole in the sheet metal, not the patched hole. Your done. |
||
|
06-04-2010, 06:05 PM
|
|
|
Decode it.
|
Done.
Here's how I did it. I found the following at a parts store.  I drilled a hole big enough for it, cleaned the hole, and then put a bit of POR15 in the hole and let it dry. Then I simply inserted the nut and used a small vice grip to hold the flange while I tightened the screw to cause the back to compress. Ta-da:  And the whole thing back together after untold hours of cleaning cosmoline. What a *****. 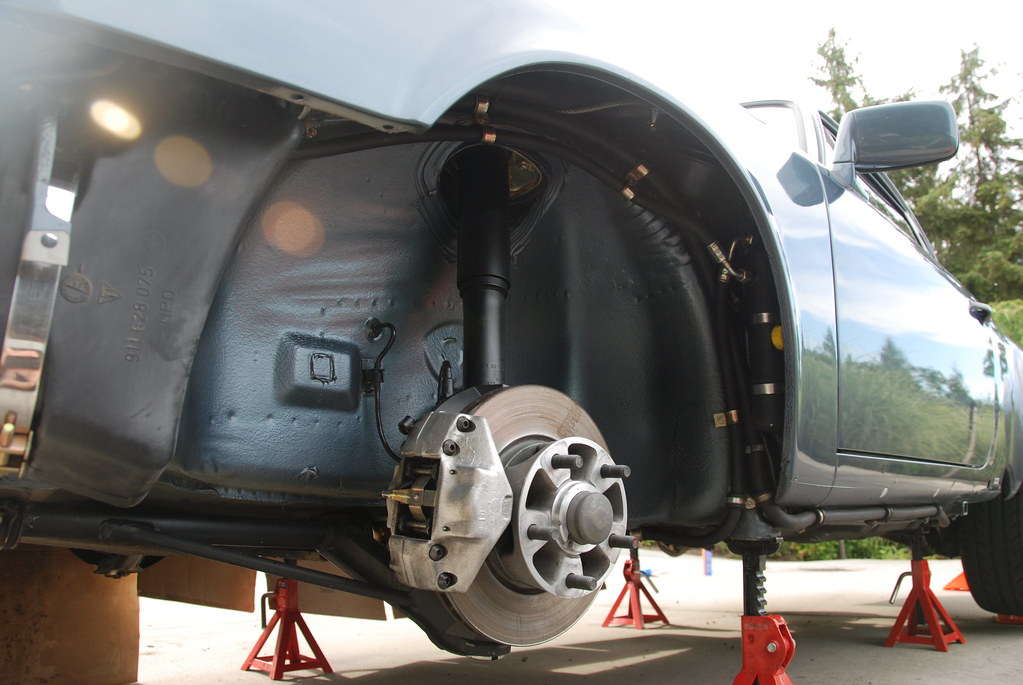
__________________
'88 Porsche 911 Coupe - Venetian Blau ║ '78 Mustard FJ40 "Uglina" ║ '87 BMW 529i "Maytag" ║ '87 BMW 535is "Vlad" ║ '85 BMW 528i S54 "Minerva"
|
||
|
06-06-2010, 12:10 AM
|
|


 1988 Porsche 911 Carrera
 1987 BMW 535is
 Porsche 911 Carrera Targa
 Porsche
 Carrera
