|
|
|
|
|
| Author |
|
|
Registered
Join Date: Feb 2011
Location: San Diego
Posts: 453
|
I am in full support of this!
Quote:
__________________
(kg/lb) |
||
 06-21-2022, 07:38 AM
|
|
|
Registered
Join Date: Aug 2009
Location: Costa Mesa, CA
Posts: 1,181
|
Been a bit distracted over the summer with the boat and a project there to redo the backstay chainplate with some titanium. Shouldn't have any rust stains with this but it has been a real pain to polish. Still not done but a few more hours with the 600 grit and it will be ready for install.
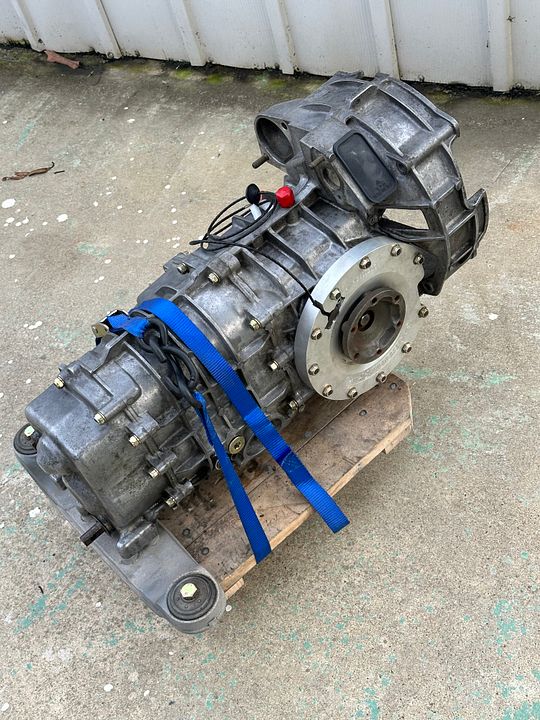
 I have made some more progress with the car also. Got the inner fender wells finished up.  Added an RSR dead pedal 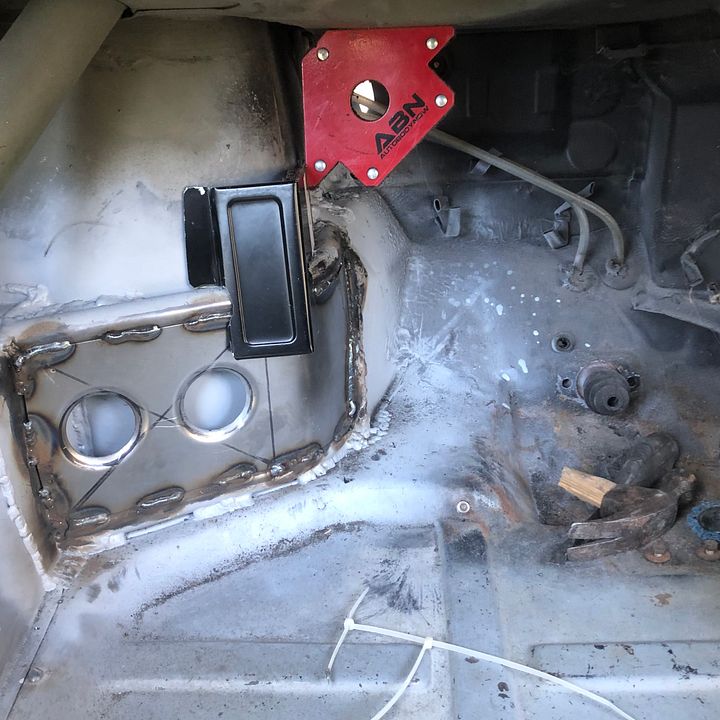 Decided it needed to meet the dimple dies. 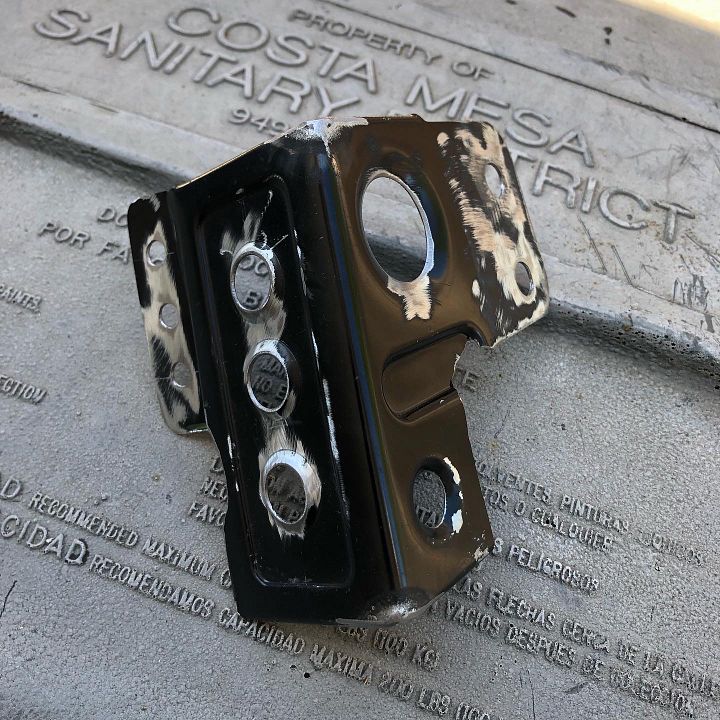 And the inner footwell strengthening is done. A bit more work required down here though to fit the hybrid 993/911 pedal cluster I am working on and fit the battery in the smugglers box.  and after 10 months waiting on diff parts, the trans is back from Tyson! 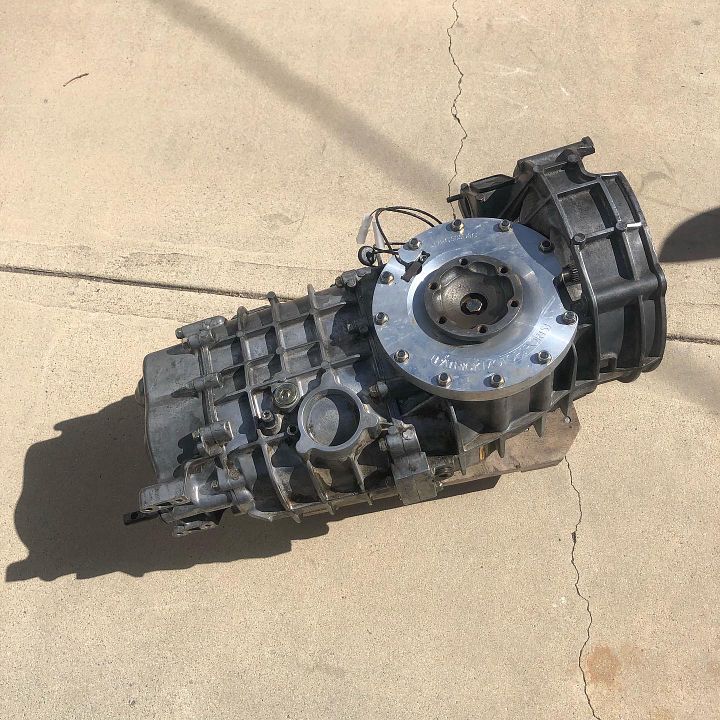 Guard diff went in, along with a billet shift fork, the billet side cover, steel/carbon synchro on 1-2 and new brass the rest of the way through. On advice from Tyson I am going to add a lube pump and GT3 filter for the gear oil to preserve the gears and bearings from the diff plate material. 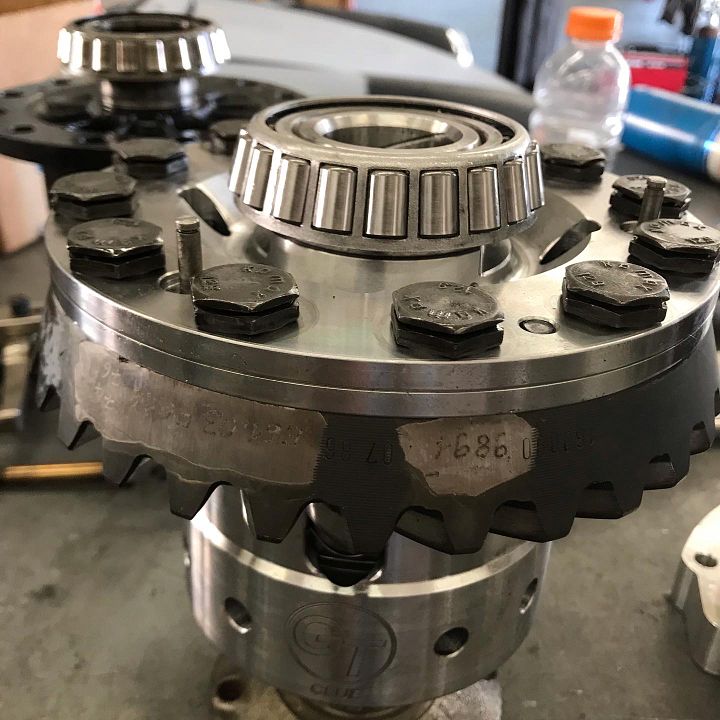 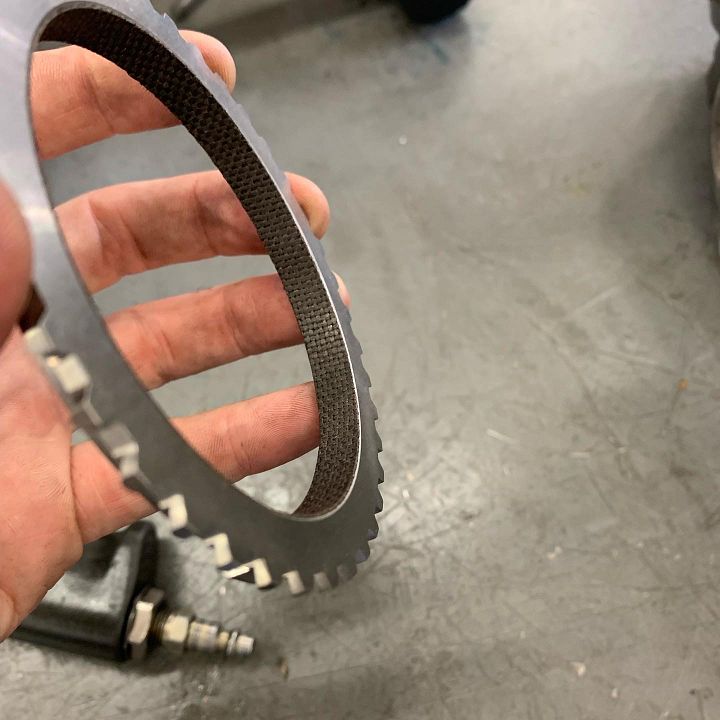 Hopefully this g50 proves durable because it certainly isn't the light weight or budget option. 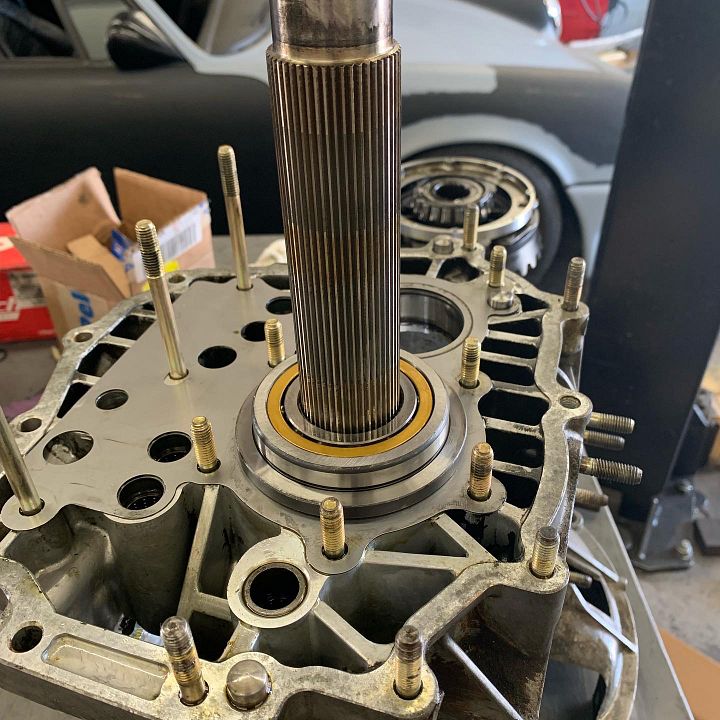
|
||
|
10-01-2022, 09:14 PM
|
|
|
Registered
Join Date: Aug 2009
Location: Costa Mesa, CA
Posts: 1,181
|
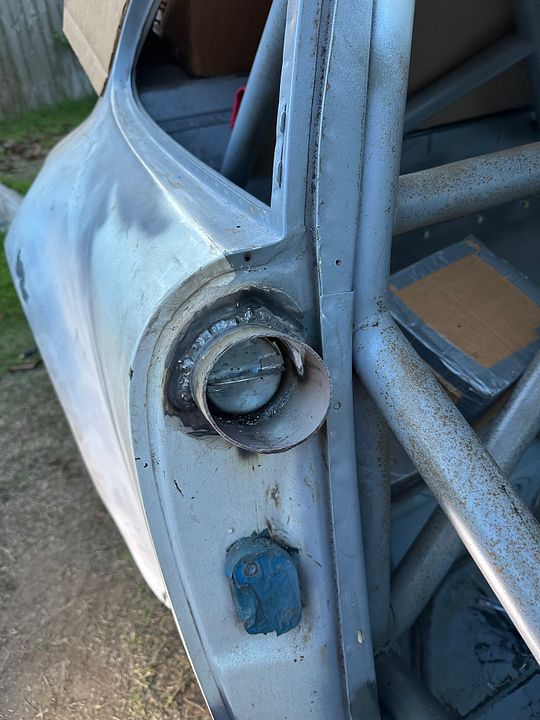
Started the modifications and fitting of the 993 oil tank.
Adapting everything to AN-16 fittings, remote 964 oil filter, through door jam filler, and normal early 911 thermostat that will be in the smuggler's box area. Machined up a custom sleeve for the 993 drain plug that normally lives in the 993 thermostat. Should be pretty cool to have an o-ringed drain plug making it easy to drain the tank without getting any on your hand.  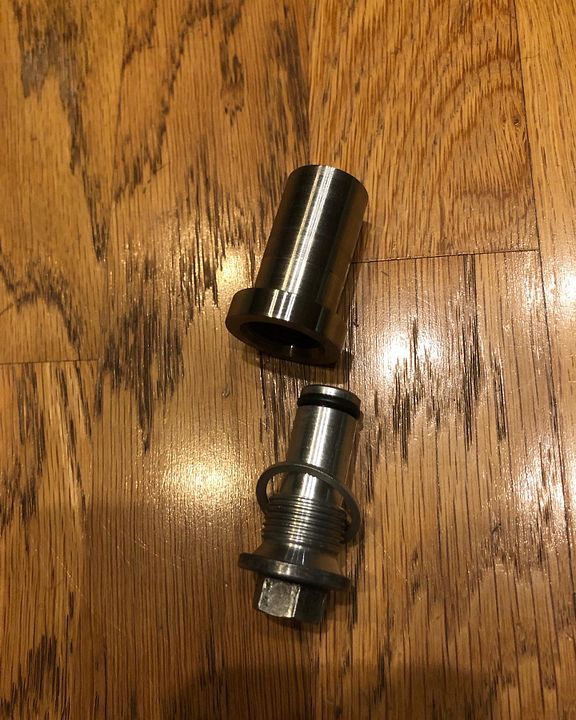 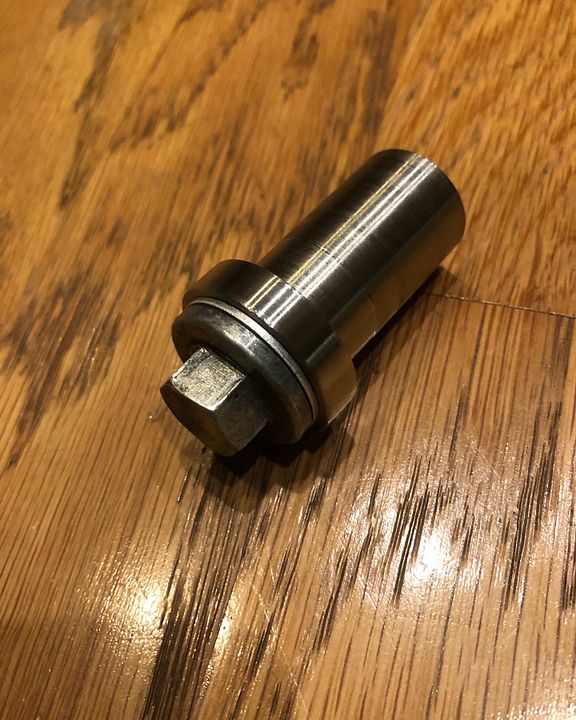 Silver soldered into the tank. 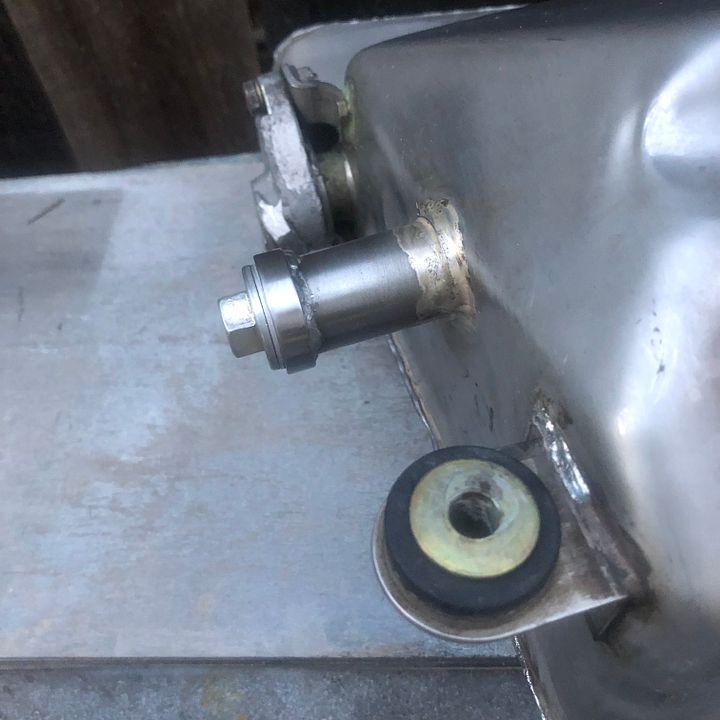 Original fill hole plugged and AN bung soldered onto the suction line outlet. 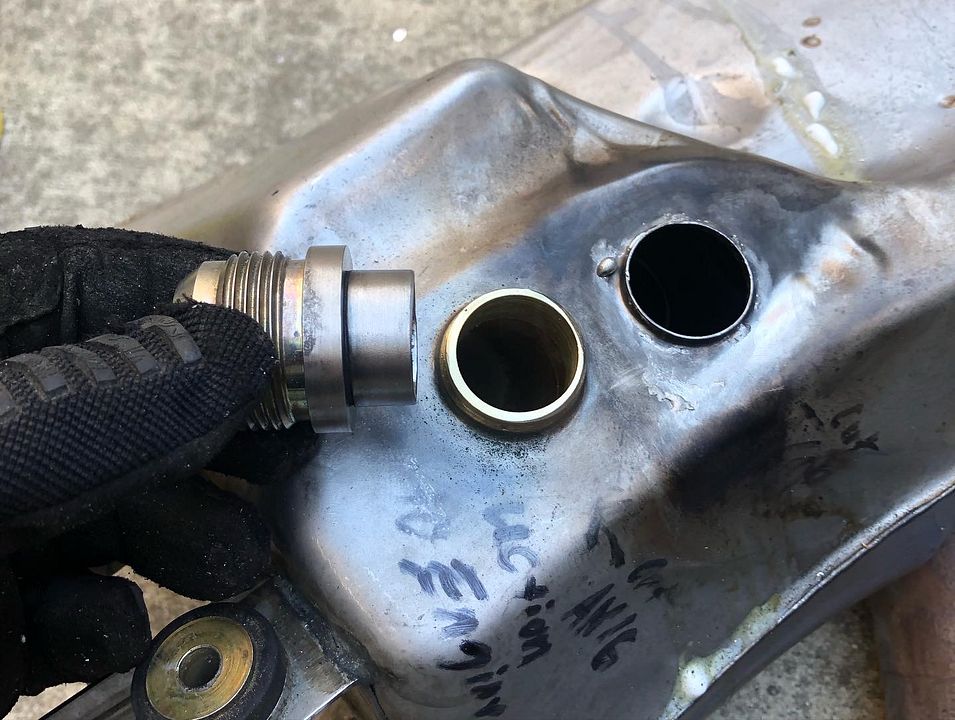  New filler cap fitting 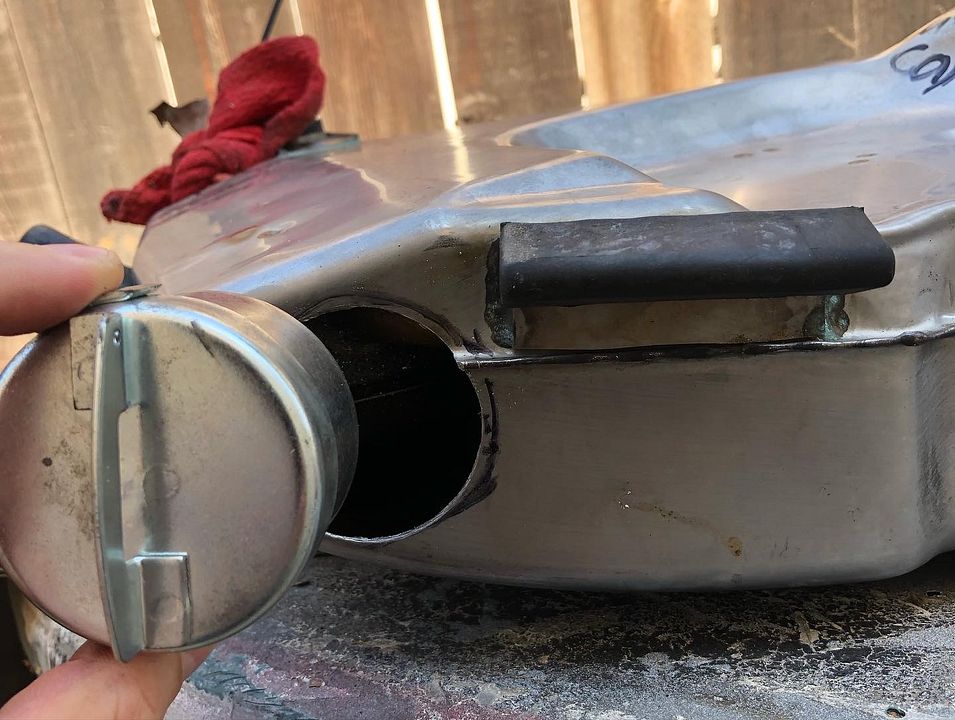 Next step is to get it mounted permanently in the car to get the fame rail pass though hole in the right spot and fit the hole in the door jam before soldering in the new filler neck. 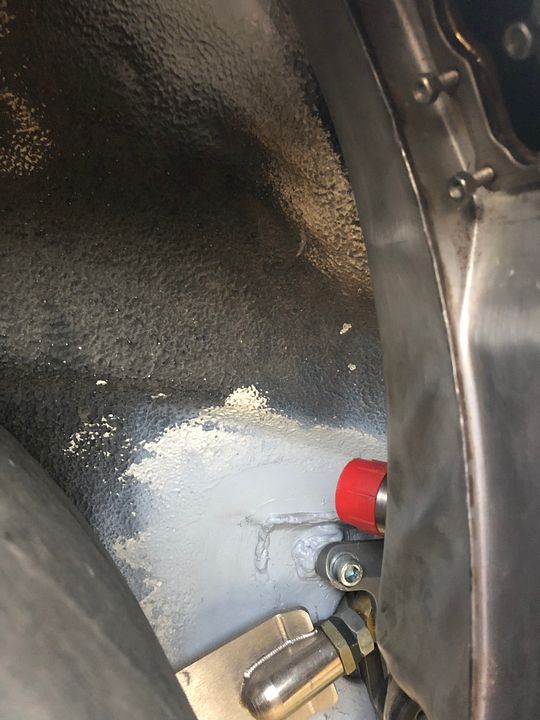 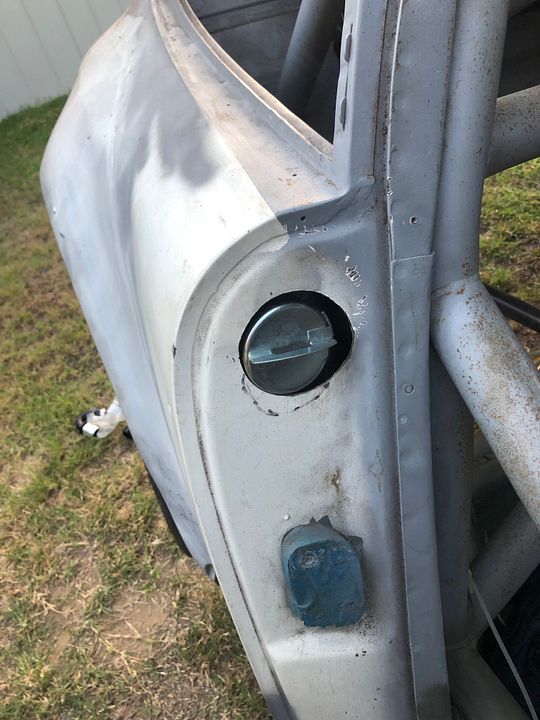
|
||
|
10-16-2022, 07:38 PM
|
|
|
scumbag
|
Looks great!
I like the door-jamb-filler for the oil.
__________________
My first Porsche - http://forums.pelicanparts.com/porsche-911-technical-forum/989493-my-low-budget-dream-car-build.html AchtungKraft #009 - IG: @doktor_b |
||
|
10-17-2022, 03:28 AM
|
|
|
Registered
Join Date: Aug 2009
Location: Costa Mesa, CA
Posts: 1,181
|
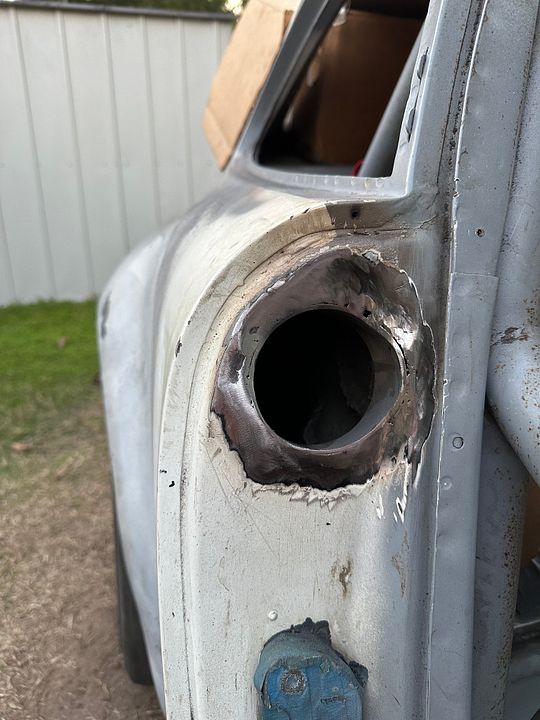
Nearly another year has gone by, would you look at that. I have made a little progress though despite a wet winter and too many other distractions.
Now being at least half way to the other side of it, I don't recommend doing a 993 oil tank or at least how I have done it........... So much work. Cut a big hole in the chassis. 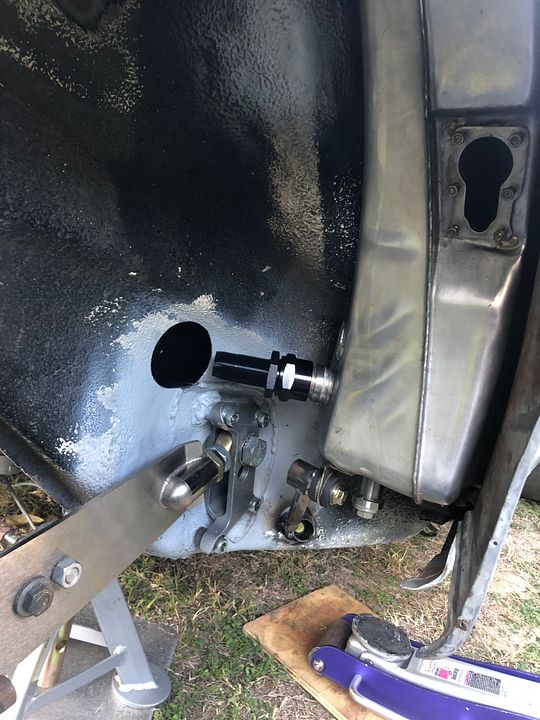 And then make it MUCH bigger. 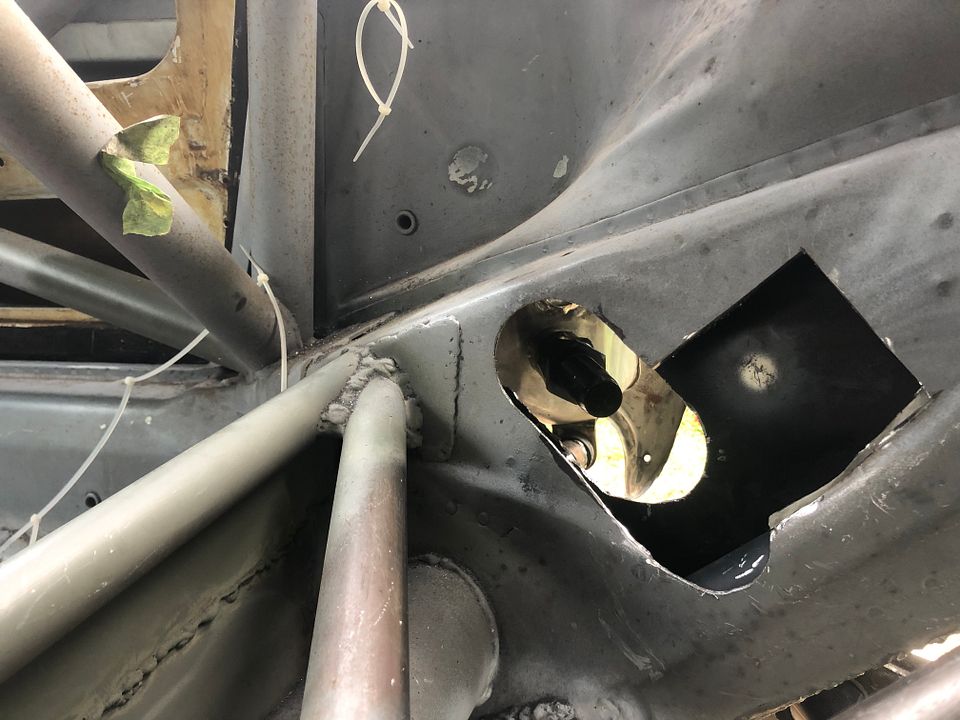 Fit some NASCAR boom tube exhaust tubing. 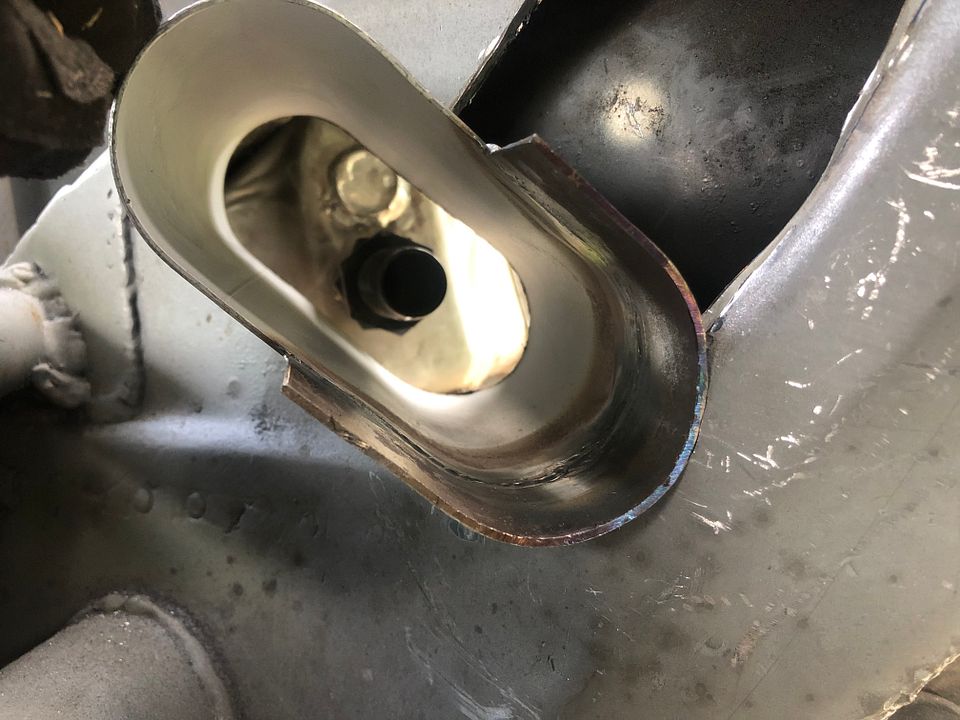 Do a lot of welding 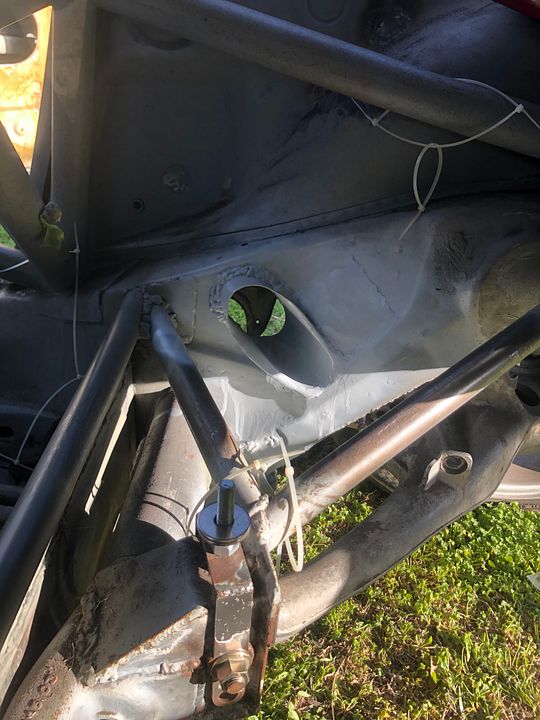 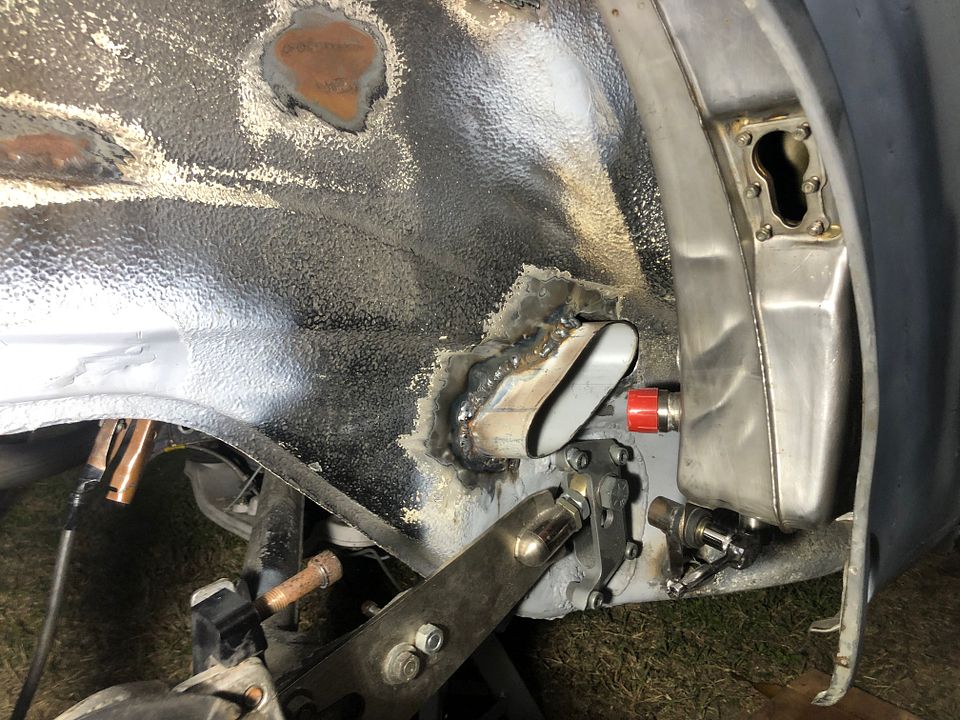 Trim some more, make a hard line...... hey this might work! 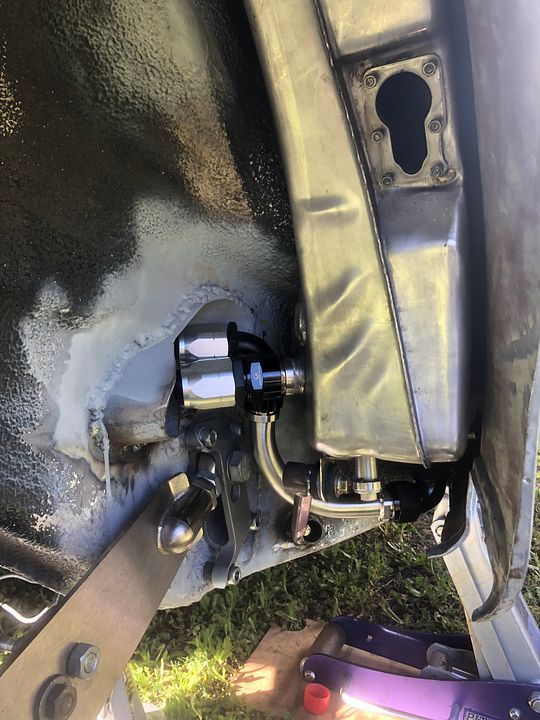 Finish silver soldering on the new filler after aligning everything..... got to do this twice as I had it clocked incorrectly the first time. The cap has to be in the horizontal position to clear the door. 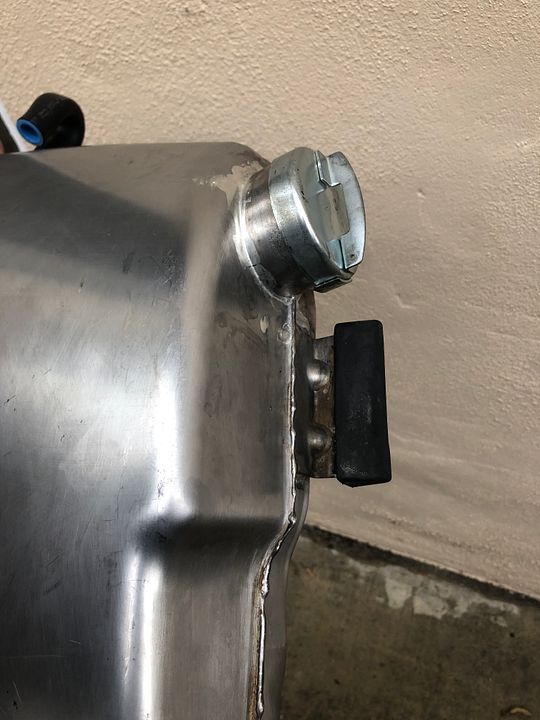 Can't locate where to put the bulkhead fittings in the rear firewall without oil lines. So bend up some stainless tubing. 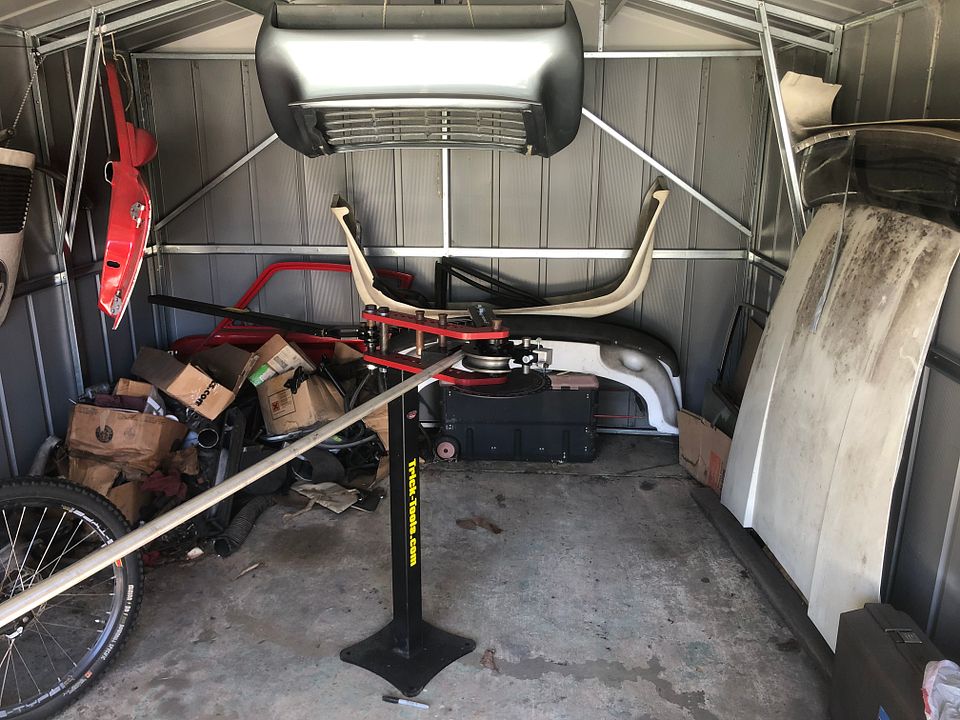
|
||
|
09-23-2023, 11:30 PM
|
|
|
Registered
Join Date: Aug 2009
Location: Costa Mesa, CA
Posts: 1,181
|
But now to fit a full size battery in the smugglers box sideways gets tight..... do have to figure that out.
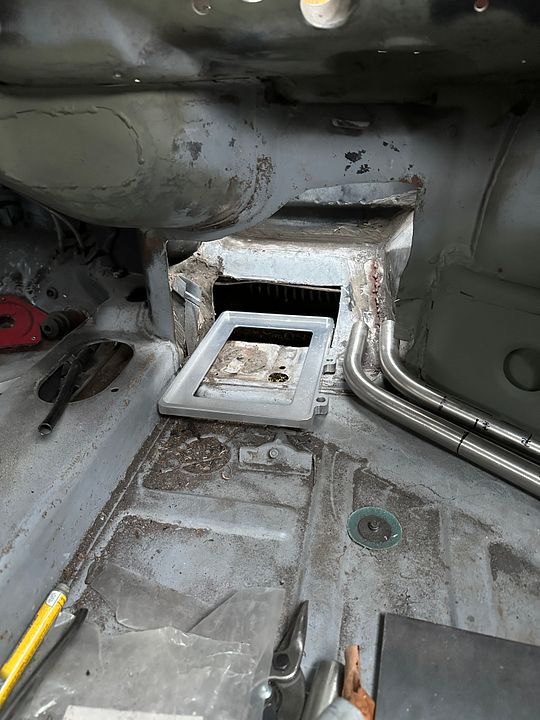 Do some trimming on the Ebay battery box. 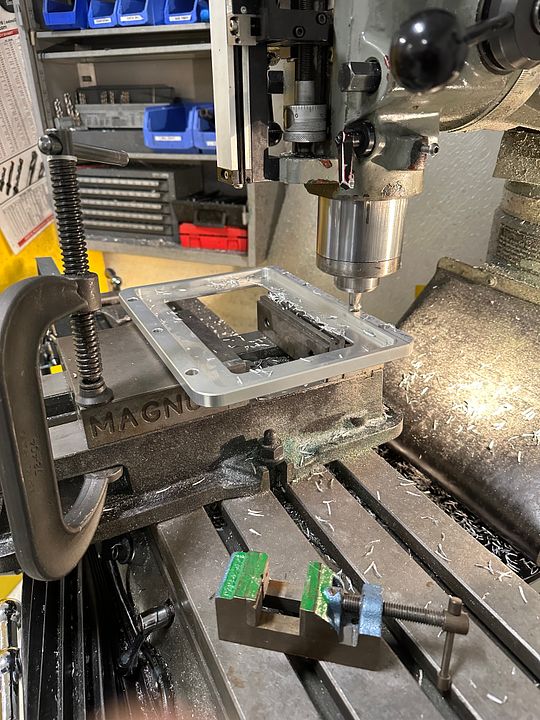 Cut another giant hole. 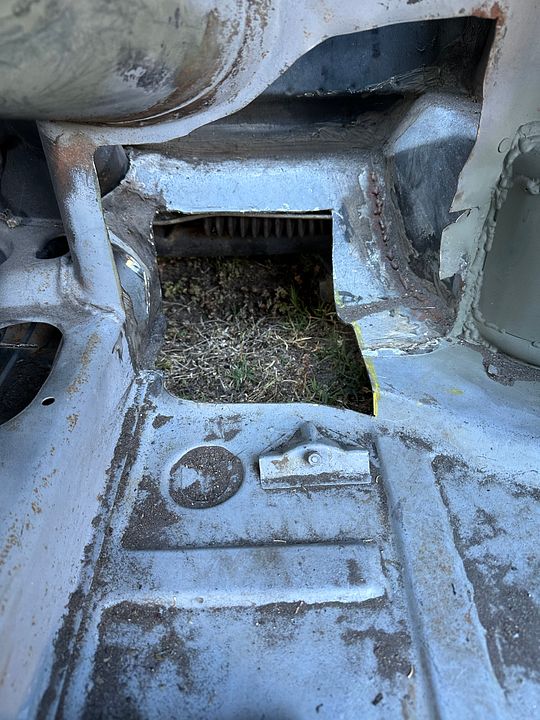 Make a metal shoe to fill the hole. 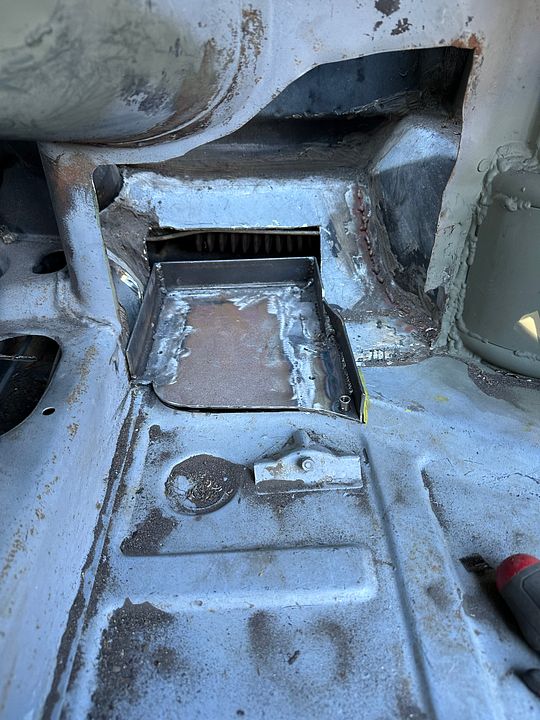 Finally getting somewhere. 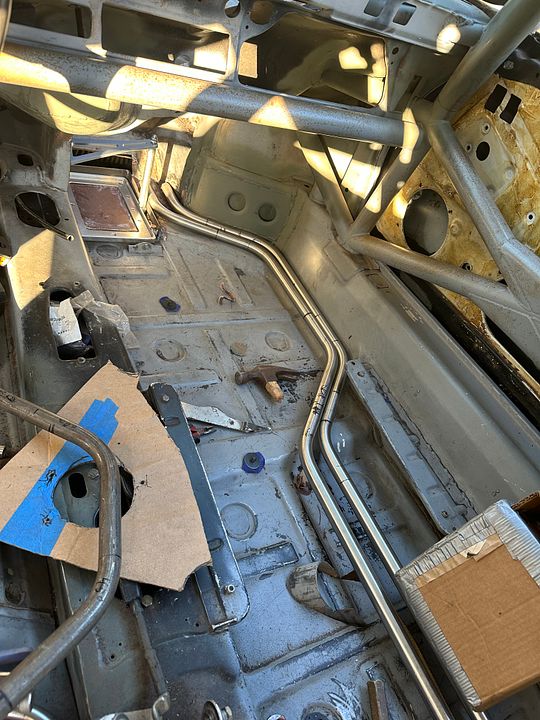 Back on the other end finish messing with the 964 oil filter console bracket. 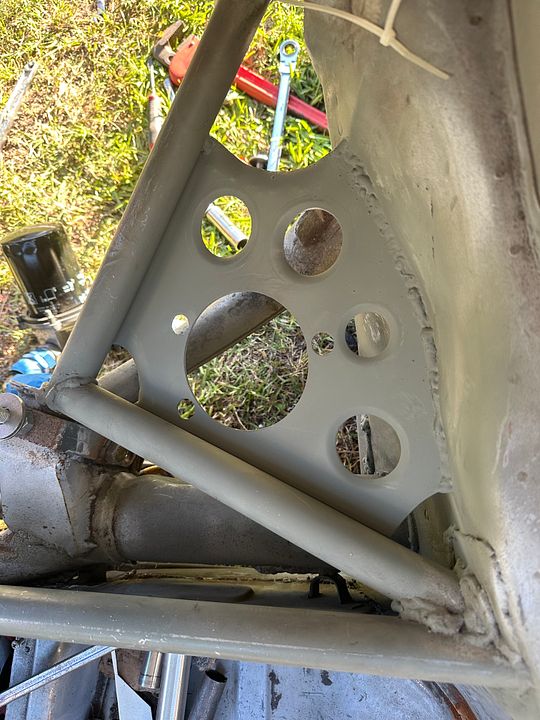 And now I can almost go back to finishing closing up the back seat area that I cut out oh so long ago! 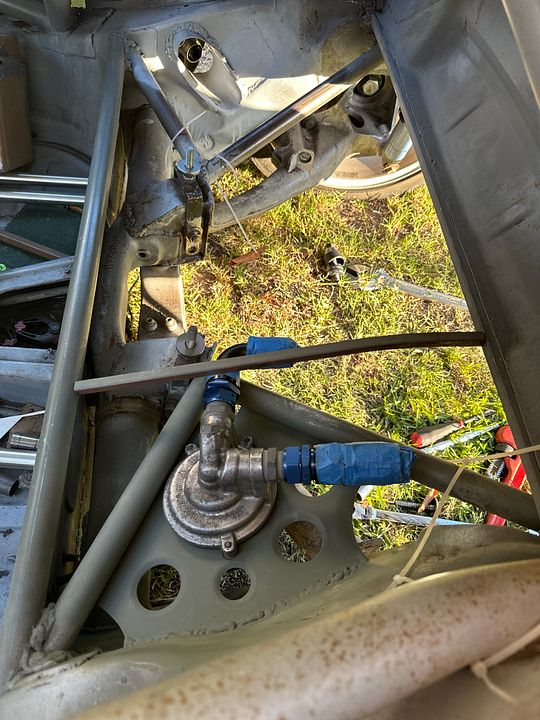
|
||
|
09-23-2023, 11:30 PM
|
|

|
|
Registered
Join Date: Aug 2009
Location: Costa Mesa, CA
Posts: 1,181
|
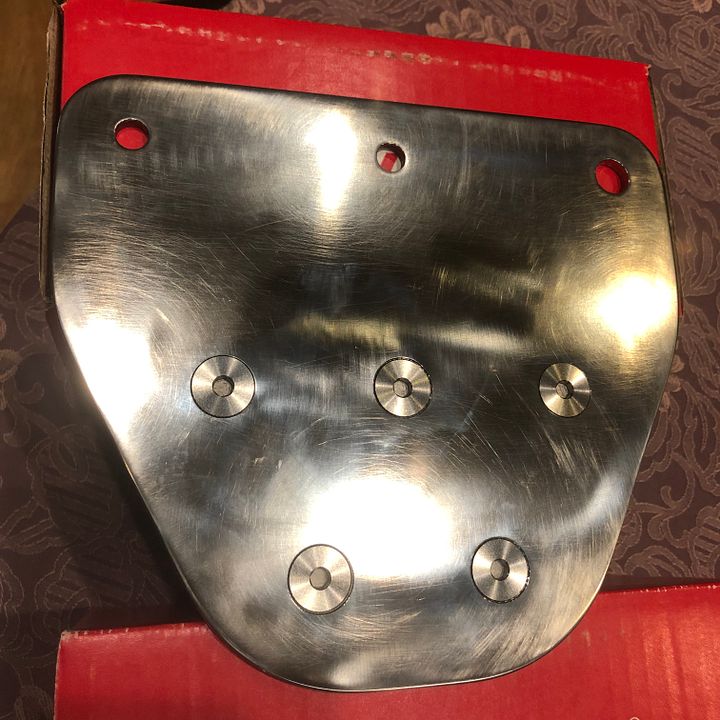
Finally almost done with the torque tube and rear suspension mounts.
I do love me some dimple died holes. 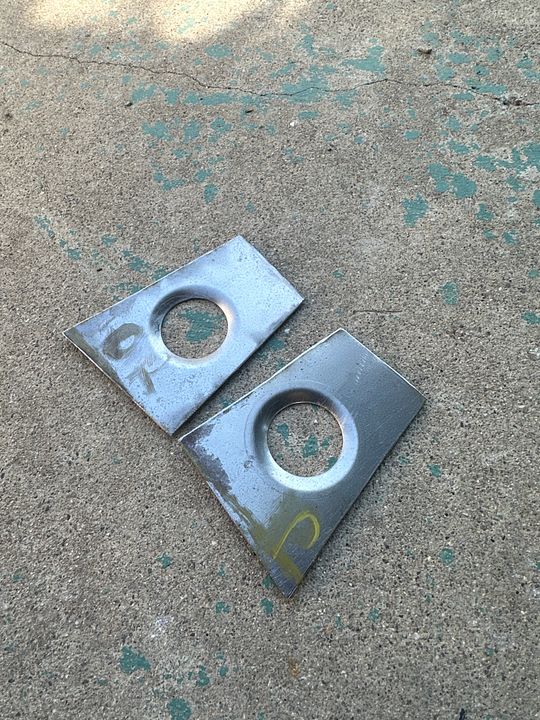 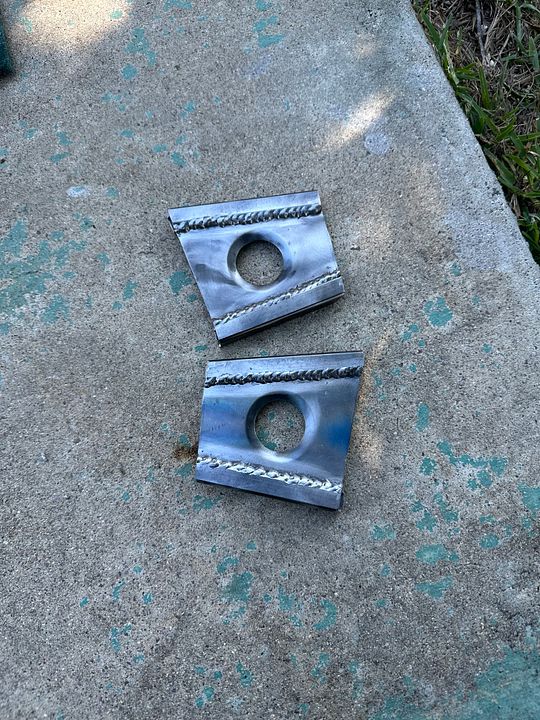 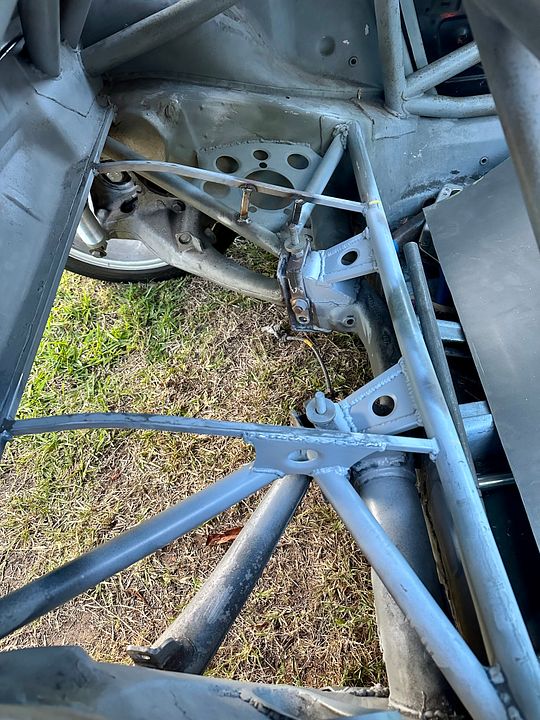 Soooo much welding. 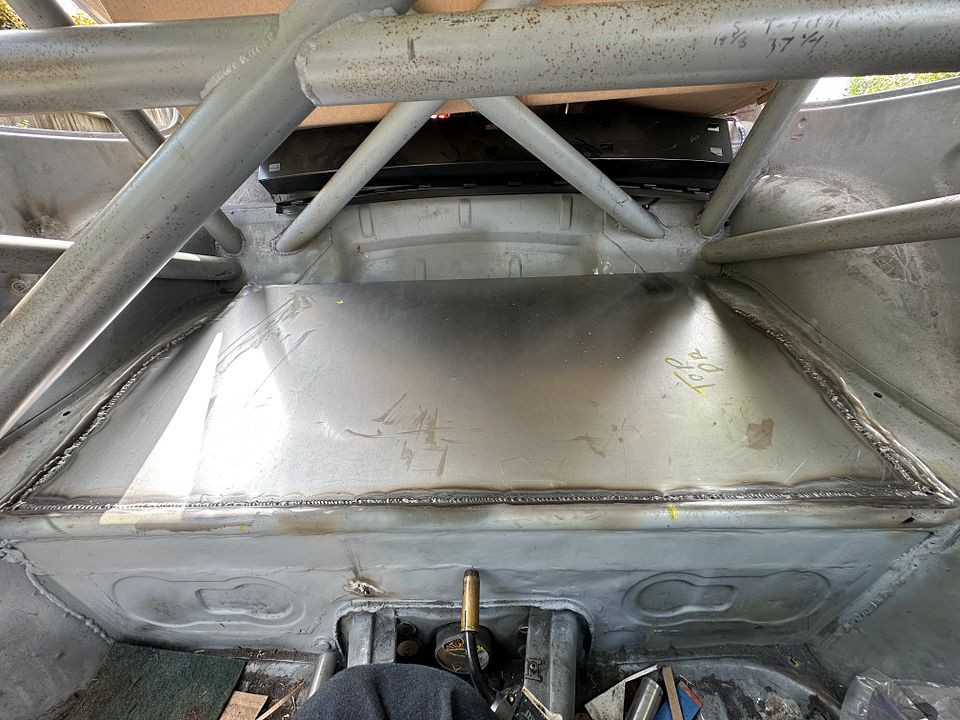 Just to cut big access holes again. 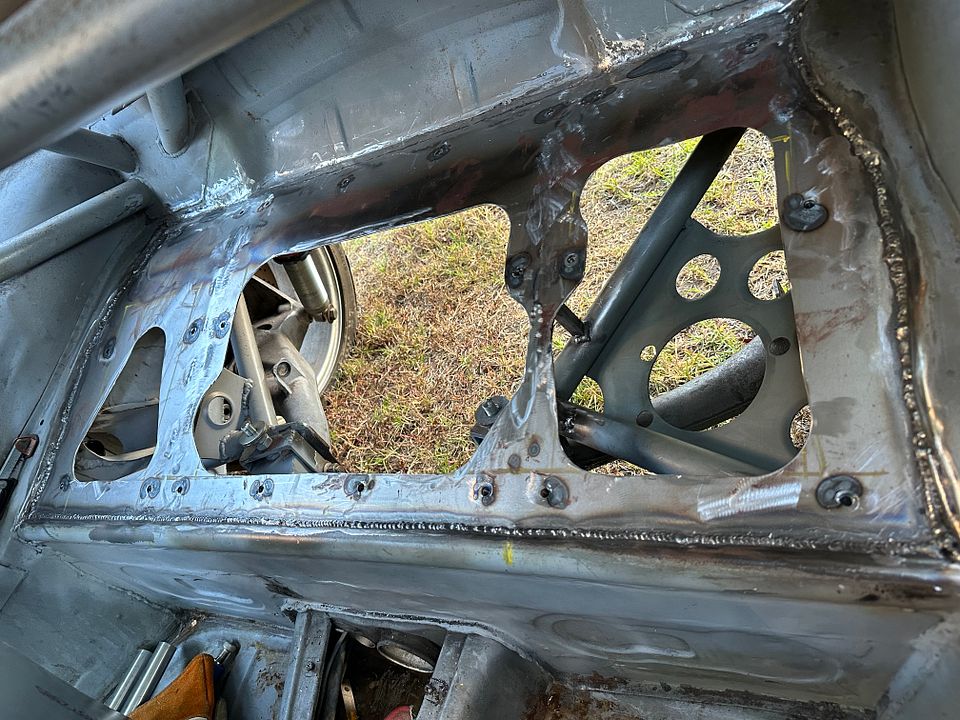 964 oil filter console fits still......... kinda. 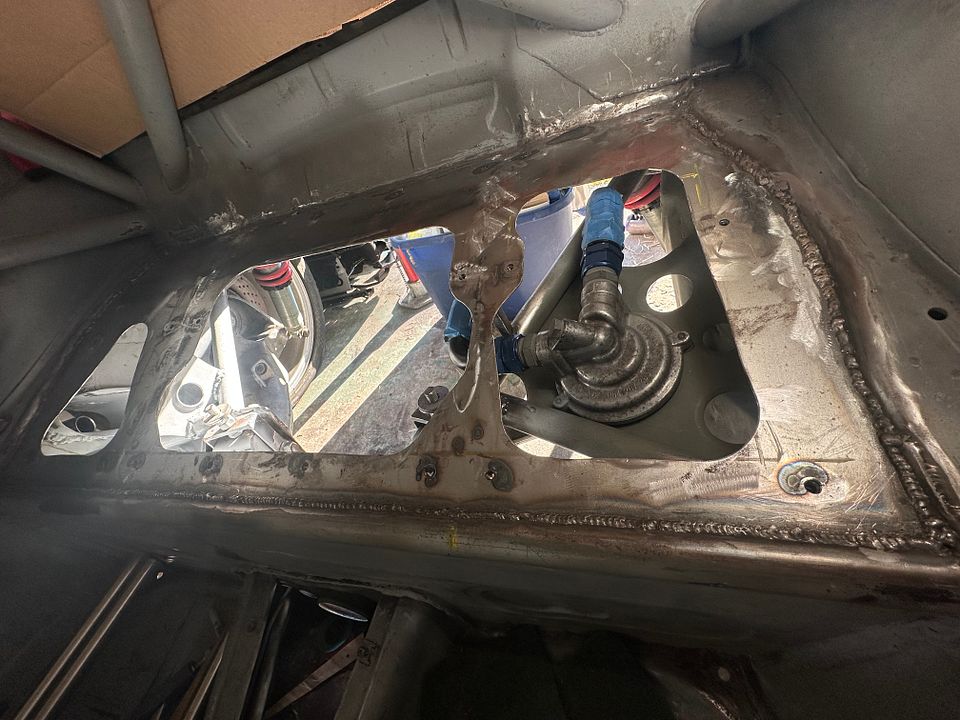 Rear seat delete panel round 2! Never underestimate how long it takes to trim and fit these panels and line up mounting holes........ it takes forever. 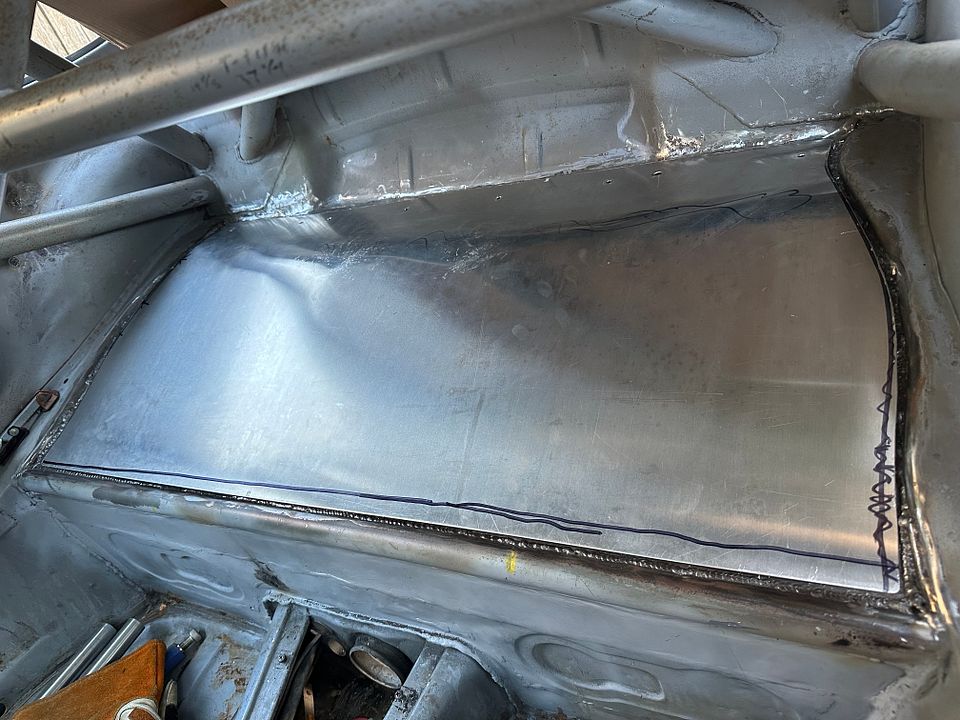 Extra clerancing required. 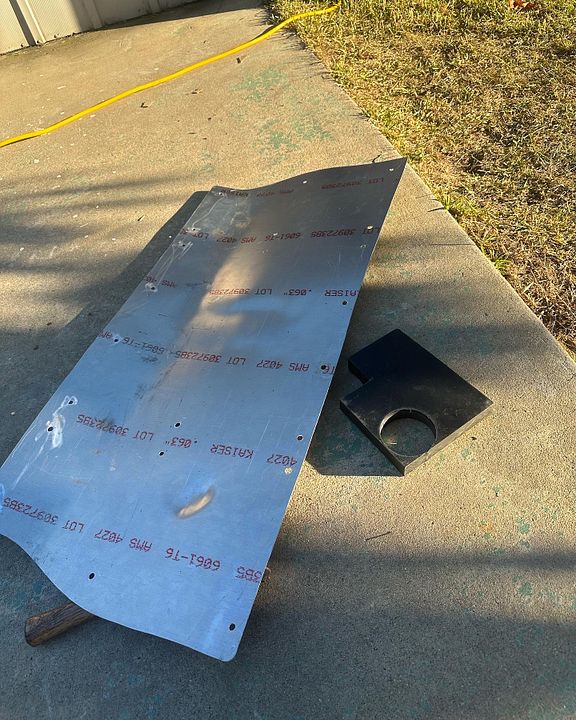 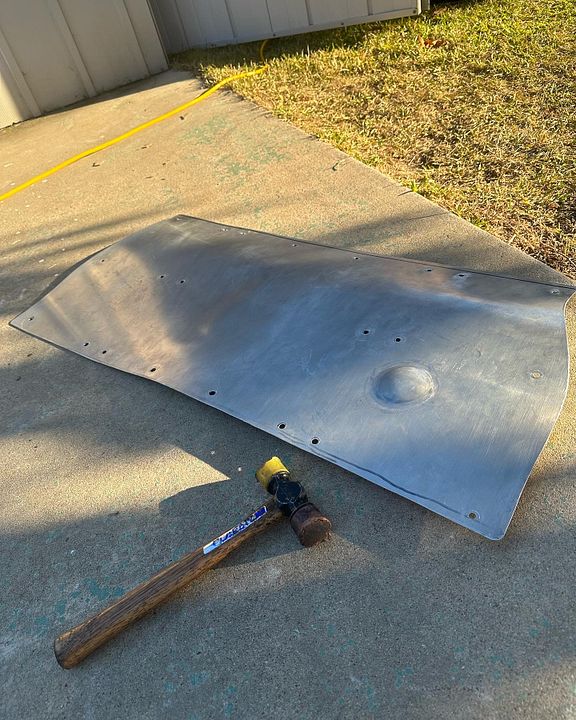 Finally done....... pending some titanium pan head bolts........ and maybe a carbon kevlar skin on the aluminum panel to try and cut down on the tinniness of it a little. 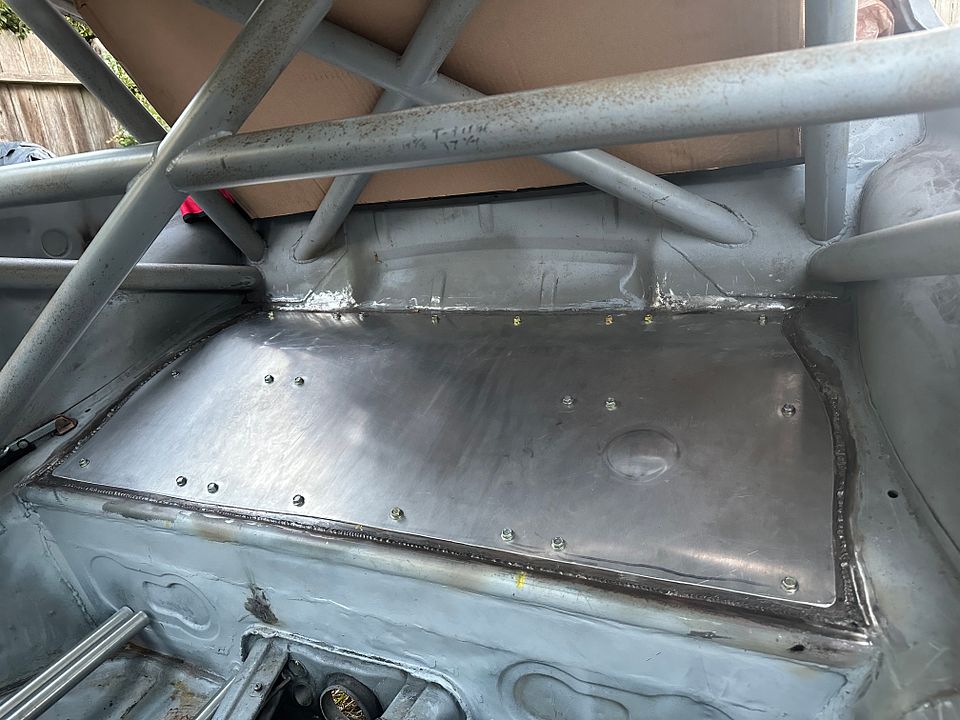
|
||
|
11-10-2023, 11:05 PM
|
|
|
Registered
Join Date: Nov 2017
Location: Houston, TX
Posts: 870
|
Make a few Xs with a bead roller to eliminate the tinnyness.
Sent from my Pixel 7 using Tapatalk |
||
|
11-11-2023, 05:19 AM
|
|
|
Registered
Join Date: Aug 2009
Location: Costa Mesa, CA
Posts: 1,181
|
Got myself some pin stands.
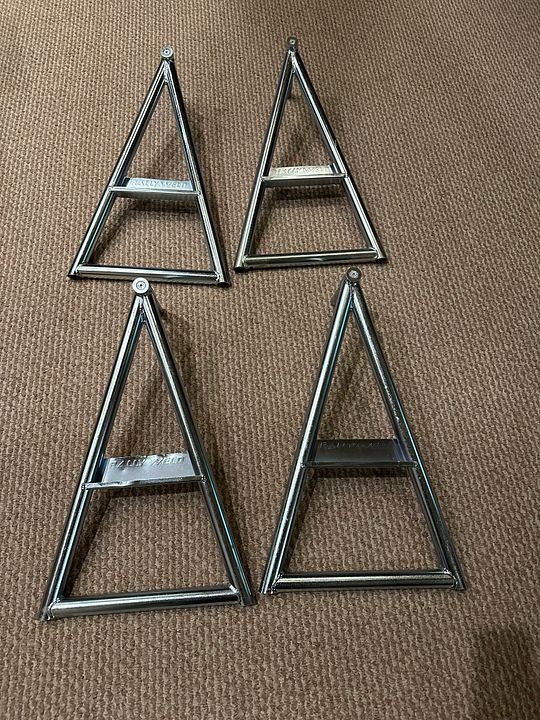 Had to make an extra long hole saw. 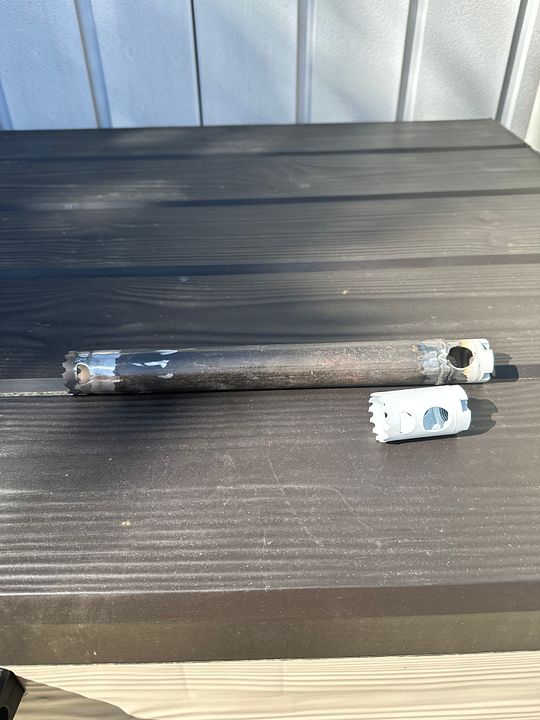 Just a few layer to drill through. 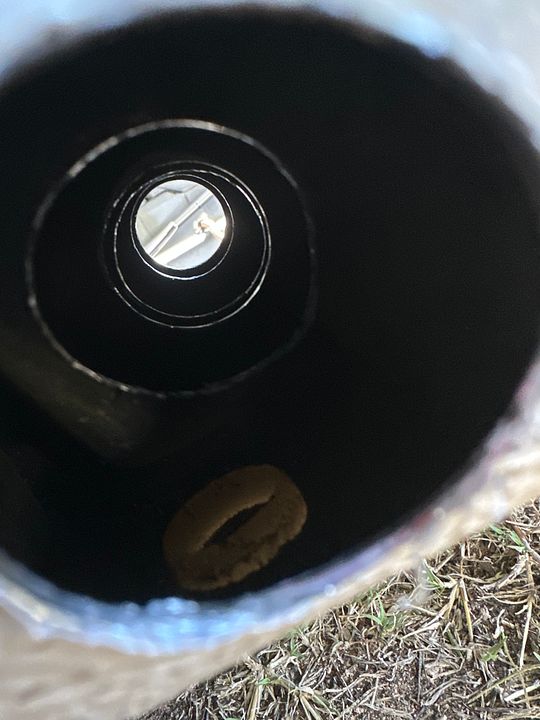 1.25 x .120 wall tubing goes in next. 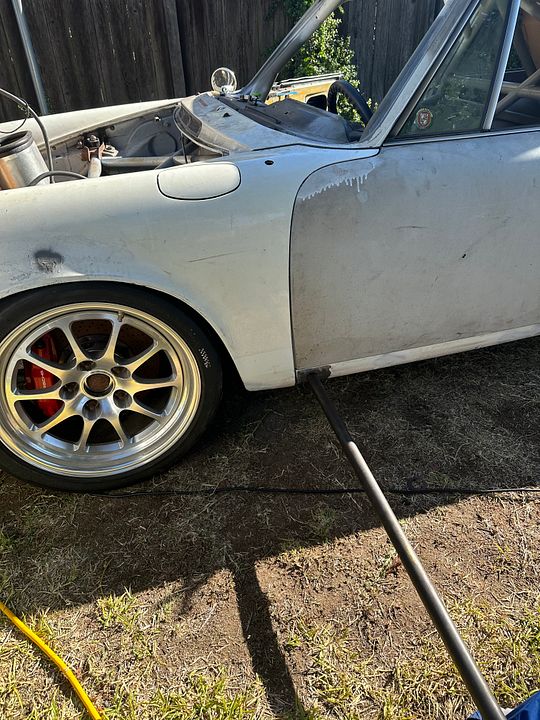 Lots of welding later. 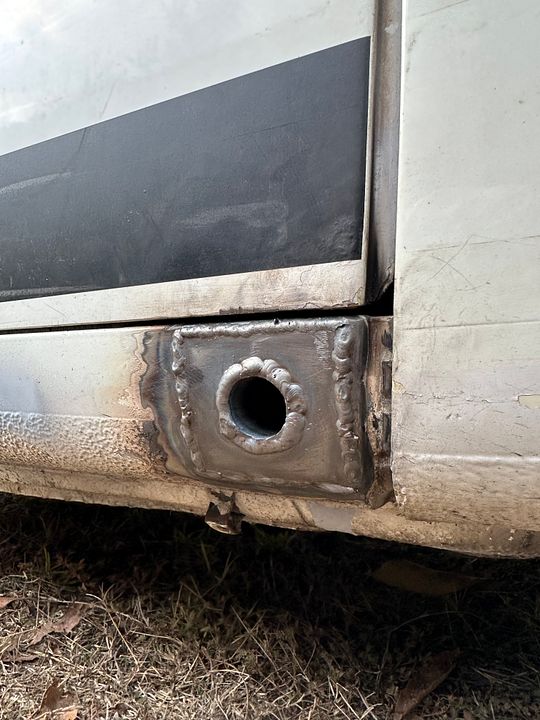 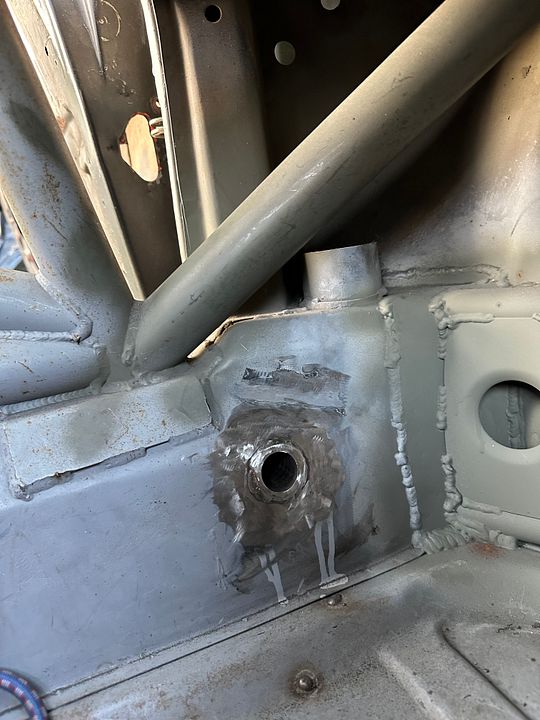 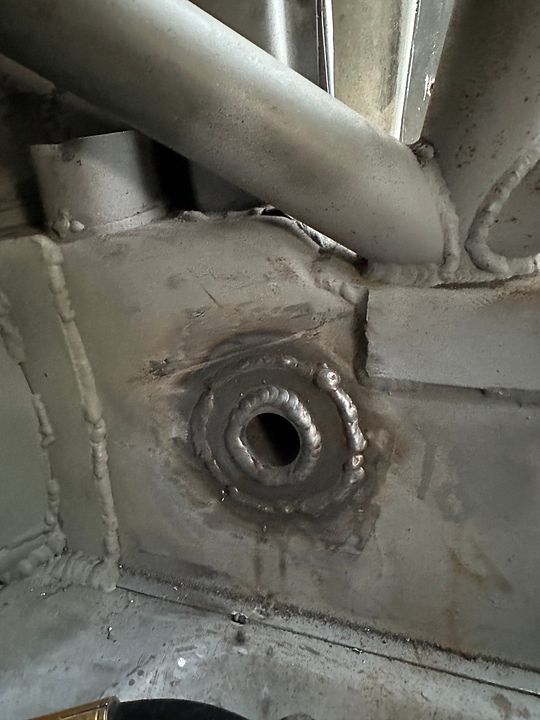 A little extra bracing on the rear ones.  Only slightly sketchy jacking on dirt. 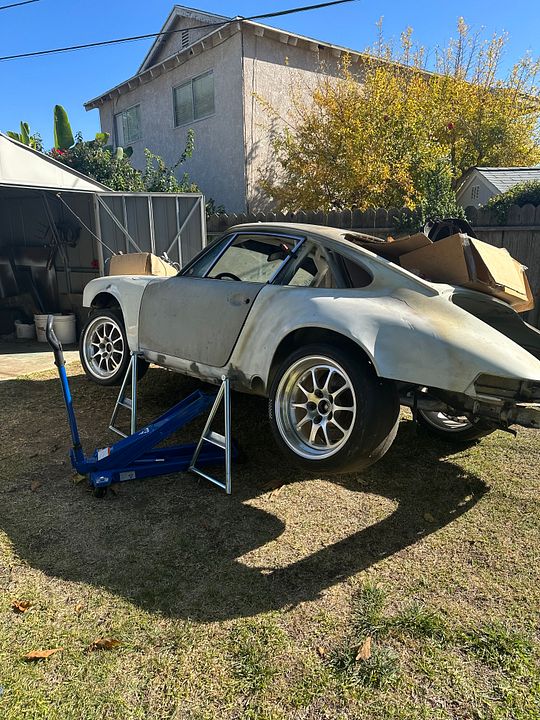 This height sure makes working on the bottom of the car a lot nicer. 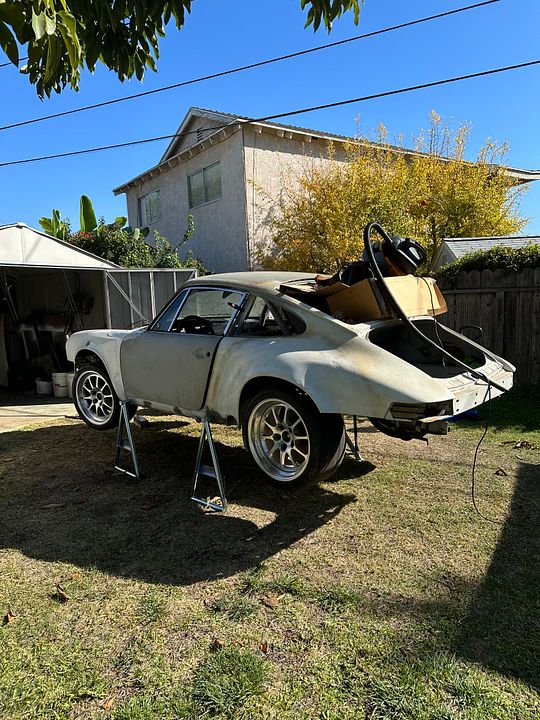
|
||
|
12-02-2023, 11:49 PM
|
|
|
Registered
Join Date: Aug 2009
Location: Costa Mesa, CA
Posts: 1,181
|
Started filling dash holes. Going to go with an RSR style Perlon dash with no dash pad.
Might as well tie the X into the top of the glove box while it is accessible. 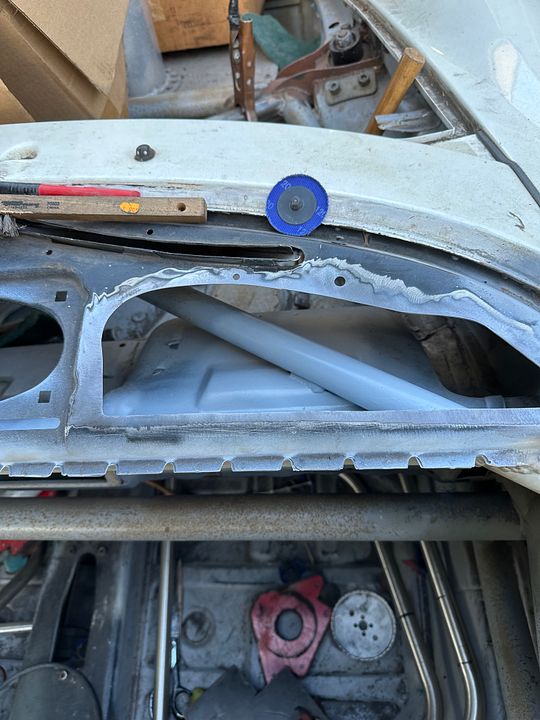 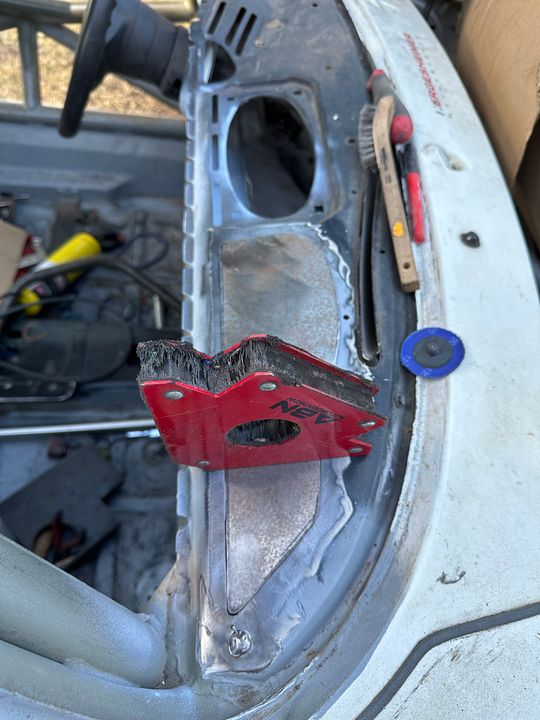  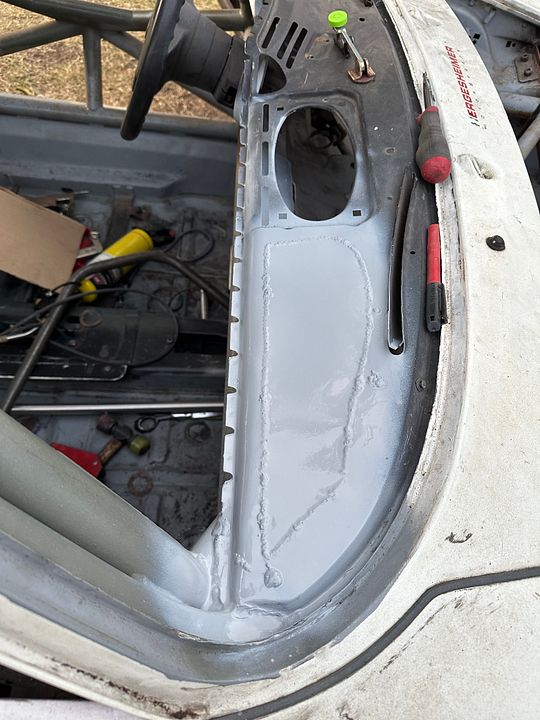 Drive train planning has also been going on. Have a couple clutch and flywheel options to choose from. Some interesting weight data. 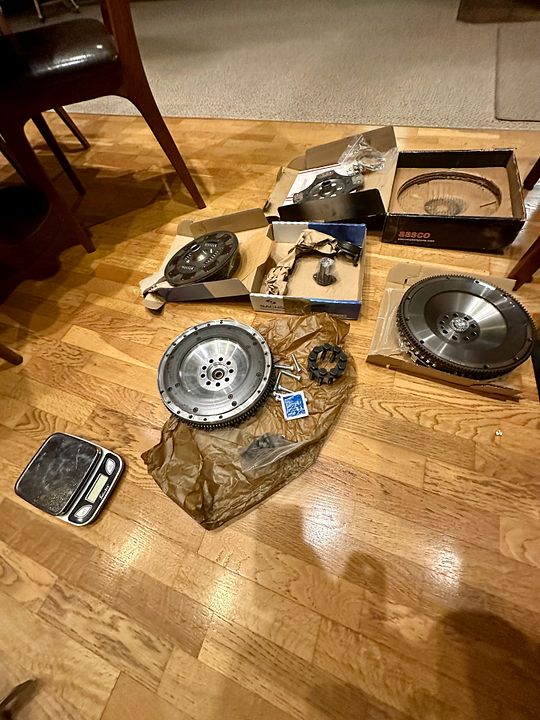 AASCO aluminum 3.6L flywheel 14lbs 964 RSR/ GT3 RS 4.0L flywheel 10.4lbs Sprung hub semi metallic/kevlar clutch disk 6.2lbs Unsprung 4 puck disk used in 993 GT2 and 996 Cups 2.2lbs Might be a little rowdy with and unsprung puck disk but saving 4lbs off of the clutch disk is huge for reduced effort on what the synchros have to speed up slow down. GT3 RS 4.0L pressure plate comes in at 9.4lbs. It has a steel friction surface unlike the plasma sprayed air cooled RSR pressure plate which I had in the car. Saving a little weight on the clutch disk but I think my total rotating mass will actually be almost identical to what was in the car before. 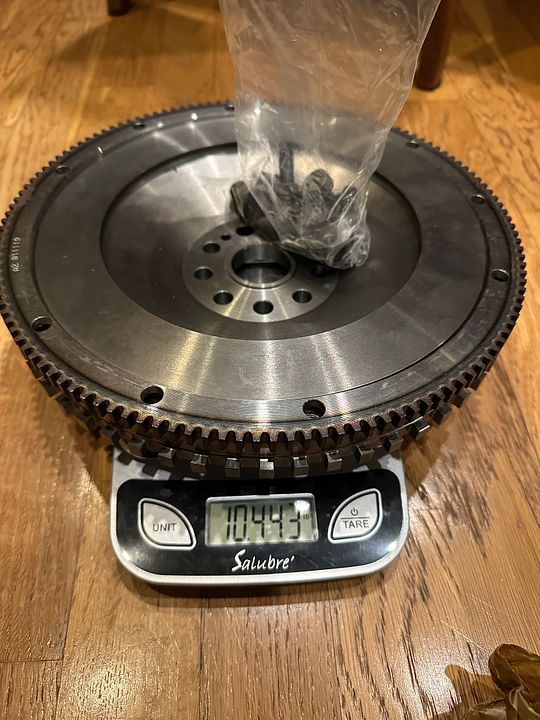 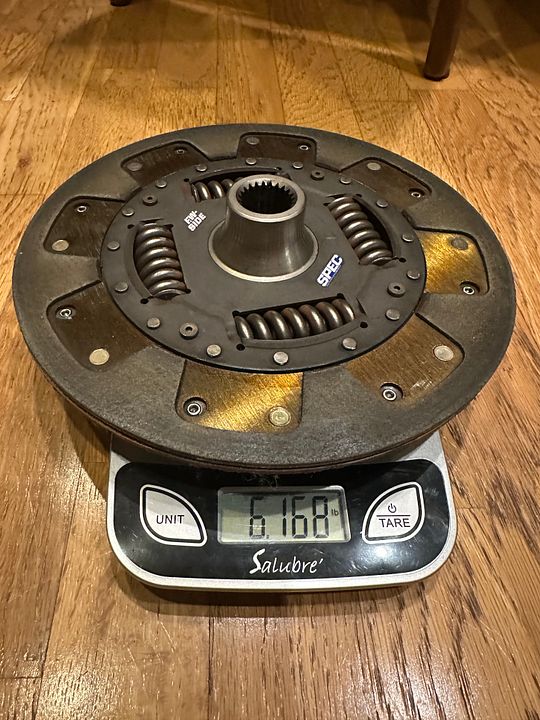 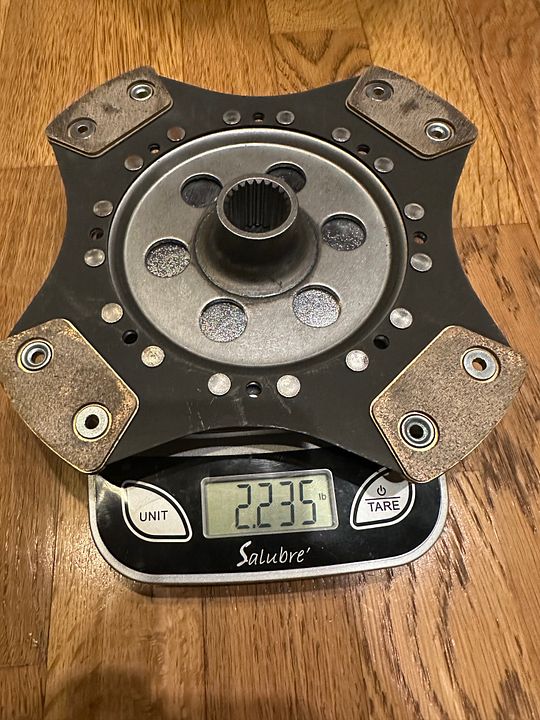 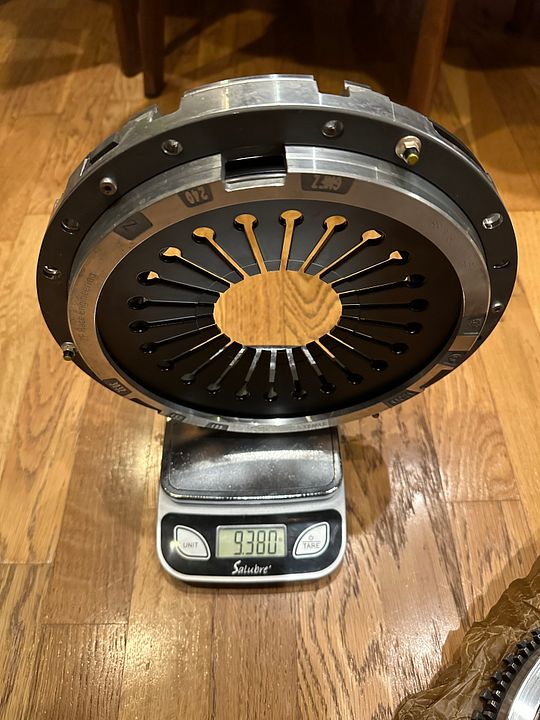
|
||
|
12-03-2023, 12:10 AM
|
|
|
Registered
Join Date: Aug 2009
Location: Costa Mesa, CA
Posts: 1,181
|
Been some progress happening. Got the return for the oil tank welded in.
  Fabricated supports for the passenger seat mounts. 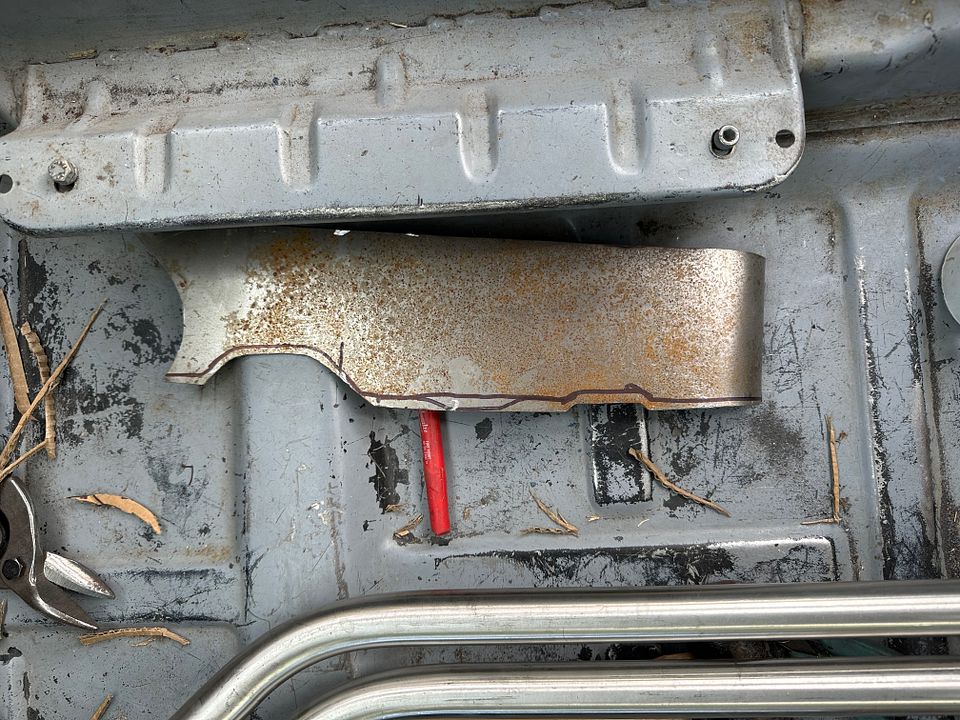 Who doesn't like dimple dies! 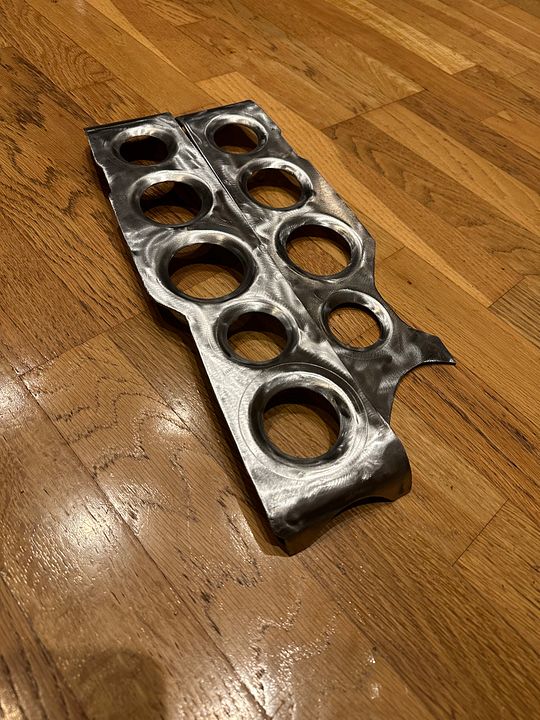 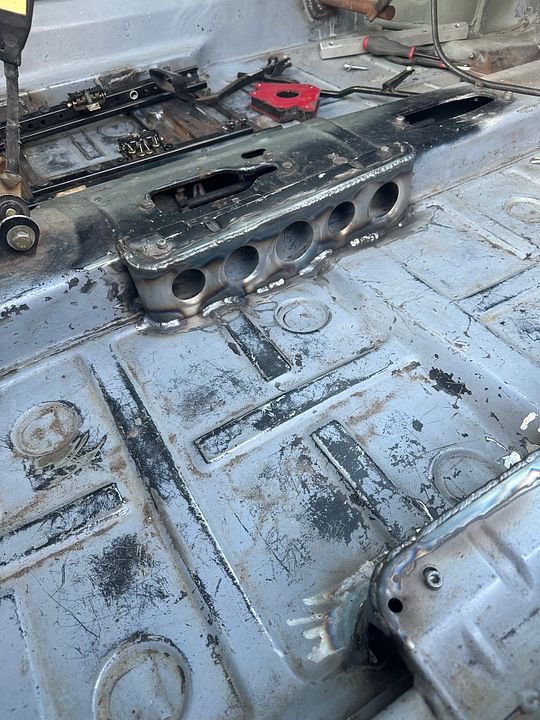 Got on the CAD one weekend and designed my own pedal box using Tilton 78 series master and a 900 series balance bar....... as is proving with most of the car, I am not the first to make any of these parts and it takes forever but I can actually get them. Trying to buy some of these not so standard bits has been quite painful so. 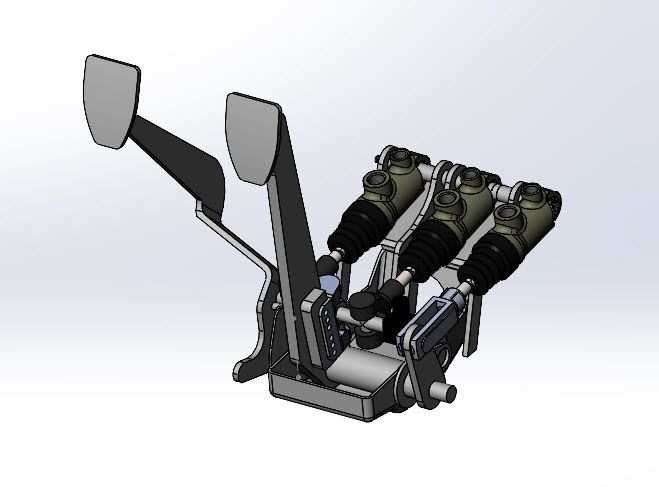 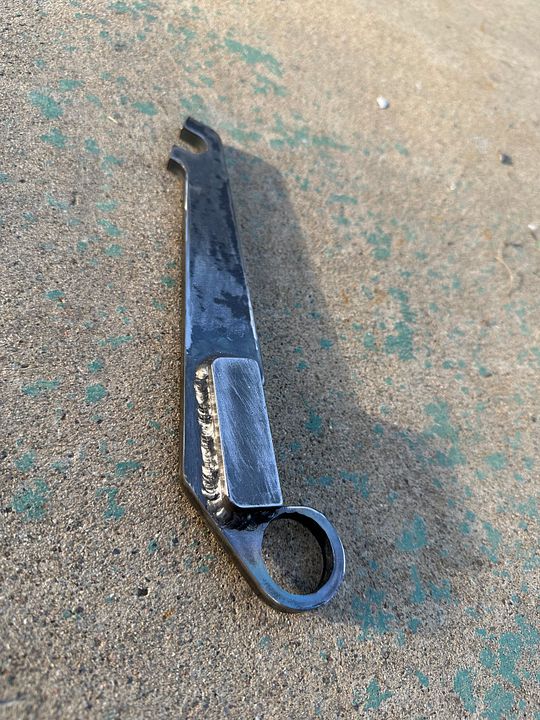 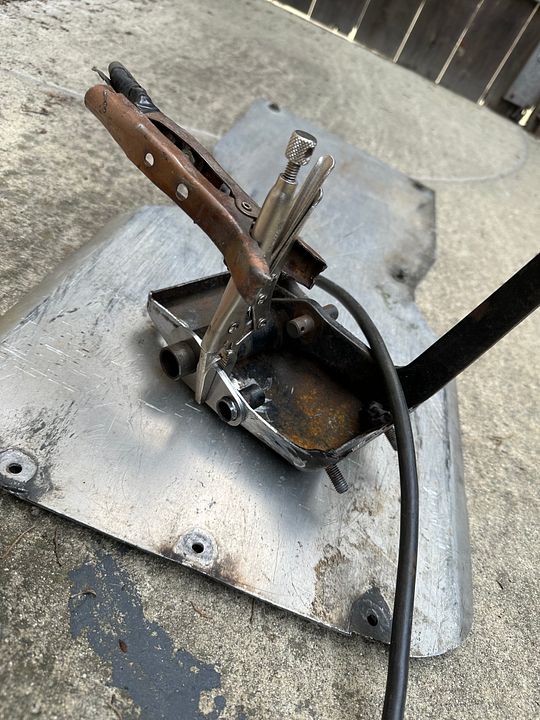 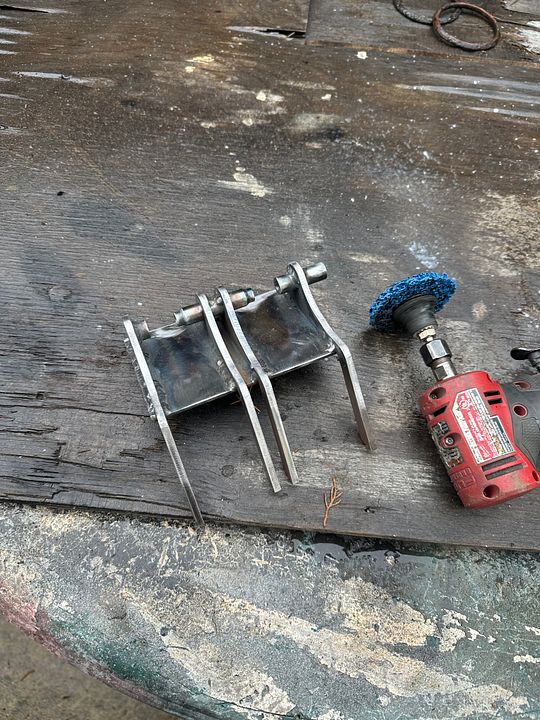 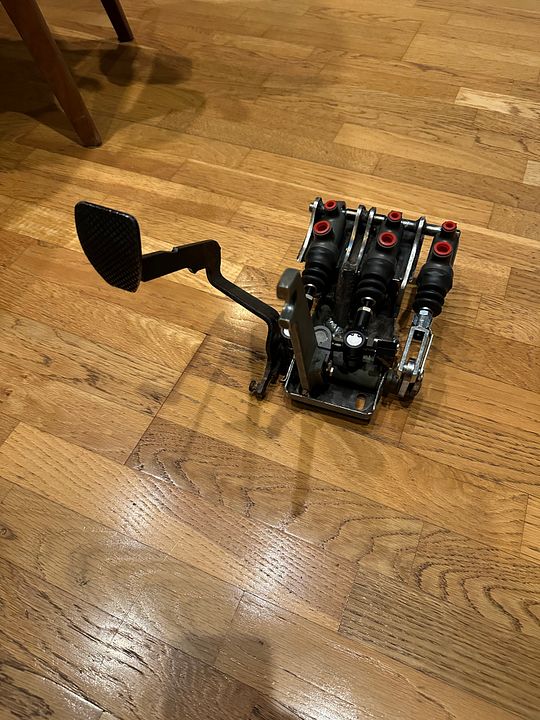
|
||
|
03-04-2024, 07:52 PM
|
|
|
Registered
Join Date: Aug 2009
Location: Costa Mesa, CA
Posts: 1,181
|
Dug the gearbox back out and test fit that again to work out the shifter.
 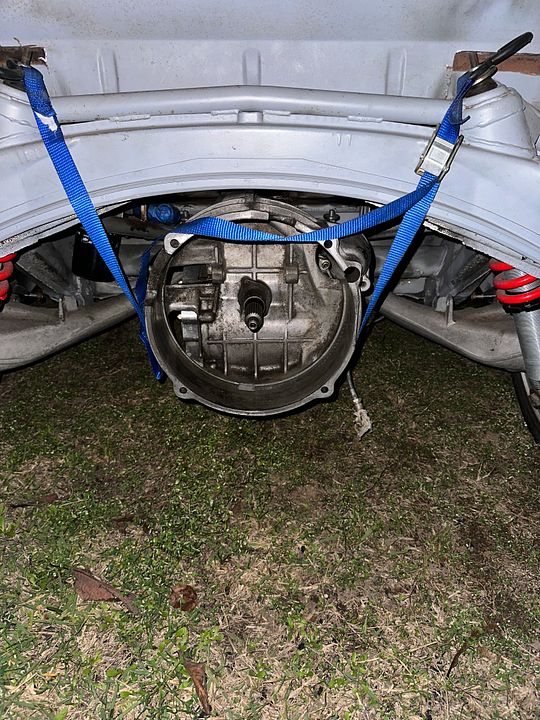 On the long list of questionable decisions, cut some more holes in the car to fit the GPE Raised shift tower. 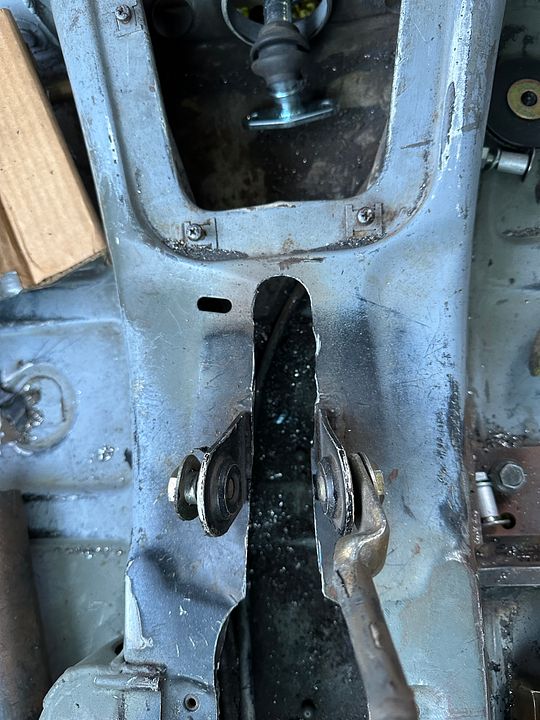 Had to section some off the end of it to fit around the inner seat belt mounts. This riser is designed to bring the shifter 4in back and 4in up........ so the shift rod also has to be shortened...... and the parking brake tubes...... and of course the shifter handle now need to have some of the curve taken out of it. 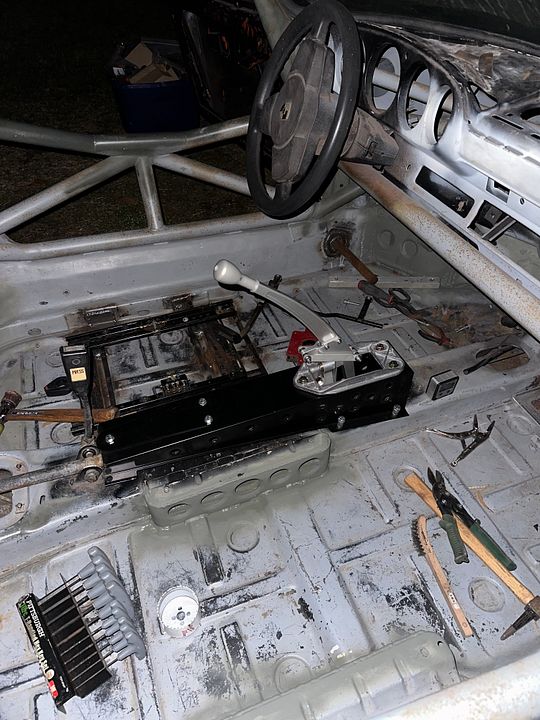 Shift rod shortened with 2in out of the front and 2in out of the back. 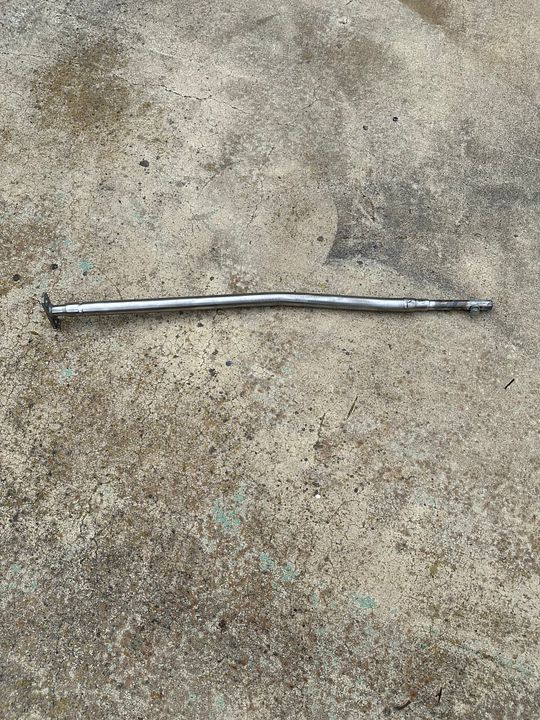 Machined up a straight shifter on a manual mill to try it out....... this shows the relative position of going 4in back and 4in up with the shifter base. 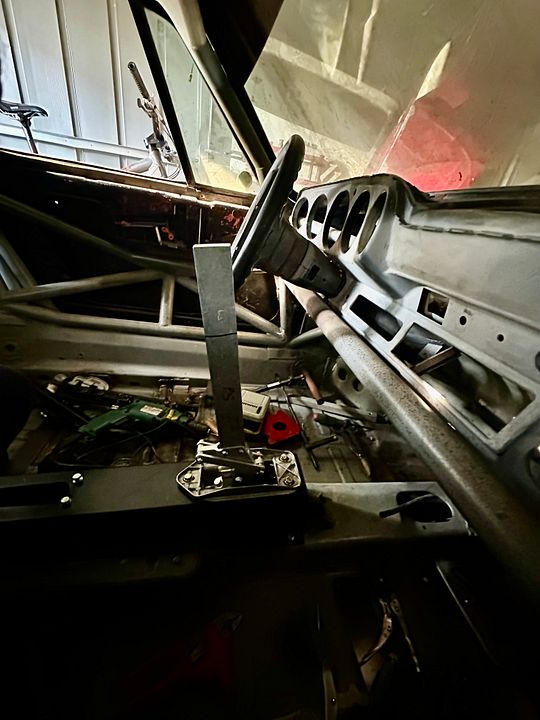  Design was a go...... so I had one CNC machined, bead blasted, and anodized to fit a custom shift knob Dave Mason made me as a favor for making his first shift bushing prototype all those years ago. 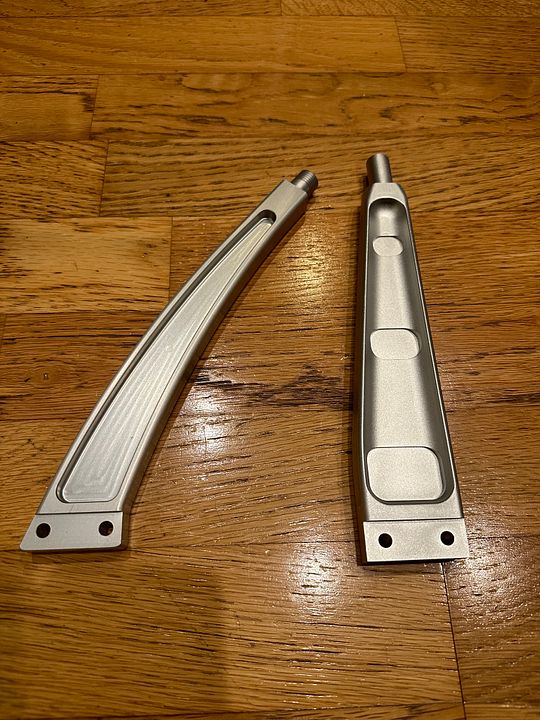 Featuring the solid ebony knob Dave made me. 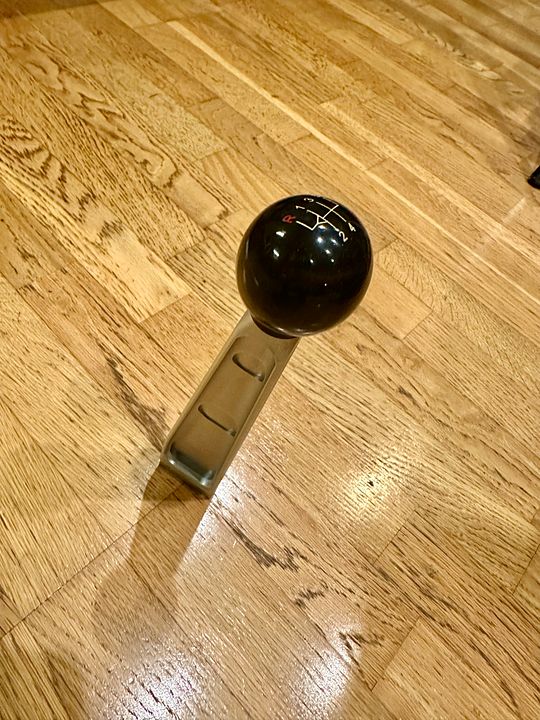 Reinforced where I cut out between the seat belt mounts with clearance for the now angled shift rod. 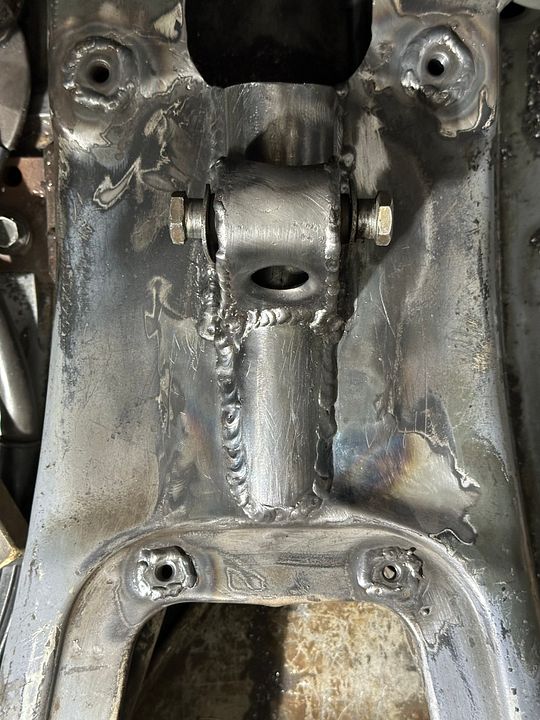
|
||
|
03-04-2024, 08:04 PM
|
|

|
|
Registered
|
It's fun watching creating fab work - good job!
|
||
|
03-04-2024, 09:12 PM
|
|
|
scumbag
|
Looking great, E!
I also had to section my tunnel riser to make way for the stock seatbelt anchors.
__________________
My first Porsche - http://forums.pelicanparts.com/porsche-911-technical-forum/989493-my-low-budget-dream-car-build.html AchtungKraft #009 - IG: @doktor_b |
||
|
03-05-2024, 05:02 AM
|
|
|
Registered
Join Date: Aug 2009
Location: Costa Mesa, CA
Posts: 1,181
|
Quote:
|
||
|
03-05-2024, 07:10 PM
|
|
|
Registered
Join Date: Oct 2004
Location: San Diego
Posts: 4,876
|
Great progress Evan! Love the rally stands. I've thought about making those too. The little tray on them is good to hold lug nuts. Shifter and pedals look good too. Full custom!
|
||
|
03-06-2024, 09:48 AM
|
|
|
Registered
Join Date: Feb 2011
Location: San Diego
Posts: 453
|
Looking good. Love how the shifter turned out.
__________________
(kg/lb) |
||
|
03-08-2024, 09:45 AM
|
|
|
Registered
Join Date: Aug 2009
Location: Costa Mesa, CA
Posts: 1,181
|
Summer update.
Got the car up in the air and pulled the front suspension to start working on the inner fenders. It's a tight crowded space but you work with what you have. 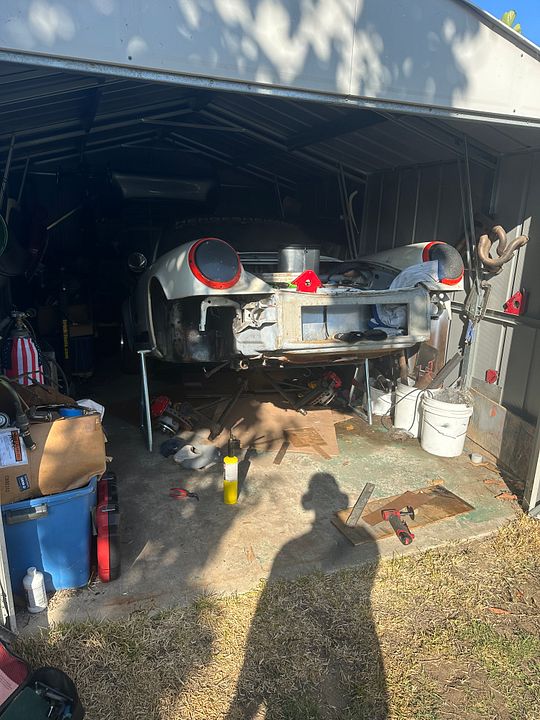 Time to fix the butchery what was the dealer installed AC and weld in the swaybar reinforcements. This car is getting a 28mm front bar and I have cracked two 914 chassis here so hopefully this keeps everything attached. 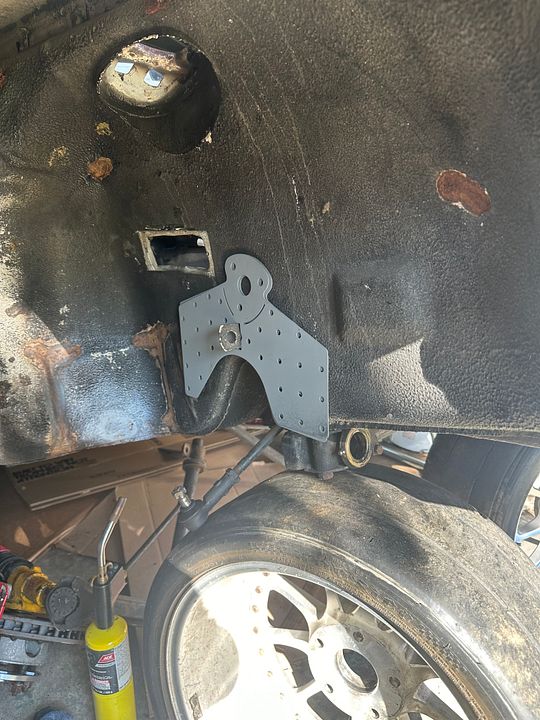 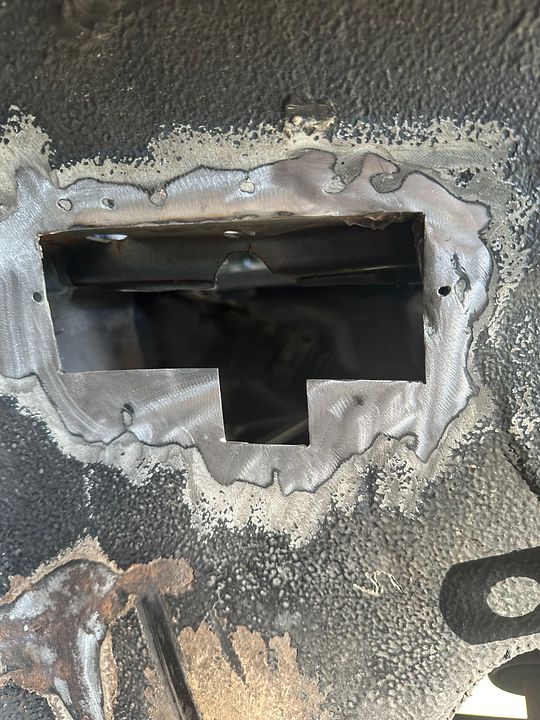 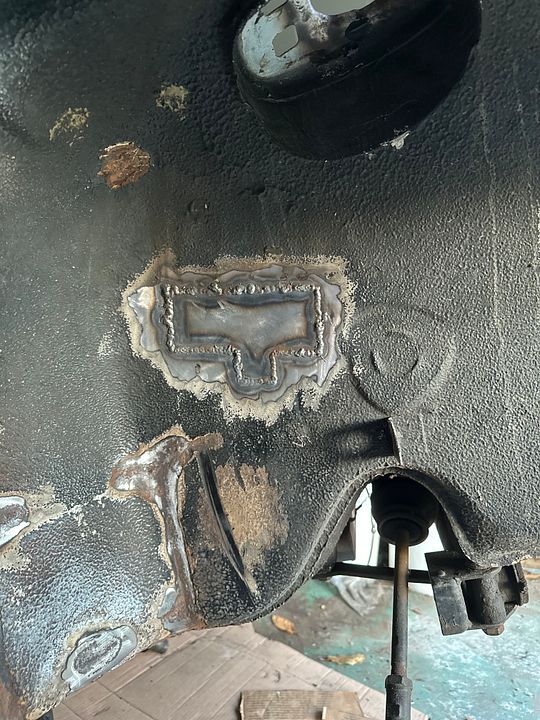 While I am in here, time to delete the pinch weld on the shock tower as the tires hit it at full bump and don't want to cut down a tire. 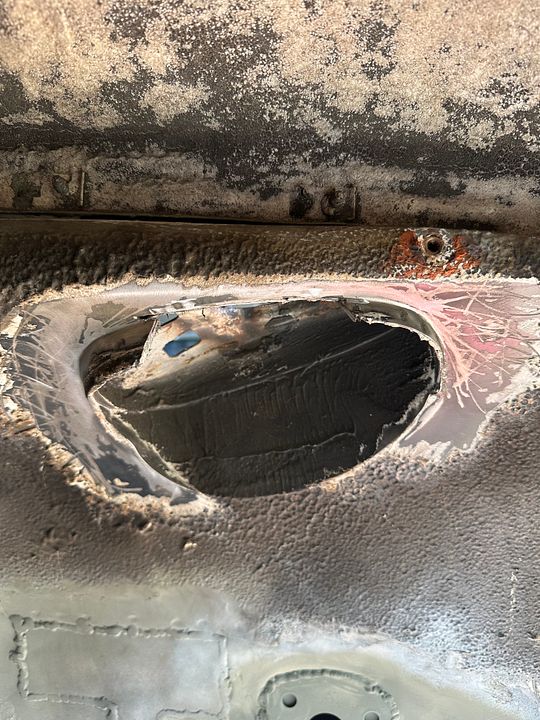 Now to do it all again on the other side! 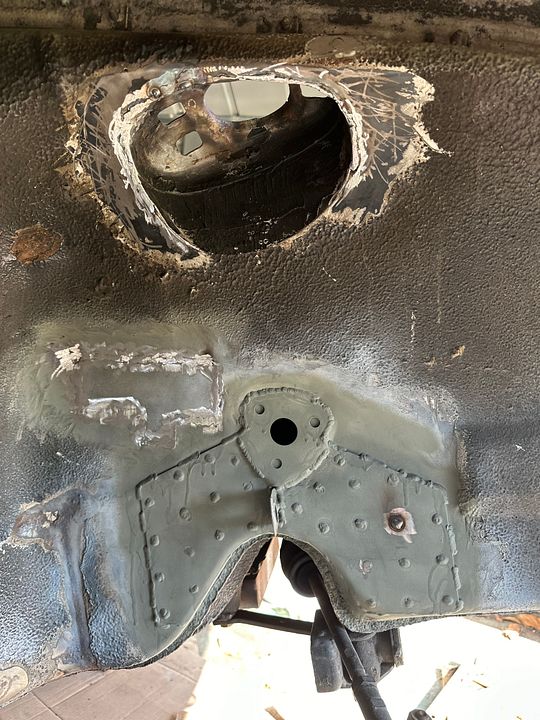
|
||
|
09-25-2024, 08:11 PM
|
|
|
scumbag
|
Dang it! I never knew about this pinch weld delete/shave. May give that a go when the fenders come off next.
Keep going! Looking forward to the day this thing gets on track!
__________________
My first Porsche - http://forums.pelicanparts.com/porsche-911-technical-forum/989493-my-low-budget-dream-car-build.html AchtungKraft #009 - IG: @doktor_b |
||
|
09-27-2024, 01:17 PM
|
|
|
Registered
Join Date: Aug 2009
Location: Costa Mesa, CA
Posts: 1,181
|
Im also looking forward to driving it one day, thanks for the encouragement Chris!
Your car the pinch weld may be a non-issue. Only really becomes an issue with lots of camber on wide high offset wheels with large diameter tires. I suspect with your new fenders, your tire is outside of the inner fender. |
||
|
09-27-2024, 03:15 PM
|
|
 |
| Thread Tools | |
| Rate This Thread | |
|
|


 1979 Porsche ROW 911 SC


