|
|
|
|
|
| Author |
|
|
Registered User

Join Date: Mar 2014
Posts: 303
|
I have a couple of questions at this point:
1) Waynes book says to lock the flywheel and then remove the main pulley nut. I have already removed the flywheel before mounting the engine on the stand. Is there a way around this? 2) I want to paint the engine bay before the engine goes back in. What is the best way to remove the harness/wires/tubes out of the way to get this done? I washed the car today, scrubbed the engine bay and removed the remainder of the AC stuff and the oil tank. Will take the oil tank to get properly cleaned soon. 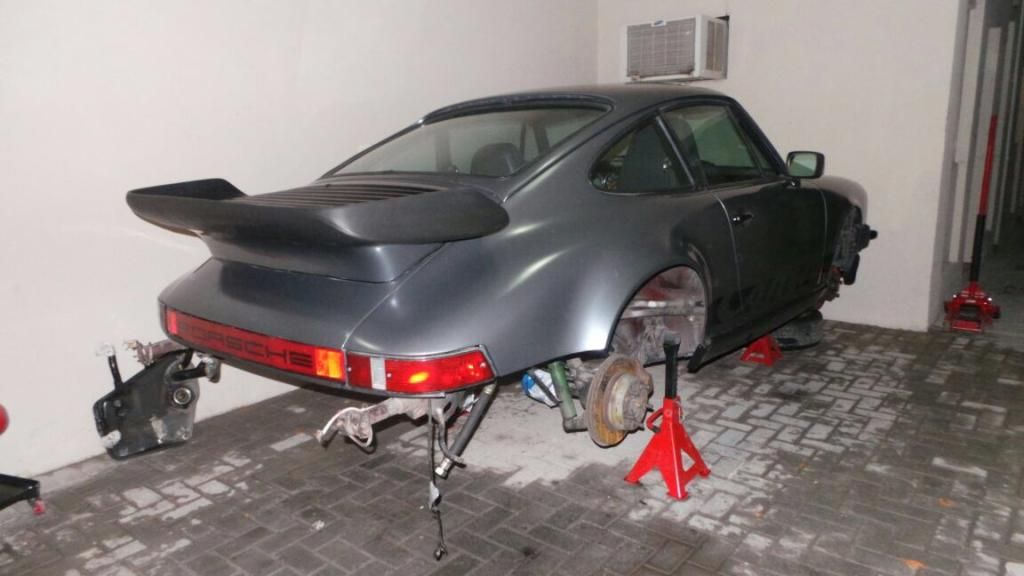  
__________________
'09 997 GT2 '86 911 3.2 '83 911 SC (work-in-progress) |
||
 08-15-2014, 09:35 AM
|
|
|
Mo money = mo parts
|
I did this same project four years ago, here is my thread.
You can lock the flywheel by installing a pressure plate bolt on the flywheel, then put a box end wrench over one of the transmission studs and the pressure plate bolt - hope that makes sense. The question will be whether or not you can squeeze the flywheel out of the limited space available. If I can make a suggestion, I would defer the painting until the end of the project. Everything takes longer than forecasted, especially the first time. See if you still have the energy to paint when you are anxious to get the engine back in. I was going to paint (anal retentive), but then decided that there is little that can be viewed and cleaning was adequate. There really is no easy way to remove stuff that is in the way. How is your engine mounted to the stand? You obviously don't have a yoke (P201). Are you using just two of the universal arms or are you using one of these? 
__________________
Greg 86 Coupe (stock - pretty much like Butzi designed it) - gone, but not forgotten 65 Ducati Monza 250 & 66 Monza Junior (project) "if you are lucky enough to own a Porsche, you are lucky enough" |
||
|
08-15-2014, 10:13 AM
|
|
|
Registered User
Join Date: Mar 2014
Posts: 303
|
Quote:
 I'm using universal arms at the moment. 3 arms are connected, and before splitting the case I will remove one. I am not sure whether it is worth ordering and waiting for the yoke at this point. I've read many threads where people were happy with the universal arms. and about the painting - I am trying to multitask  since my cam holder tool isn't here yet, I thought I'd do something else. I plan on removing the oil lines and upgrading the oil cooler, draining the fuel and cleaning the tank and replacing the lines, rebuilding the brake calipers, etc.. all this in my down time between getting parts since my cam holder tool isn't here yet, I thought I'd do something else. I plan on removing the oil lines and upgrading the oil cooler, draining the fuel and cleaning the tank and replacing the lines, rebuilding the brake calipers, etc.. all this in my down time between getting parts
__________________
'09 997 GT2 '86 911 3.2 '83 911 SC (work-in-progress) |
||
|
08-15-2014, 10:32 AM
|
|
|
Registered User
Join Date: Mar 2014
Posts: 303
|
Anybody have any input on the pulley issue?
__________________
'09 997 GT2 '86 911 3.2 '83 911 SC (work-in-progress) |
||
|
08-15-2014, 11:16 PM
|
|
|
ROW '78 911 Targa
|
Newbie engine teardown/rebuild - advice always welcome!
Put some long bolts back in the crank, then insert a long square bar between them parallel to the back of the motor, wedged against the threads of the bolts and an engine stand mount location, to hold the crank in place as you remove the front pulley nut.
Same technique I have used to remove stubborn cv joint nuts on front wheel drive vehicles. Leverage is your friend.
__________________
Dennis Euro 1978 SC Targa, SSI's, Dansk 2/1, PMO ITBs, Electric A/C Need a New Wiring Harness? PM or e-mail me. Search for "harnesses" in the classifieds. |
||
|
08-15-2014, 11:36 PM
|
|
|
Registered User
Join Date: Mar 2014
Posts: 303
|
I'm still waiting for my cam holder tool, so I decided to try cleaning my transmission and other parts. I couldn't get my alternator and fan out of the housing, and I also noticed that my housing has cracked
 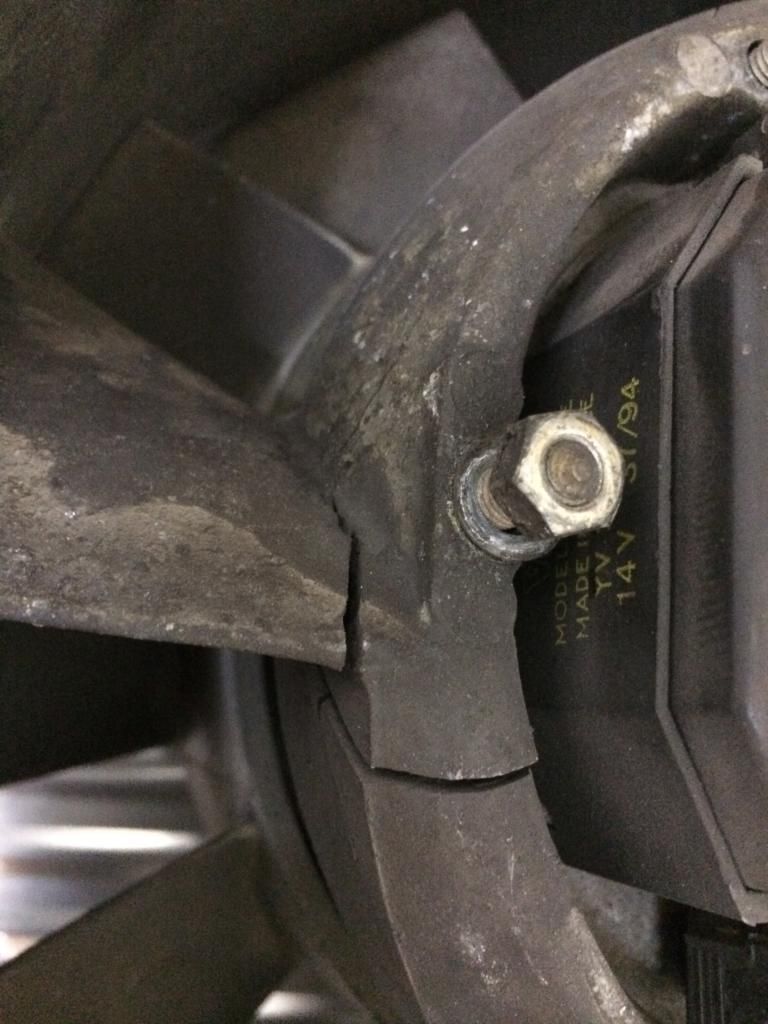  I'm going to do some research on way that I can get the alternator out! Meanwhile, my transmission came out nicely after some engine cleaner and pressure cleaning 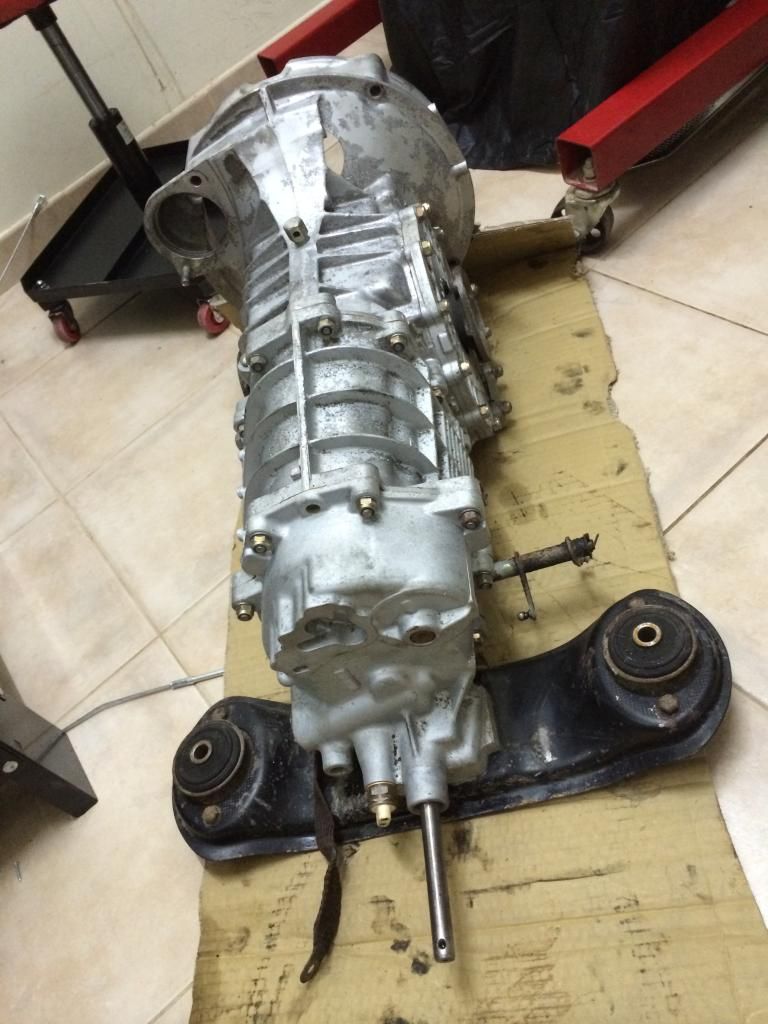
__________________
'09 997 GT2 '86 911 3.2 '83 911 SC (work-in-progress) |
||
|
08-22-2014, 10:17 AM
|
|

|
|
Registered User
Join Date: Mar 2014
Posts: 303
|
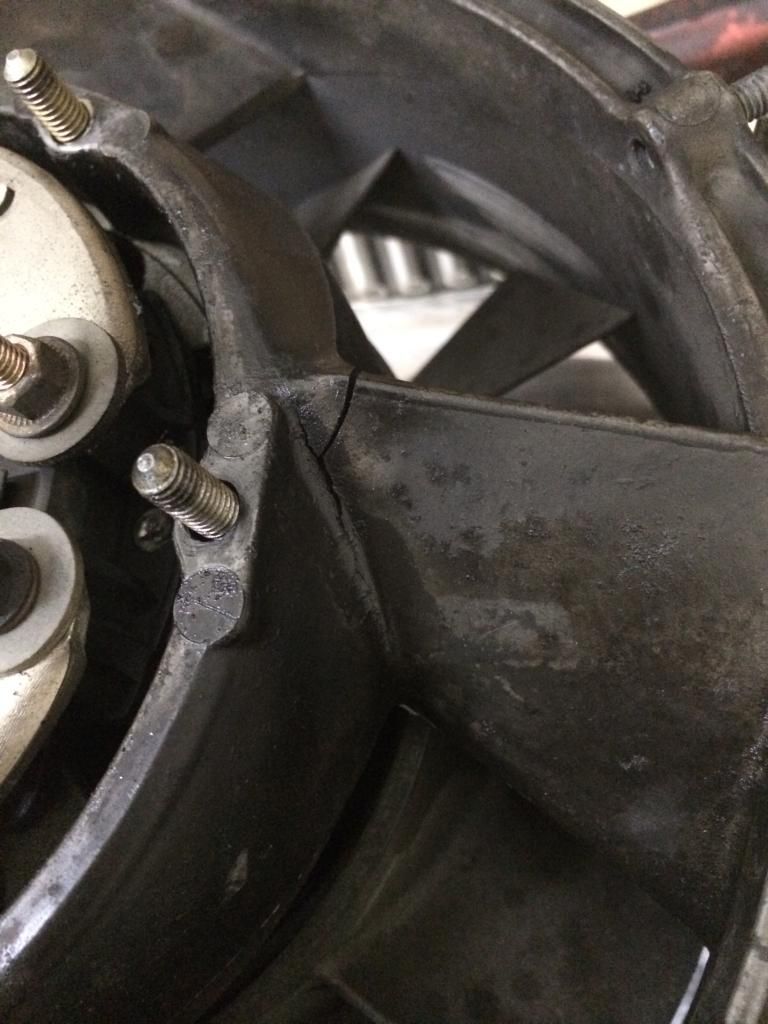
I used Jim Walkers method for removing the alternator and fan and it worked perfectly - Fan hsng, alternator removal
The housing will go in the trash, however do these "imperfections" on the fan mean I have to replace it? 2 blades have cracks  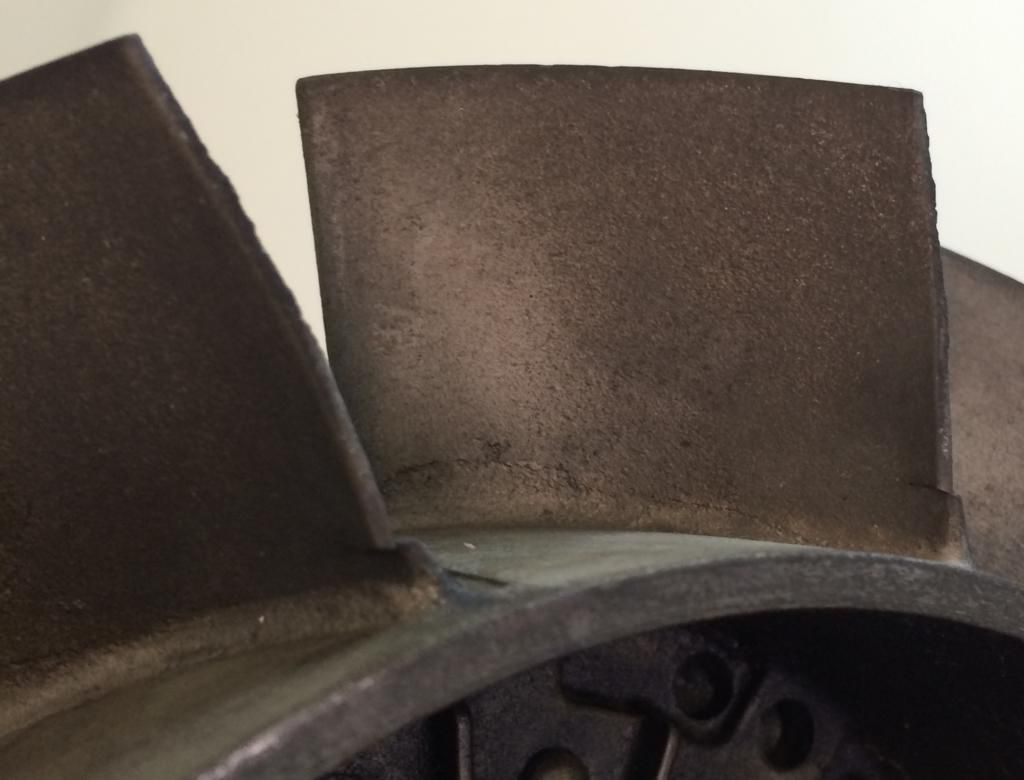 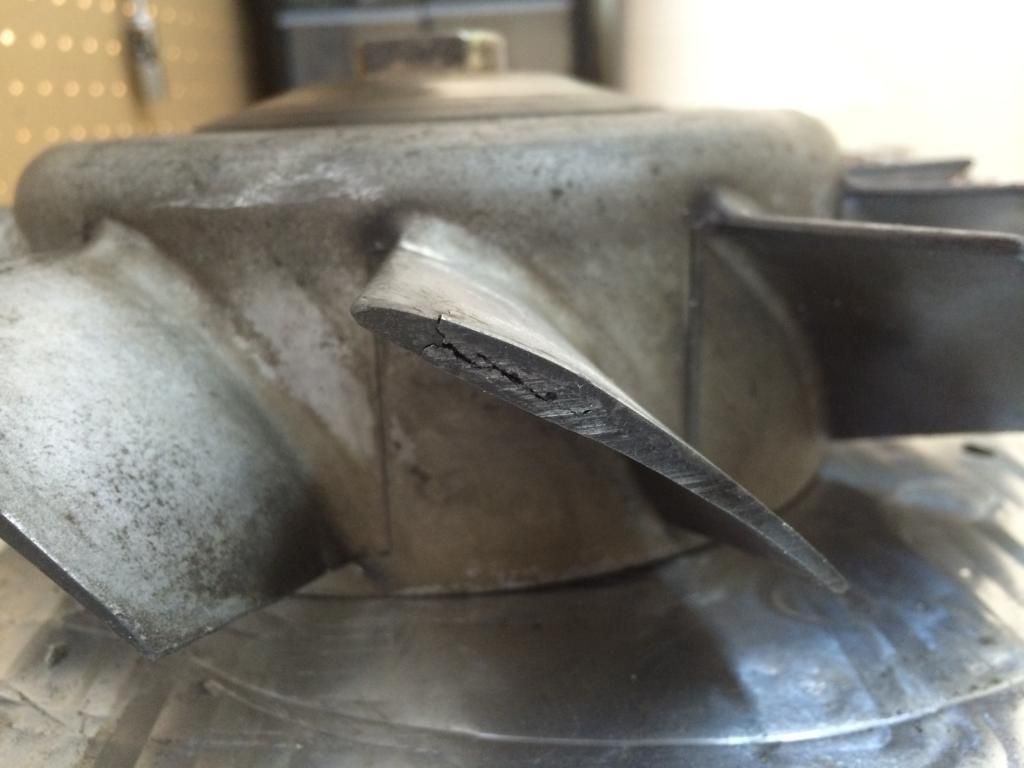
__________________
'09 997 GT2 '86 911 3.2 '83 911 SC (work-in-progress) |
||
|
08-23-2014, 01:48 AM
|
|
|
Schleprock
Join Date: Sep 2000
Location: Frankfort IL USA
Posts: 16,640
|
The fan is fine to keep using Don't throw away the housing. It's magnesium & worth some $ in scrap!!!
|
||
|
08-24-2014, 08:22 AM
|
|
|
Registered User
Join Date: Mar 2014
Posts: 303
|
Quote:
 The shopping list keeps growing, so I should re-use as much stuff as possible
__________________
'09 997 GT2 '86 911 3.2 '83 911 SC (work-in-progress) |
||
|
08-24-2014, 09:17 AM
|
|
|
Registered User
Join Date: Mar 2014
Posts: 303
|
Pelican says it'll take a month for me to get the p9191 tool. I met with a very respected Porsche mechanic today and he said I don't need it when removing the cams. Anyone concur?
__________________
'09 997 GT2 '86 911 3.2 '83 911 SC (work-in-progress) |
||
|
08-27-2014, 10:01 AM
|
|
|
Schleprock
Join Date: Sep 2000
Location: Frankfort IL USA
Posts: 16,640
|
You can zip the cam bolts off with an impact gun when you have the flywheel/crankshaft locked. So yep the cam holding tool is critical for tightening, not necessarily loosening
__________________
Kevin L '86 Carrera "Larry" |
||
|
08-27-2014, 10:11 AM
|
|
|
Registered User
Join Date: Mar 2014
Posts: 303
|
Took the advice of the members here and as per the instructions from timmy2, I was able to get the cam gears, chain housing, cylinder heads, cylinders and half of the pistons so far. It's pretty straight forward taking things apart, I hope its the same putting things together!
I was reading through Wayne's book and it says for the later model SCs there is generally no need to replace the head studs. I'm thinking since I'm here I might as well replace the head studs. Also, any advice on what cylinders and pistons I should be looking at? any advice on what my shopping list should include? I contacted John Dougherty about regriding my cams to 964 and got a reasonable quote. 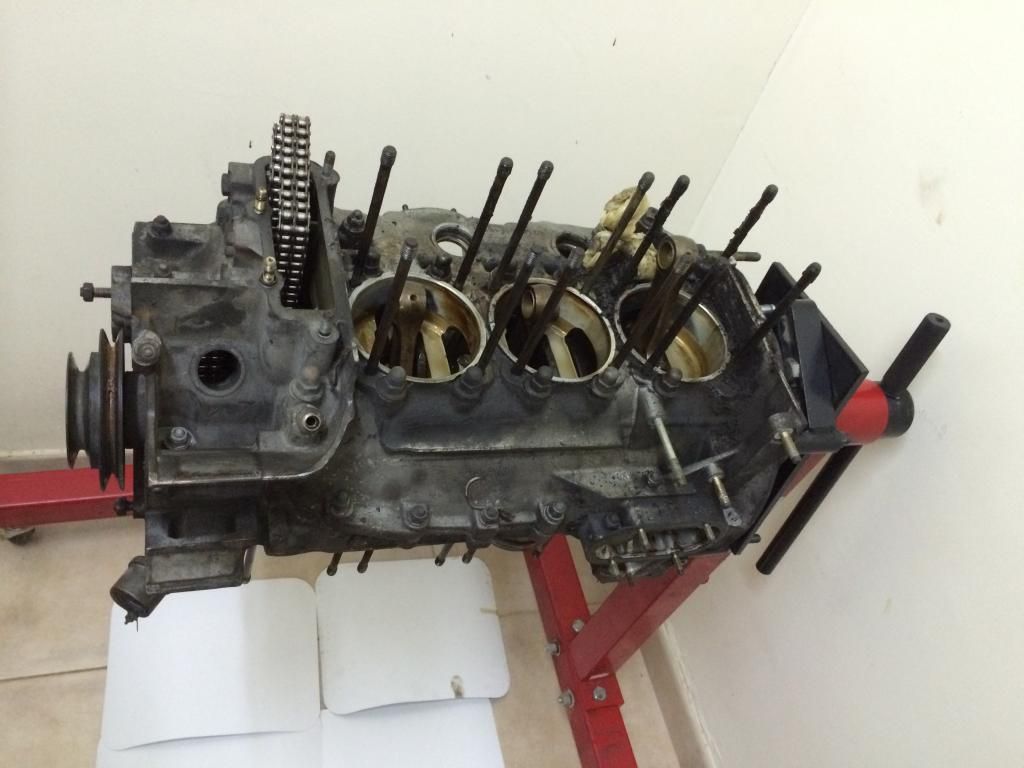 Some cylinders were filthier than others 
__________________
'09 997 GT2 '86 911 3.2 '83 911 SC (work-in-progress) |
||
|
09-04-2014, 09:51 AM
|
|

|
|
Registered
|
PM sent
__________________
Gator 99 996 c4 |
||
|
09-04-2014, 06:20 PM
|
|
|
Smoove1010
|
Great progress! Sorry to be a nanny, but do cover any openings into the engine case while it's in this state of disassembly. It's amazing what can find it's way in through those many openings that might later clog some tiny oil passage or squirt-hole somewhere.
GK |
||
|
09-05-2014, 09:32 AM
|
|
|
Registered User
Join Date: Mar 2014
Posts: 303
|
Quote:
Today was the most rewarding day so far! I got the headstuds off with no major problems, thanks to the SnapOn tools. Had to hit one with the propane, but otherwise all of them went smoothly.. some went too smoothly and it made me worry that they were not properly torqued.. All I needed was this 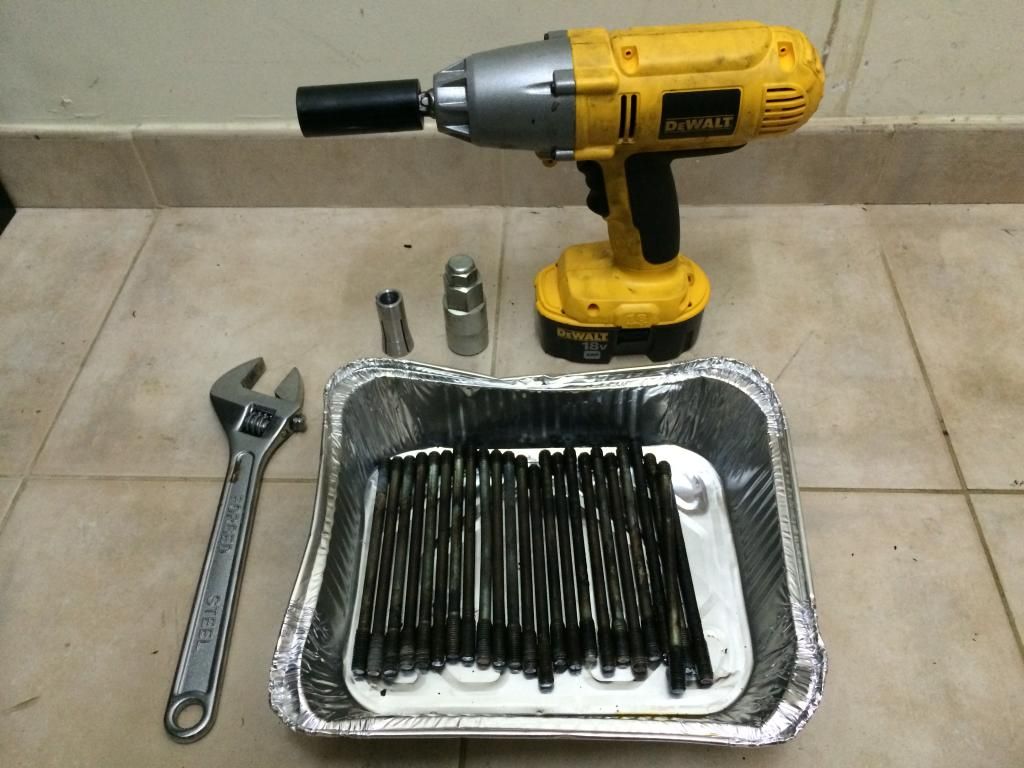 Also removed the main pulley, and all the case bolts.. was so close to splitting the case but I promised my wife I'd have dinner with her so it'll have to wait until tomorrow Case ready to be split 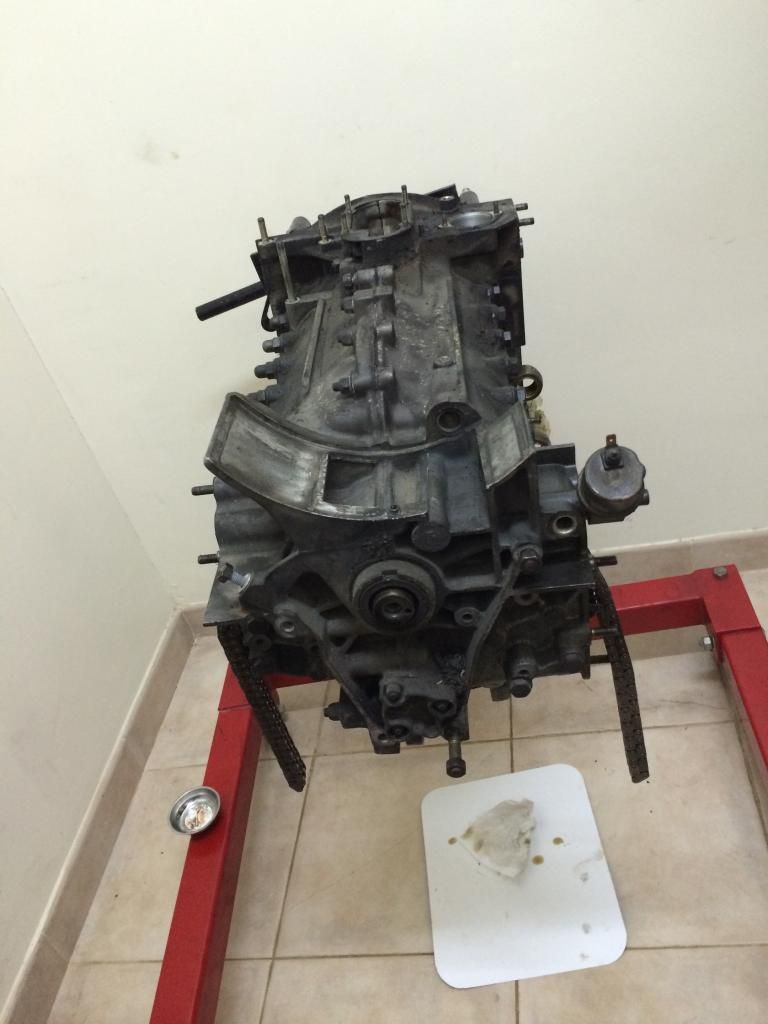 So much dirty.. I'm going to enjoy cleaning everything later  Got a quote for the basic rebuild kit from EBS and considering the 964 cams from Dougherty... Should I be considering a short stroke 3.2 kit as well? I'd like to get my heads rebuilt in Europe since its closer proximity to me, but my research hasn't brought up any shops there yet.. open to recommendations.. in the beginning I said I'd be sticking to stock, but then read an article where the owner was unhappy with the rebuild because the car drove the exact same and I don't want to have regrets.. might as well squeeze a few more HP
__________________
'09 997 GT2 '86 911 3.2 '83 911 SC (work-in-progress) |
||
|
09-05-2014, 11:04 AM
|
|
|
Smoove1010
|
Quote:
GK |
||
|
09-05-2014, 01:59 PM
|
|
|
Registered User
Join Date: Mar 2014
Posts: 303
|
Quote:
 On a different topic, here is a friends mint 1973 2.7 RS  and my other Porsche with its big brother, also owned by the same person 
__________________
'09 997 GT2 '86 911 3.2 '83 911 SC (work-in-progress) Last edited by GT2BH; 09-05-2014 at 11:20 PM.. |
||
|
09-05-2014, 11:15 PM
|
|
|
Registered
|
Have you been able to find out what caused the original problem noise that started you off on this project?
 Also, curious if all the headstuds are the same - instead of 12 steel (magnetic) & 12 dilivar (non-magnetic); then perhaps your engine has already been upgraded at some stage before you got it. Peter 78 SC 3.0 |
||
|
09-06-2014, 04:59 AM
|
|
|
Registered User
Join Date: Mar 2014
Posts: 303
|
Quote:
My studs are all the original steel.. and there is no evidence that my engine has ever been opened before.. Everything seems to be original.. I'm not an expert by any measure, in fact quite the opposite, but nothing leads me to believe anyone gave this engine any love in the past.. Finally, I am done and the case is split and everything is out! Now I will read the next chapter in Wayne's book, start cleaning and inspecting all the parts and finding good machine shops to do the dirty work.. we don't have any local porsche shops so any recommendations of shops you guys are happy with will be helpful.. Are there any notorious problems areas I should be looking at first? Should I start taking the camshaft housing and heads apart at this point? 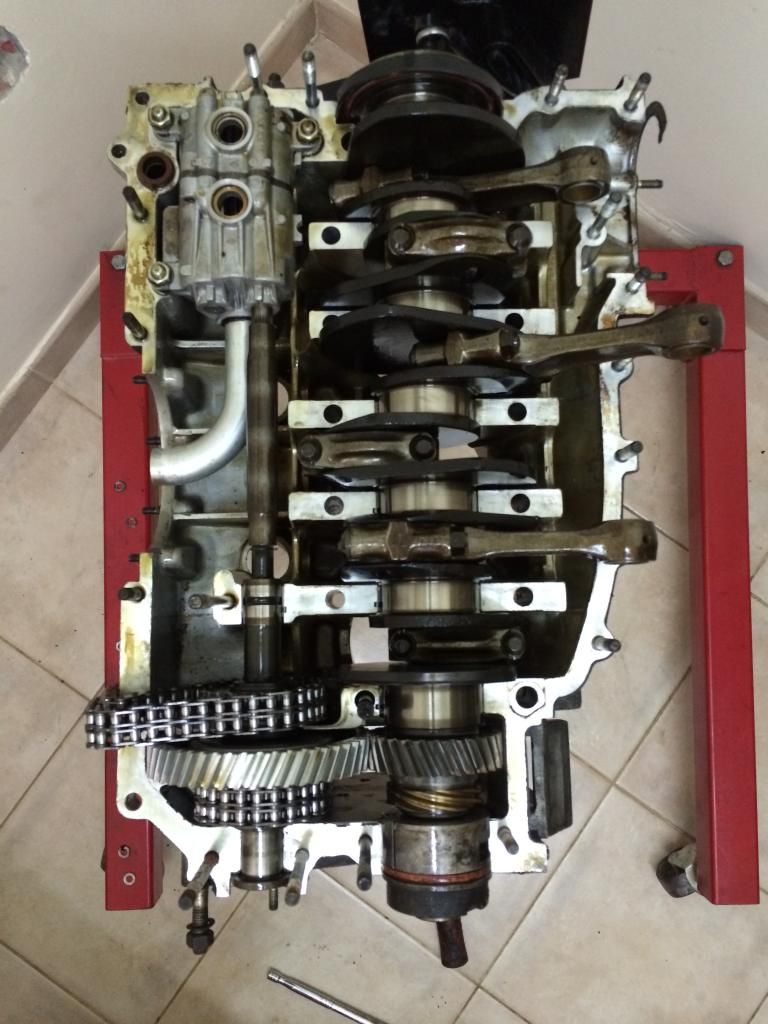 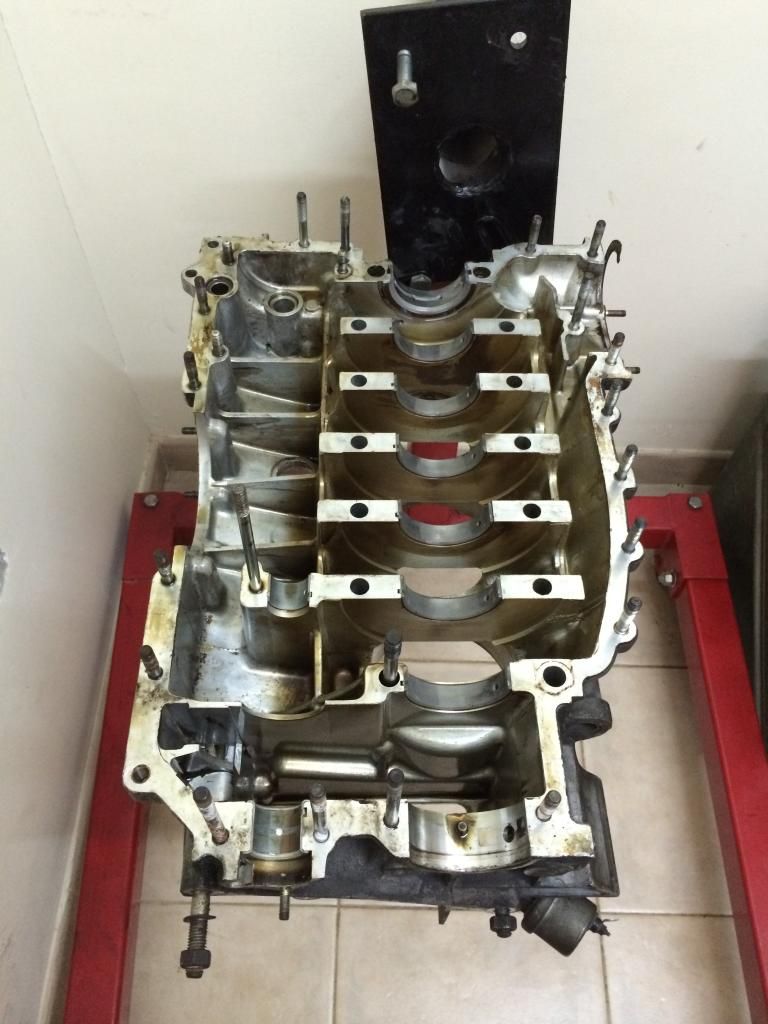
__________________
'09 997 GT2 '86 911 3.2 '83 911 SC (work-in-progress) |
||
|
09-06-2014, 06:20 AM
|
|
|
Registered User
Join Date: Mar 2014
Posts: 303
|
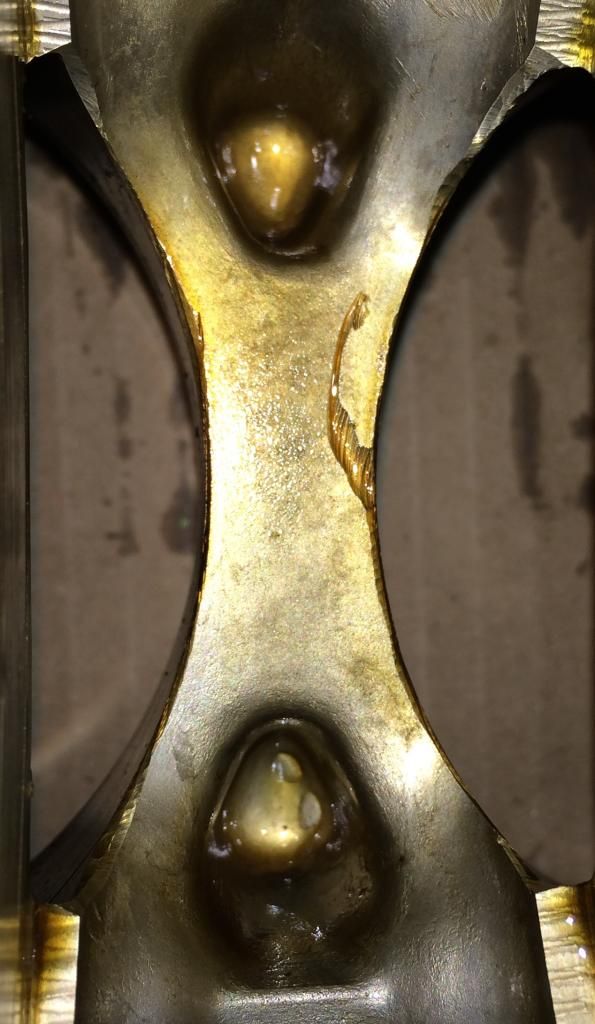
I just noticed these scratches on the inside of the case, what could have caused them?
__________________
'09 997 GT2 '86 911 3.2 '83 911 SC (work-in-progress) |
||
|
09-06-2014, 07:22 AM
|
|


 1986 Porsche 911

 Heinz
Heinz 1983 Porsche 911SC
 the mistress
 1987 Porsche 911 Cabriolet
 Porsche
